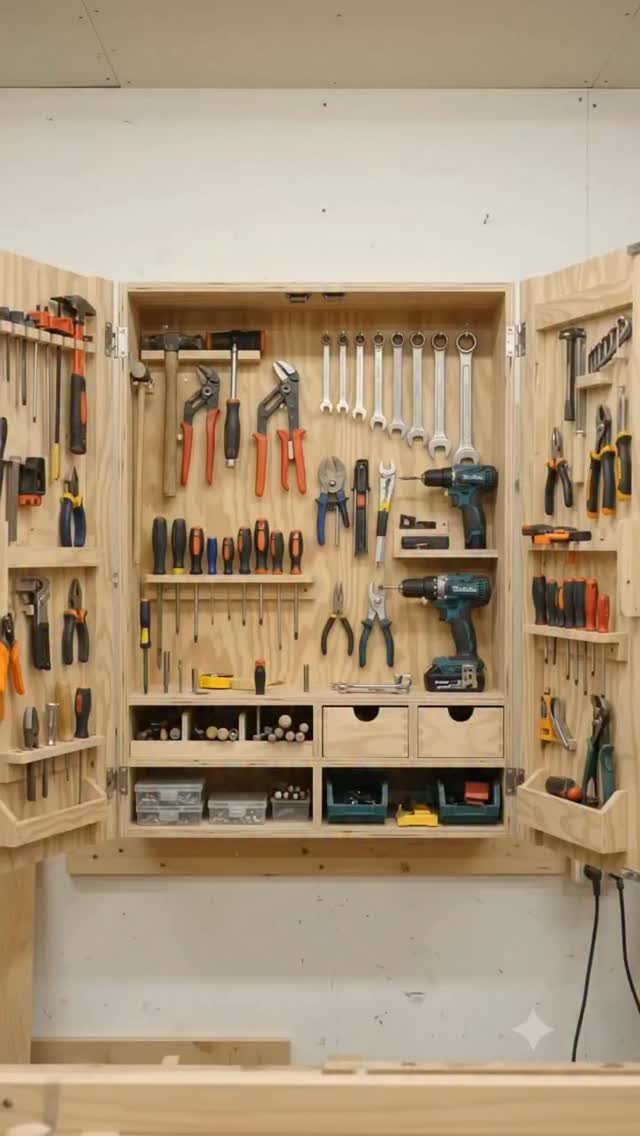
Placement settles the choice before anything else: a wall with studs points to the hanging cabinet, open floor space to the tall freestanding one, a sturdy bench to the tool chest, and a crowded garage to the mobile station.
Build time swings widely across these plans, from the bench top chest that fits in one afternoon to the tall freestanding cabinet that eats up more lumber, more cuts and a full weekend.
1. Design Around Tools
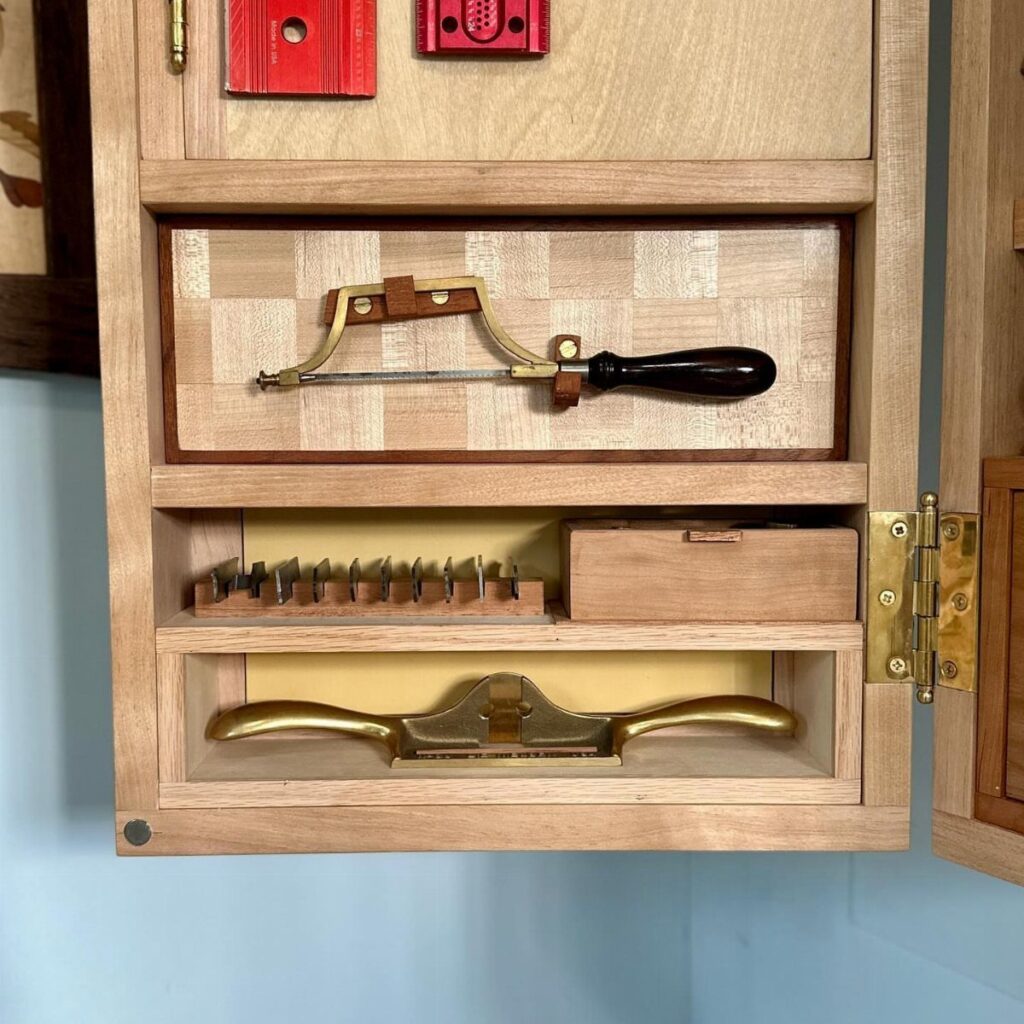
Lay every tool you plan to store on the bench before drawing a single line. Trace each one on paper, or simply measure the longest and the widest, and let those outlines set the cabinet’s depth, width and shelf spacing.
Slots and holders cut to fit what you actually own beat a generic grid every time. The trade-off: a cabinet this tailored gets awkward when you buy new tools, so leave a little empty space for what comes next.
Synopsis: When planning a new hand-tool cabinet for his workshop, Mike Pekovich wanted to pack in more storage than his old cabinet without taking up more wall space.
2. Drawer Storage
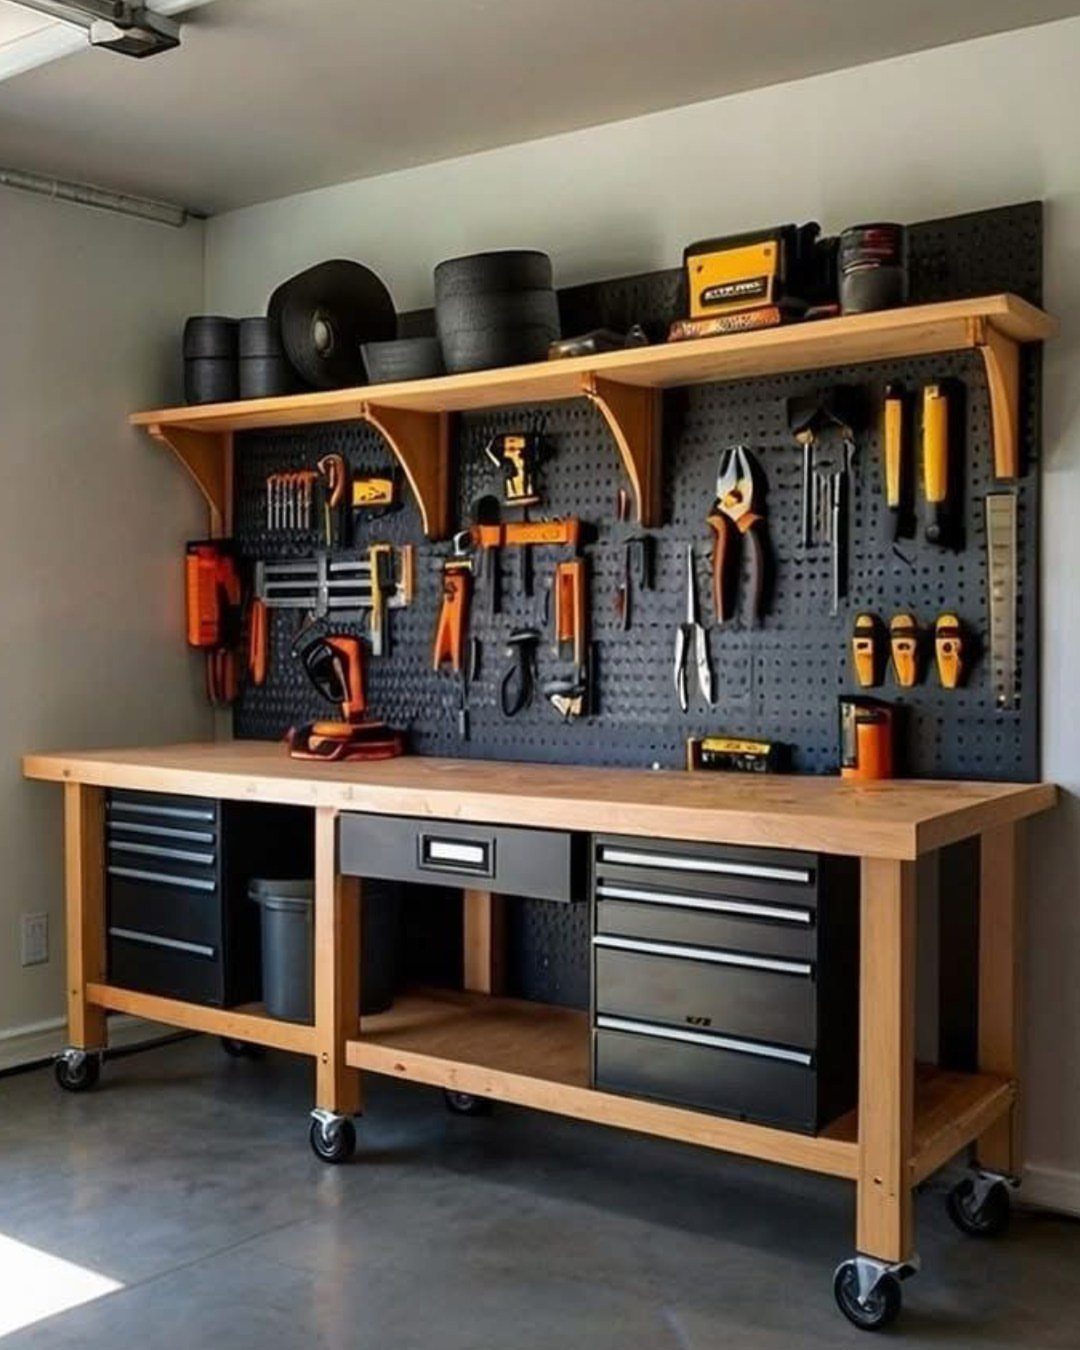
Drawers suit the tools you reach for once a month, not once a minute. Keep daily tools on the pegboard where a glance finds them, and give the rarely used pieces a drawer to sleep in.
A drawer unit under the bench also puts dead space to work. Casters make the whole bench easy to shift, though I would lock them whenever you start sawing or planing.
3. Customizable Interior Layout
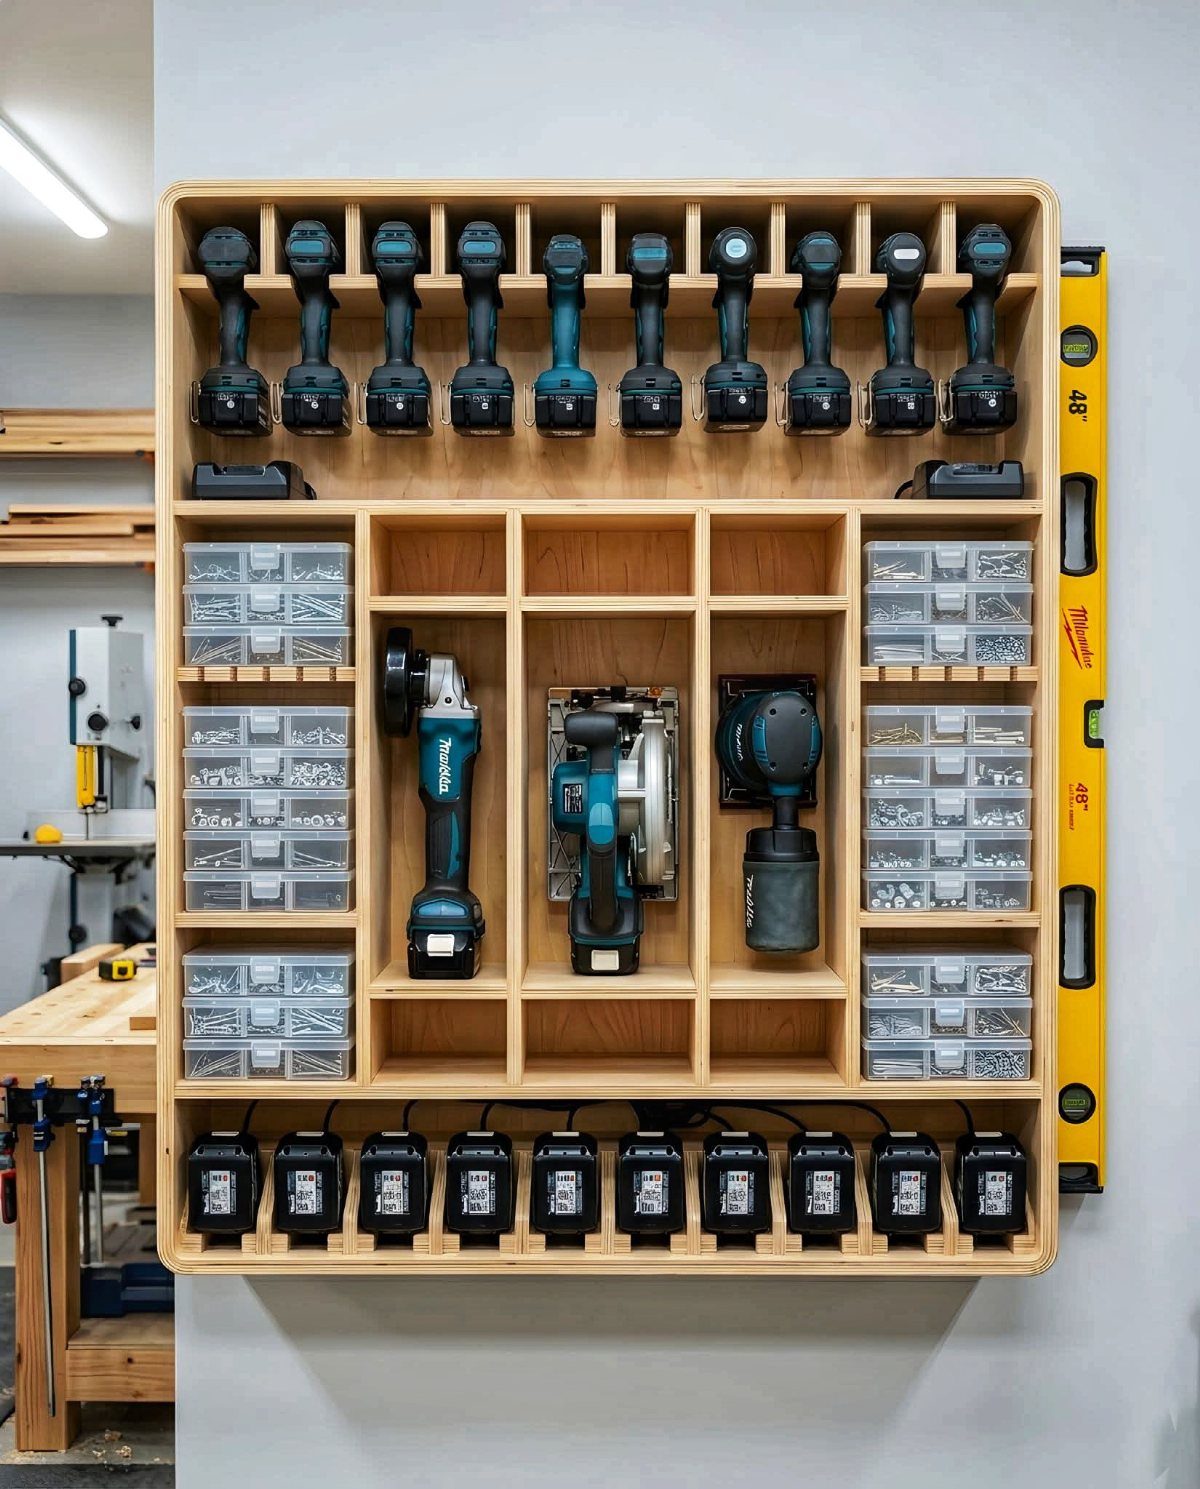
Cordless drills, batteries and small hardware bins each need a different kind of pocket, so plan the inside of the cabinet around what you actually own: a shelf or cradle for each drill, a slot for each battery, and a rail or cleat for the bins.
Build the layout last, after the box is done, so you can test-fit real tools.
Holders made from scrap plywood or 1x stock are cheap and easy to move. I would screw them in rather than glue them, so the layout can change when your tool kit does.
4. Hanging Wall Cabinet
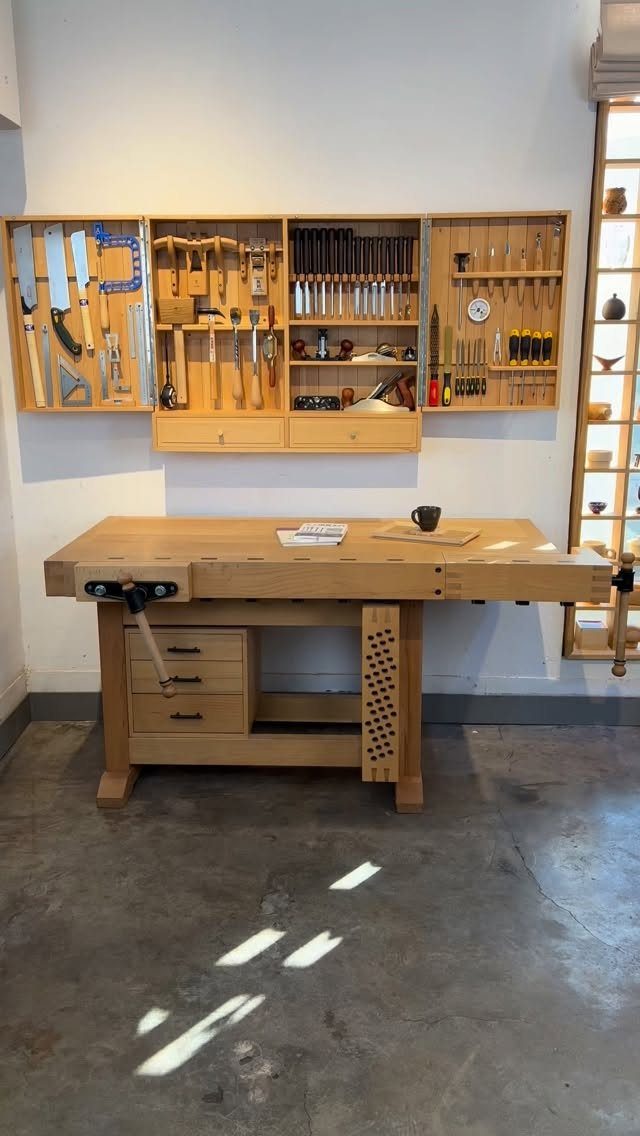
Floor space disappears fast in a one-car garage, and a wall-mounted cabinet gives it back. Hung right above the bench, it keeps chisels and planes within arm’s reach without taking up a square foot of floor.
Find the studs and drive screws into them, not drywall alone. A cabinet full of steel gets heavy quickly, so I would also keep the heaviest tools low.
5. Freestanding Tall Tool Cabinet
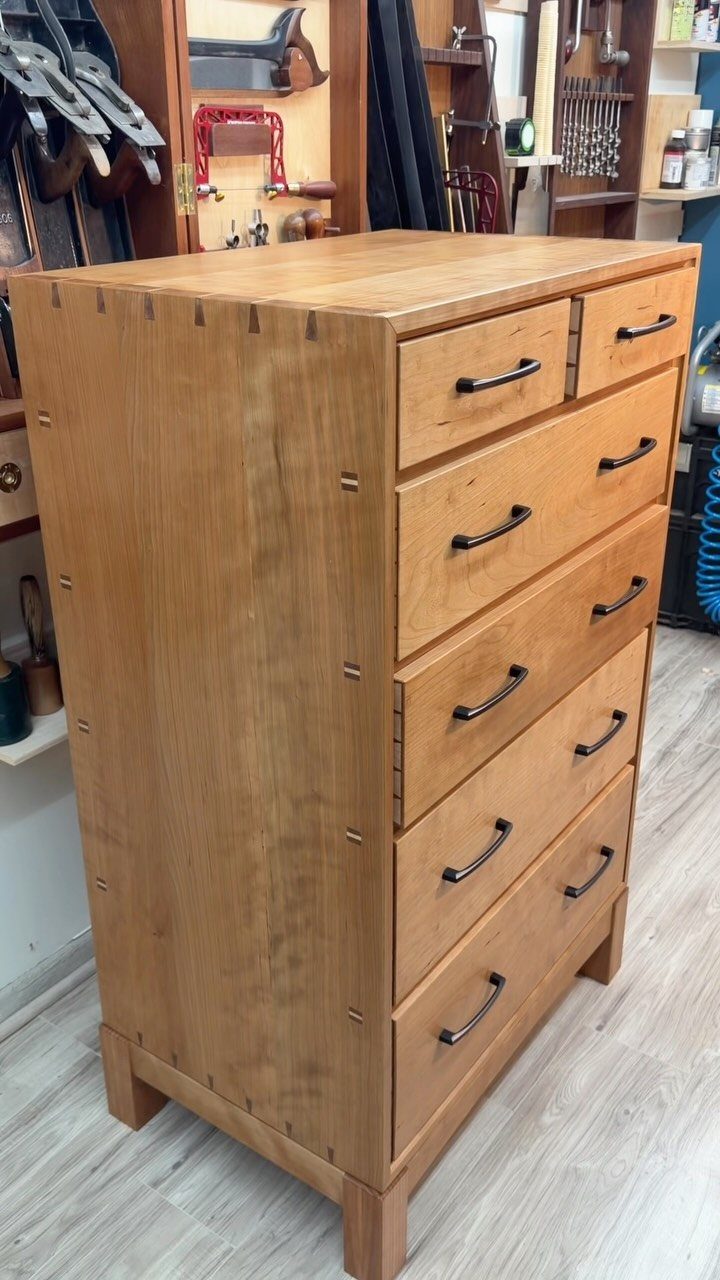
A tall, freestanding cabinet on 4 legs holds the most tools of any design here, and the drawers keep them out of sight and out of the dust.
Exposed joinery, like the kind visible here, doubles as a way to show off your skills.
Expect more lumber, more cutting and more time than a wall unit. Since it stands on the floor, it also needs a spot you are willing to leave it in for good.
6. Workbench Top Tool Chest
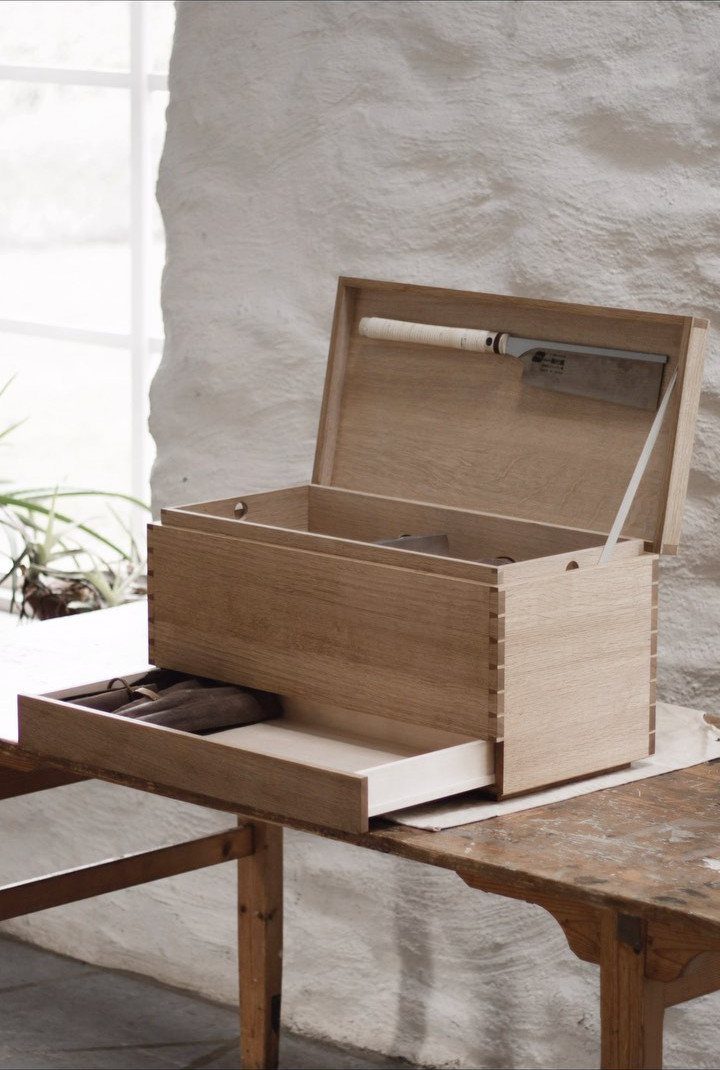
A small chest that sits right on the bench is the quickest build of the bunch, and an afternoon is realistic. A lid on top and a drawer below hold planes, chisels and other hand tools within easy reach.
The limit is capacity: it takes only a modest set of tools. I like it for a beginner’s kit or as a second, portable stash beside a bigger cabinet.
7. Dedicated Cordless Drill Station
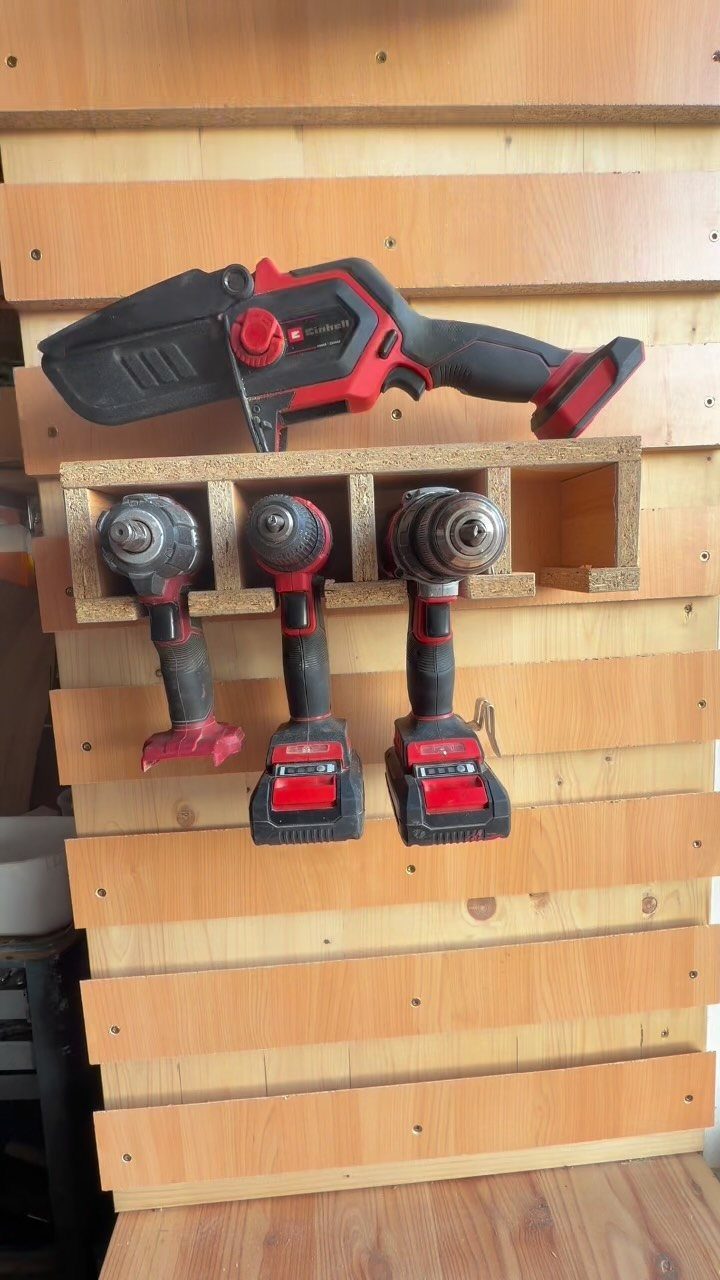
A drill station is a rack with one purpose: a dedicated slot for each cordless drill, with room beside them for a saw or another power tool.
Keeping them on a slat wall means each one has a home, so you can see at a glance which tool is missing.
Size every slot to the drill you actually own, since a loose fit lets tools slide and a tight one makes you fight to pull them out. Measure the body and the battery together before you cut.
I would build it as a small unit you can hang anywhere, which makes it a good afternoon project.
8. Mobile Tool Storage Station
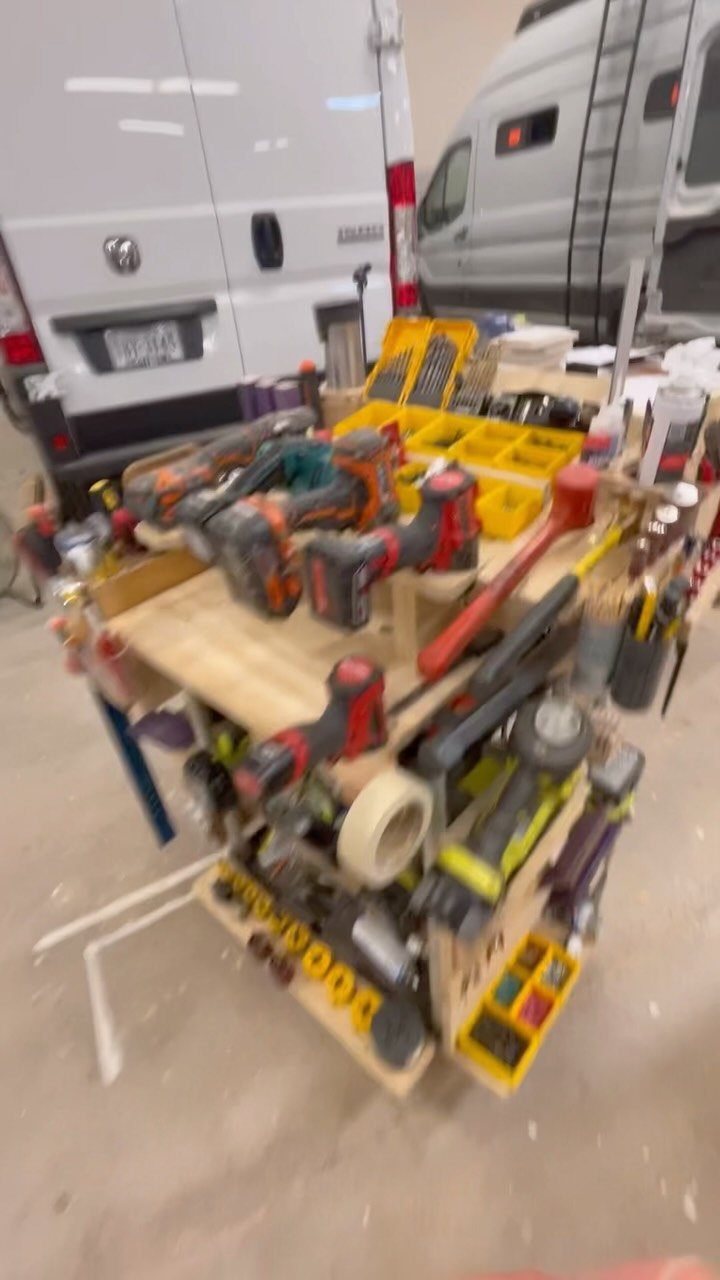
Rolling your tools to the job beats carrying them to it. A freestanding station on wheels can hold drills, saws and organizer bins together, so a garage with no spare wall still gets a full tool setup.
Plan the layout the way you would for any cabinet: drills on one side, saws on another, and bins within reach. Put the heaviest tools low so the station stays steady when you push it.
I would add locking casters, since a station that drifts while you work is a nuisance.
A rolling station takes up more floor than a wall rack, so measure the spot where it will park before you cut a single board.
Construction Techniques
Rabbets and dados give you strong joints with a plain table saw or router. A shelf seated in a dado can’t sag or slide, and a back panel set into a rabbet squares up the whole box.
Clamp every joint together dry first, because a gap or a tight corner is far easier to fix while the glue is still in the bottle.
Gaps show up fast at this stage, and a tight, well-fitted joint is what keeps a cabinet full of steel from racking over the years.
Cut every dado from the same setup so matching parts come out identical. Test the cut on a scrap of the same plywood first, since plywood is often a hair thinner than its label.
Finishing Options
Shellac and oil are both good choices for a shop cabinet. Shellac dries fast and gives a clear, warm look, while oil soaks in and brings out the grain.
Test whichever you pick on a scrap of the same wood first. Finishes look different on pine than on oak, and a scrap shows you the color and the sheen before you commit the whole cabinet.
Finish the inside, too. Bare wood gathers grime and dust, and a coated surface wipes clean.
Tool Organization Tips
Sort tools into groups by type, then by how often you reach for them. Chisels live with chisels, saws with saws, and the tools you grab every day claim the best spots.
Eye level is the best real estate in any cabinet, so give it to your most-used tools. Anything you touch only now and then can go higher, lower or into a drawer.
Before cutting any wood, mock up the layout.
Cut a piece of 1/4-inch foam core (plywood or cardboard works too) to the size of the cabinet, then pin your tools to it and move them around until the arrangement feels right.
I like to sort first and build second. A short list of the tools you truly need will keep the cabinet compact and organized.
Frequently Asked Questions
What materials are recommended for a woodworking tool cabinet?
Plywood and solid wood are the usual picks for durability. Plywood works well for the box, shelves and back panel, and scrap plywood or 1x stock makes cheap, movable holders for the inside.
Cut a test joint in a scrap piece before touching your good panels, because a sheet sold as 3/4 inch often measures closer to 23/32 inch.
Can I customize tool cabinet plans?
Yes, and you should. Lay out the tools you plan to store, then let the longest and widest ones set the depth, width and shelf spacing.
Driving screws instead of spreading glue keeps the inside flexible, so you can move holders around as your tools change, and a few empty inches now will hold whatever you buy next.






