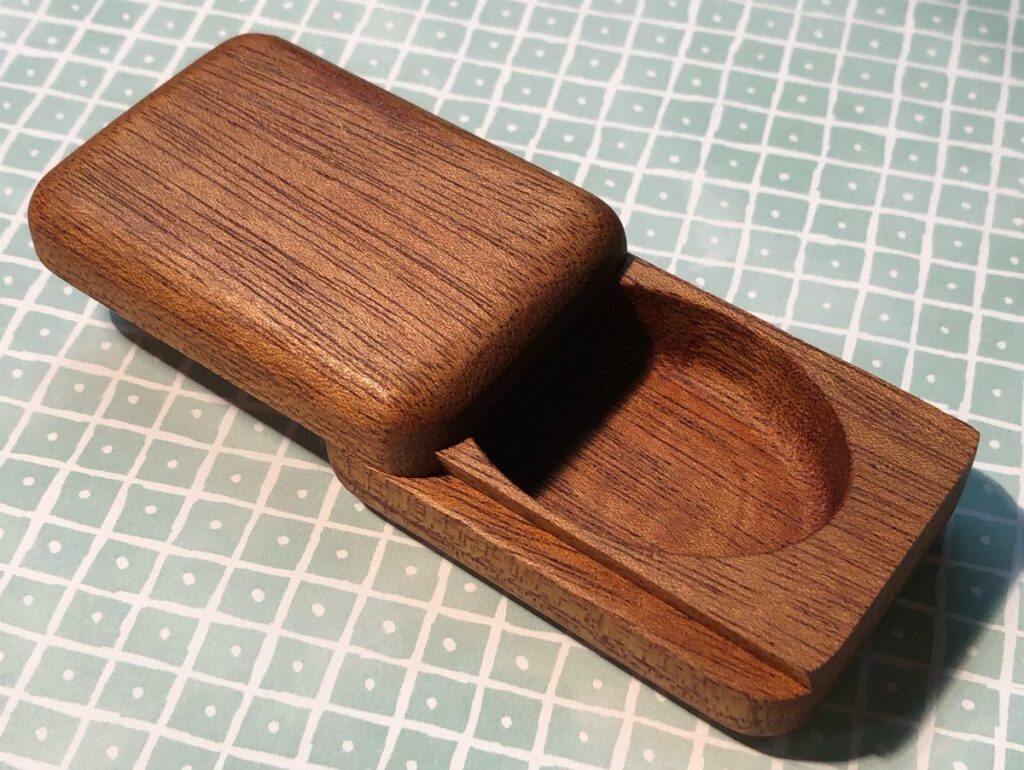
Hardware sets the price: the Sliding Lid Box needs only 2 grooves cut with a saw or router, while the metal latch on the Wooden Storage Box can run as much as the lumber itself.
Most boxes in this list run under $20 and take 1 to 3 hours, with the round pill box sitting at the slow end because it has no flat sides to clamp.
Decide how the lid will close before you shop, then buy the wood to suit that choice.
1. Simple Wooden Box
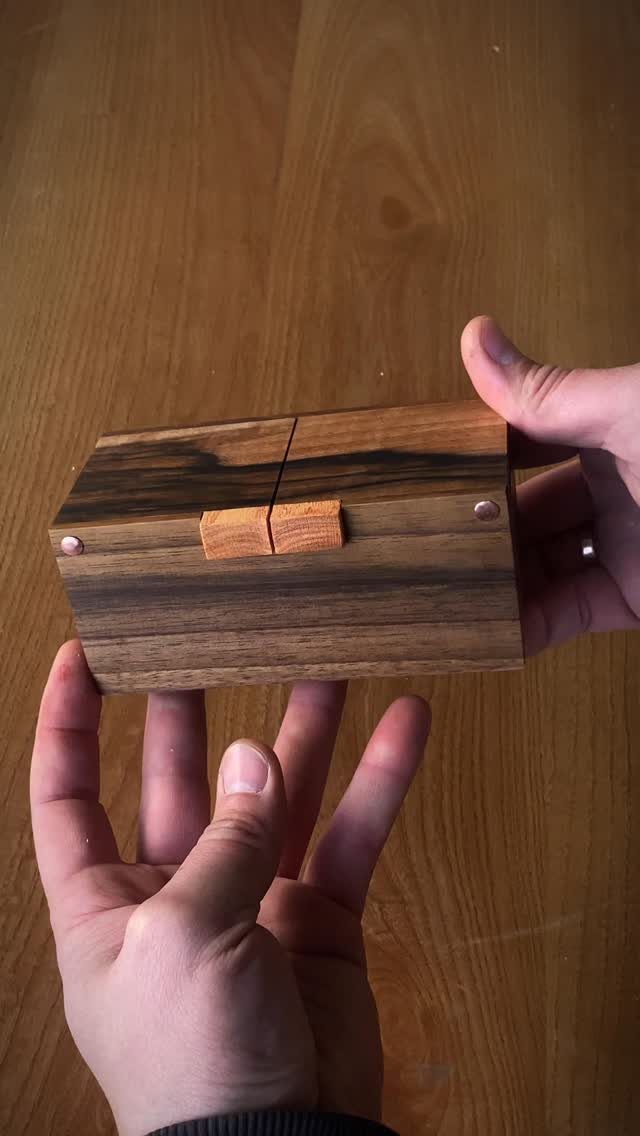
A dark-grained box with a light toggle closure is a good first build because the contrast does the decorating for you.
Cut the body from one dark board, then make the toggle from a scrap of pale wood so the grain pattern stays simple.
Keep the box small enough that a single board covers it, and the cost stays low while the build stays quick. Square corners and a lid that sits flush teach more than any fancy joint would.
2. DIY Jewelry Box
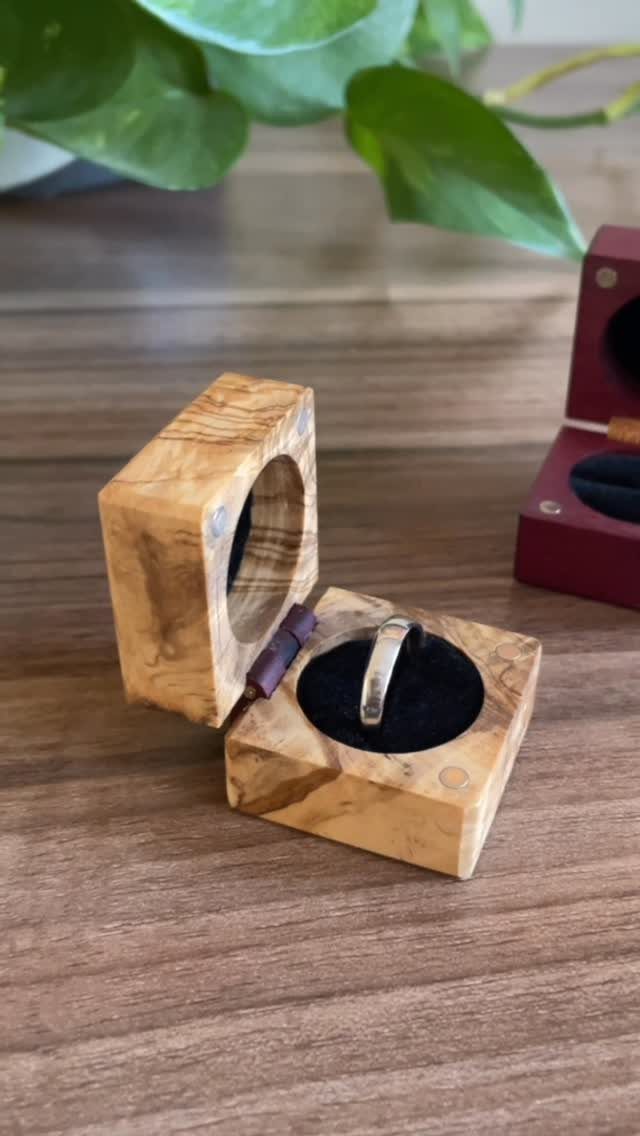
Jewelry boxes reward small size. A square box with a lid, sized for rings and earrings, takes very little wood, so a nice board you would hesitate to cut for a larger project becomes affordable here.
Olive wood has a lively grain, but any hardwood scrap gives a similar look.
Sand the inside smoother than you think you need, since metal jewelry snags on rough spots. Felt glued in the bottom is a cheap add-on if you want it.
3. Sliding Lid Box
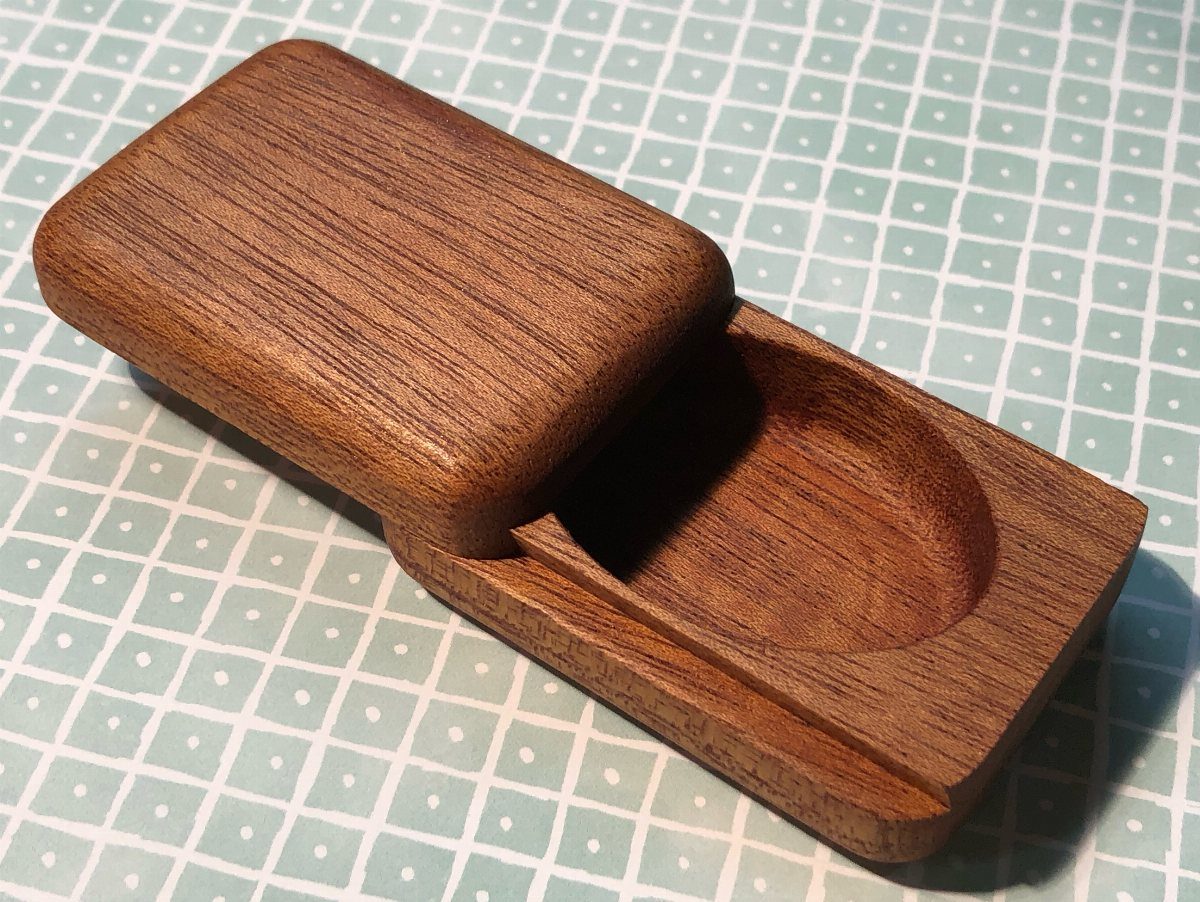
Sliding lids skip hinges entirely, which is why I like them for beginners. Hardware stays out of the budget, and the whole mechanism is a pair of grooves.
Cut the grooves in the side walls first, then size the lid to match.
Test the fit often and take off wood in thin passes, because a tight lid can be sanded looser but a loose one cannot be fixed. A little wax on the edges helps it glide.
4. Wooden Pill Box
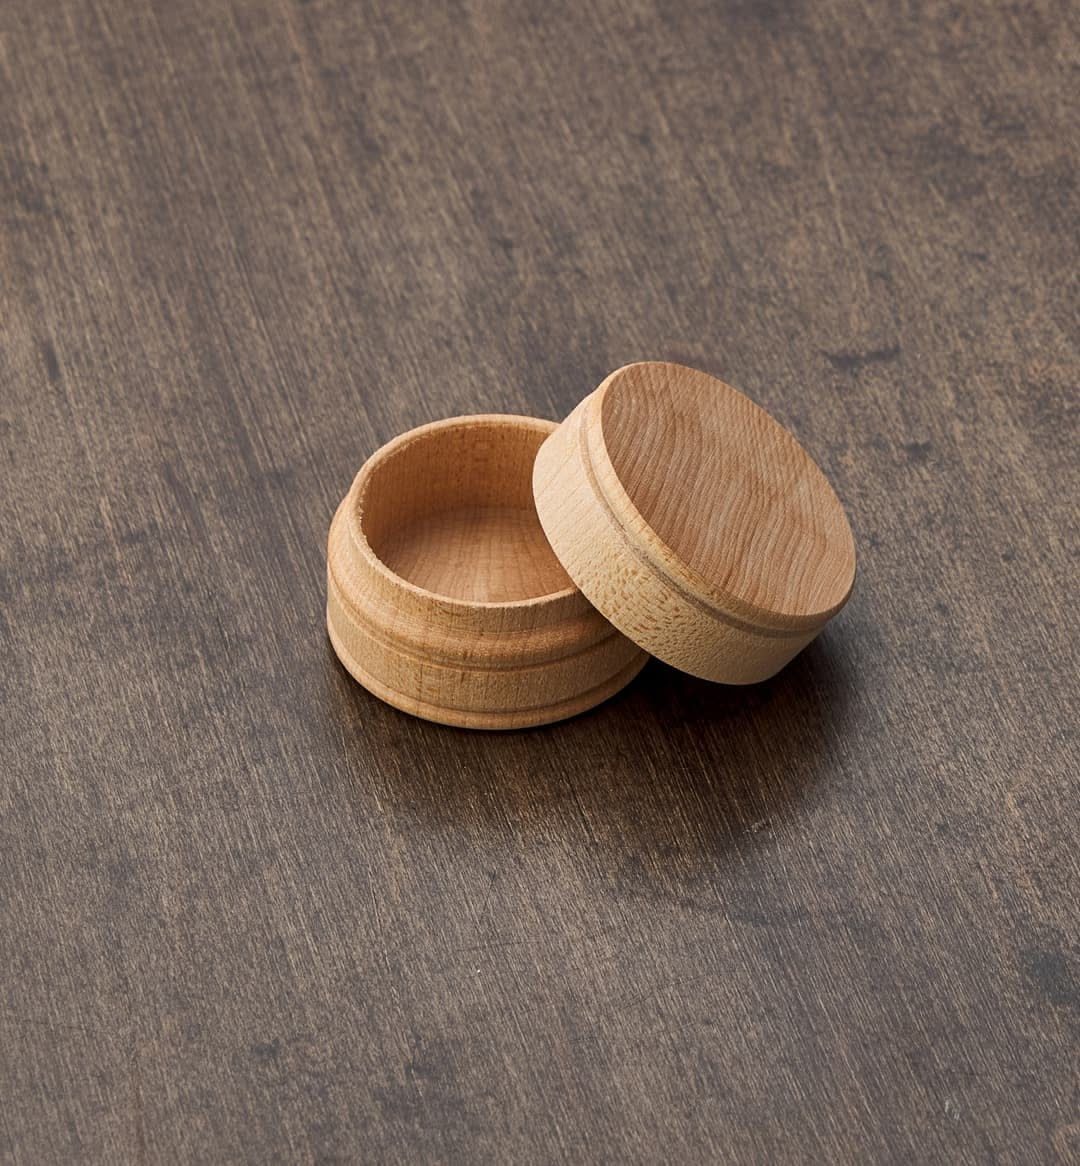
A round pill box asks for more patience than a square one, since there are no flat sides to clamp and check.
Cut the body and lid from the same piece of wood so the grain lines up when it closes.
Keep it palm-sized, and sand the rim of the lid and body until they meet without a gap. Round work is slower, so give it the full 3 hours rather than rushing the fit.
5. Wooden Storage Box with Metal Latch
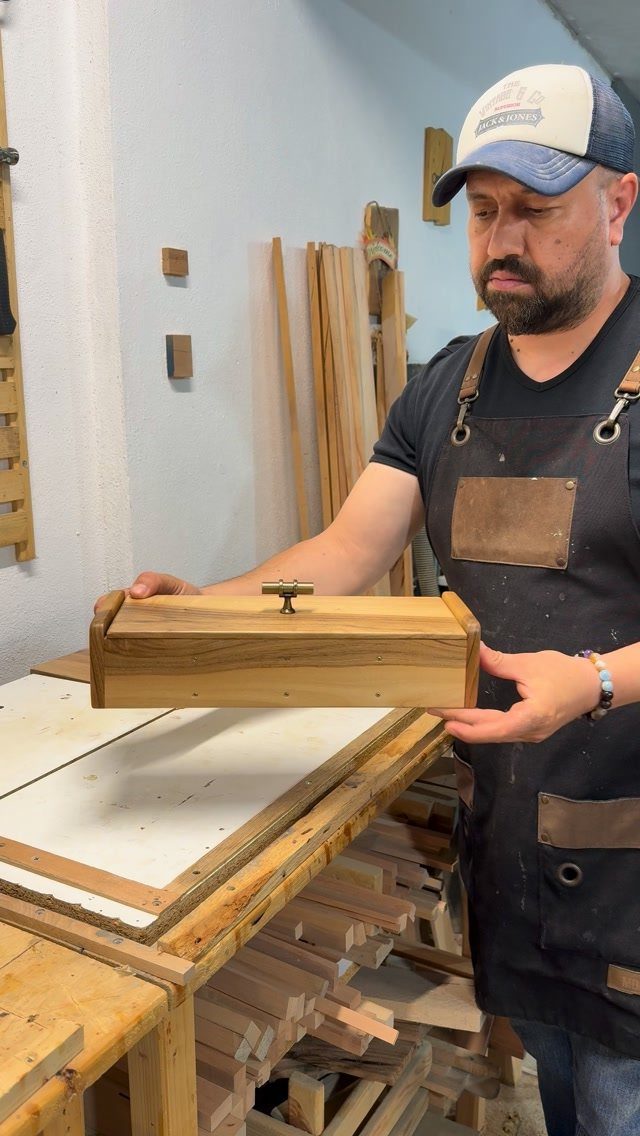
A small metal latch makes a plain wooden box look finished. Choose a latch sized to the box, since an oversized one looks clumsy and pulls on thin wood.
Mark the screw holes with an awl and drill small pilot holes first, so the wood does not split.
Mount the latch last, after sanding and finishing, so the metal stays clean. Latches add to the cost, so check the price before you commit to one.
Basic Woodworking Techniques
3 skills carry almost every small box: cutting square, joining cleanly, and finishing smooth. Practice them on scrap before you touch the good board.
A table saw makes repeatable cuts easy, and repeatable matters more than fast. Cut every matching piece at the same saw setting so the sides come out identical.
Rabbets and miters are the 2 joints worth learning first.
A rabbet gives glue a large surface and hides the end grain of one piece; a miter hides it on both, but needs accurate angles. Rabbets are the more forgiving of the two.
Finishing starts with sanding, working up through the grits, and ends with a coat you can wipe on in minutes.
You end up with something handsome and useful while honing several woodworking skills along the way. Here’s a simple box that will let you perfect rabbets, miters, and precise and repeatable cuts on your table saw.
Materials and Tools
For a small box, solid lumber in 1×2 or 1×1 sizes works well for frames and trim, and 1/4" plywood suits panels like the bottom. Plywood stays flat, which saves you from fighting a warped piece.
Wood glue does most of the holding.
Hardware is optional on a small box: a pair of hinges, a few screws and a latch earn their spot only when the design needs them, and plenty of boxes look better without any.
One plan I like to point to builds a 16x10x8 cm box, which is a handy size for keepsakes or craft supplies. Whatever size you choose, write out a cut list before you saw anything.
For tools, a saw, clamps, and sandpaper cover the basics.
Project Cost and Time
Most of these boxes cost under $20 and take 1 to 3 hours. That makes them a good fit for an afternoon.
Wood is usually the biggest line item, so check your scrap pile before you buy anything. Hardware adds up fastest: a latch or a pair of hinges can cost as much as the lumber.
Plan your time around glue. Clamping and drying happen while you wait, so cut and sand everything first, glue up, and save finishing for when the joints are set.






