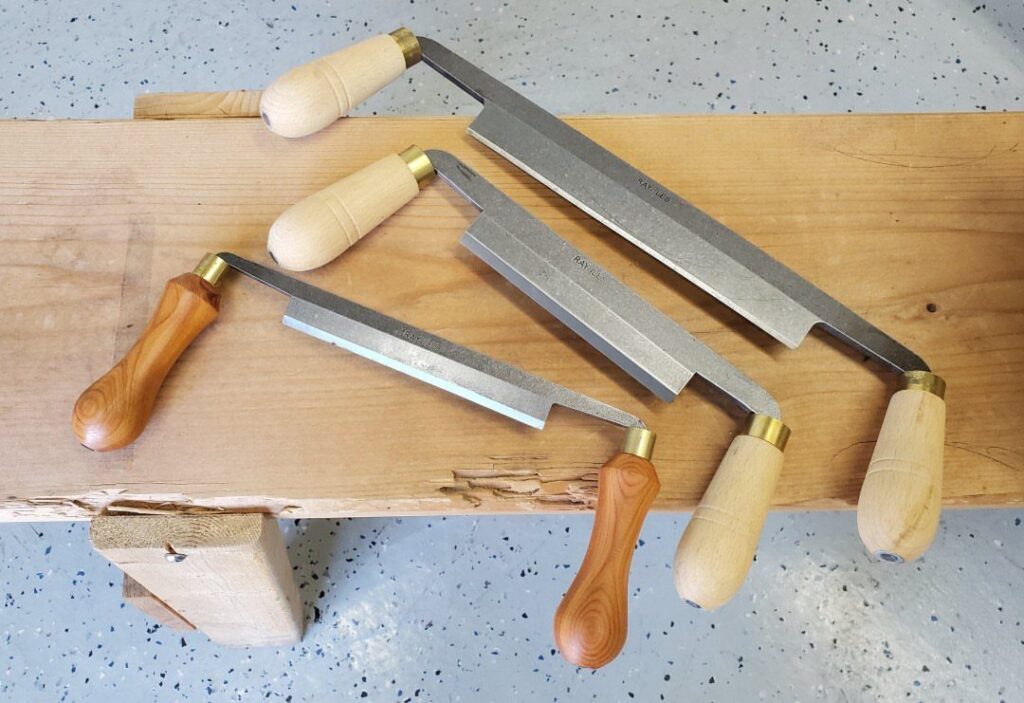
Space sorts these 6 green woodworking tools faster than money does, since a sloyd knife rides in a pocket while a pole lathe wants a spot outdoors.
A drawknife is the tool I’d buy first, and a shave horse built from scraps keeps the shavings on the grass instead of a shop floor.
1. Drawknife
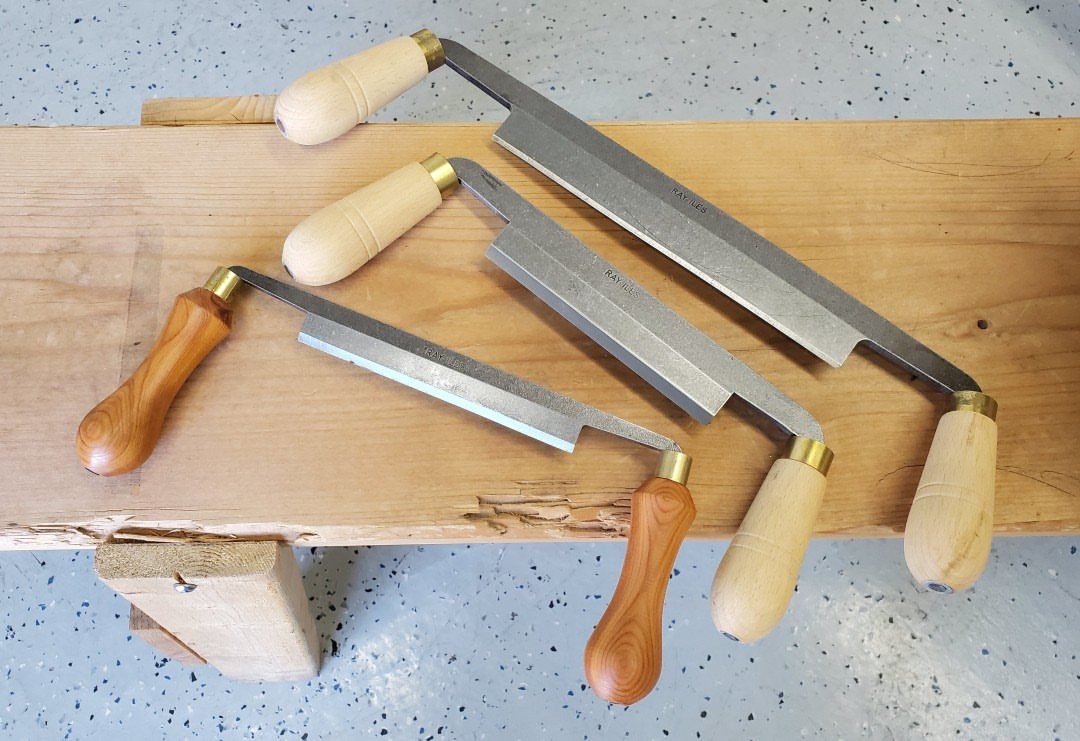
A drawknife is two handles and one blade, pulled toward you to peel wood off a board or a branch.
It’s the tool I’d buy first for green woodworking, since it removes stock fast and needs no power, plug or dust collector.
Handle material is mostly a comfort call, so pick whichever feels best in your palms. Keep the blade sharp, because a dull one tears the wood instead of slicing it.
2. Shave Horse
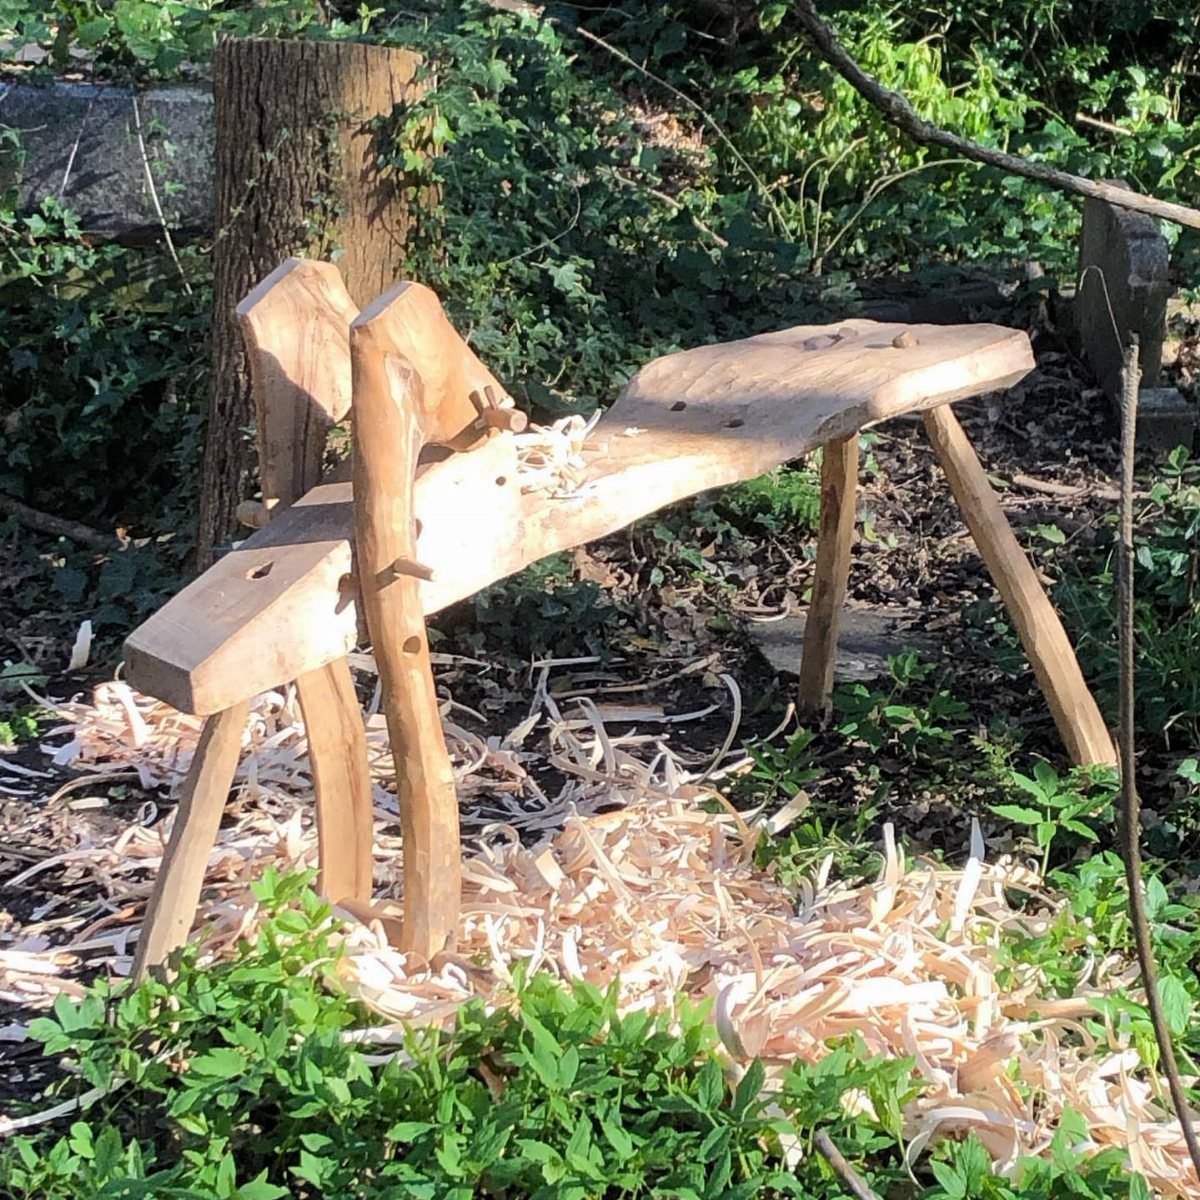
Hold the wood first, then shape it. A shave horse does that with a foot-operated clamp, so both hands stay free on the drawknife while your leg does the gripping.
For a small space or budget, this is a bench you can build yourself from scraps. I like setting one up outdoors, where the shavings can simply stay on the grass and not on a shop floor.
3. Crook Knife
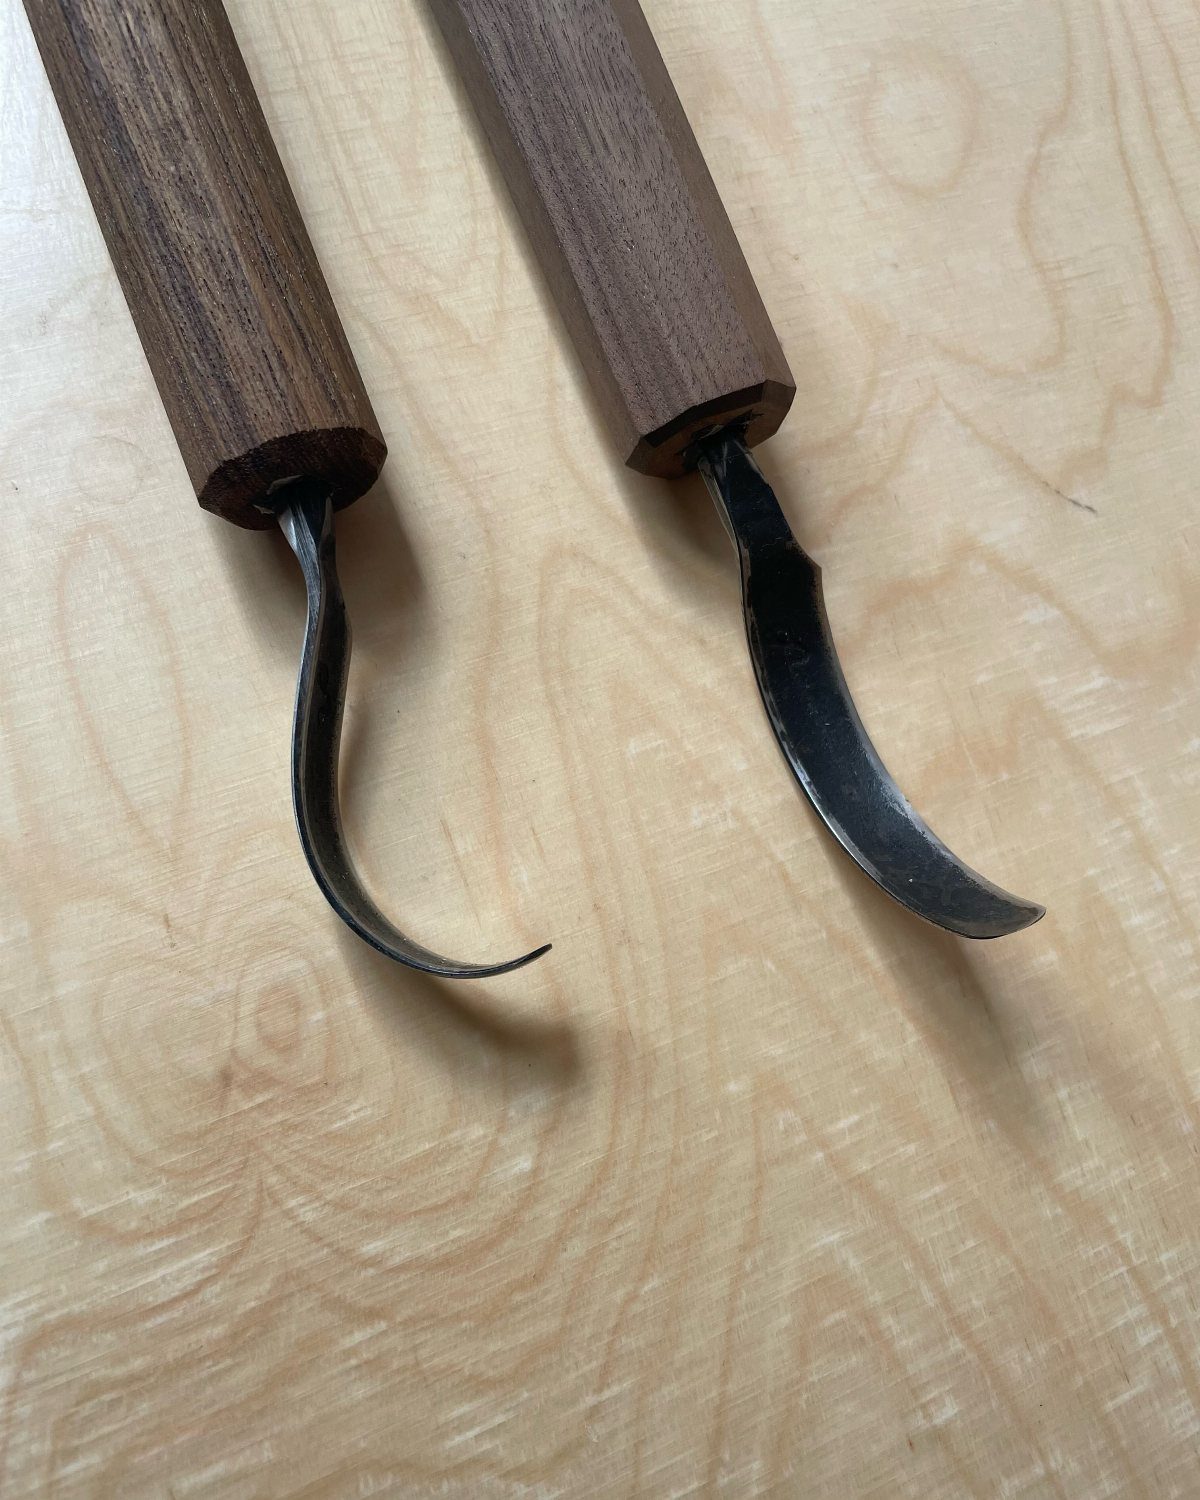
Hollowing a spoon or bowl is where a crook knife earns its spot. The curved blade scoops out the inside of a piece, working in spots a straight knife can’t reach.
Pull the blade toward you in short, controlled strokes. It’s a specialized tool, so I’d add one after you own a straight knife, not before.
4. Foot Powered Pole Lathe
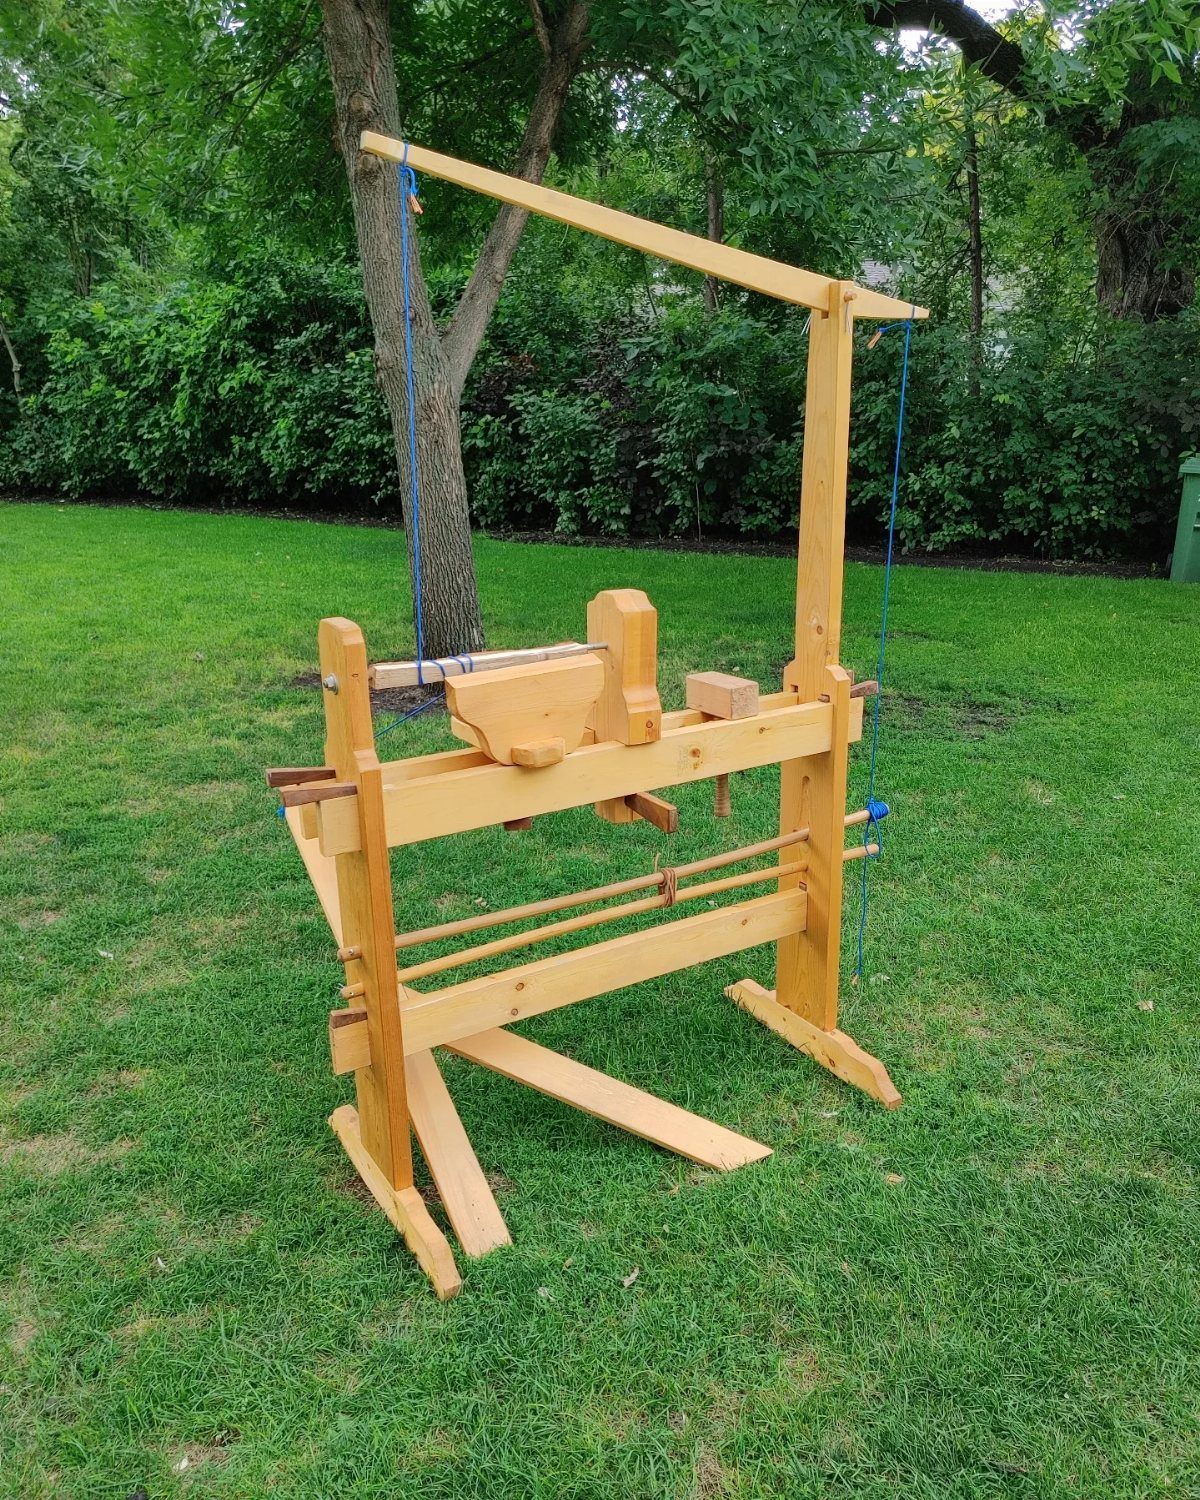
Turning wood without a motor sounds like a stretch until you see a pole lathe: your foot drives it, and the whole machine runs on muscle and timber. Setting one up on a lawn keeps the mess outdoors.
It takes more room than a bench tool, so it suits makers with a yard. Turning on a pole lathe goes at human speed, so a single spindle takes a good while longer than it would on a motorized lathe.
5. Carving Axes and Hatchets
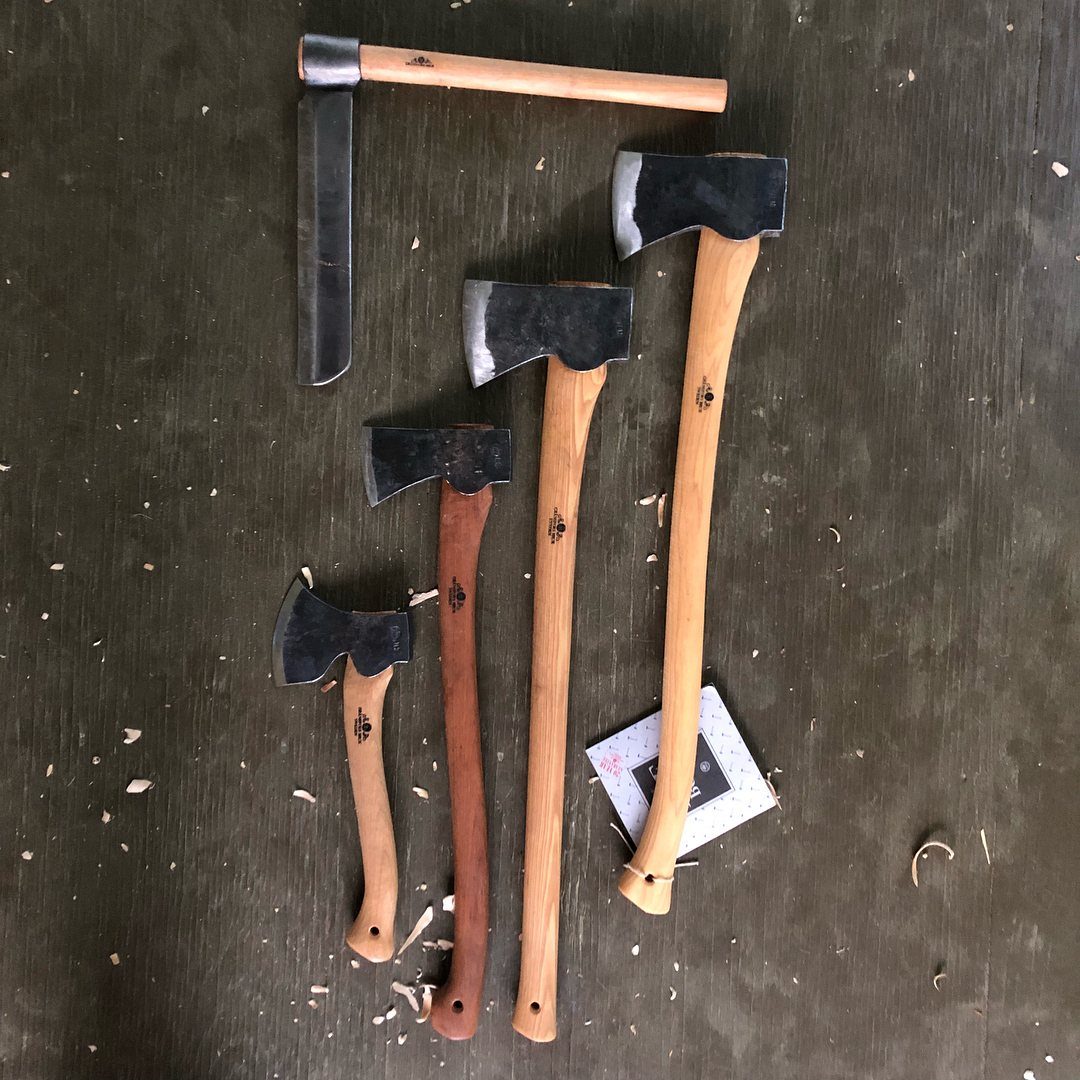
Carving axes and hatchets come in different sizes, and that range matters. A larger head removes bulk from a log quickly, while a smaller hatchet gives finer control for detail work.
If you can afford only one, I’d start with a smaller hatchet. Its lighter weight is easier to steer.
6. Straight Carving Sloyd Knives
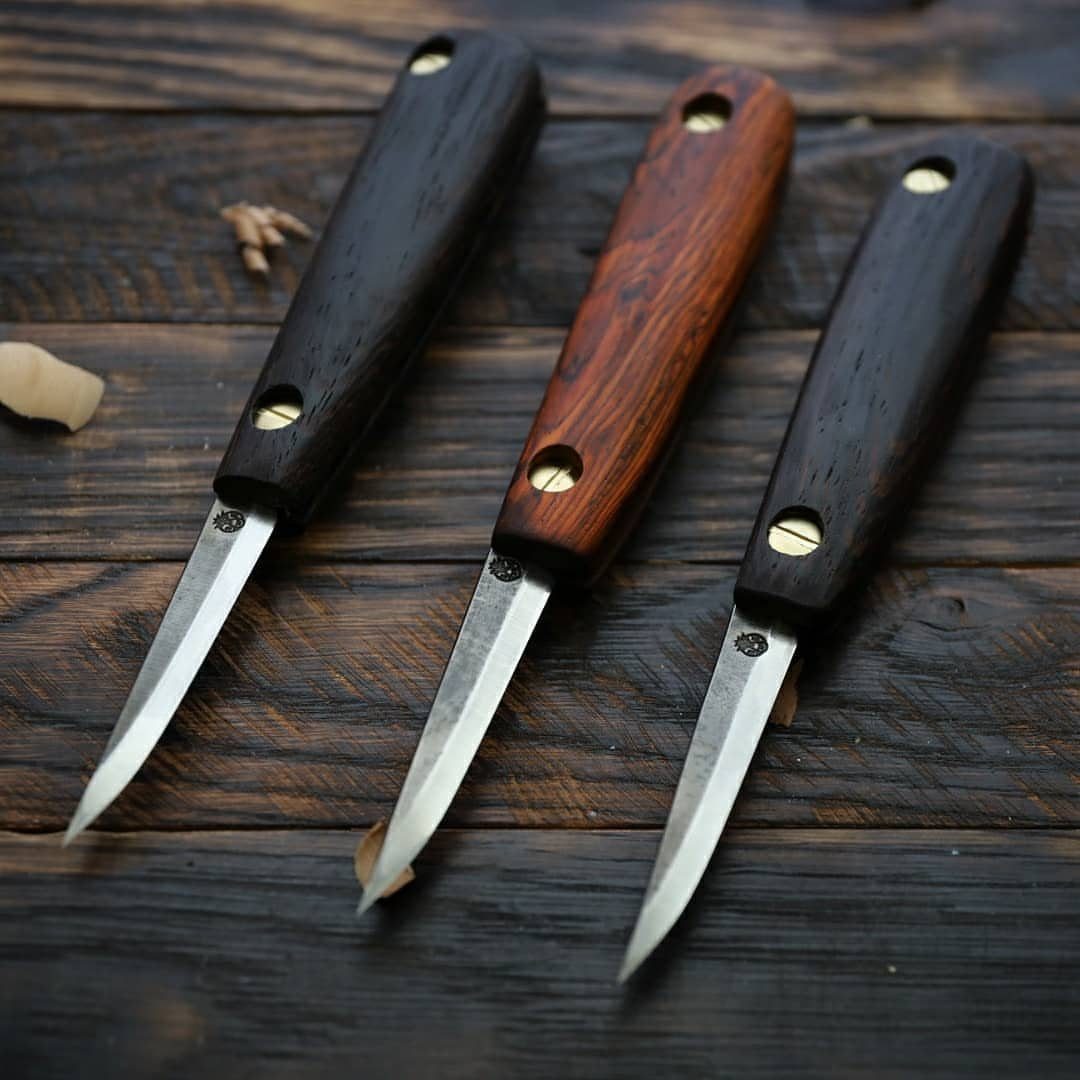
A straight sloyd knife is the everyday carver: a plain blade, a wooden handle, and enough control for whittling, trimming and fine cuts.
Of every tool on this list, it’s the one that fits in a pocket and costs the least.
Learn it before moving on to the curved knives or axes. Keep it sharp, and your cuts will stay clean.
Advantages of Green Woodworking
Green wood is softer and more flexible than seasoned wood, so it takes less effort from your arms and wears down your edges more slowly.
Freshly cut wood cuts easily, but it stiffens as it dries, and left long enough it only suits the fire pit.
Wood dries slowly in ordinary air. You can stretch that window further by sealing the ends and keeping the piece out of open air between sessions.
Drying also hardens wood and shrinks it. Plan for that shrinkage in your design, since a joint or a fit can be made to tighten as the piece dries.
Green Woodworking Techniques
Green woodworking starts with cleaving, which just means splitting. Green woodworkers split the log along its grain rather than sawing across it, which is why "cleft" turns up in nearly every description.
A log can be cleaved in one of 2 ways. In radial cleaving, the split follows lines from the center of the end grain out to the bark, the way spokes run from a wheel’s hub.
After splitting come hewing, shaving and lathe turning, all done with traditional hand tools. I’d learn them in that order, because each step prepares the piece for the next.
Personal Satisfaction
Green woodworking is slower than modern methods, and a finished piece will take you more hours. I think the trade is a fair one.
Every step stays in your hands, from the standing tree to the finished piece, and the only tools involved are hand tools and what you know how to do with them.
Working this way also leaves a small footprint, and that adds to the satisfaction.
What you learn along the way stays with you, and it makes the next project easier to plan.
You don’t need to own woodland to be a green woodworker, just access to ‘green’ wood, some working space and a selection of tools.






