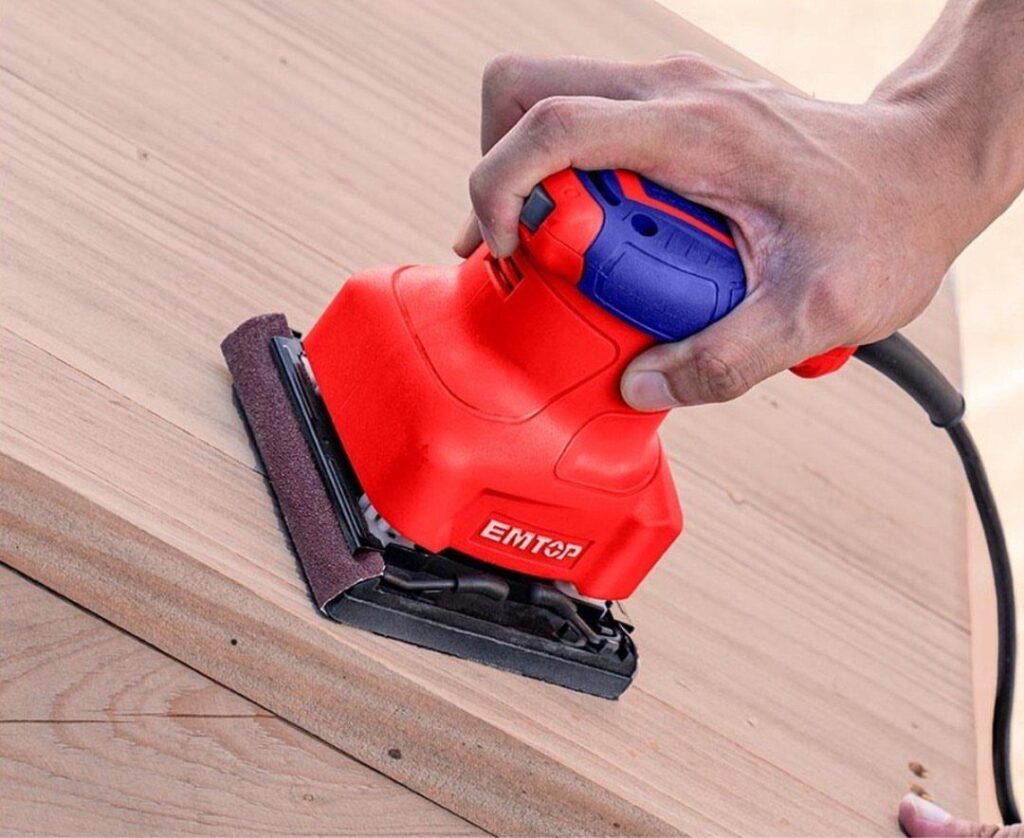
Which of these tools earns your first purchase depends on what you plan to build, and the sander, drill and jigsaw cover the most ground for the least money.
A sander or a cordless drill covers nearly every project, while a miter saw, which "costs more than most hand tools," only pays off when you need repeatable crosscuts for frames, shelves and trim.
1. Sander
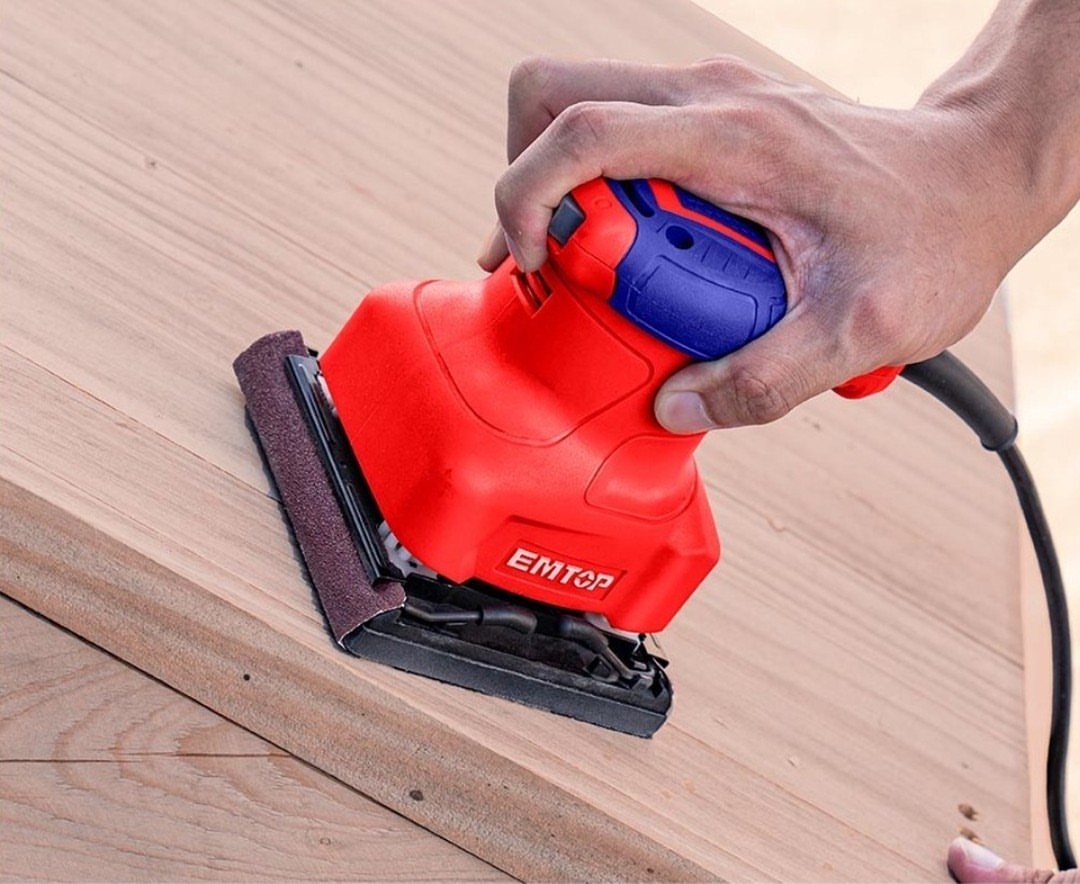
Smoothing is the job an orbital sander does best, and it’s the first electric tool I’d put in a budget kit. Rough boards go to finish-ready in minutes instead of an afternoon of hand sanding.
Start with a coarser sandpaper, move to a finer one, and keep the pad flat so it doesn’t gouge the surface. Let the machine’s weight do the work; pressing harder only leaves swirl marks you’ll see once stain goes on.
Wipe the dust off before changing grits, or the old, coarse grit gets dragged around under the new paper.
2. Cordless Power Drill
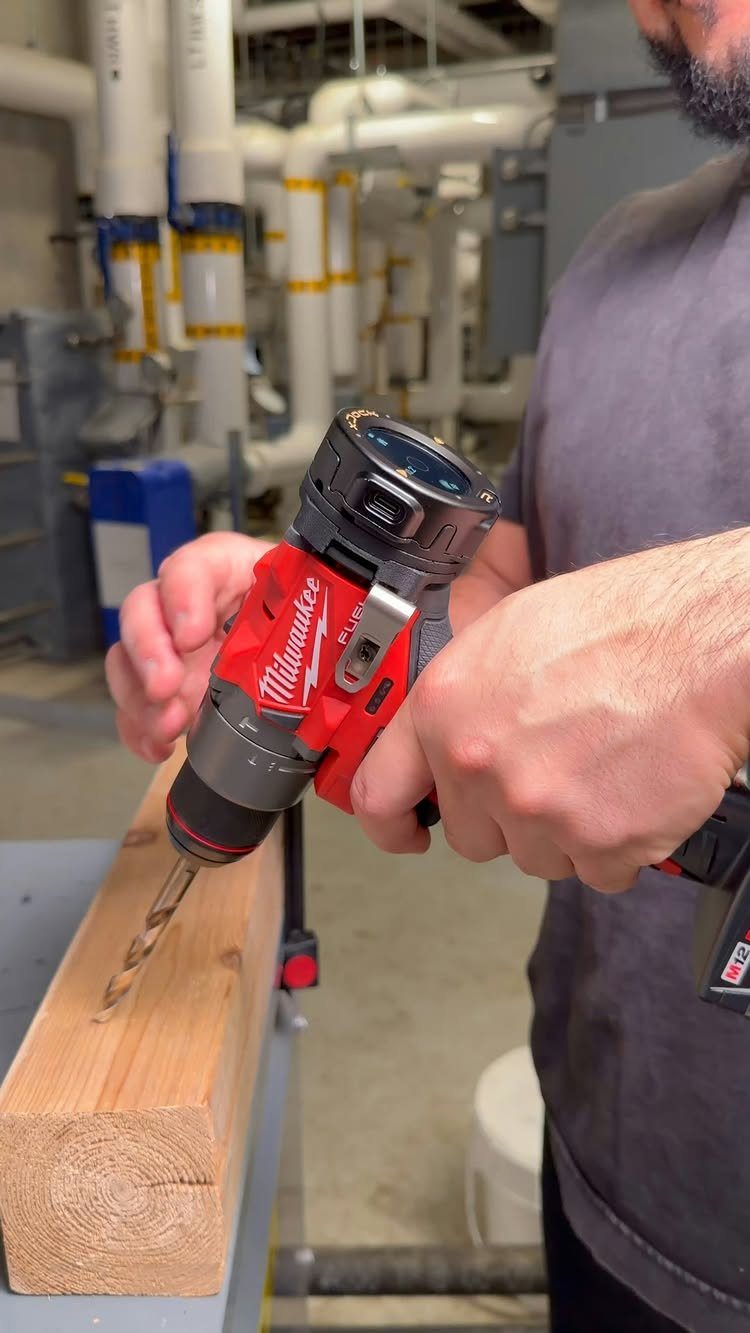
A cordless drill earns its spot because it goes anywhere: no cord to snag, no outlet to hunt for. Boring through a thick beam is where you feel the difference between a weak drill and a solid one.
For thick stock, pick a drill with enough torque and keep the bit square to the wood. Back the bit out now and then to clear chips, or it heats up and wanders.
Buy one with a spare battery if your budget allows. Running out of charge mid-project is the most common way a drill ruins an afternoon.
3. Electric Jigsaw
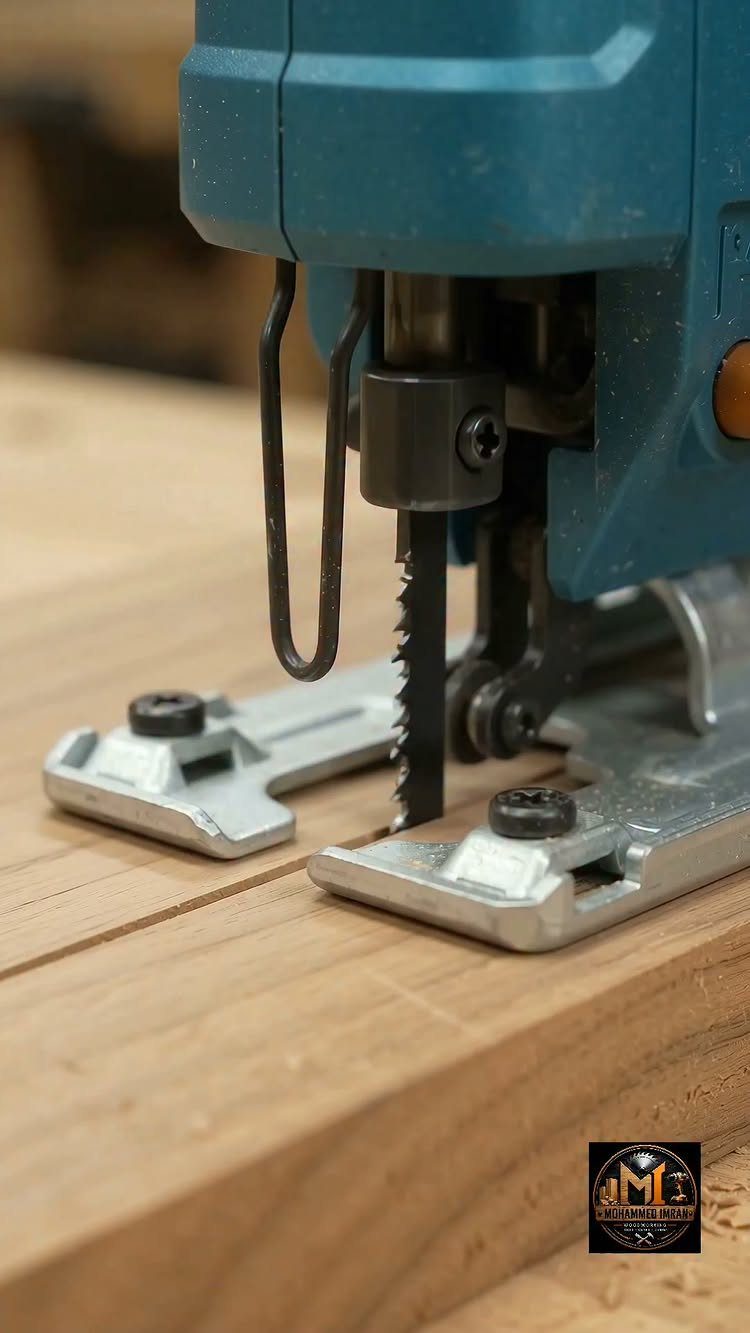
Curves are why a jigsaw belongs in the shop. A straight cut is easy enough, but this saw also follows scrolls, circles and cutouts that a miter saw can’t touch.
Clamp the board so the cut line hangs past the bench edge, and let the blade reach full speed before it meets the wood.
Guide the saw gently instead of forcing it; a pushed blade bends and leaves a slanted edge.
Pick a fine-tooth blade for cleaner cuts in finish work. Rough cuts are fine for hidden parts.
4. Oscillating Multi-tool
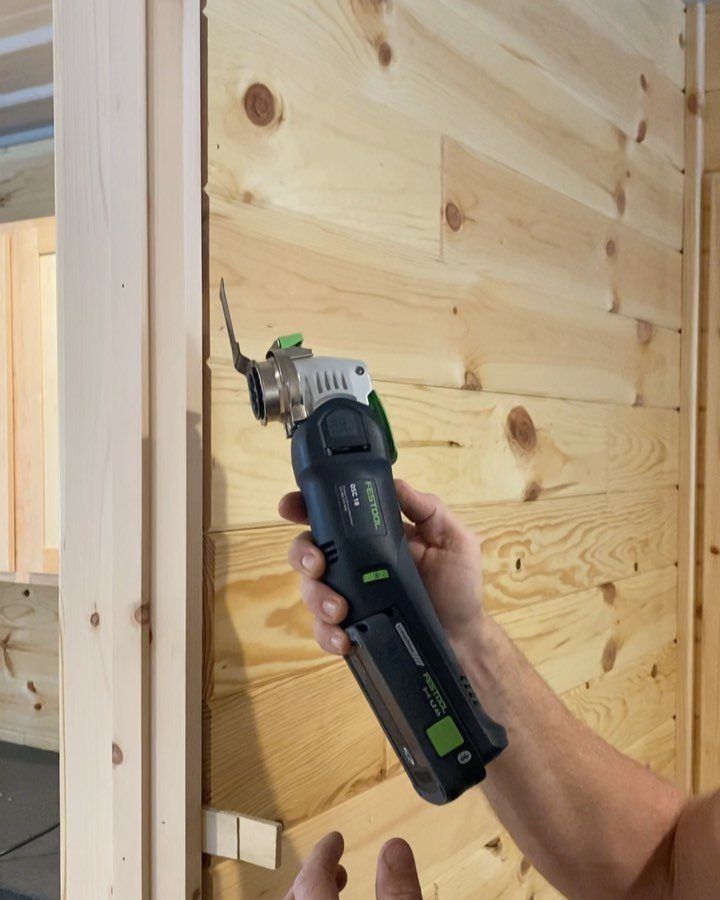
Few tools reach where an oscillating multi-tool does. Its small, vibrating blade trims against a wall or plank, cuts flush to a surface, and slips into spots a full saw can’t enter.
A cordless version is handy for trim and repair work, since you aren’t dragging a cord around the room. Hold the blade flat against the surface and let it cut at its own pace.
I’d buy this one after the drill and saw. It does many small jobs well, but it won’t replace a dedicated saw for long cuts.
5. Miter Saw
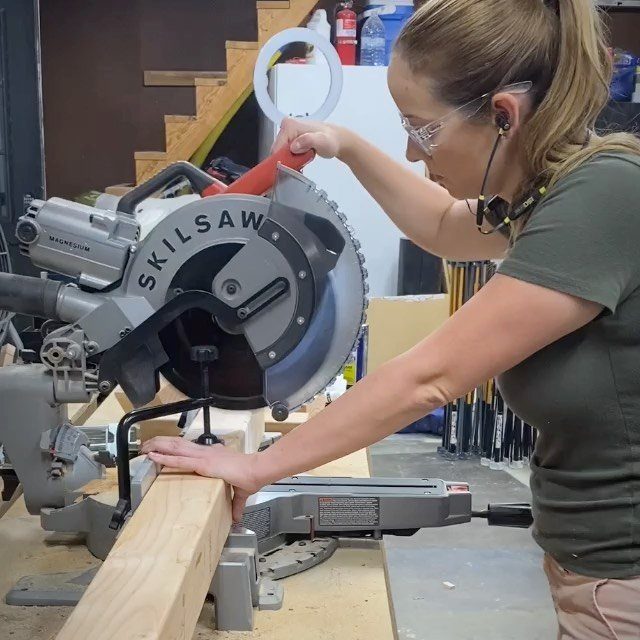
Repeatable, accurate crosscuts are the whole reason to own a miter saw. Set the angle, drop the blade, and every piece comes out the same length, which matters for frames, shelves and trim.
Wear safety glasses, as you should with any saw, and keep your free hand well clear of the blade path.
A miter saw cuts cleanest when the blade is already spinning at full speed as it meets the board, so squeeze the trigger, wait a beat, and bring the head down in a slow, steady motion.
Mark your line, line the blade up on the waste side, and cut. A miter saw costs more than most hand tools, but it’s the one that makes joints close tight.
6. Electric Hand Planer
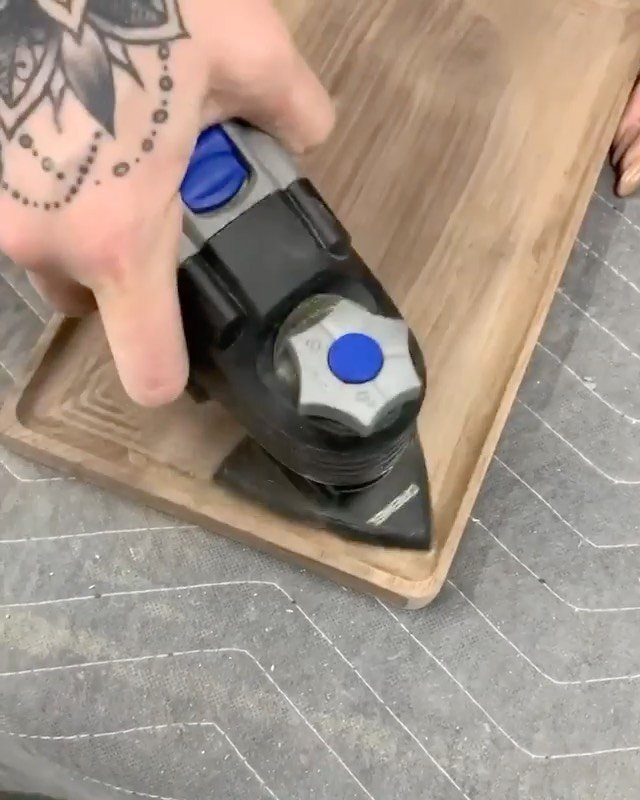
Flattening a rough board by hand takes forever, and an electric hand planer does it in a few passes. It shaves thin layers, so you can level a surface, trim a high edge or fit a door.
Keep the front of the planer firmly on the wood as you start, then glide through the full length of the board without stopping. Stopping mid-pass digs a dip.
Take shallow cuts, not deep ones. You can always remove more, but you can’t put wood back, so go slowly and check often.
Choosing the Right Tools
Start with the project, not the tool aisle.
A single bookshelf or picture frame asks for far less than a deck or a set of cabinets, and a short project list tells you which one or two tools to buy first.
Corded and cordless each have a clear job. Corded tools run as long as you need and usually cost less for the same power, so they suit a fixed spot in the garage.
Cordless tools win on freedom, but batteries add to the price, and it helps to stay with one brand so the packs fit everything.
Set a budget before you shop, then spend the most on the tool you’ll use on every project. Cheaper picks are fine for jobs you’ll do once or twice a year.
Safety Precautions
Protective gear comes before the first cut. Safety glasses and hearing protection are the baseline, and a dust mask matters any time you sand or cut, since fine wood dust is easy to breathe in without noticing.
Read the manual for each tool before you plug it in or snap in a battery. It covers the guard settings, blade changes and limits that no general rule can.
A few habits are worth building:
- Unplug the tool or remove the battery before changing a blade or bit.
- Skip loose sleeves, dangling jewelry and open hair near moving parts.
- Secure the workpiece with clamps so both hands stay on the tool.
- Keep the work area clear and well lit.
If you feel tired or rushed, stop for the day. The project will wait.
Tool Maintenance
Regular upkeep is what keeps a tool cutting well for years, and most of it takes only a few minutes. Wipe off dust and resin after each session, and clear the vents so the motor doesn’t overheat.
Check for wear before you start. Look at power cords for nicks, inspect blades and bits for dull or chipped edges, and replace anything that looks tired, since worn parts push you to force the cut.
Store tools somewhere dry so metal doesn’t rust, and keep batteries out of extreme heat or cold. Give each tool a quick look-over every few uses, and a small problem rarely turns into a costly one.
Frequently Asked Questions
What is a handheld power tool?
Any compact tool you hold and steer with one or both hands while a motor does the work counts, whether it plugs into a wall outlet or runs off a battery pack.
Sanders, drills, jigsaws and hand planers all fit. Carpentry, metalworking, construction and repair work all rely on them.
What is the difference between a hand tool and a power tool?
Power tools are faster, more precise and more repeatable than traditional hand tools. They handle cutting, sanding and drilling with far less effort.
A random orbit sander can take a rough-sawn board to a surface ready for stain in about 10 minutes, a job that would eat most of an afternoon with sandpaper and a block.






