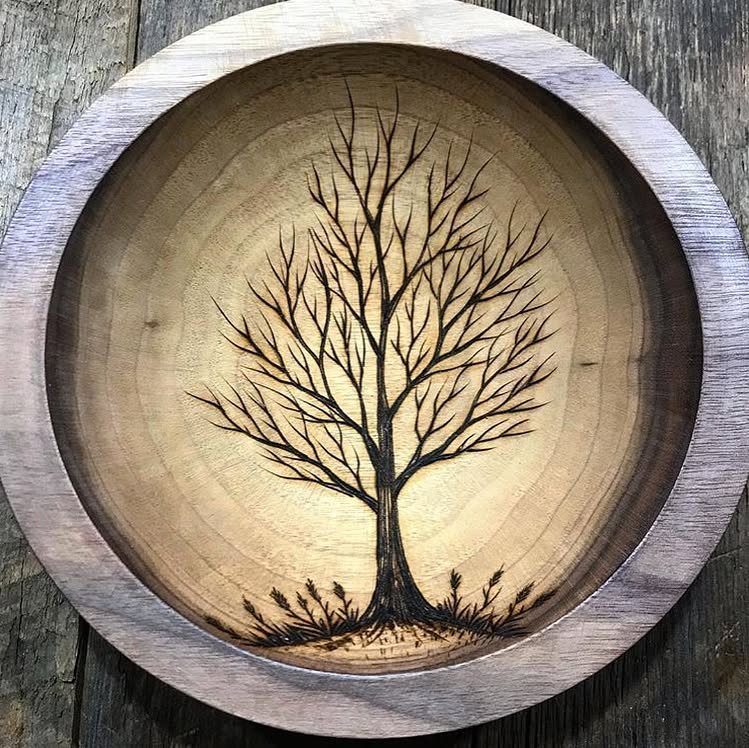
Your wood decides the pattern more than your skill does: pale slices like pine give evergreens strong contrast, a curved bowl wall calls for a bare tree, and a dark night scene with birch trunks works because the burn does the work of the sky.
The 5 ideas run from a single bird on a branch to a field of thin pine needle strokes, with a leafless tree inside a bowl and a cabin among birch trees needing the most patience and a fine tip.
Pick the surface first, whether that is a round slice or a bowl, then match the pattern to it.
1. Bird on a Branch Design
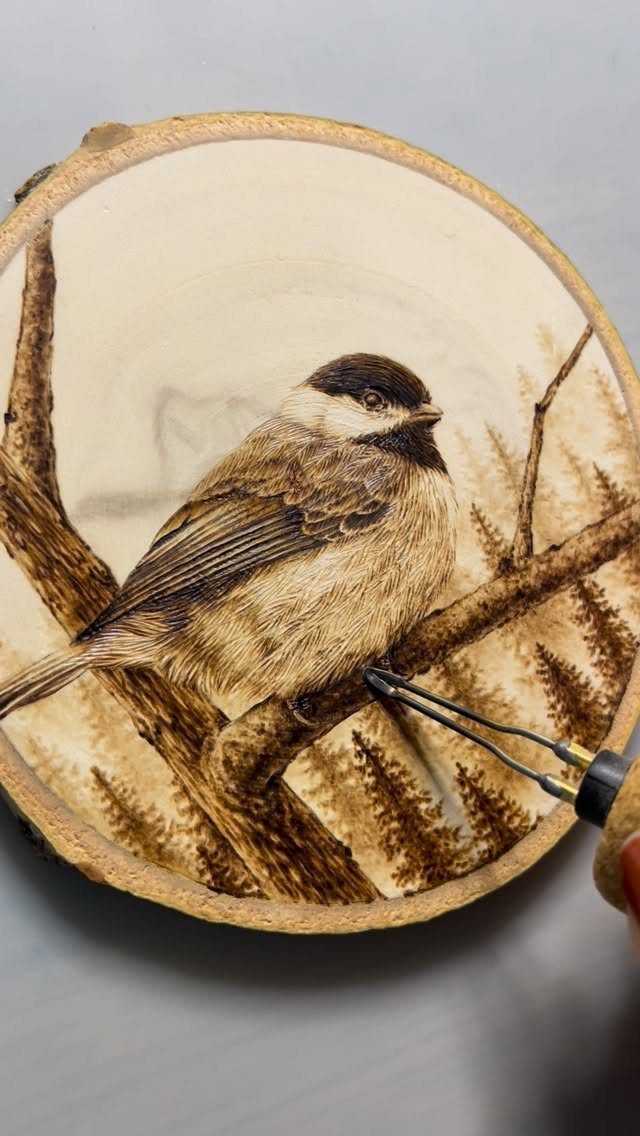
A bird on a branch is the best first pattern on a round slice, because the whole design is one small subject.
Burn the bird last in your mind but first on the wood: sketch it lightly in pencil, then darken the outline with a fine tip.
Background trees work best when they stay lighter than the bird. Use quick, shallow strokes for them and save the deepest burn for the bird’s eye and wing edge, so it stays the focal point.
2. Pine Tree Forest Slice
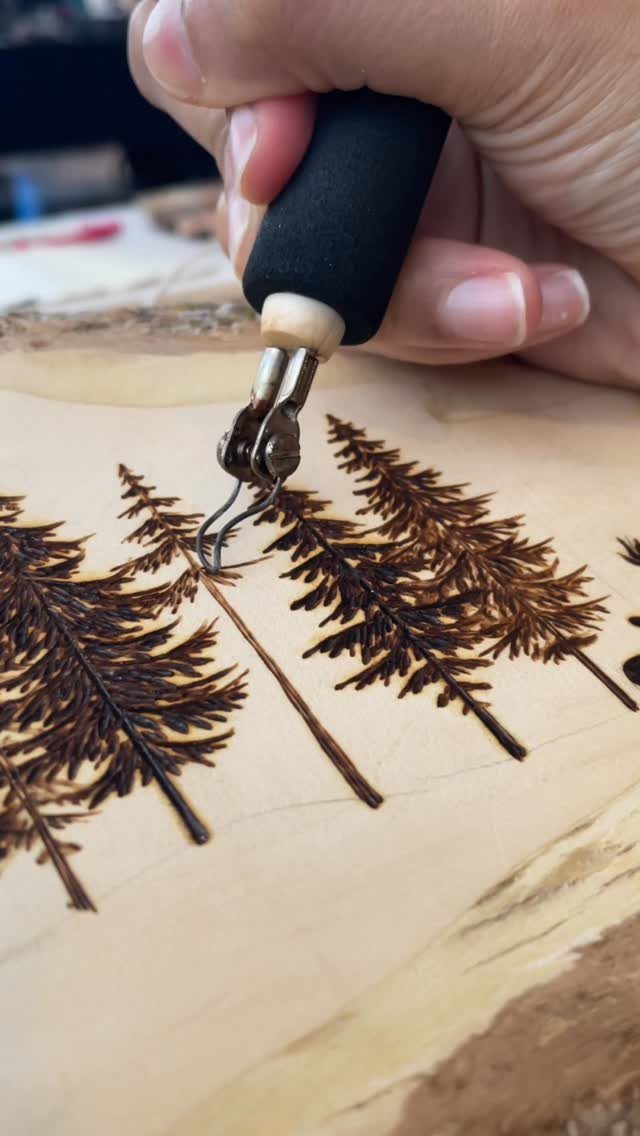
Light wood is what makes a pine forest slice read well. Pale grain gives the burned evergreens strong contrast, so even a simple tip shows every branch.
For the trees, I would start with a straight trunk line and build the tiers from short, angled strokes, wider at the bottom and narrower toward the top.
Vary the tree heights and the forest looks deeper without any extra skill. Burn marks can’t be erased, so lay the design out with a pencil before the hot tip ever touches the wood.
3. Leafless Tree Inside Wooden Bowl
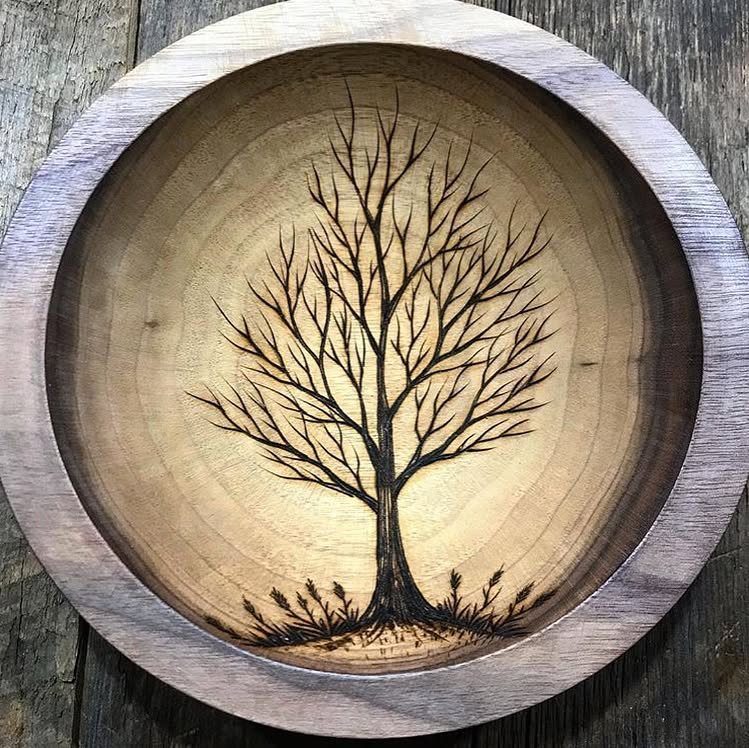
A bowl asks for a bare tree because the curve of the wood frames the branches like a small stage.
Pencil the trunk and main limbs first, then let each branch split into thinner ones, ending in the finest lines you can pull.
A curved bowl wall is harder to burn than a flat slice, so slow down and let the tip glide without stopping. A few short grass strokes at the base anchor the trunk and keep it from floating.
4. Cabin and Birch Trees Scene
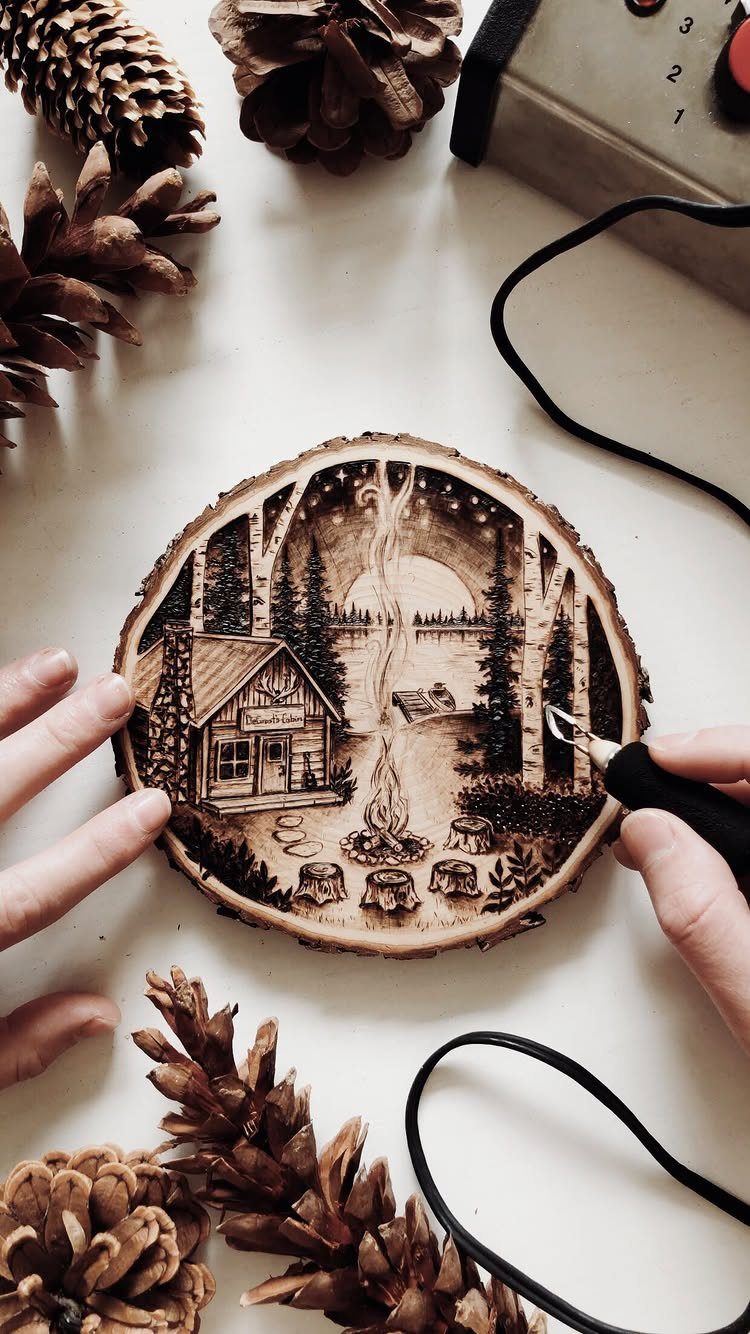
Night scenes suit pyrography well, since dark burning does the work of the sky. Leave the birch trunks lighter and burn the background darker around them; the contrast gives you white bark without any paint.
The cabin and campfire are small details, so use a fine tip and keep them simple.
Shade the heaviest burn near the ground and fade it upward. Plan this one for an afternoon, because the layers take patience.
5. Pine Needle Slice Pattern
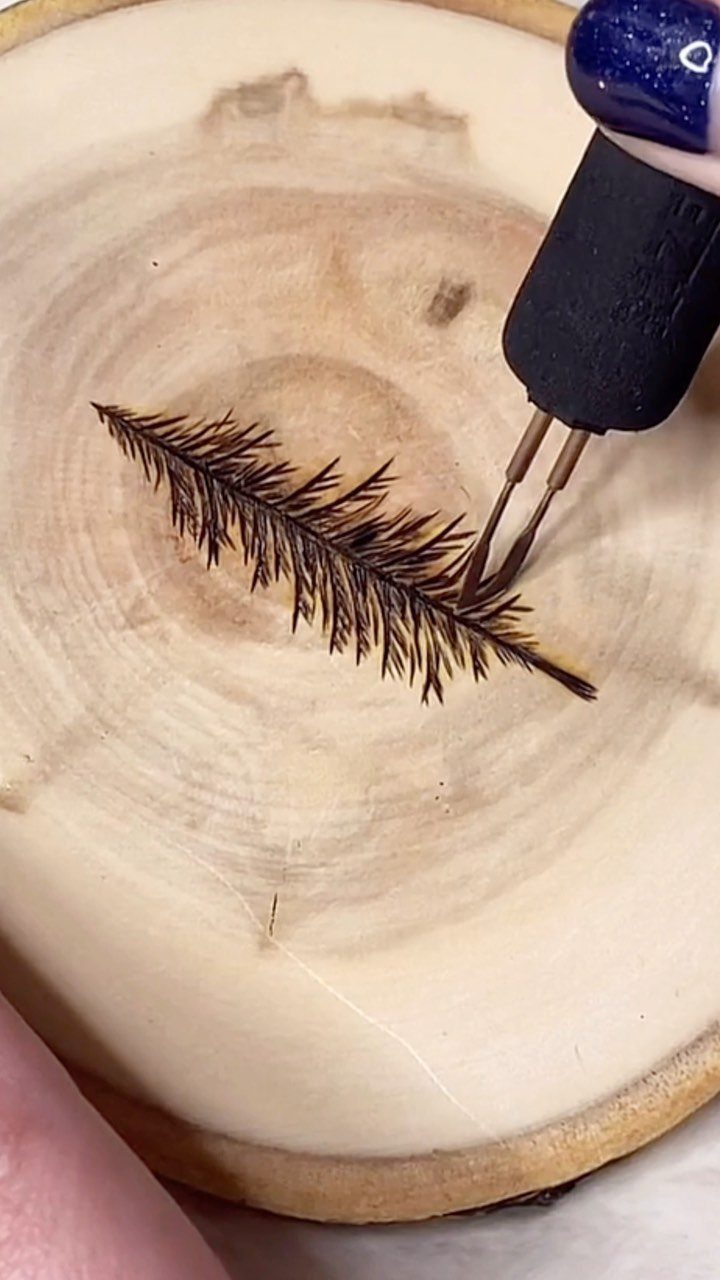
Pine needles are a forgiving pattern, since every needle is just a thin line and no two have to match. Start with a central stem, then pull short strokes outward in pairs, angling them toward the tip.
Burn the same stroke over and over and your hand finds a rhythm quickly.
For pine needles, taper the strokes shorter near the end of each branch so the cluster looks natural. Keep the pressure light so the lines stay crisp rather than blotchy.
Frequently Asked Questions
What tools are needed for wood burning?
A wood burning pen with a fine tip and a wood slice are enough to start; the Walnut Hollow Versa Tool is one example of a burner.
Add a pencil for sketching the design first, since burn marks can’t be erased. A fine tip handles small details like a bird’s eye, and a simple tip is enough on pale wood.
Can I sell my wood burning art?
Selling your finished pieces is fine, and plenty of makers do it at craft fairs and online shops.
Pieces like a bird on a branch or a pine forest slice are small, single-subject designs, so they can be made in an afternoon.






