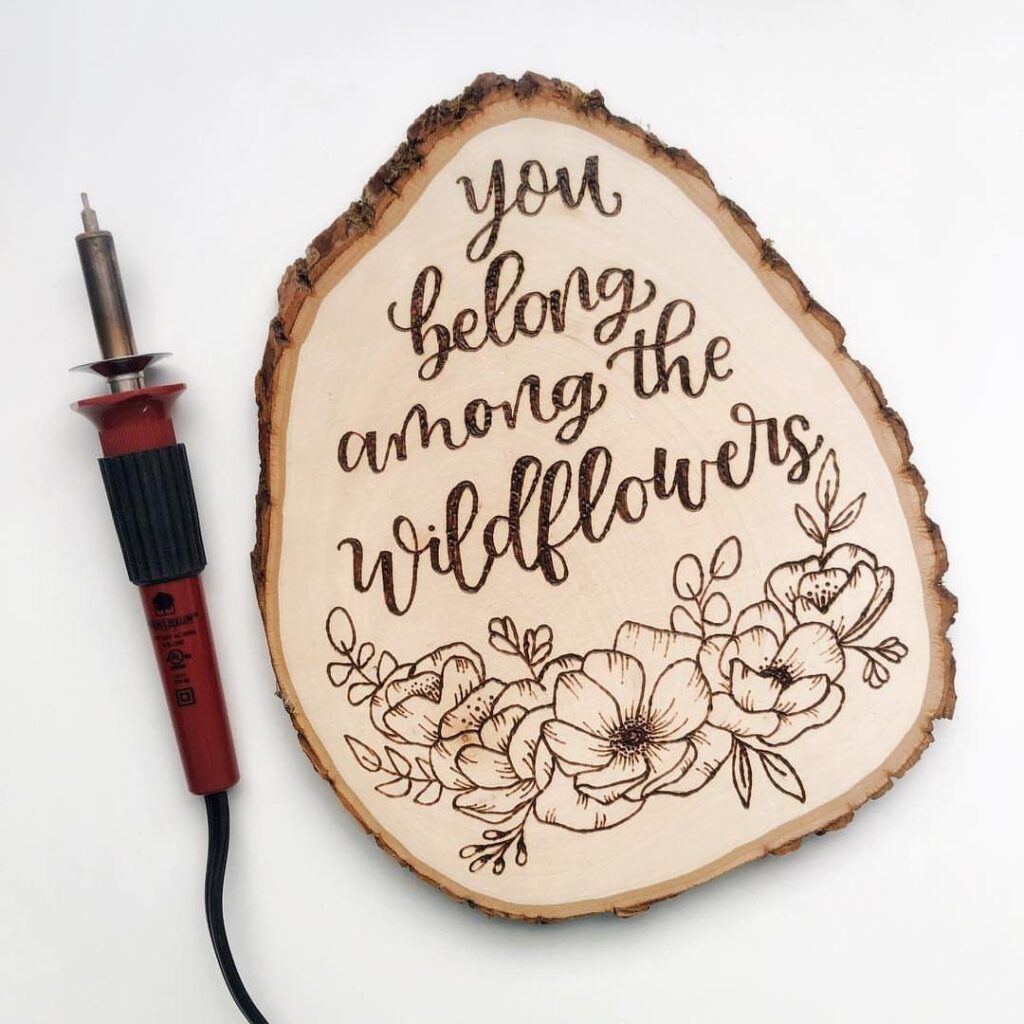
Surface size sets the difficulty here: a coaster-size piece of basswood takes one sitting, while a cutting board stretches to more than one short session and asks for stems, leaves, and fine detail.
The ideas run from a single word on a wood slice to a full botanical design, so pick the one that fits the time you have today, not the one that looks best online.
If the afternoon is short, a coaster is the safer bet, because a mistake there costs almost nothing.
1. Layering Burns for Depth
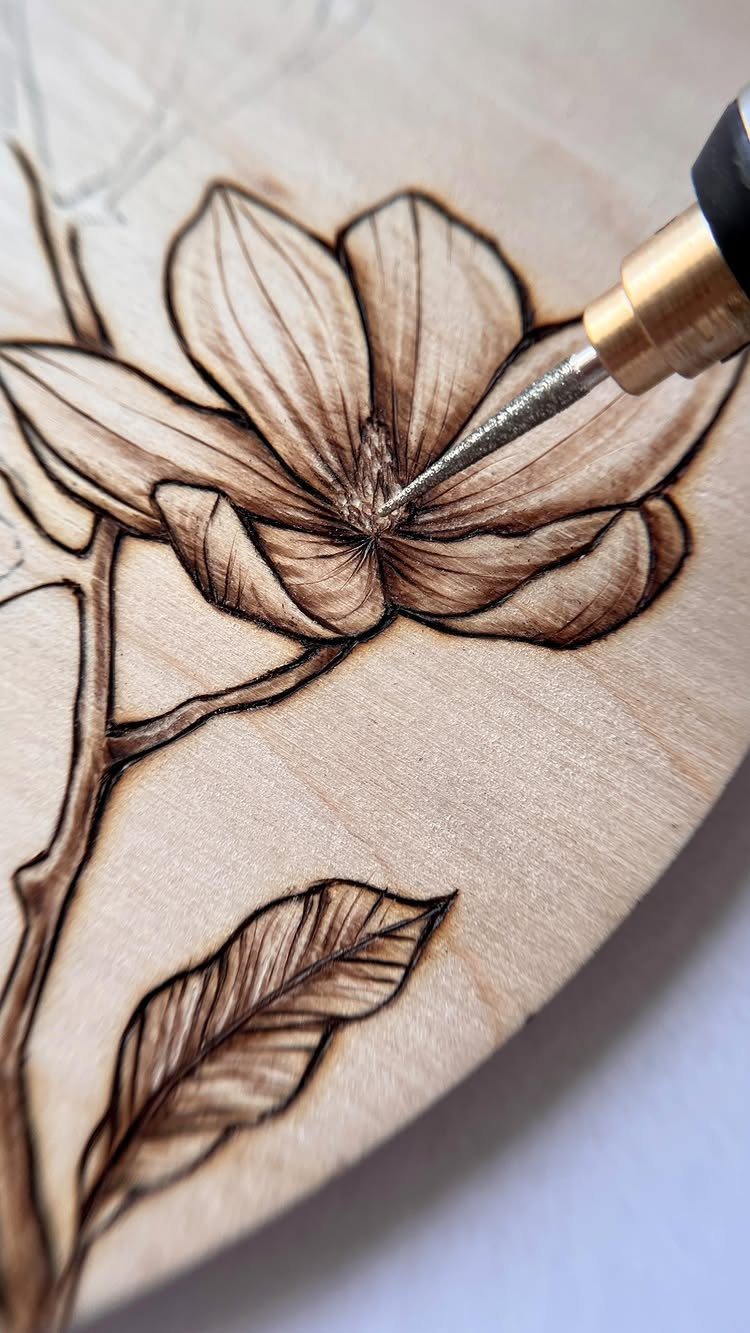
Shading is what separates a flat outline from a burn that looks three-dimensional. Pressing lightly and going over the same spot again builds darker tones, so petals can fade from pale edges to deep centers.
Start with the lightest pass across the whole flower, then return only to the areas that should recede, like the base of each petal.
Short, tight strokes blend better than long lines. Practice a small gradient on scrap wood first, since a dark spot can’t be undone.
2. Nature-inspired Illustrations
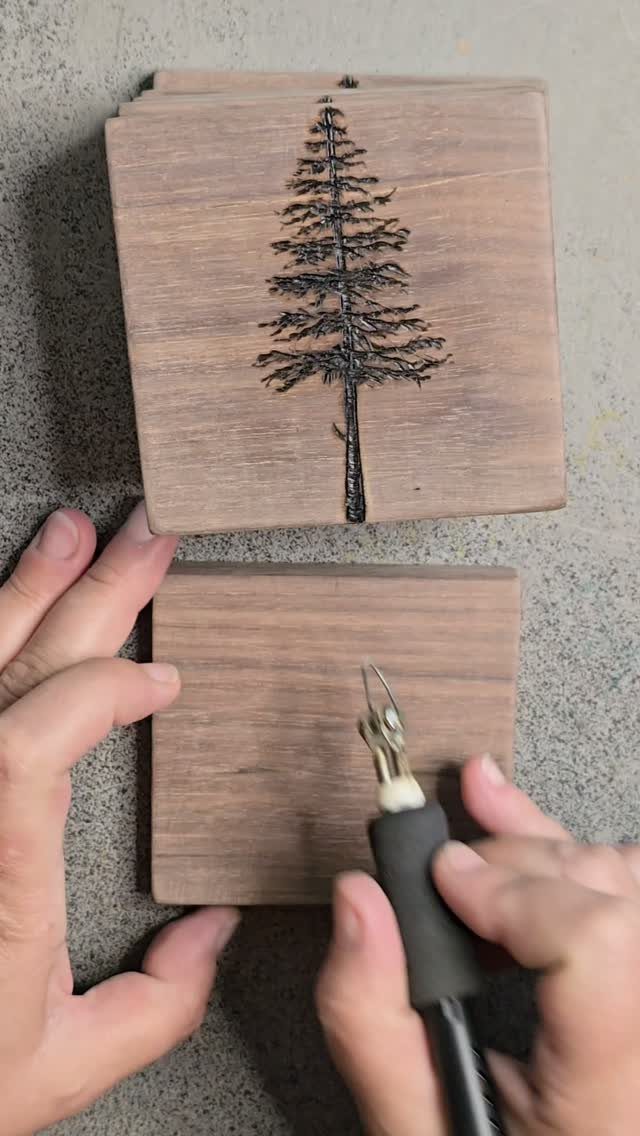
A pine tree is about the friendliest first subject I can think of: a trunk line, then rows of short angled strokes that get wider toward the bottom.
Trees, leaves, and mountains are built from short repeated marks like dashes, hatching, and little curves, so a steady hand matters more than any drawing skill.
Sketch the outline in pencil on a square block, burn over it, and let the strokes do the texture. A coaster-size piece keeps the project to an afternoon.
3. Inspirational Quotes
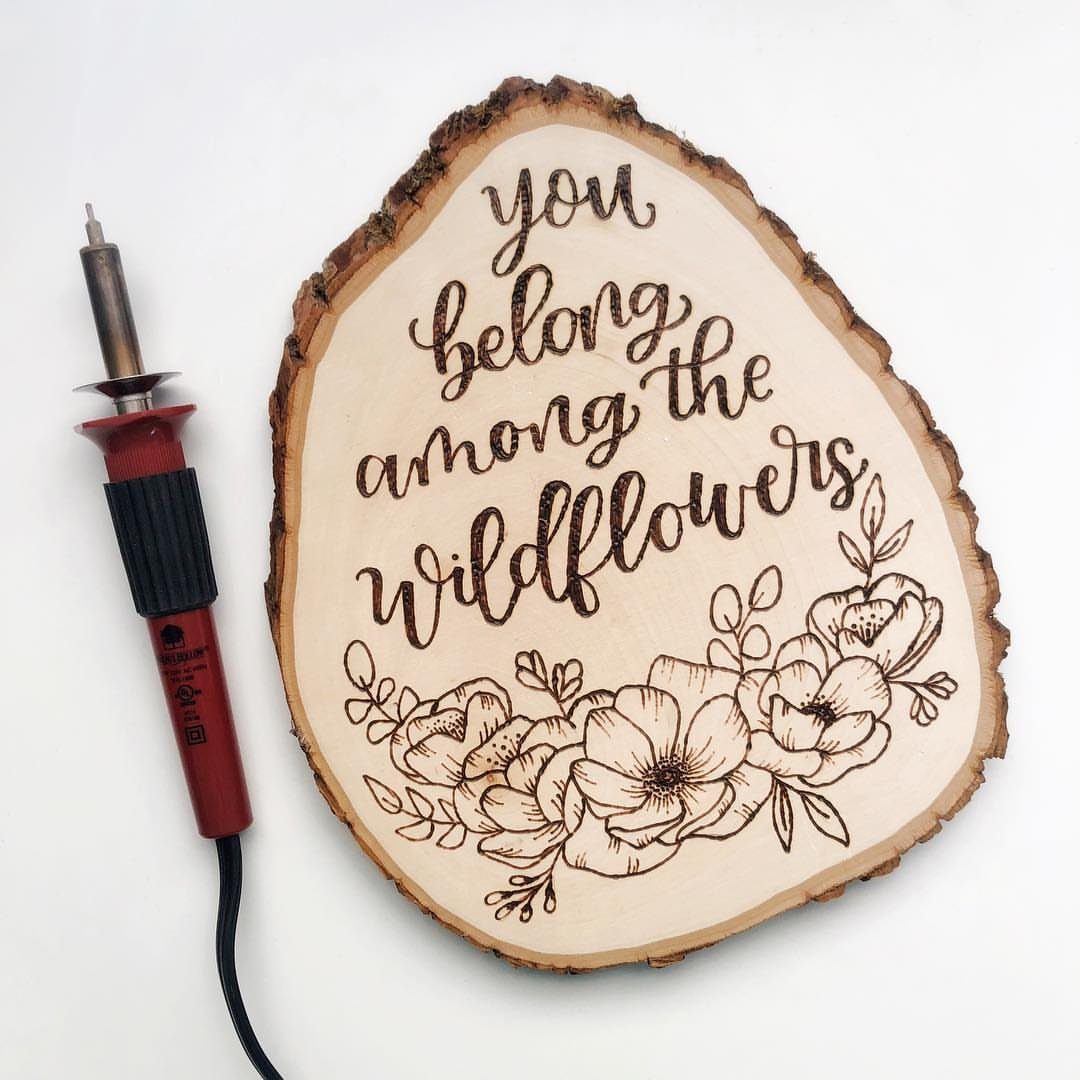
Words give a plain slice of wood a purpose, and a short line of text is easier than it looks. Pencil in the letters first and space them out before the tool touches the surface.
I like pairing the quote with a small border of flowers, which fills the empty space and hides any letter that came out a little wobbly.
Pick a short phrase. Fewer words means bigger, cleaner letters on a small slice.
4. Personalized Coasters
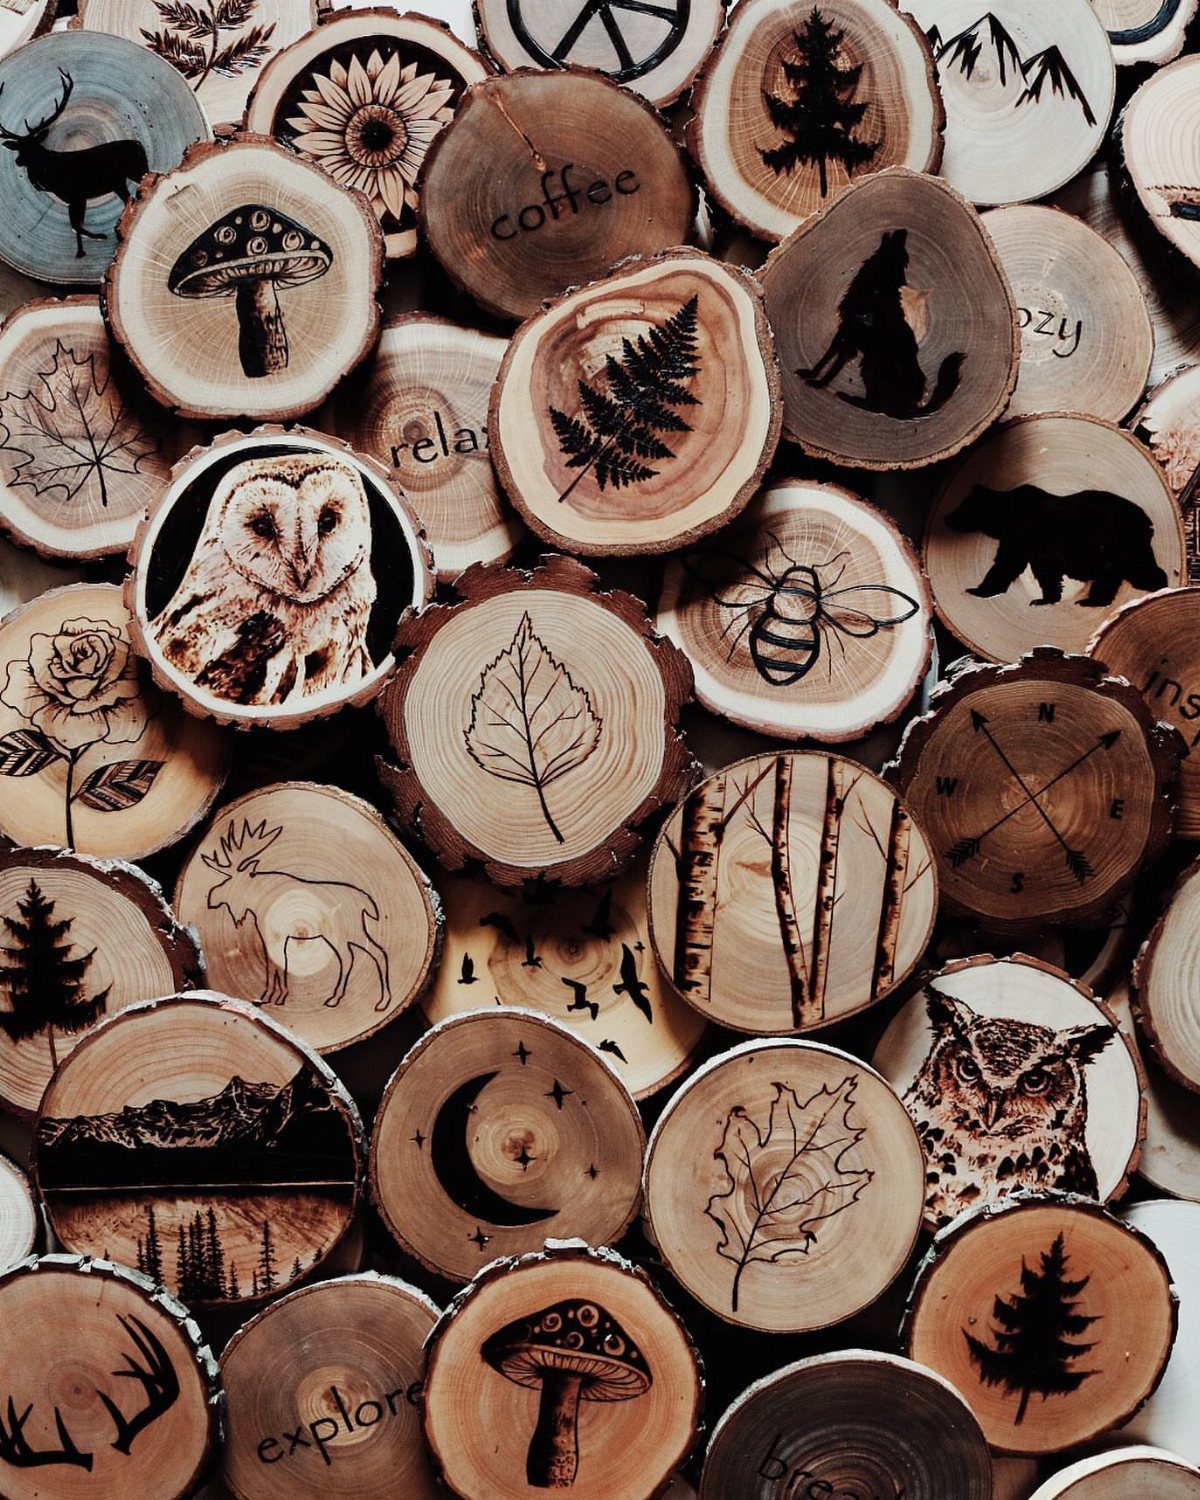
Coasters are the best low-stakes practice surface I know. One word like "coffee" or "relax" takes a few minutes, and a wood slice costs little, so a mistake costs you almost nothing.
Burn a few different designs and you have a set, or a gift that looks personal.
Keep each design small and simple, such as an animal, a plant, or a single word, so the whole set stays consistent and finishes in one sitting.
5. Wooden Spoons
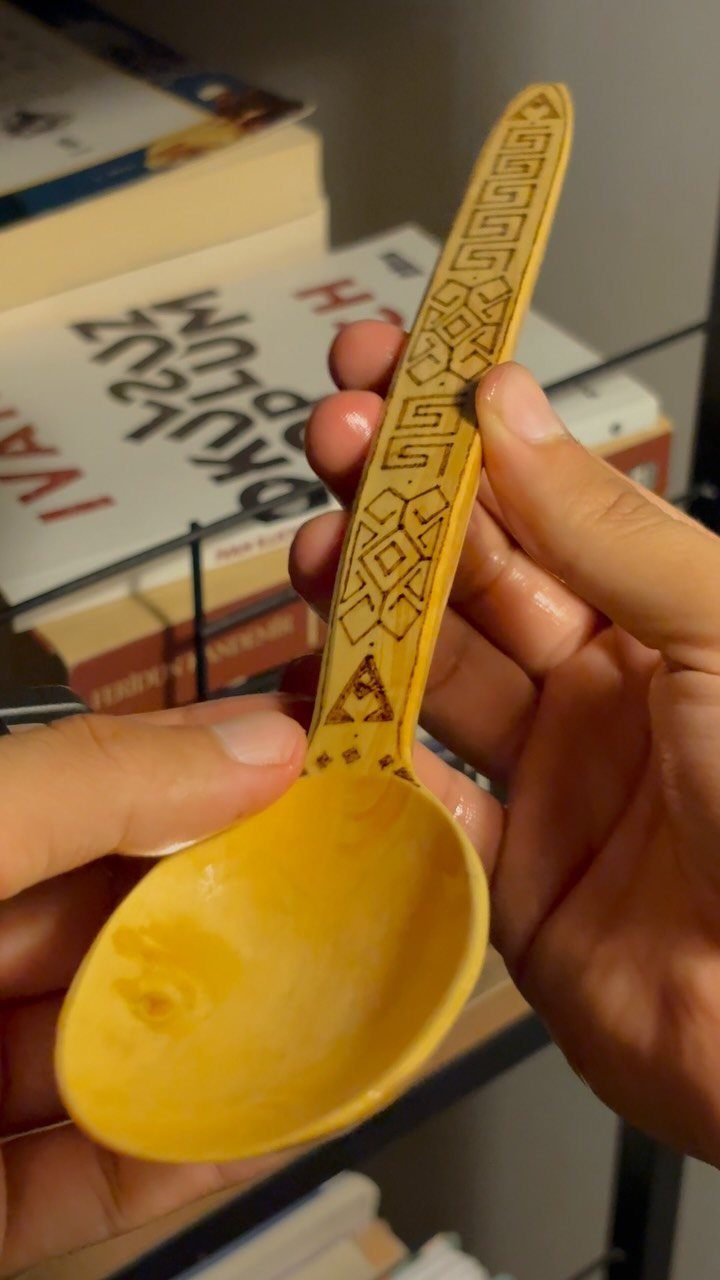
Handles are narrow, which makes geometric patterns the right choice for a spoon: straight lines, triangles, and repeating bands suit a slim strip of wood far better than a pictorial scene.
Mark the pattern with a pencil and ruler so the bands stay even.
Keep the burning on the handle, away from the bowl of the spoon, since that’s the part that touches food. Go slowly, because a curved surface makes the pen slip more easily than a flat board.
6. Decorative Cutting Boards
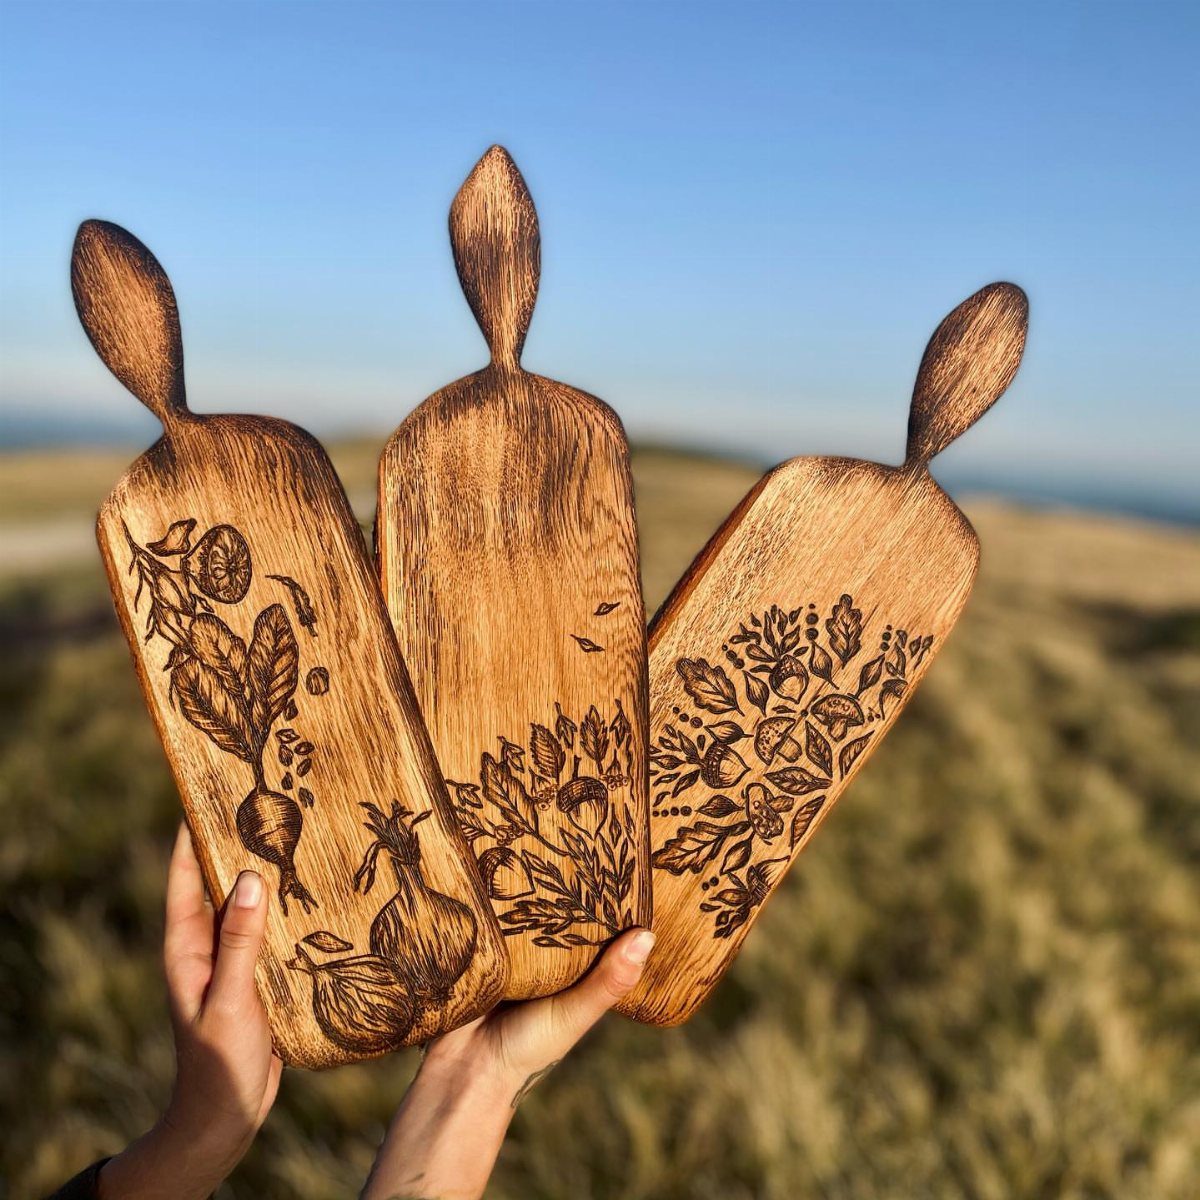
A cutting board gives you a big, flat canvas, which makes it the place to attempt a full botanical design with stems, leaves, and fine detail. The extra room is forgiving for a beginner.
A cutting board costs you time, since the larger surface takes much longer to burn than a coaster, and I’d set aside more than one short session for it.
I’d burn the artwork in one corner or along one edge, leaving the rest of the surface plain for actual use.
7. Choose a Design
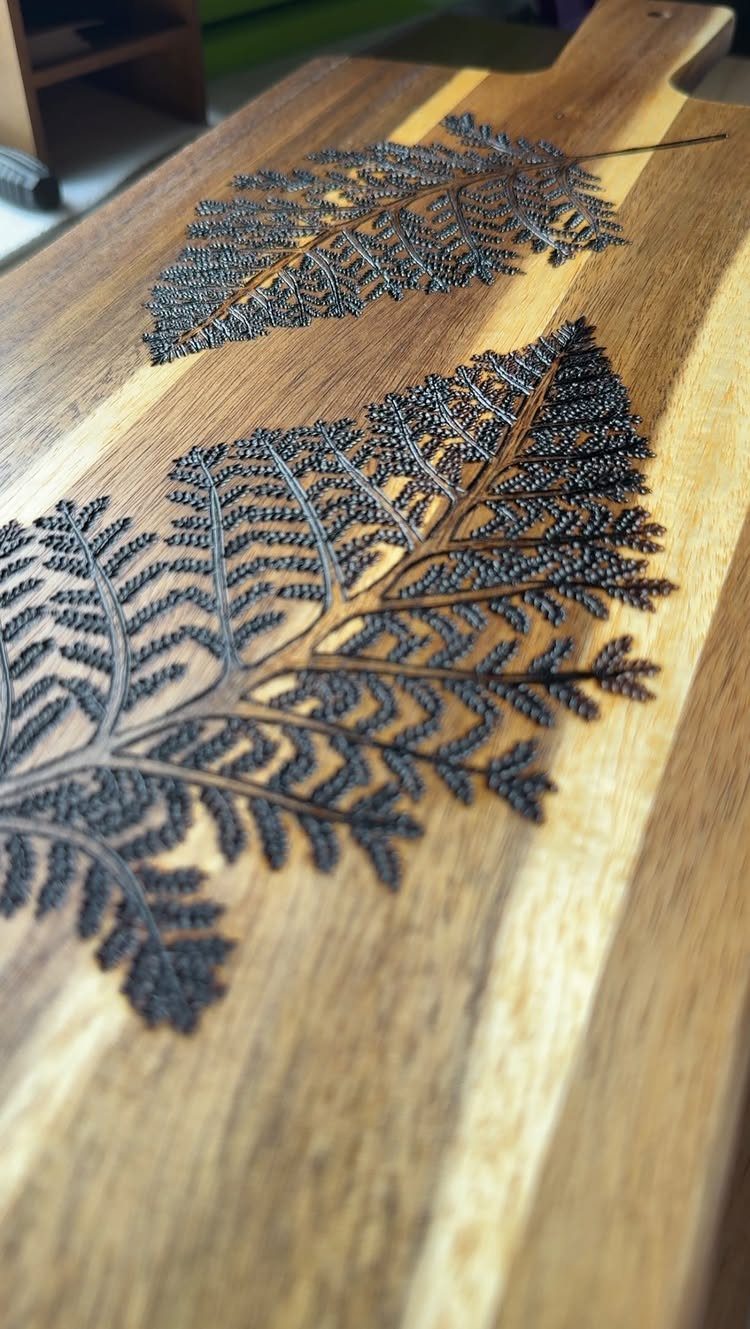
Ferns are a smart pick when you’re stuck choosing, because a leaf is just a center line with short strokes branching off it.
A pair of small motifs set side by side on a light board reads as a finished design with no background needed, and the pale wood lets even a first-pass burn stand out.
Anything works as a subject, so narrow it by size and detail.
Pick something you can sketch in pencil in a few minutes, with lines simple enough for a pen you’re still learning. Light wood shows every burn clearly, which helps a beginner see what each pass did.
If nothing grabs you, start with a leaf.
Essential Tools for Beginners
A pen with adjustable temperature is the one tool worth paying a little more for, because heat control decides how clean your lines come out.
Solid-point burners give steady heat and suit beginners, while wire-nib pens let you adjust the temperature more freely. A kit with interchangeable tips lets you try fine-point, rounded, calligraphy, stamp, and shading shapes without buying separately.
For a first project, basswood is my pick, with pine and birch close behind, since all three have a pale, even grain that burns predictably.
Save oak, walnut and anything sappy for later, once your hand is steady and you know how the pen behaves.
Sand the surface first with fine paper, 220–400 grit, so the lines stay crisp. Graphite transfer paper and a sharp pencil get your design onto the board before the pen ever heats up.
A few extras earn their place: a ruler and compass for straight lines and circles, clamps to hold the board still, and a soft brush or microfiber cloth to wipe away dust.
Safety Tips for Wood Burning
Smoke is the hazard people underestimate. Open a window or set a small fan nearby, and wear a mask, since the fumes can irritate your airways.
Goggles and gloves belong in the kit too. Skip loose sleeves, and tie back long hair so nothing drifts toward the hot tip.
A ceramic tile, a metal baking sheet or a scrap of concrete paver under the board protects your table from stray heat.
Whenever you pause, park the pen in its stand, and keep the hot tip away from paper, fabric and sawdust. Don’t walk away from a hot pen, even for a moment.
Work in good light at a stable table, and put the phone away, because one distracted second is how most burns and scorched tabletops happen.
Techniques for Beginners
Begin on a low heat setting and raise it a little at a time as your hand gets steadier. A light hand keeps the lines smooth and stops the tip from digging gouges into the grain.
Each part of the pen makes a different mark:
- The point draws a fine, controlled line.
- Lay the flat edge of the tip against the wood and pull, and you get a stroke that looks like calligraphy.
- To shade, move the side of the tip in small, light circles and build the tone up in layers.
- Touch just the point of the tip to the surface and lift, and you get little dots that read as texture.
To make a spot bolder, hold the tool in place a bit longer. Heat builds quickly, so count the seconds and lift early.
Practice line work, shading, and dotting as 3 separate drills before combining them. Tip shape changes every one of these marks, so switch tips on the same scrap and compare.
Frequently Asked Questions
What are some ideas for wood burning art for beginners?
Coasters, wooden spoons, and small nature scenes like a pine tree or a fern are the easiest places to start. A coaster takes a few minutes for a single word and costs little, so a slip hardly matters.
Spoon handles suit simple geometric bands, and a pine tree is just a trunk line with short angled strokes, so a steady hand counts for more than drawing skill.
What is the difference between wood burning and pyrography?
There is no difference. The 2 terms mean the same thing: pyrography is just the formal word for burning designs into wood, built from Greek roots meaning "fire" and "writing."
Both mean using a heated tool to draw designs into wood, and the craft also works on leather.
How to do pyrography for beginners?
Start with an adjustable-temperature pen, a pale piece of wood sanded with 220–400 grit paper, and a simple design drawn in pencil first.
A cooler tip and a light touch keep you from digging into the grain, so start low and nudge the temperature up only as the wood asks for it.
Scrap boards are the place to try lines, shading and stippled dots first, because a burn mark stays put once it’s made.






