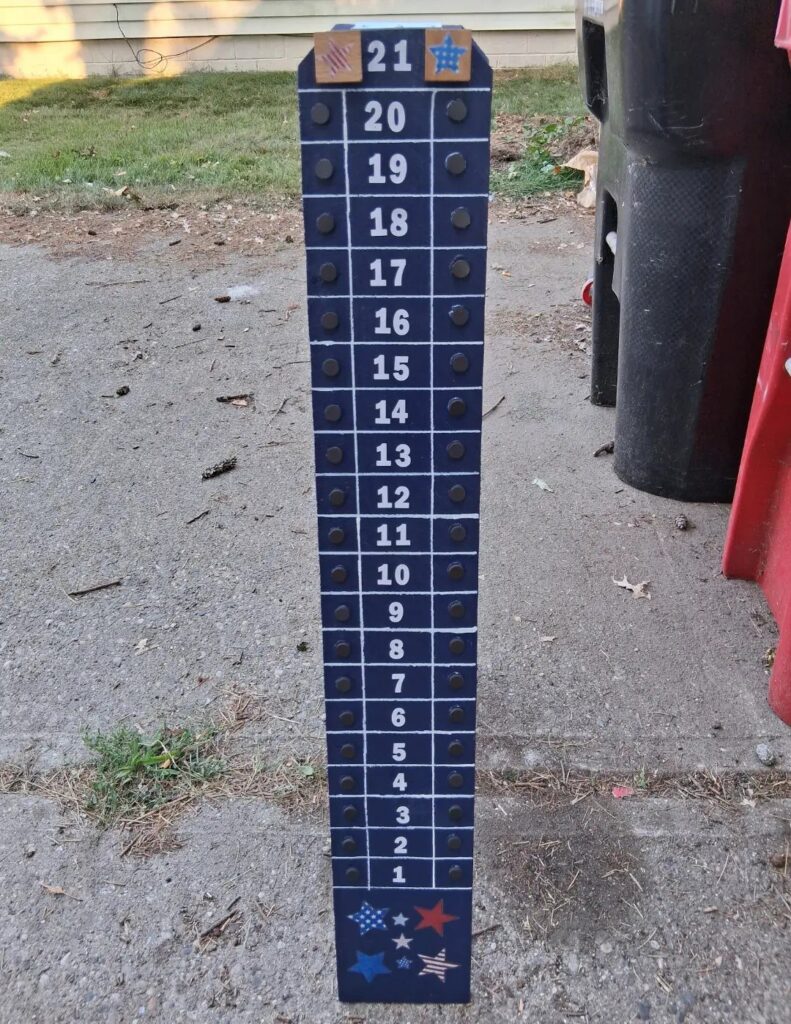
The 9 ideas run from a pegged cornhole scoreboard that needs only paint and an afternoon to a 3D geometric wall piece that asks you to rip strips, stain several shades and arrange everything dry before gluing.
What picks yours is where the piece will live: planters and the herb box need drainage holes and a spot with sun, the peg rail and jewelry organizer mount on a wall, and the lanterns and magazine rack sit out in the room.
Match the project to that spot first, since one board is enough for any of them.
1. Magazine Rack
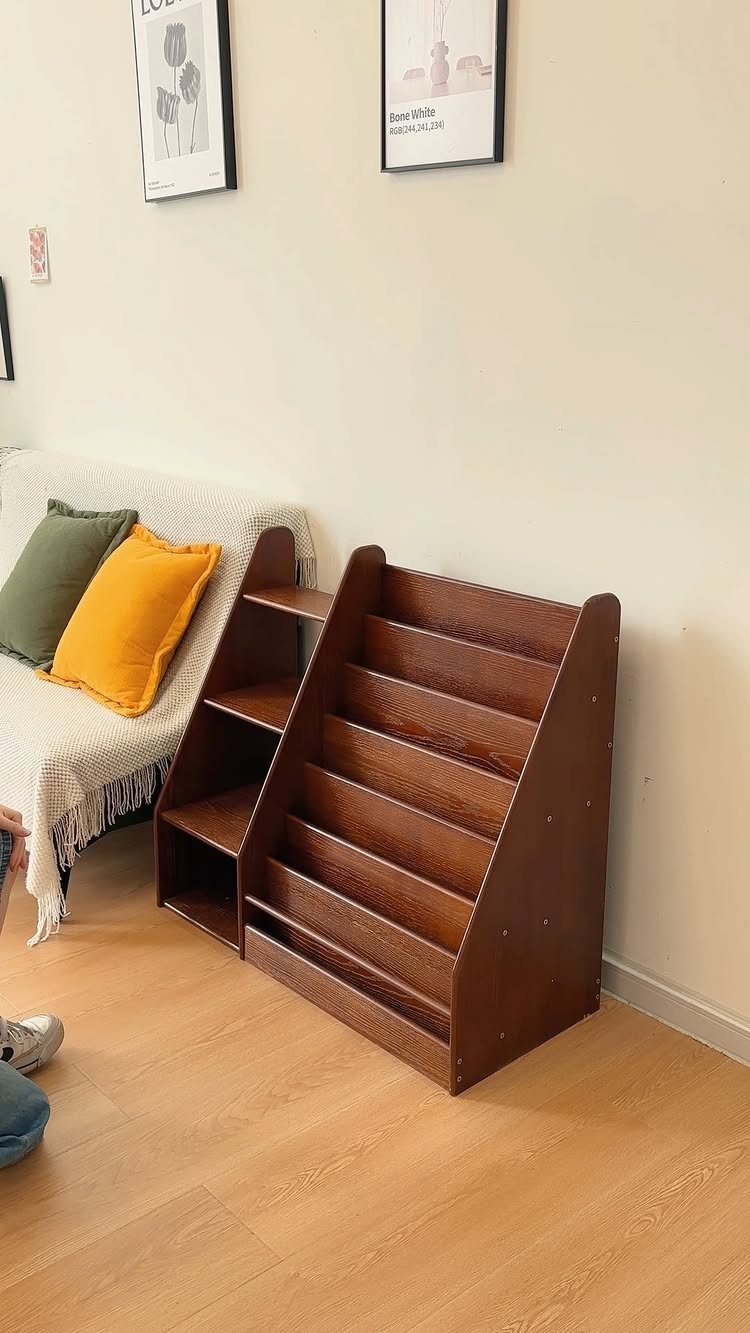
A slanted slot is what makes a magazine rack work: the cover tilts toward you, so you can read a title from across the room.
A single board can give you the 2 sides and the dividers, which keeps the cost low and the cutting short.
I like a dark stain on this one, since it hides fingerprints and ink rub. Keep the rack small enough to sit beside a sofa, and sand the slot edges well, because paper snags on rough grain.
2. Cornhole Scoreboard
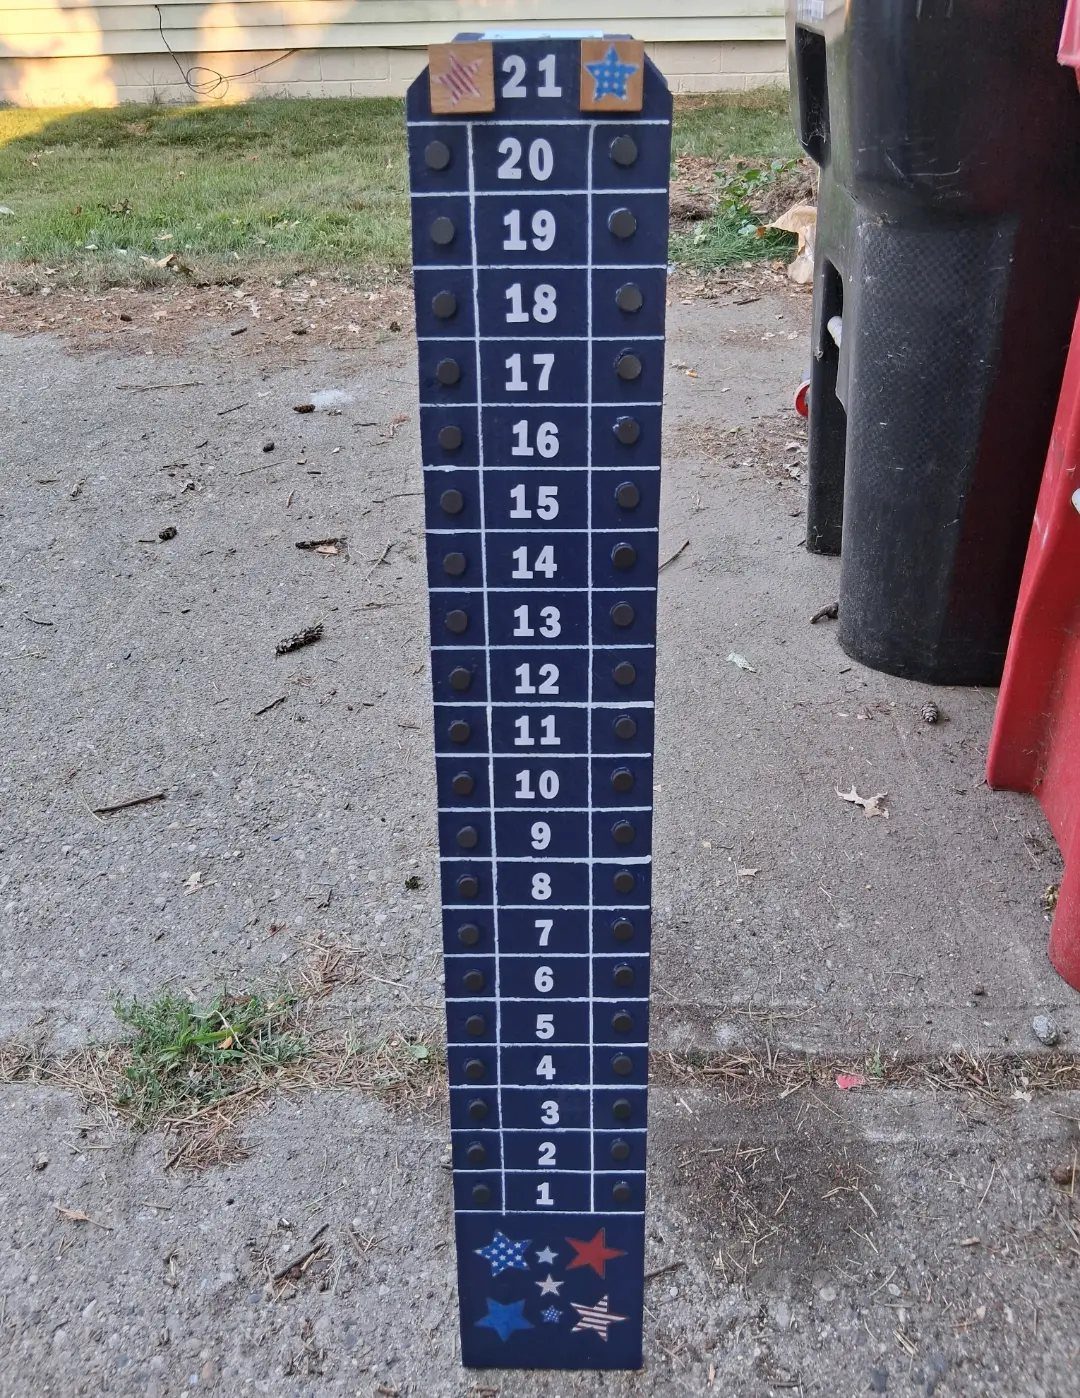
Cornhole games get argued over, and a scoreboard with pegs ends the arguing. The numbers 1 to 21 run down the board, and each team slides a peg up as points come in.
Paint is the main job here.
White numbers on a blue field read clearly from the throwing line, so use a stencil or painter’s tape for clean edges. Drill the peg holes before you paint, so the paint doesn’t chip around them.
An afternoon covers it, with drying time as the only wait.
3. Railing Planters
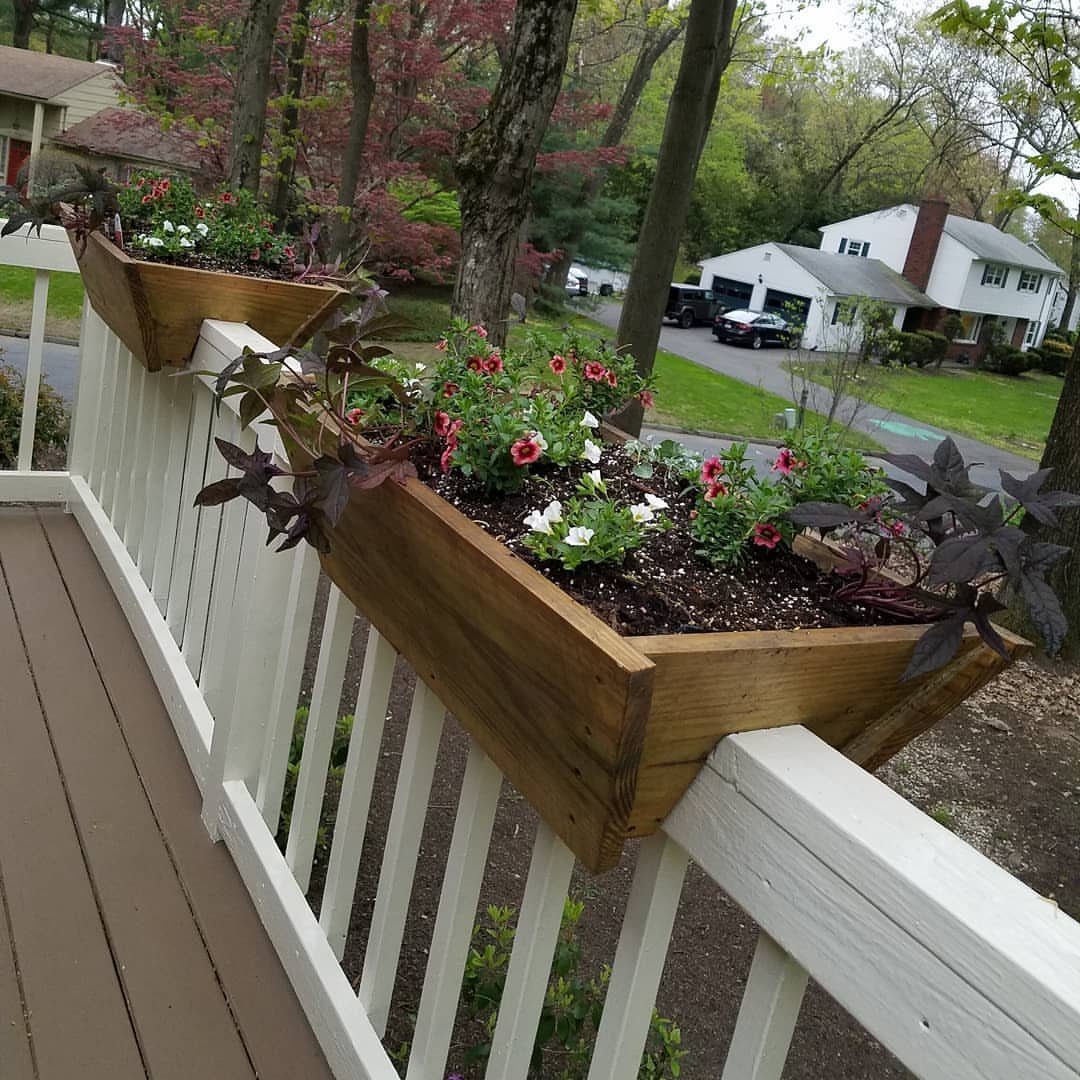
A railing planter turns a bare deck rail into a flower bed without using any floor space, which suits a small patio. Build each box as a simple open trough from one board, sized to sit snug against the rail.
Measure your railing top first, since the box has to match it. Drill a few drainage holes in the bottom so the roots don’t sit in water.
4. Jewelry Organizer
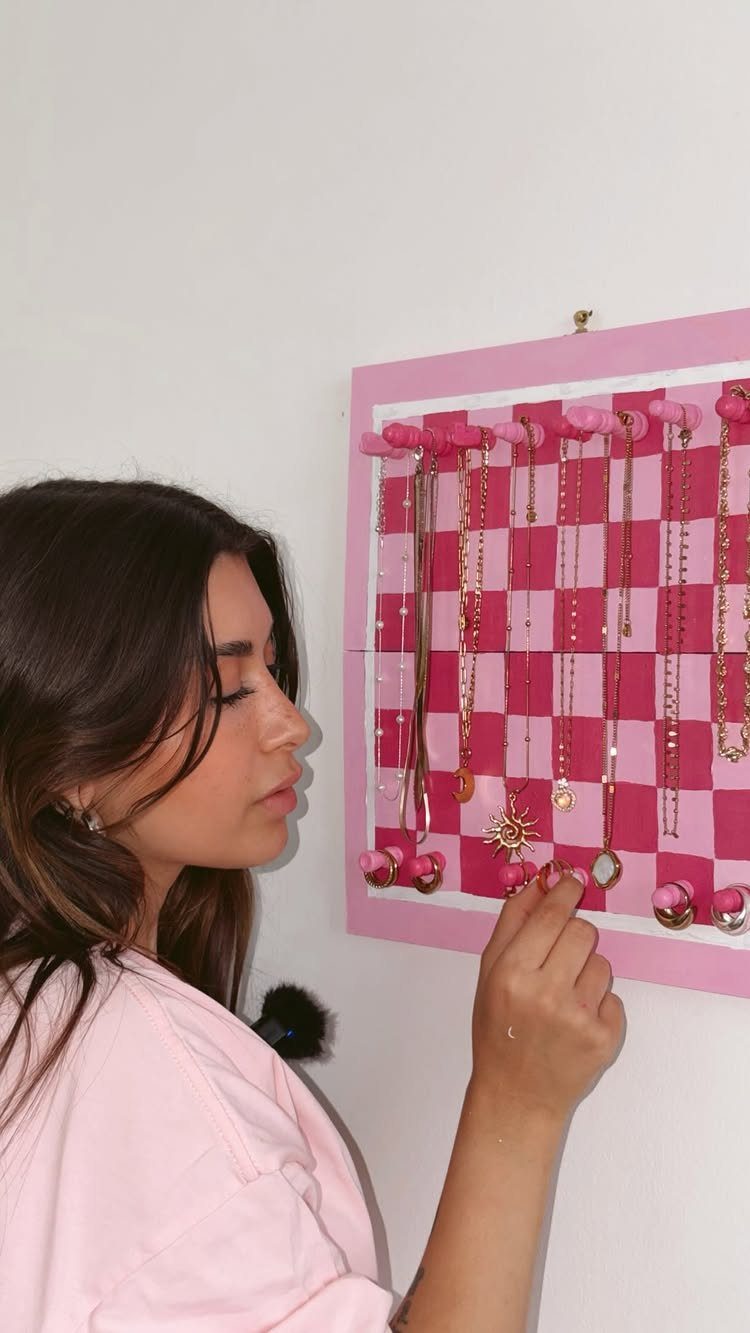
Hanging a necklace in plain view keeps the chain from tangling in a drawer, and a wall-mounted board does that with very little wood. Screw in hooks or pegs along one board, then mount it flat to the wall.
The pink checkered finish takes patience: tape off squares, paint one color, let it dry, then do the next. If that sounds like too much, a single stain coat looks good and is faster.
Space the hooks wide enough that chains don’t touch.
5. 3D Geometric Wall Art
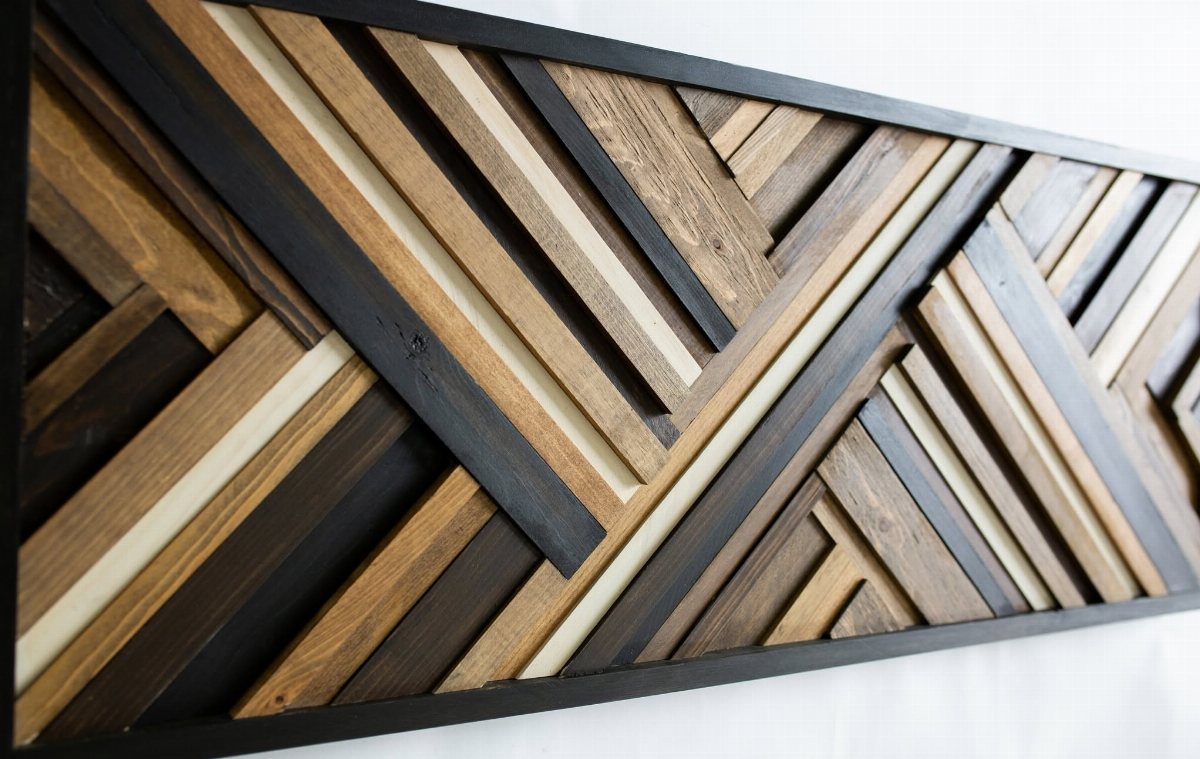
Wall art made of cut strips gets its depth from varied heights and tones, and one board gives you plenty of material.
Rip the board into strips, cut them to different lengths, and stain them in several shades before you glue anything down.
I would stain first, because glue squeeze-out blocks stain and leaves pale patches.
Set the strips inside a frame so the cut edges look finished; a dark frame, black for example, makes the wood tones stand out. Take your time arranging the pieces dry before committing.
6. Kitchen Herb Garden
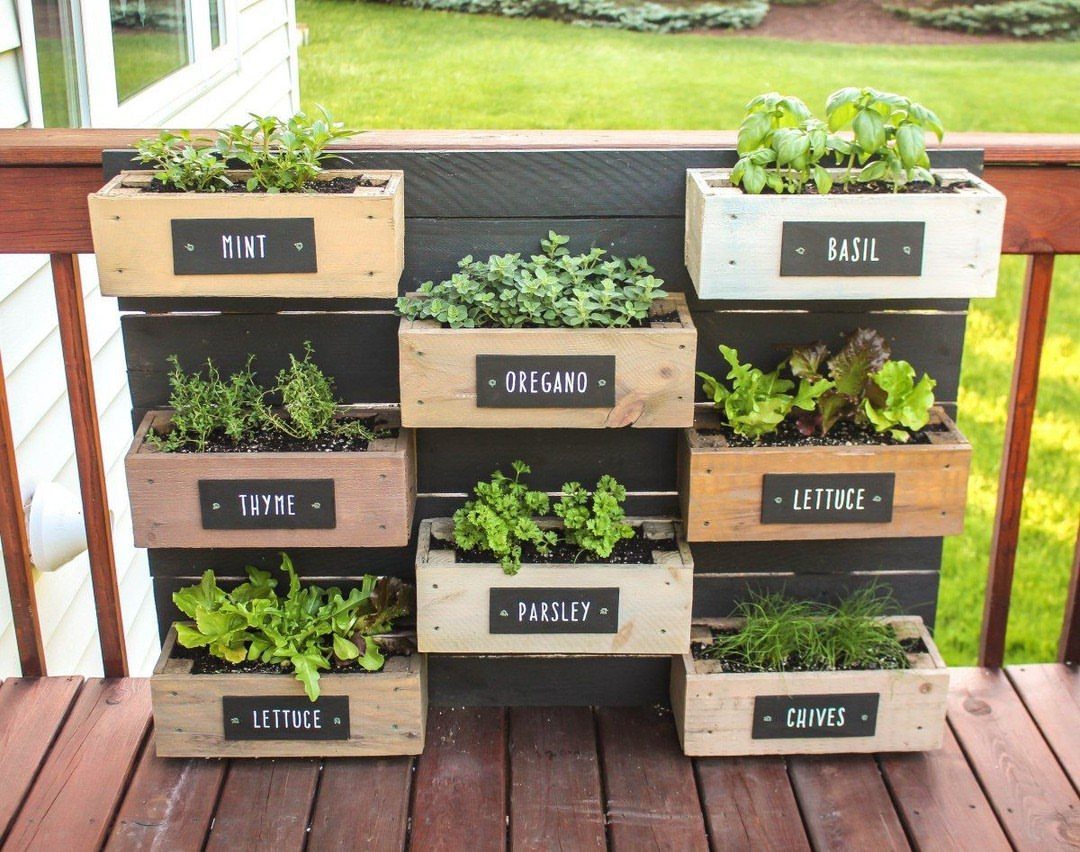
Snipping basil from a box by the door beats buying a plastic clamshell of it, and a vertical planter fits herbs into a very small footprint.
Stack the boxes on a frame, and label each one so nobody mistakes thyme for chives.
Drill drainage holes in every box.
Mint spreads aggressively, so I’d keep it in its own box, as this layout does. Mount the planter where it gets sun and sits within easy reach of the kitchen.
7. Wood Lanterns
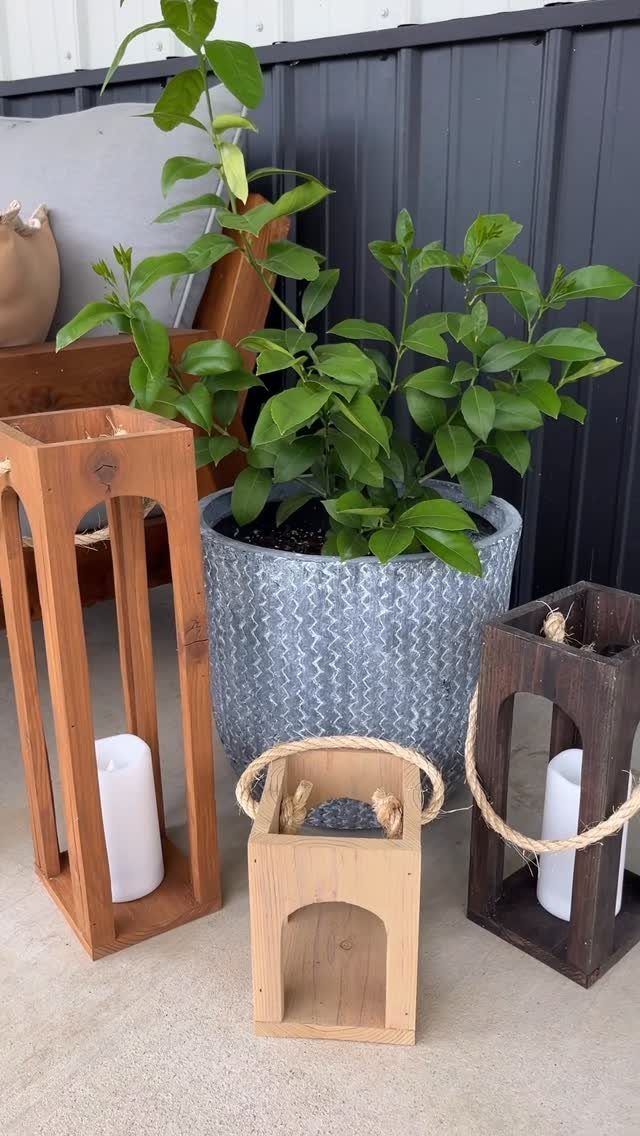
A lantern is a picture frame for a flame: wooden sides around a pillar candle, with the light spilling out through the gaps.
Building several in different heights looks better than a matching set, so cut each one to its own length and group them close together.
You need a tape measure, saw, drill, sander, jig saw, nailer and safety glasses. Cut all the pieces from one board, sand every edge, then stain each lantern a different shade.
Keep the candle well below the top edge, and I would choose a flameless one if the lanterns will sit near a plant.
8. Christmas Tree Shelf
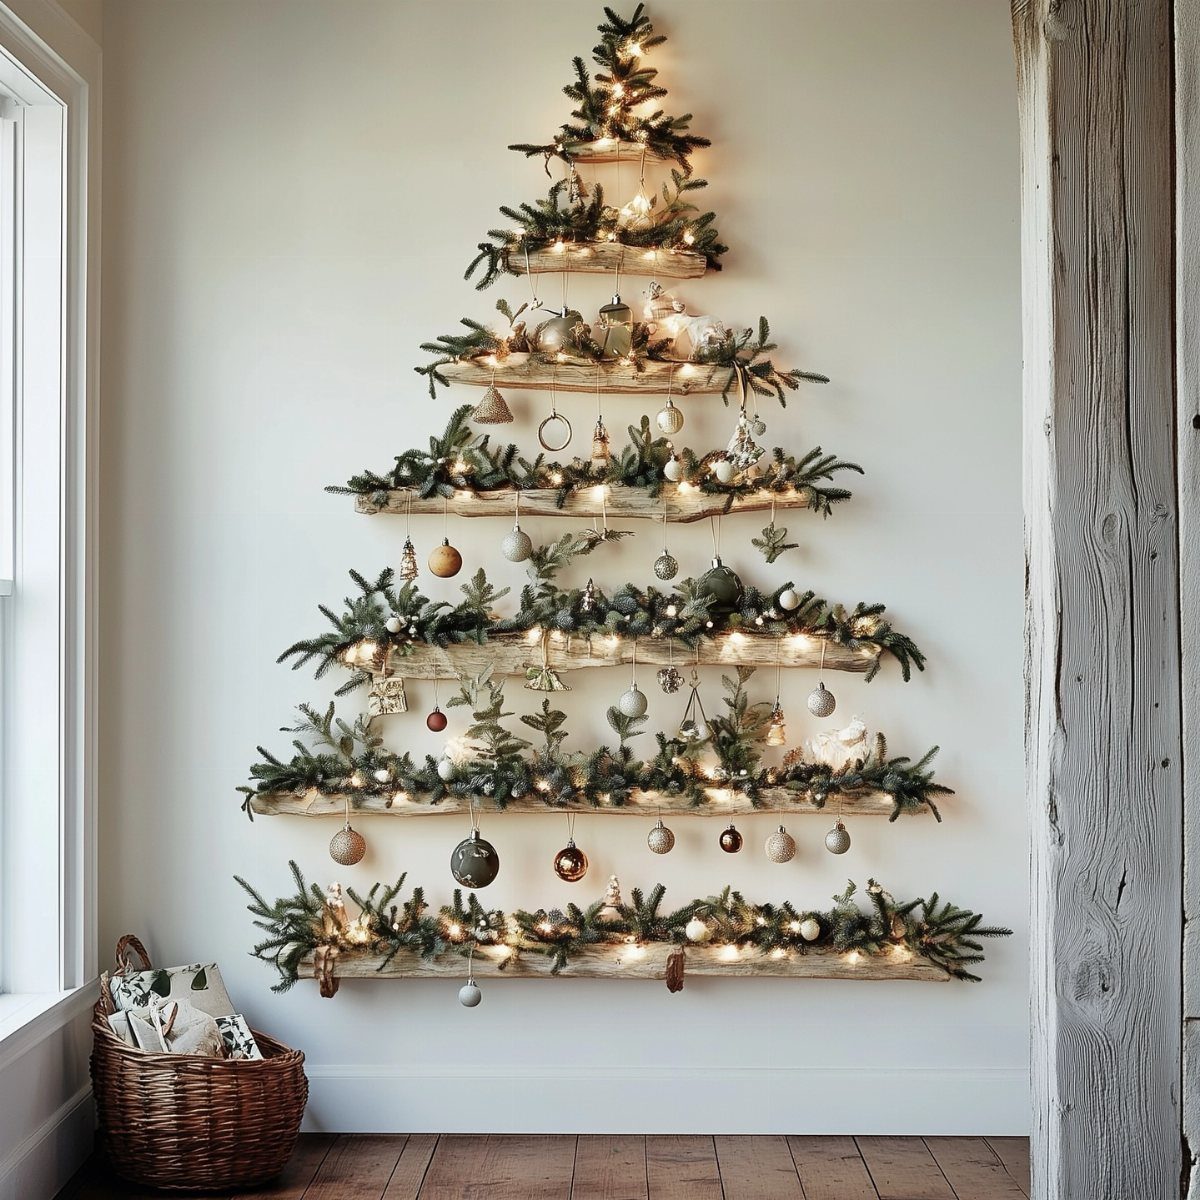
Wall space is free in December, and a shelf cut in the shape of a Christmas tree puts holiday decor up there instead of on the floor.
Stagger the shelf tiers so each one is wider than the one above it.
Evergreen branches, fairy lights and small ornaments all suit the tiers, so fill them to taste. I would tuck the light strand in first and lay the branches over it, so the wires stay hidden.
Sand the tier edges before you hang anything, since greenery catches on rough wood.
9. DIY Peg Rail
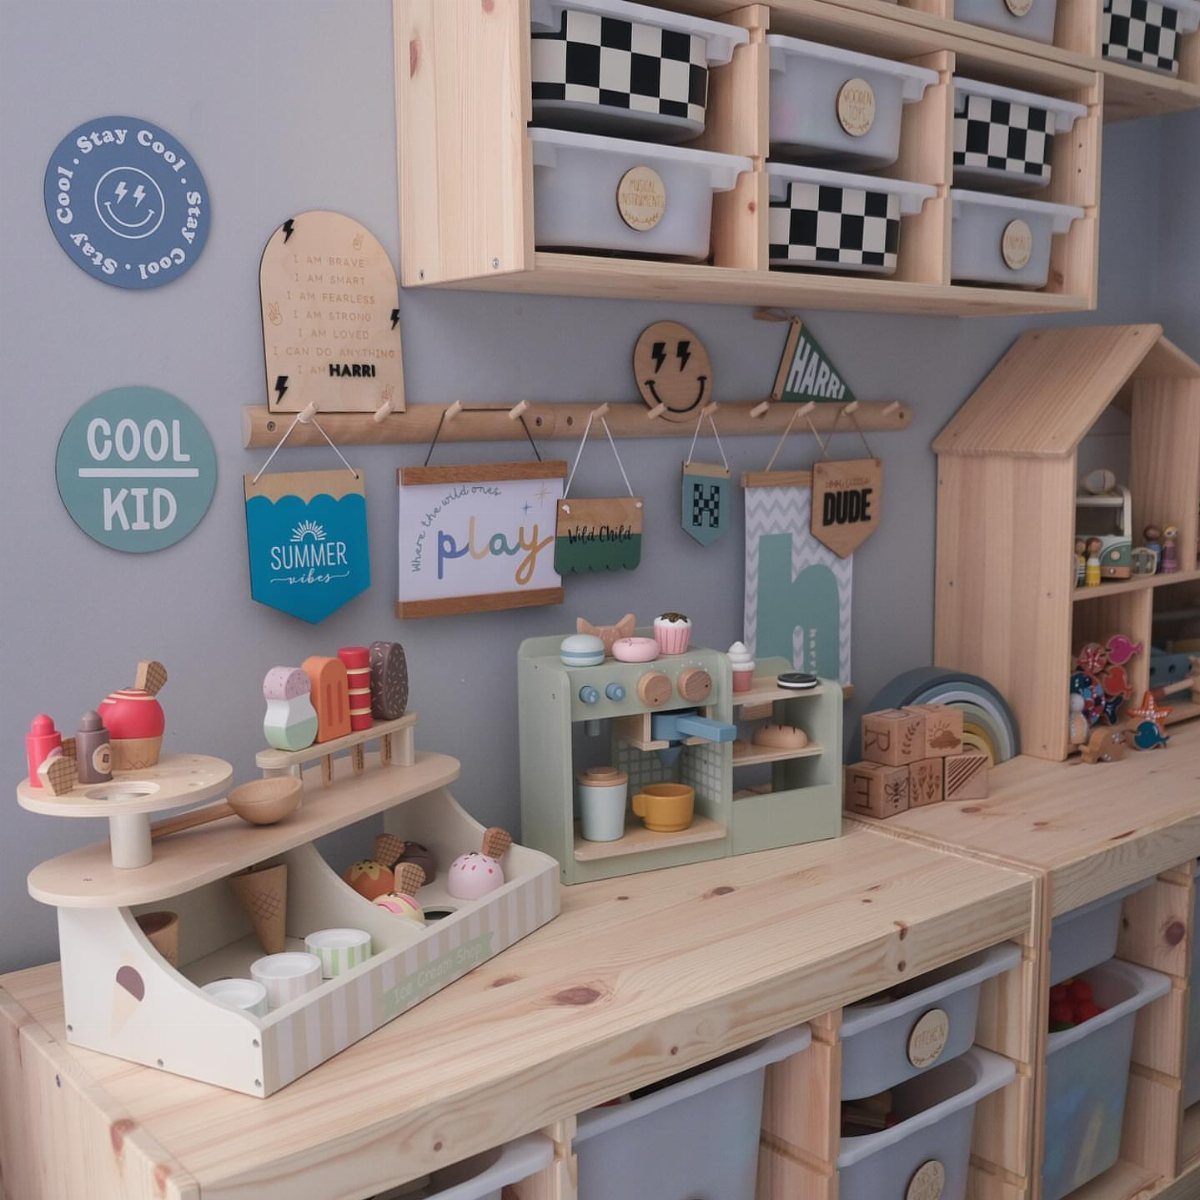
Pegs on a single rail hold more than coats. In a kid’s room, one rail on the wall takes signs, bags and small decorations, and you can swap them out whenever the mood changes.
Mount the rail low enough for children to reach, and paint or stain it to match the wall color. A grey wall, like this one, lets bright items stand out.
Frequently Asked Questions
What are some easy small projects I can make with wood?
A jewelry organizer, a peg rail and a magazine rack are all easy and need very little wood.
Both the organizer and the rail come down to one board with hooks or pegs screwed along its face, hung flat on the wall.
A magazine rack takes a few straight cuts and some careful sanding of the slot edges. Each one is easy to finish in an afternoon.
What can I make with a single 2×4?
A railing planter, a wall-hung jewelry organizer or a set of wood lanterns all work from one board.
A planter is an open trough sized to sit snug on a deck rail, with a few drainage holes drilled in the bottom.
Lanterns are cut from the same board, and cutting each one to a different length looks better than a matching set. Check that your board is wide enough for the part you need before you buy it.
What can I make with 1×1 wood?
For 3D geometric wall art, 1×1 strips work well: cut them to staggered lengths and stain each group a different shade. A dark frame around the finished strips hides the raw cut edges and makes the stain tones pop.






