
The tools already in your garage decide which of these projects is yours: with only a drill and sandpaper, coasters and wood slice decor are easy wins, and with a chop saw, circular saw and finish nailer, the sliding barn door and the log cabin coat rack open up.
The list runs from round discs cut from scrap to a door with planks set at a 45° angle, and pine covers most of it on price and ease.
1. Wooden Name Boards
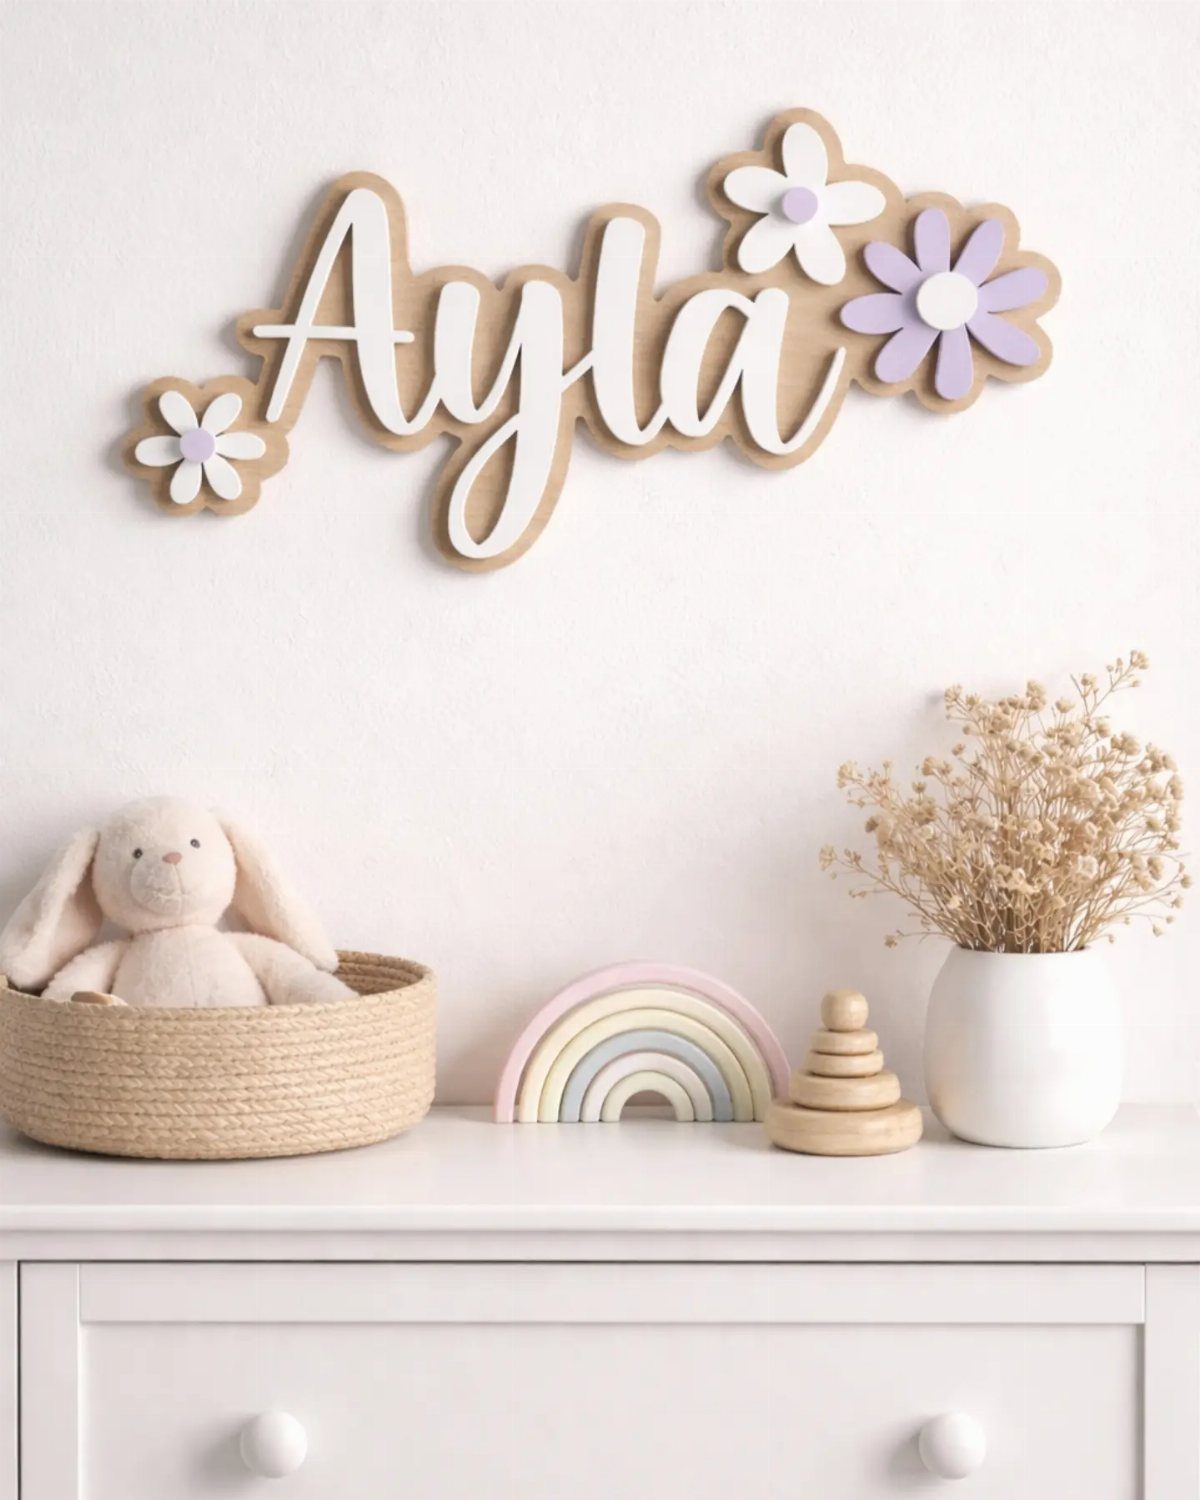
A name board works best when the lettering is the star and everything else stays quiet.
On a white wall, light wood letters with a few flower accents read softly, and a name like Ayla is short enough to cut with a scroll saw or jigsaw.
I would keep the flowers small and limited to one or two spots, so the letters stay easy to read. Hang it low enough over a dresser that it feels connected to the furniture beneath it.
2. Wooden Coasters
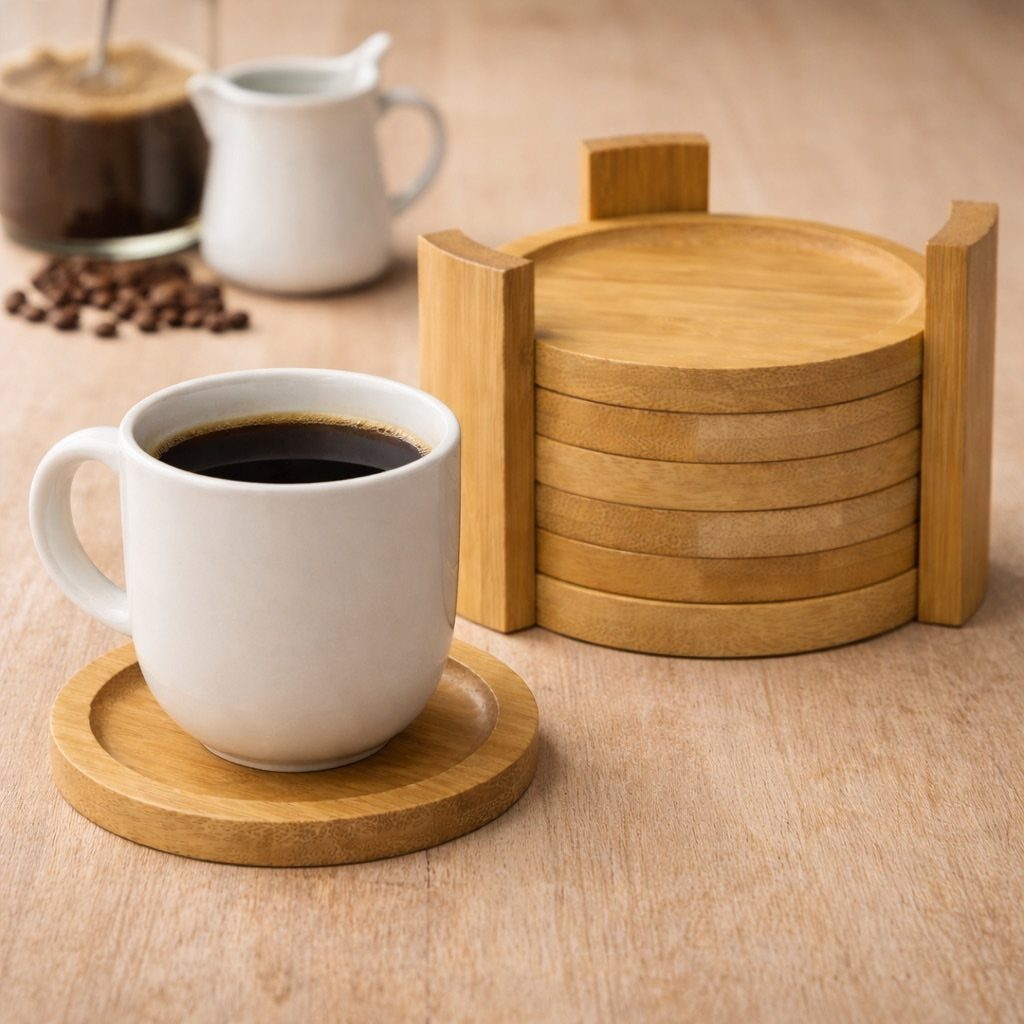
Round coasters are about as forgiving as woodworking gets. Each one is a flat disc, so a slightly uneven edge or a small sanding miss disappears once a mug sits on top.
Cut several at once so you end up with a stack, then sand every face and edge until it feels smooth.
A small wooden caddy, even just a box with a handle, gives the stack a home on the table so the coasters stay together and within reach.
Scrap pieces from other projects work fine here, which suits anyone trying to waste less.
3. Wood-Framed Mirror
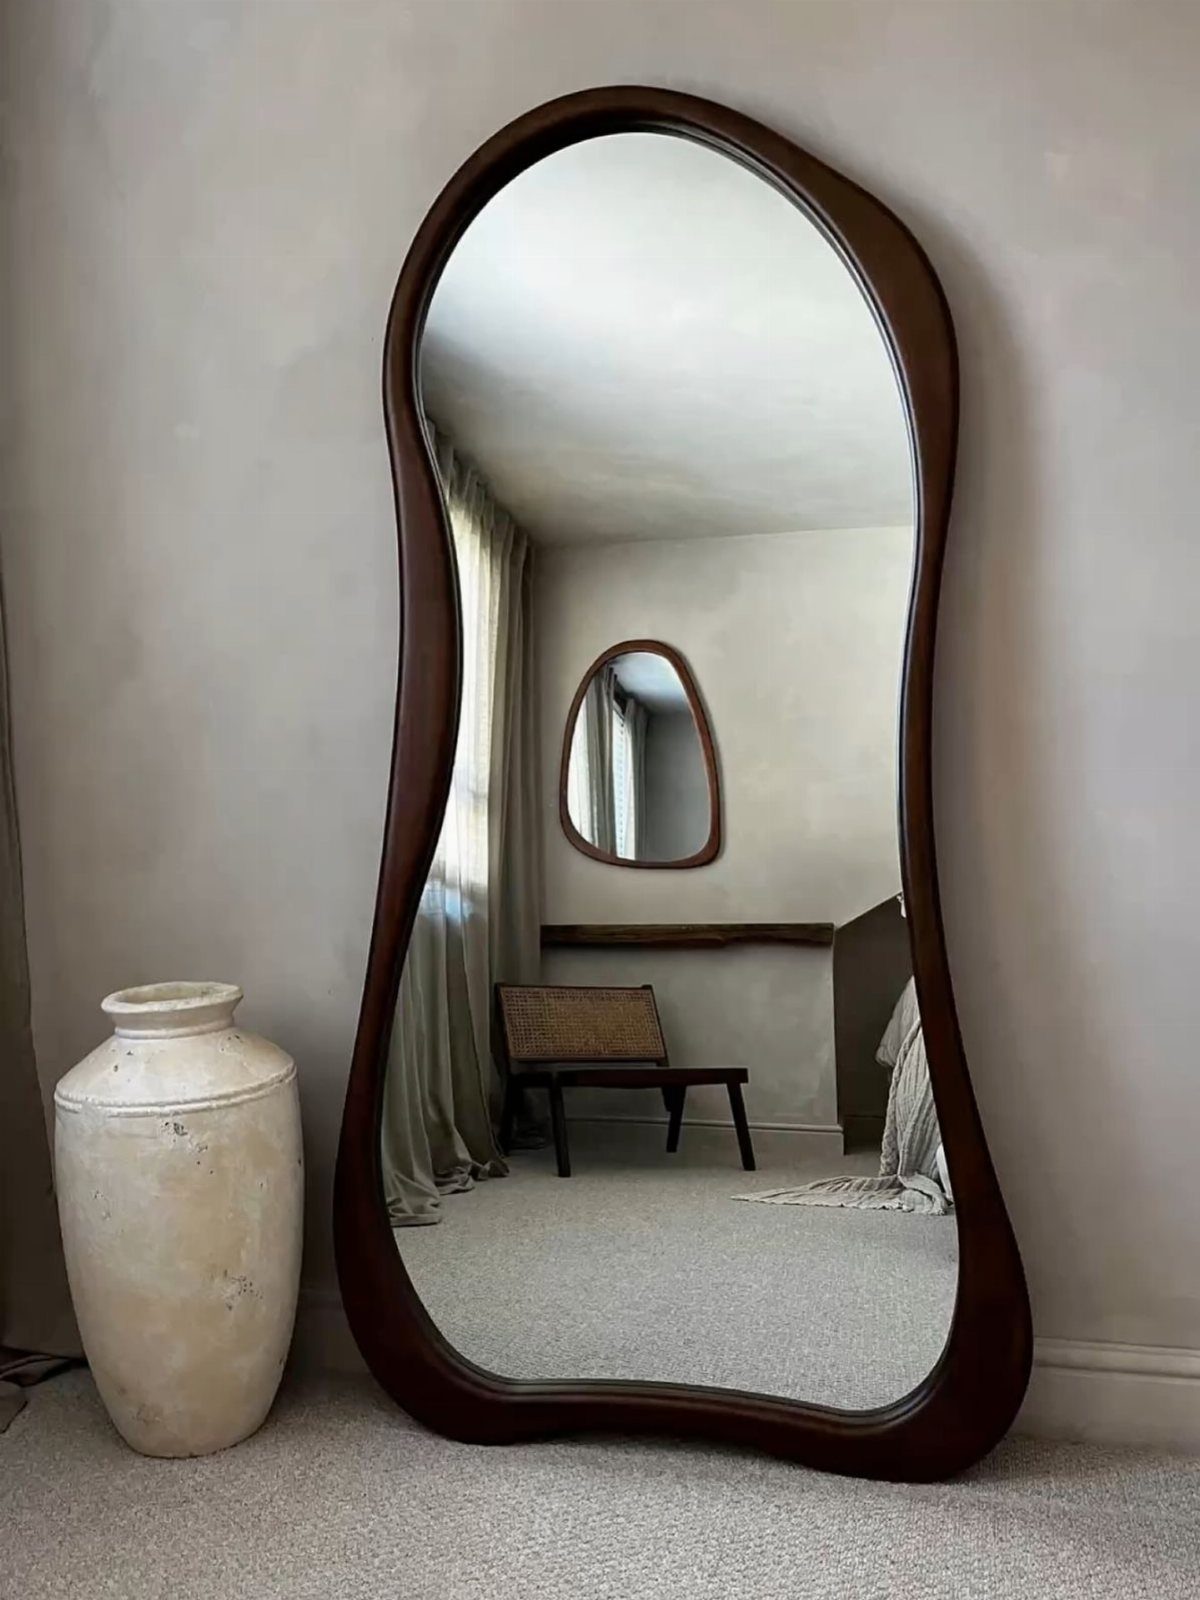
Irregular, organic shapes give a mirror its boho character, and a dark wood frame makes that outline the focus. Leaning a full-length version against the wall, with a large vase beside it, saves you from hanging anything heavy.
I would trace the shape on paper first and settle the curves before cutting any wood. A dark stain hides small gaps and tool marks better than a light finish does, which helps on a freeform design.
4. Wooden Lanterns
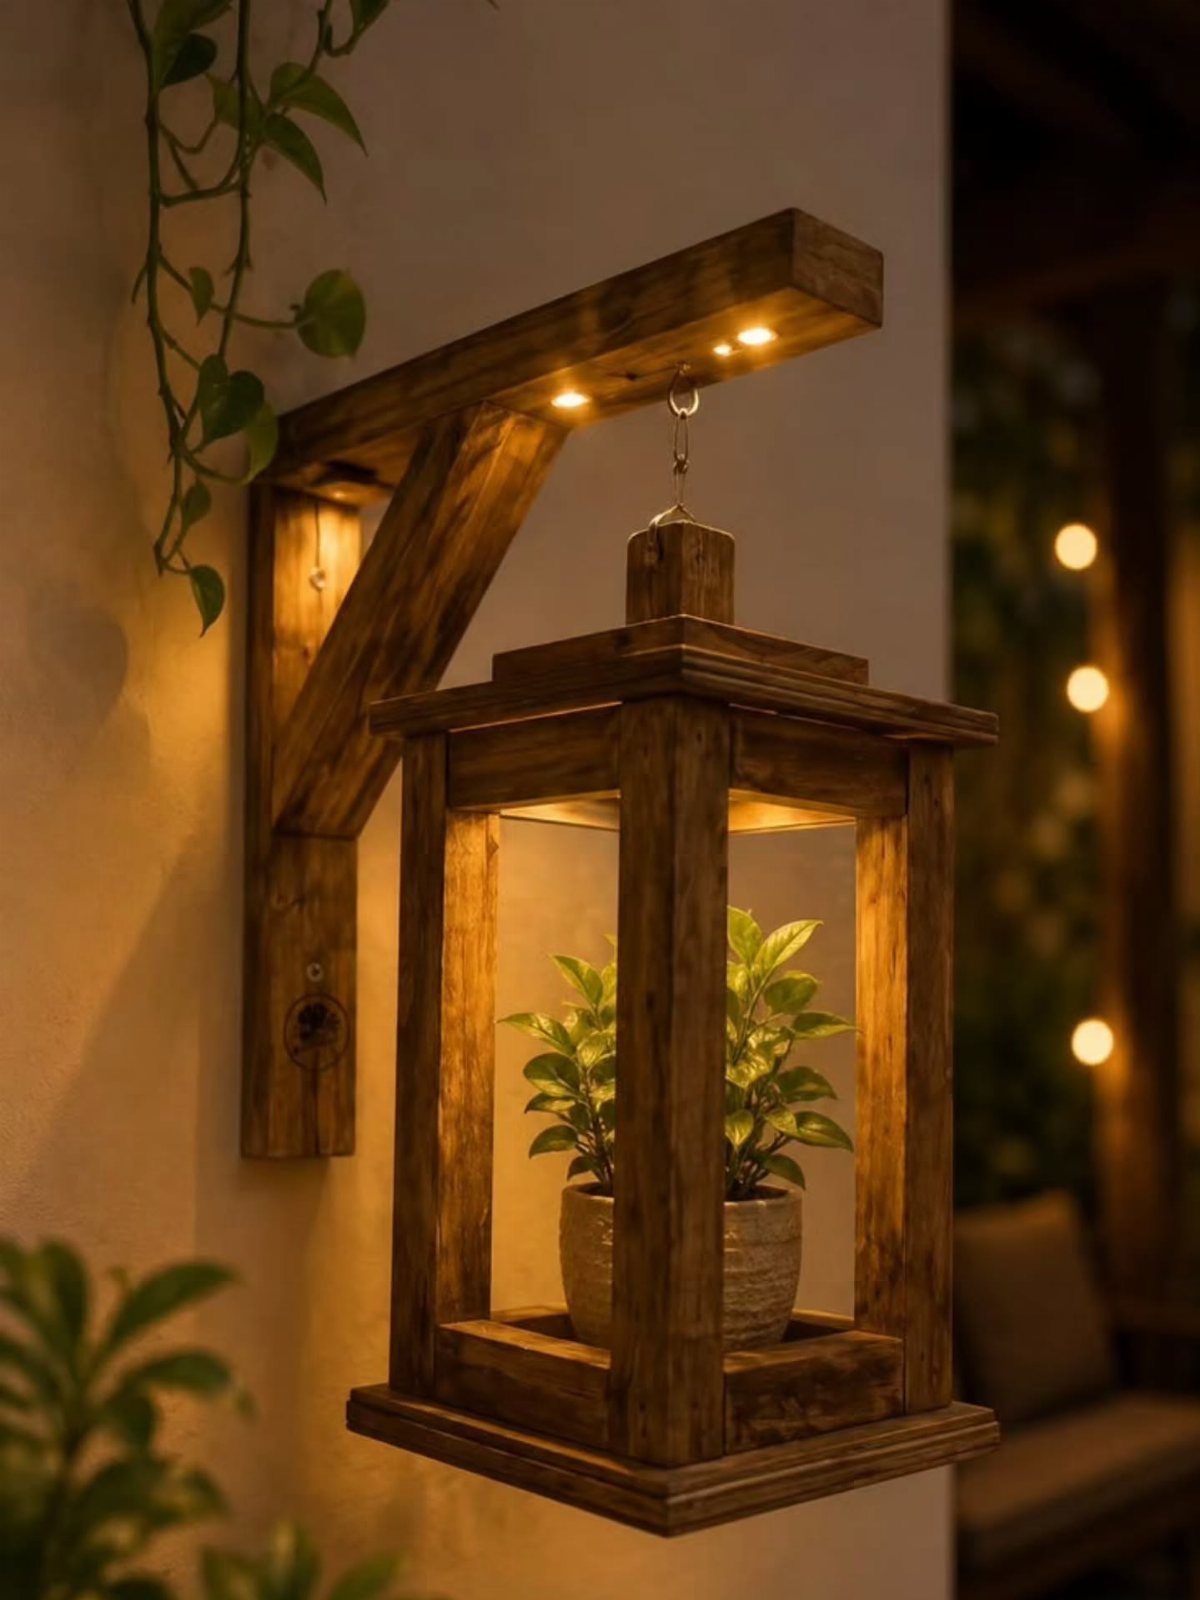
A wooden lantern hung from a wall bracket brings light and greenery together in one spot. Putting a small potted plant inside, as this one does, gives the lantern a purpose beyond holding a candle.
Build the bracket from sturdy wood, since it carries the whole hanging weight.
If you want built-in lights, plan the wiring path before assembly, not after. Keep the plant small so the lantern doesn’t look crowded.
5. Magazine Organizers
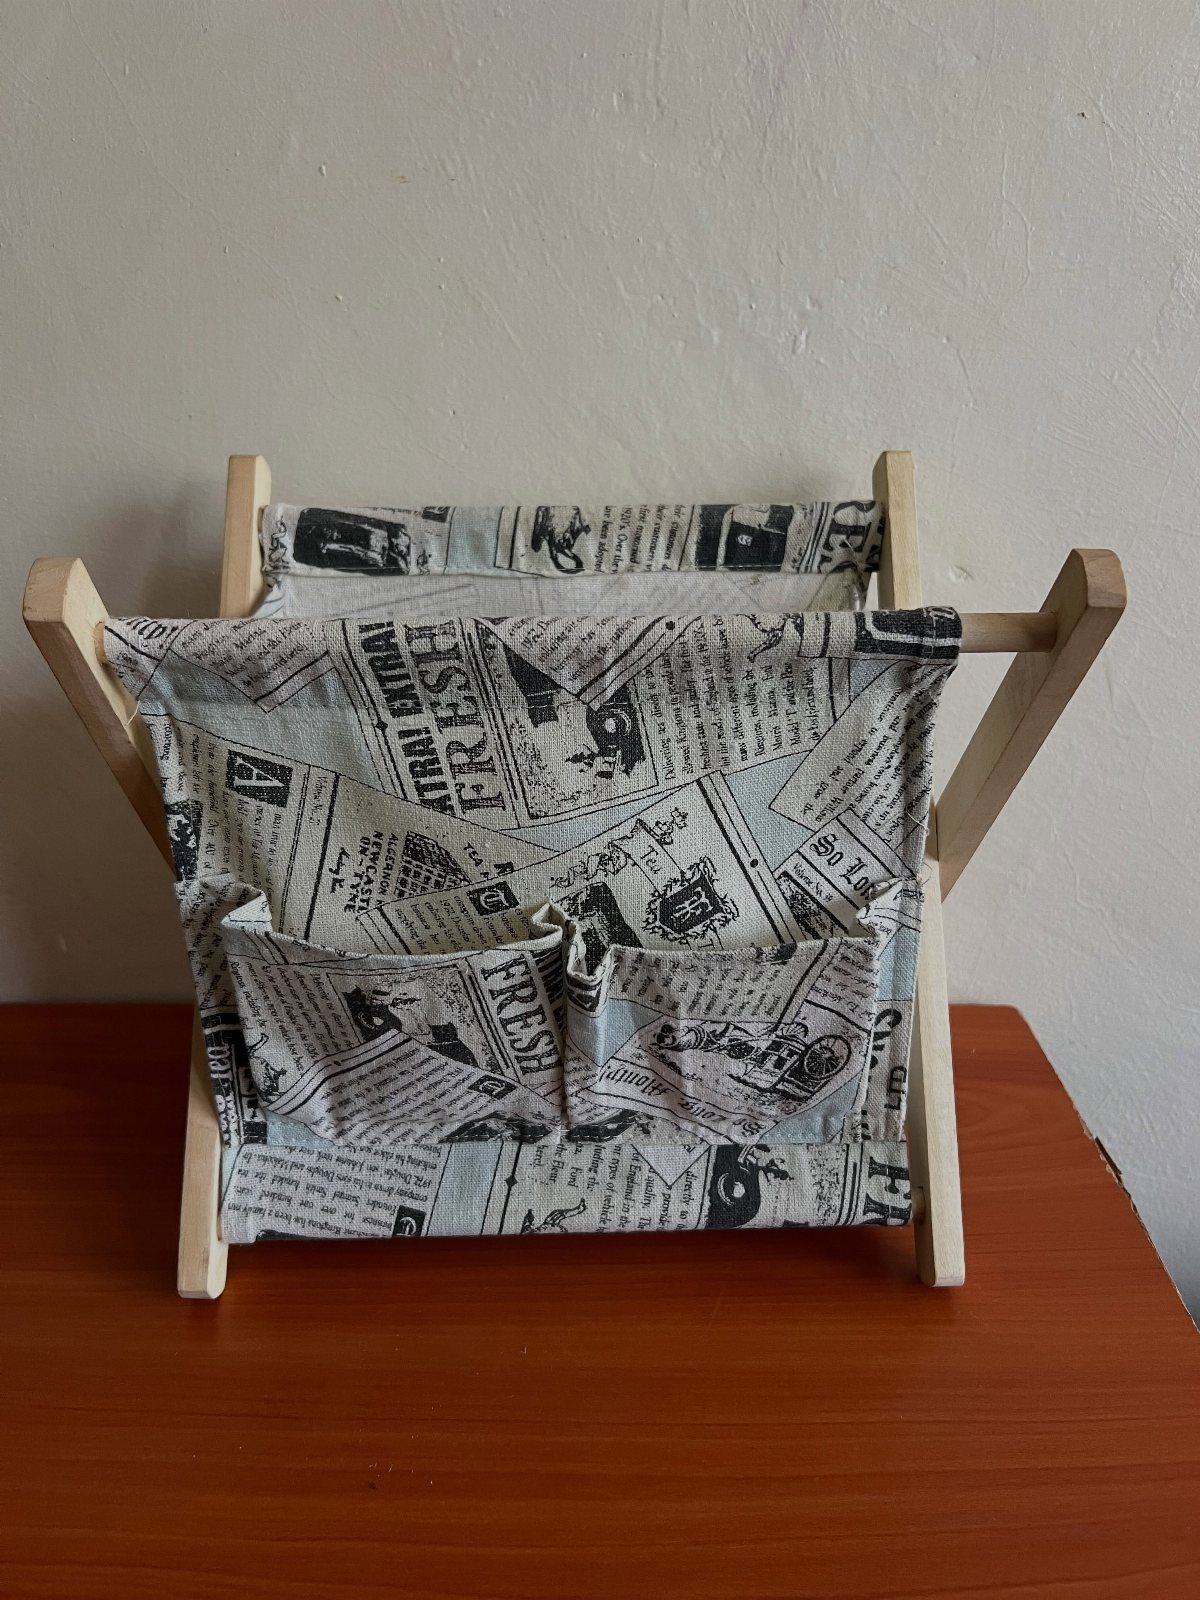
A light wooden frame holding a fabric liner with pockets turns magazines and papers into a tidy wall or tabletop piece.
Build the frame first, then fit the liner so the pockets hang evenly.
Choose fabric with some weight so it doesn’t sag under a stack of documents. I like this for small spaces, since it holds paper without taking up a shelf.
6. DIY Candle Holders
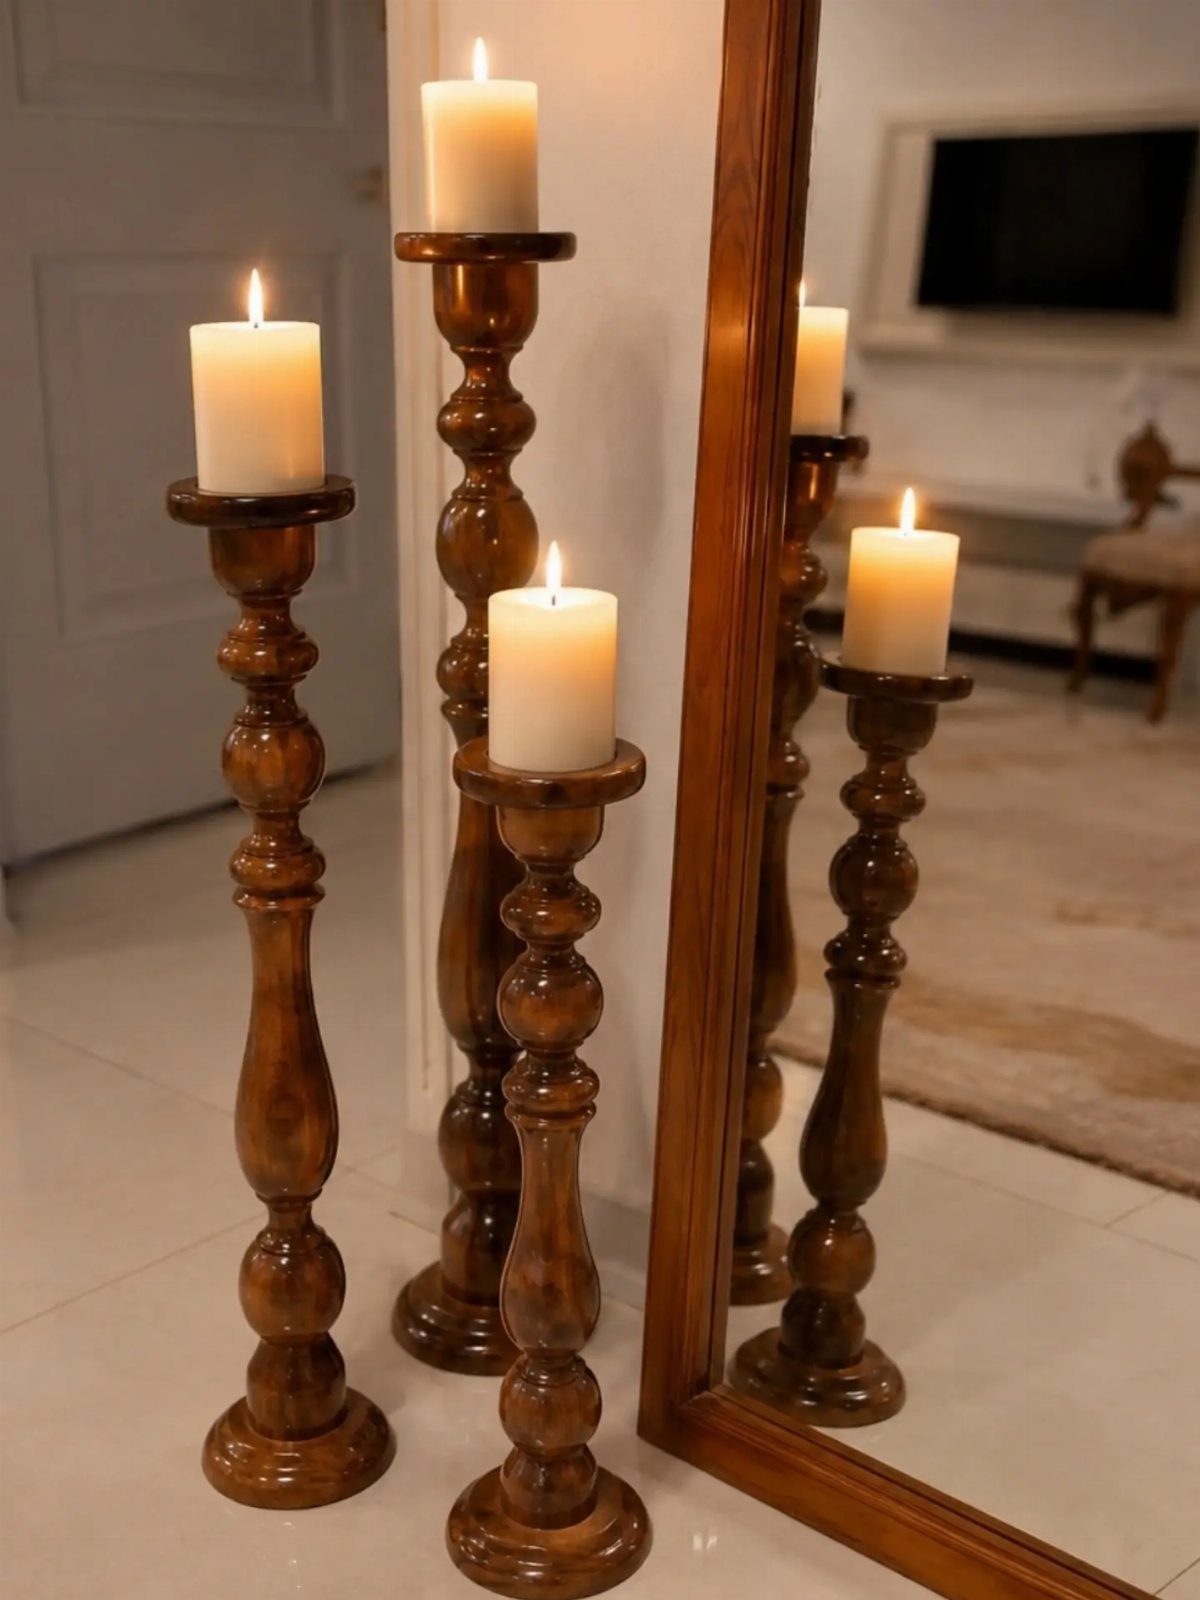
Turned candle holders in three different heights look better as a group than any single one does. Set beside a big mirror, the flames double in the glass, and the varied heights keep the cluster from looking stiff.
A lathe is the usual tool for turning, so without one, stack cut discs or use square posts instead.
Match each top to your pillar candle’s width so it sits snugly. Always keep lit candles away from anything flammable.
7. Sliding Barn Door
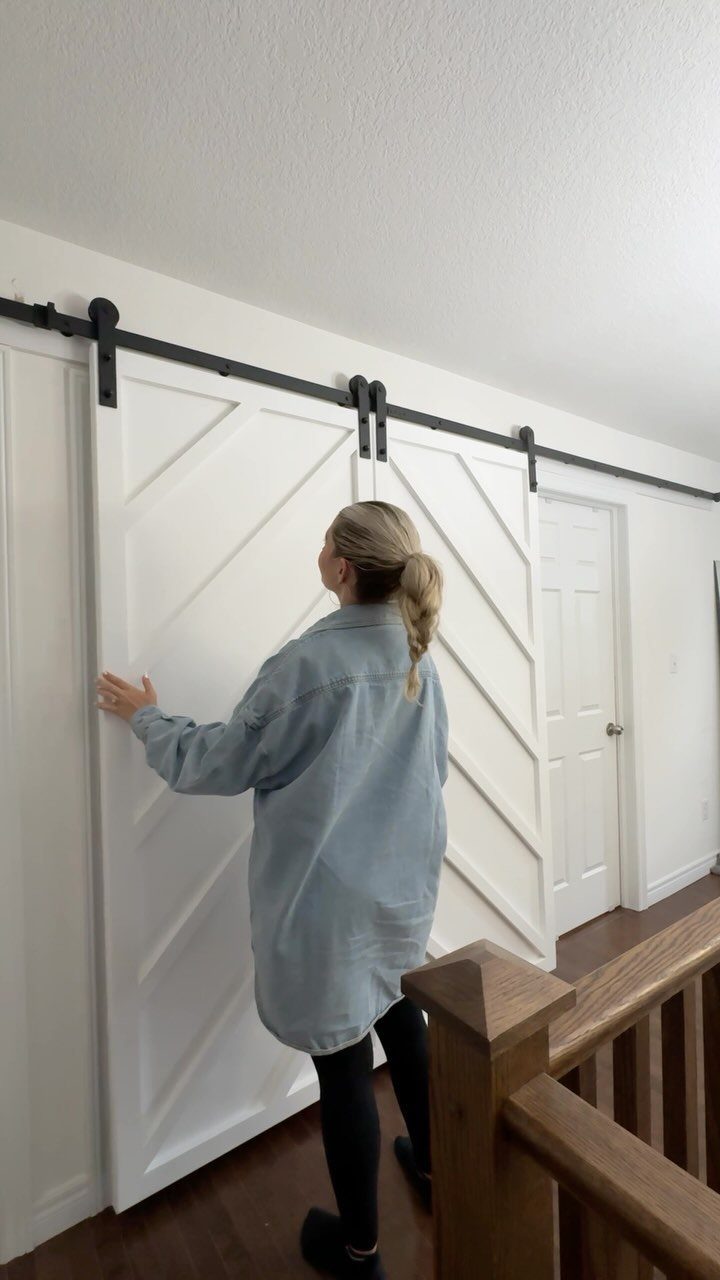
Diagonal planks give a plain white slab a pattern, and a black metal track adds a clean, graphic line against the wall.
Run the boards at a consistent 45° angle so the cuts match end to end. Paint keeps the look quiet, so the angled boards do the talking.
I would mark the diagonal layout on the door face before fastening anything, and check that every plank end lines up with the frame. The track has to carry the full weight of the door, so mount it securely.
8. DIY Stained Wood Tray
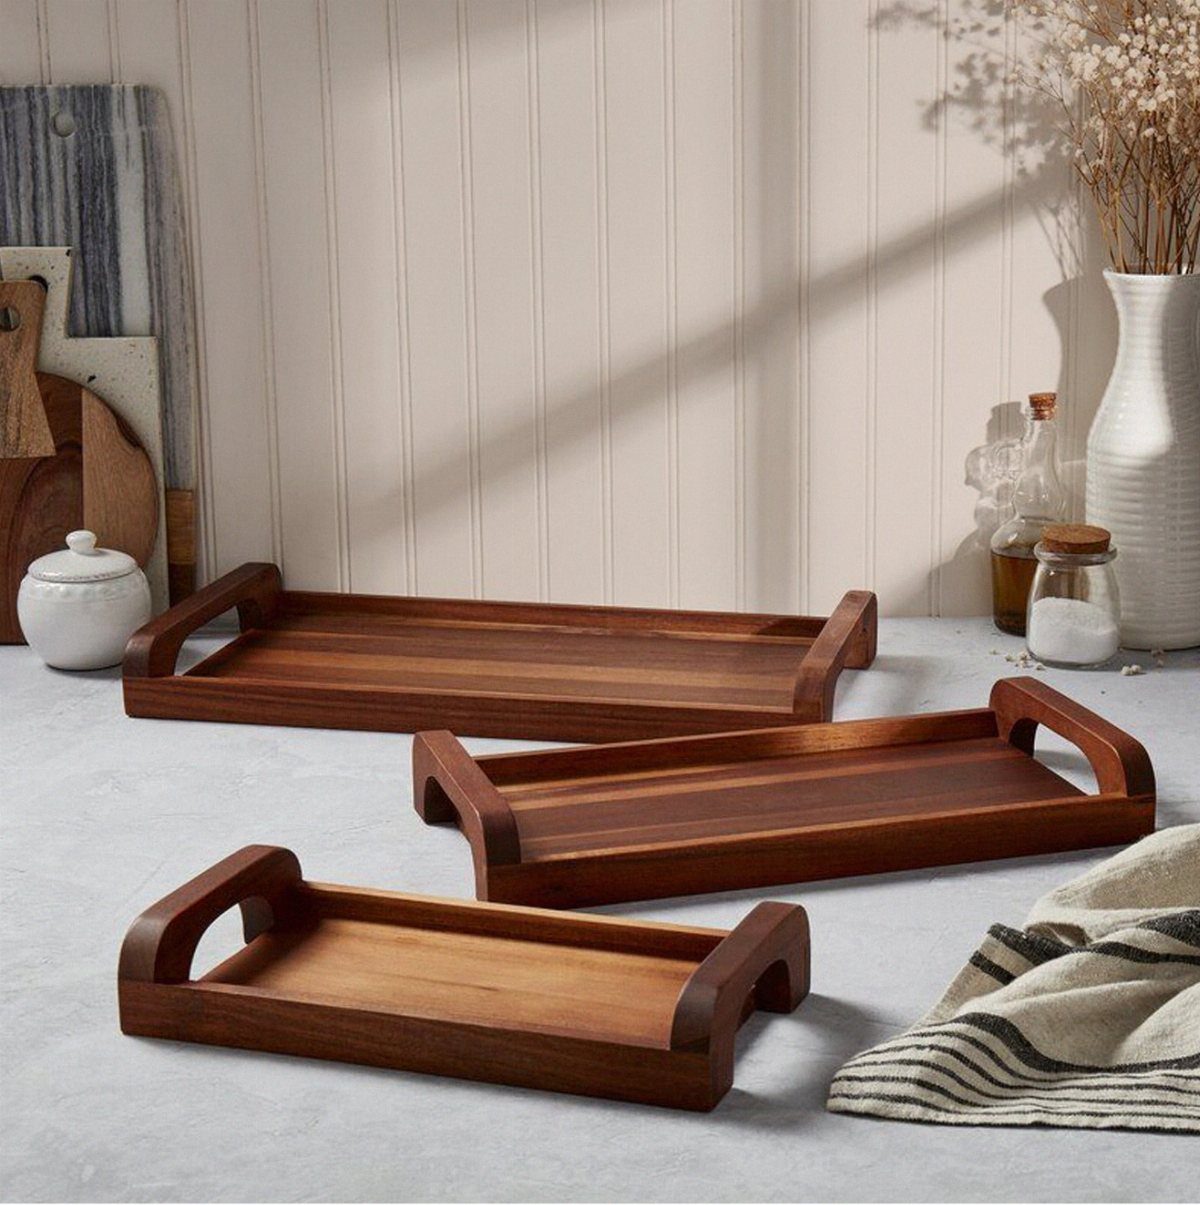
A natural stain lets the grain do the decorating, which is why a set of trays in 3 sizes looks good with nothing added.
Handles make each one easy to carry, and the stacked sizes can sit together on a counter or split up around the house.
Sand through the grits until the surface feels even, because stain shows every scratch.
Wipe on a thin coat and let the wood’s own color come through. Test it on a scrap first.
9. Wood Slab Clocks
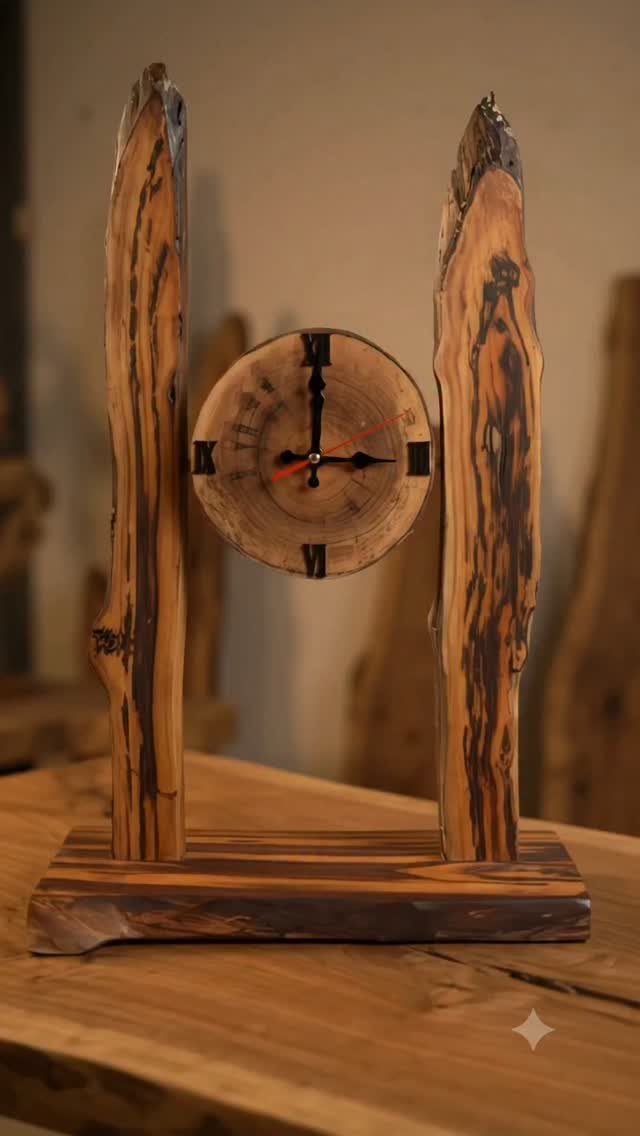
Setting a round wood slab between 2 live-edge pillars gives a clock a relaxed, breezy shape, and the natural edges keep it from feeling too polished.
Roman numerals suit the slab well, since their bold strokes hold up against the grain.
I would cut the pillars close in height and fix them to a solid base so the clock stands steady on a table. Keep the numerals simple and evenly spaced, because the wood already supplies plenty of pattern.
10. Log Cabin Coat Rack
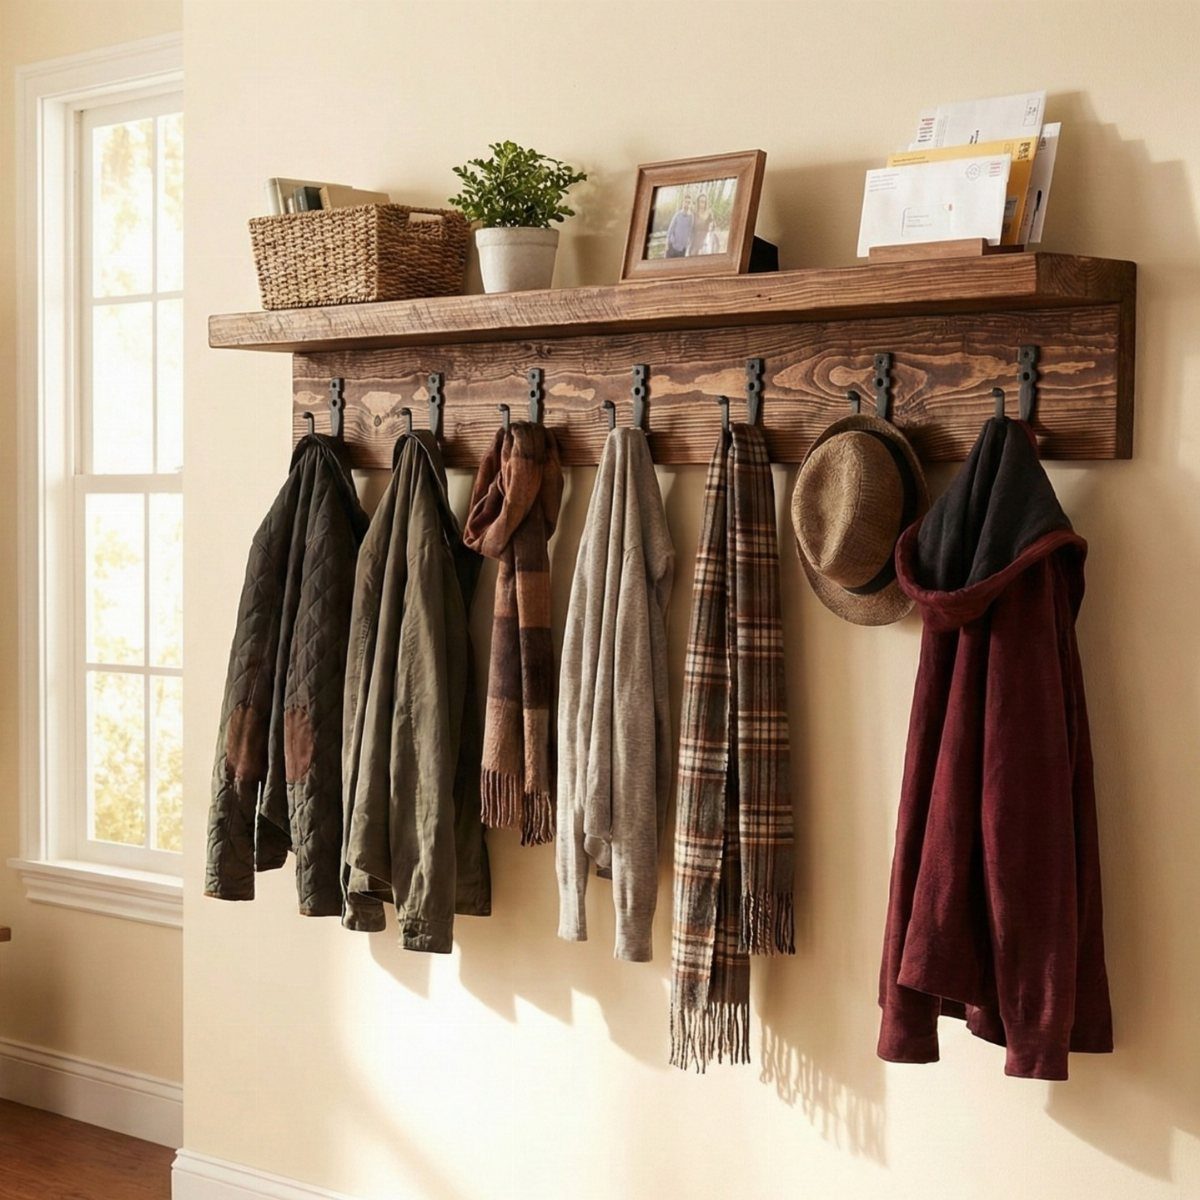
A wall-mounted log cabin coat rack suits an entryway where floor space is tight.
I would use rough, chunky boards to get the log cabin look.
Anchor the rack into studs, since wet coats add up in weight. Keep the shelf items light so the top doesn’t get crowded.
11. Wood Slice Decor
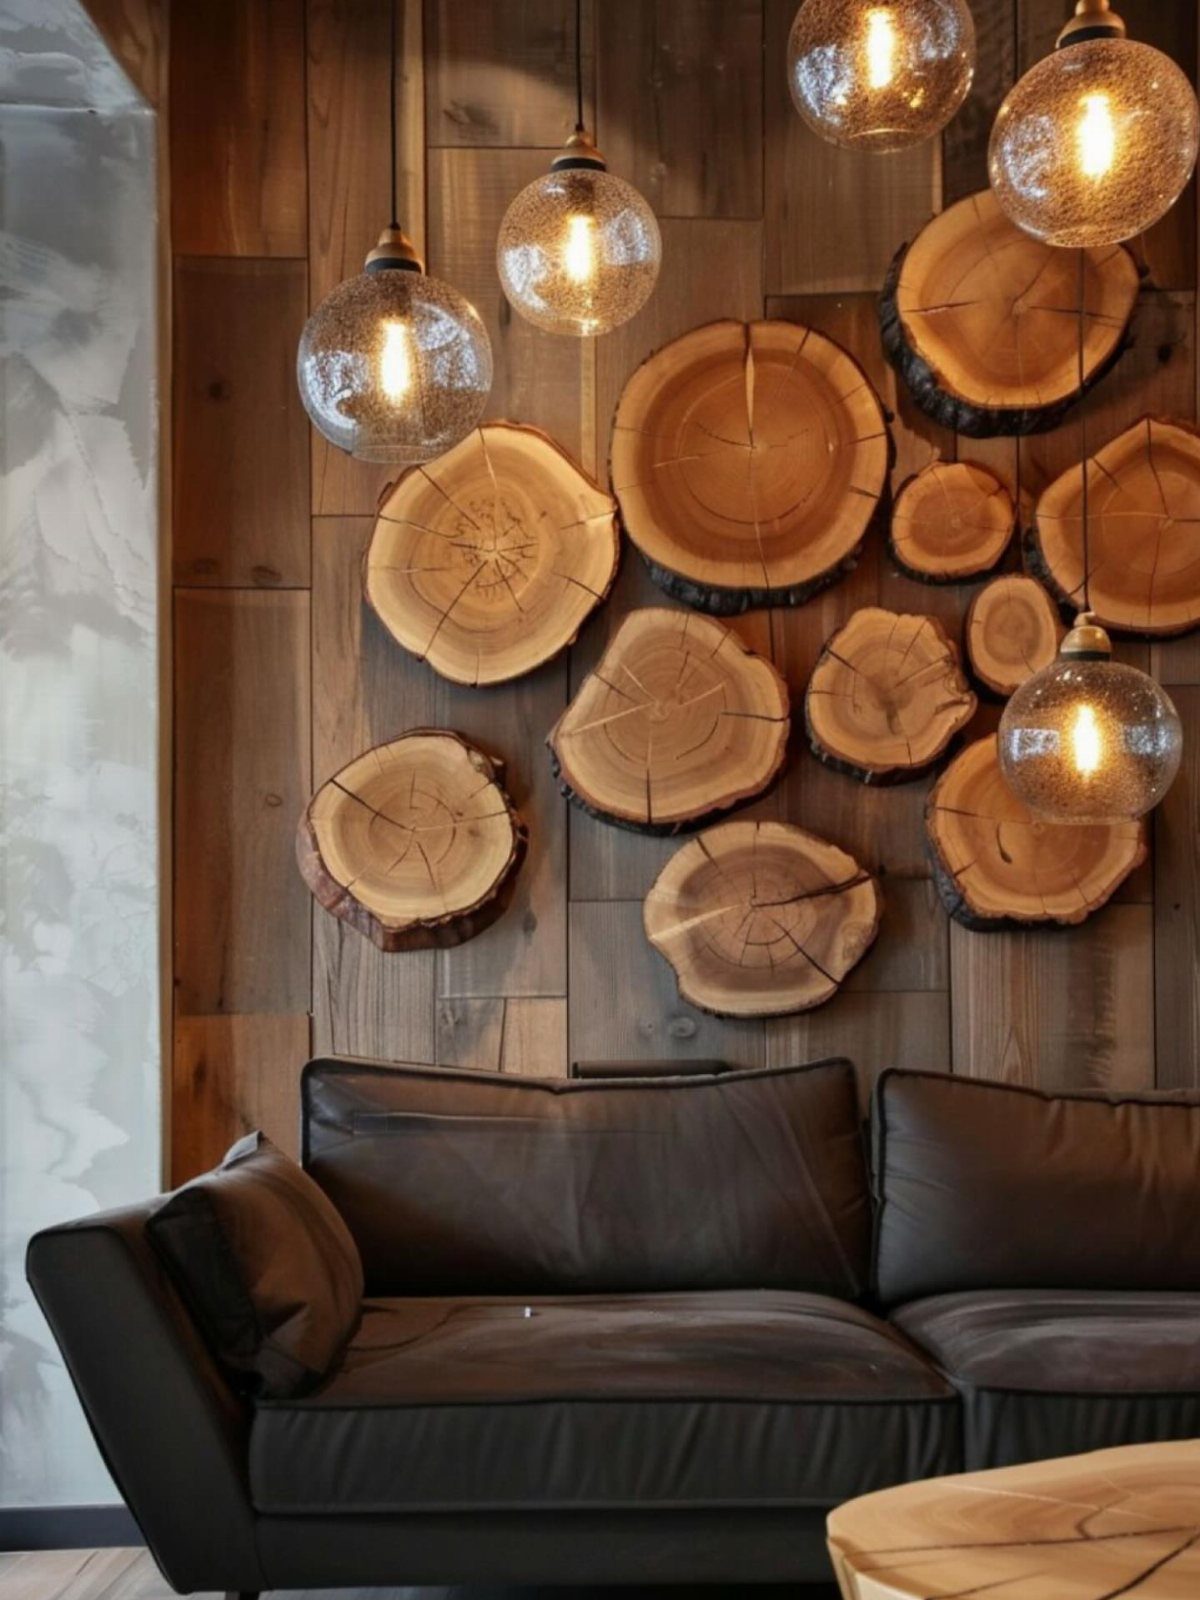
Wood slices in mixed sizes work best when the spacing looks loose and random, with a few large rounds and several small ones filling the gaps. On a plank wall, the rounds add a second wood texture without needing color.
Lay the whole arrangement on the floor first, then move each slice until the gaps feel even.
Sand the faces lightly so they look clean and handle well. A few pendant lights nearby give the grain a warm glow.
12. Wooden Plant Stand
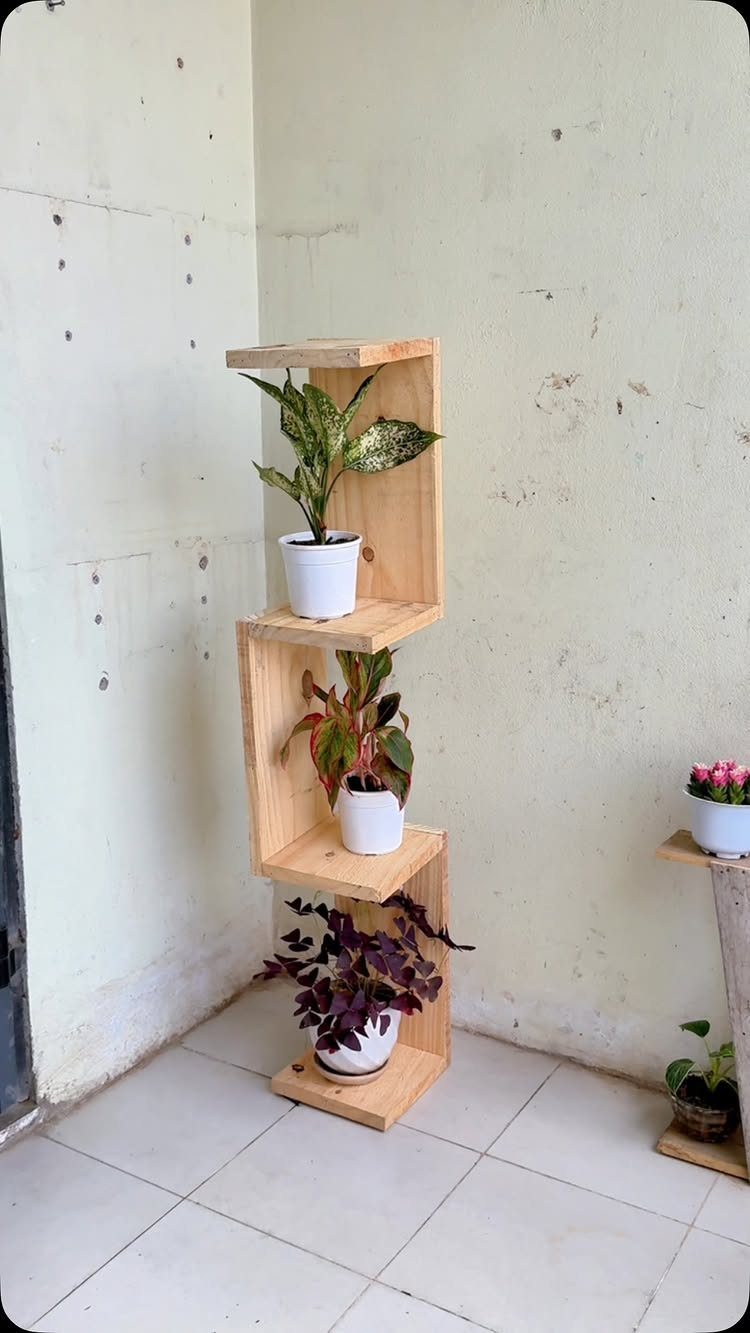
Staggering three shelves in a zig-zag lets each plant get its own space, and the stepped shape keeps leaves from crowding one another. Against a plain wall, the stand becomes the main decoration.
I would build it with a wide, flat base so it stays steady on a tile floor.
Cut all 3 shelves to the same size, then offset them evenly as you attach them. Pick plants of similar pot size so the stack looks balanced.
13. Open Shelves
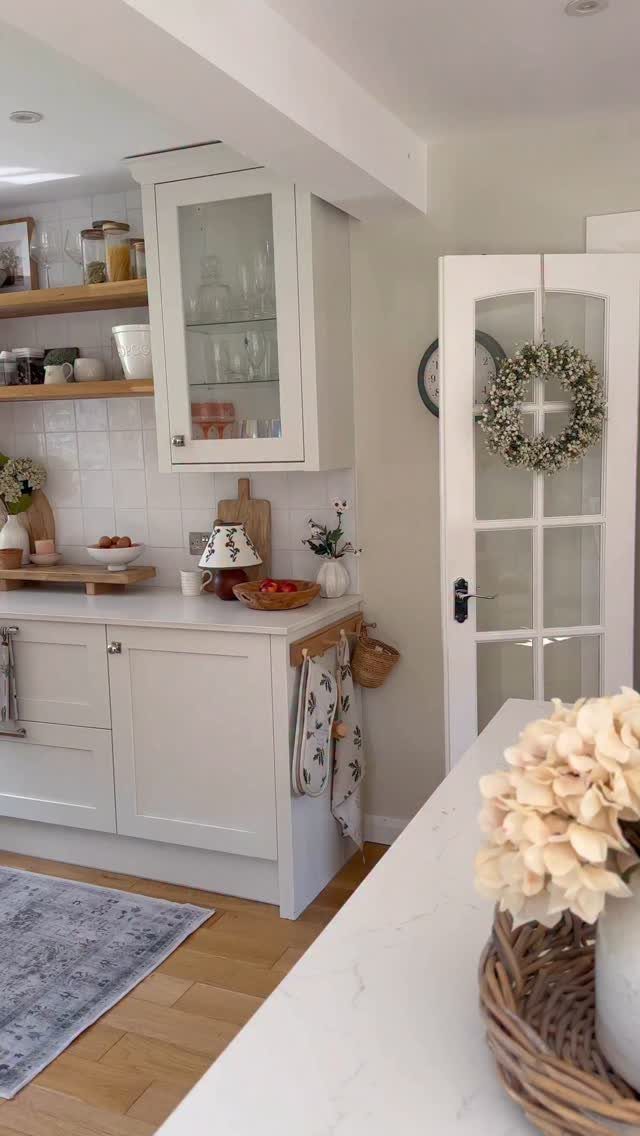
Open shelves make a kitchen wall work harder: jars and bowls stay in reach, and the wood warms up a white tiled backsplash. Because everything sits in view, matching jars keep the look calm.
I would mount the shelves into studs where you can, since full jars add up fast.
Put the heavy bowls on the lowest shelf and the light jars higher. Sand and seal the boards so splashes from the counter wipe right off.
14. DIY Perpetual Calendar
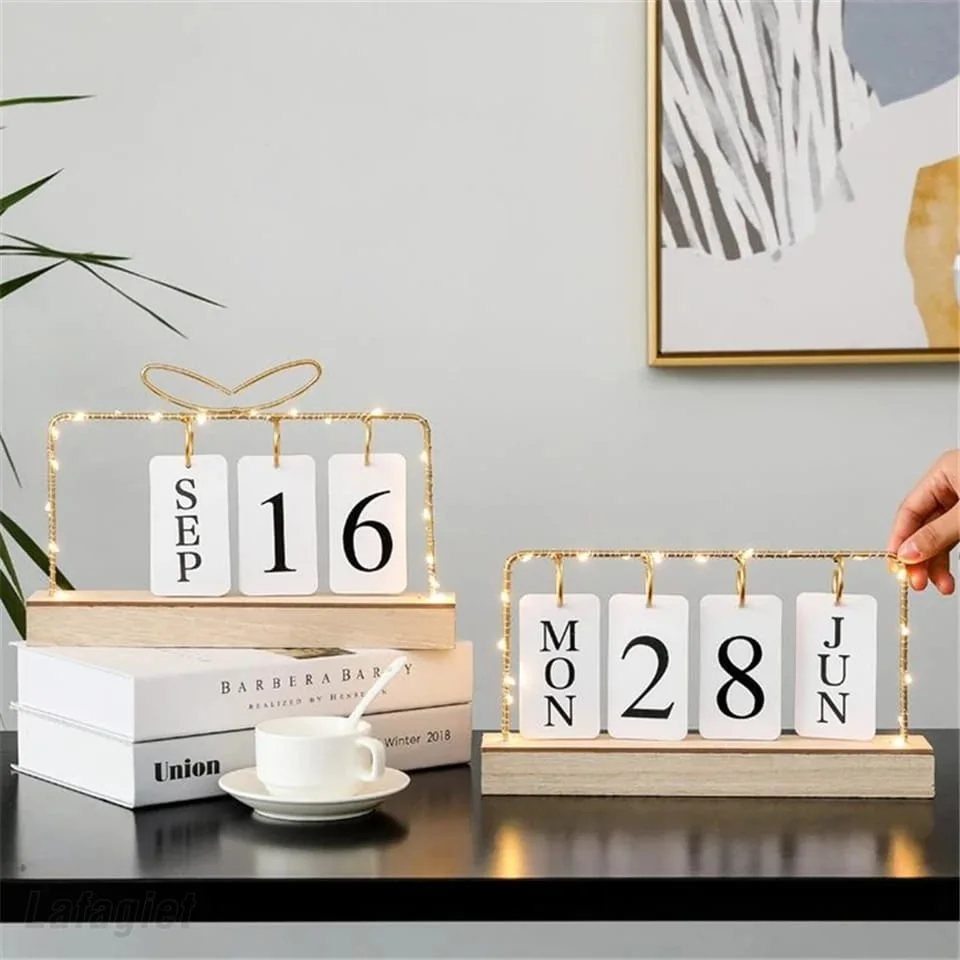
A wooden perpetual calendar swaps the paper kind for a small block with white cards you flip each day. Set on a desk or shelf, it takes up little room, and the date reads at a glance.
Cut the base so the cards sit upright in a groove or slot.
Make the cards from one material and in one size so they turn smoothly. Keep the lettering bold and plain; a clear number beats a fancy one on a card this small.
Basic Tools for DIY Wood Decor
Start with the wood itself.
Scrap bin offcuts, salvaged pallet boards, barn wood and other reclaimed lumber will do the job, and most of it is cheap or free. Check pallet and reclaimed boards for embedded nails or grit before they touch a saw blade.
A chop saw makes clean, square crosscuts, and a circular saw handles what the chop saw can’t reach.
A finish nailer plus wood glue holds most small builds together; I reach for glue first and let the nails act as clamps while it sets.
Round out the kit with a tape measure, a drill, a level and sandpaper. The level matters more than people expect, since a crooked shelf or frame shows right away on a wall.
Everything here is a basic tool, and none of it requires a full workshop. If you own only a drill and sandpaper, start with projects that need only those.
Benefits of Wood in Home Decor
Wood warms a room in a way synthetic materials don’t. Every board has its own color and grain, so 2 pieces are never quite alike, and that variation gives a room visual interest without adding anything else.
It also lasts. With decent care, a wood piece can stay in a family for generations, which makes it a smart buy for a home.
Because wood suits everything from rustic farmhouse to clean modern, a handmade piece seldom fights with the furniture already in the room.
As for calm, wood is not a medical treatment. Studies on biophilic design point to a link between natural materials indoors and lower stress, and wood is one of the easiest of those materials to add to a room.
That research looks at natural design in general, not wood crafts specifically. I’d treat wood as one part of a comfortable room, alongside light and plants.
Types of Wood Commonly Used
Oak is my dependable choice: hard, strong and marked with a bold, open grain.
It suits pieces that see hard use. Maple is paler with a tight, quiet grain, which makes it a good match for contemporary rooms that call for a cleaner look.
Walnut brings deep brown tones and a dramatic feel. I’d save it for a piece meant to be the focal point.
Pine is the budget choice and has a casual feel, which makes it my pick for a first build or a project you may redo.
Teak and other exotic species bring unusual colors and grain patterns, but they cost more, so I save them for one accent piece.
Bamboo is technically a grass, but it looks like wood and has strong sustainability credentials. If that matters to you, it’s a fair stand-in.
For an afternoon project, pine wins on price and ease. Choose oak or walnut when the piece should last and the grain should show.
Frequently Asked Questions
What wood types are best for DIY projects?
Pine wins for an afternoon build because it’s cheap and easy to work, so it suits a first project or one you may redo.
For anything that gets heavy daily use, I reach for oak: it’s dense, tough, and its open grain gives a piece real character.
Walnut brings deep brown tones, so I save it for a focal piece, and maple’s pale, tight grain fits cleaner, contemporary rooms.
How can I decorate wooden surfaces?
Stain, paint and hand lettering are the simplest options. A natural stain lets the grain do the decorating, but sand through the grits first because stain shows every scratch, and test it on a scrap before you commit.
For painted signs or names, pencil the lettering lightly first so it stays aligned.






