A claw hammer and a carpenter pencil cost next to nothing, while a digital angle finder and a cordless power sander sit at the other end of the spread, so what you already own and what your project demands should set the order you buy in.
Hand tools like the mallet and utility knife cover most afternoon builds, and the pricier tools earn their spot only once a job keeps asking for them.
If your corners gap on miter cuts, the digital angle finder’s readout is worth the money; if they don’t, a sharp carpenter pencil and a careful eye will do.
1. Claw Hammer
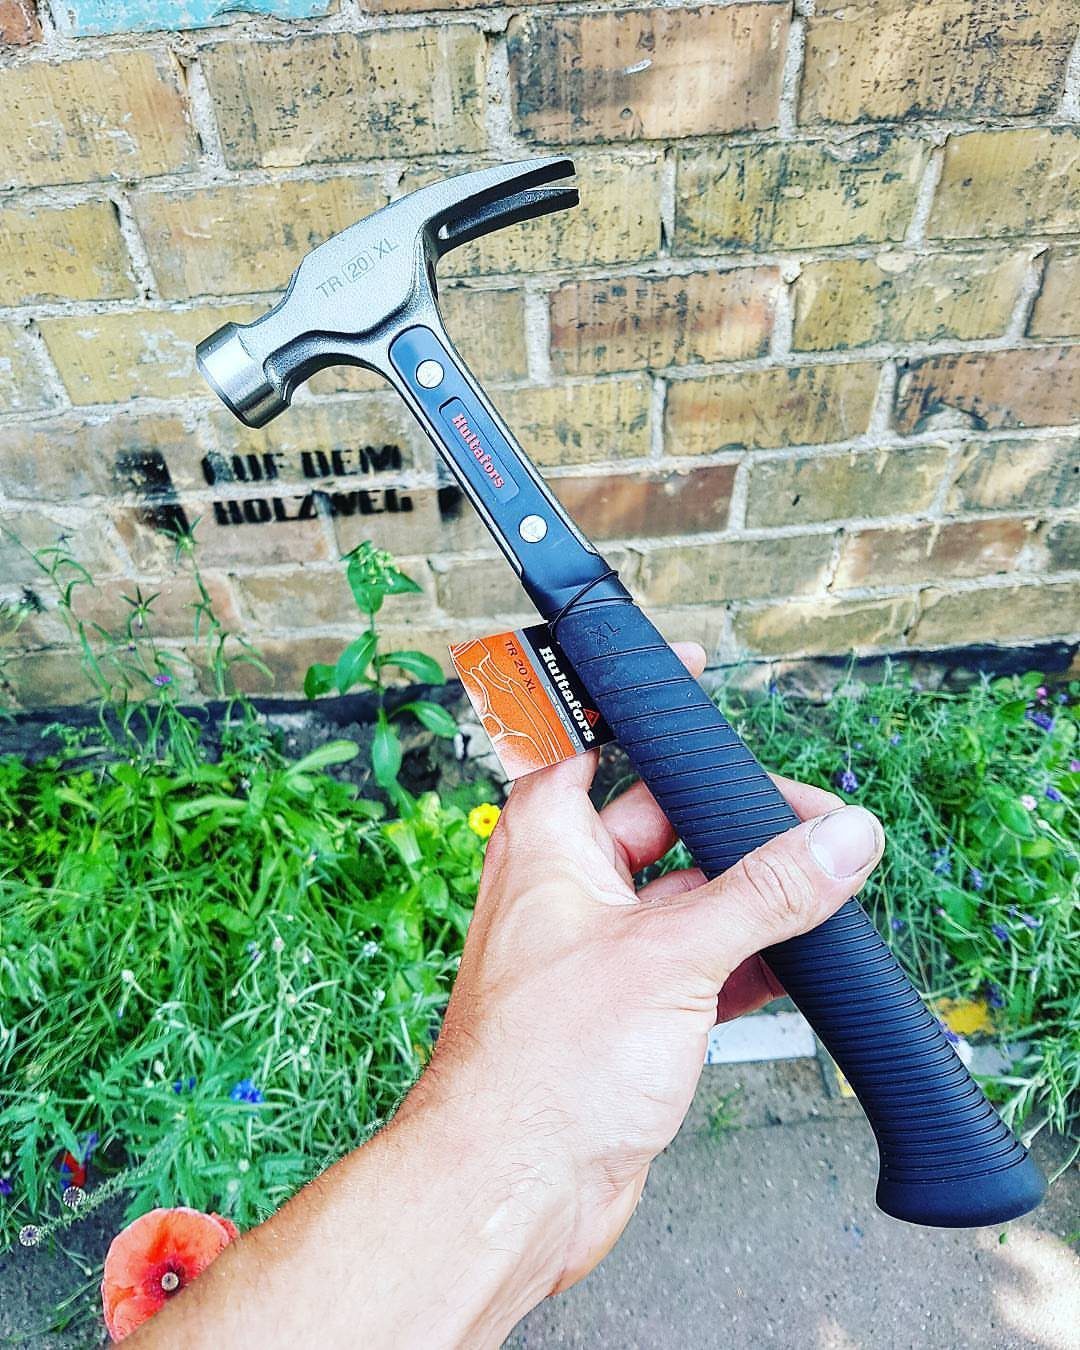
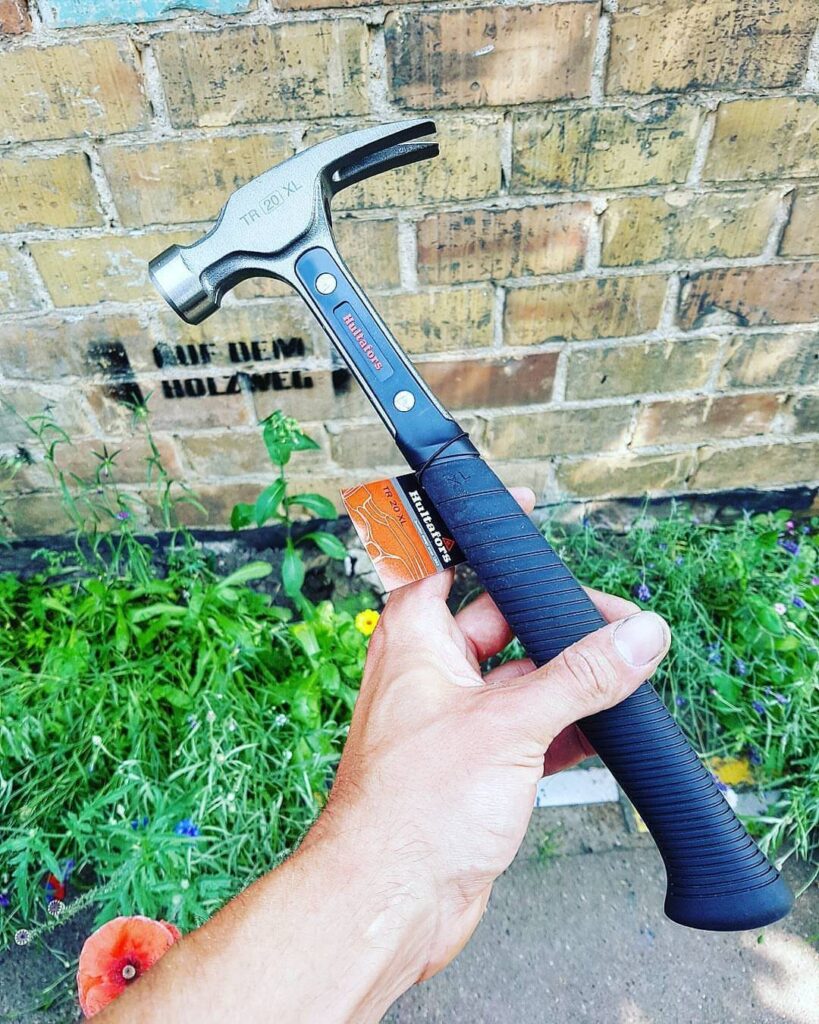
A claw hammer does two jobs with one head: the flat face drives nails, and the curved split claw pulls them back out. That pairing is why it’s the first tool I’d buy for a house with basic tools only.
Choose one with a grip you can hold comfortably for a whole afternoon, since a hammer is only useful if your wrist stays happy. Pull bent nails by rocking the handle back slowly rather than yanking.
2. Carpenter Pencil
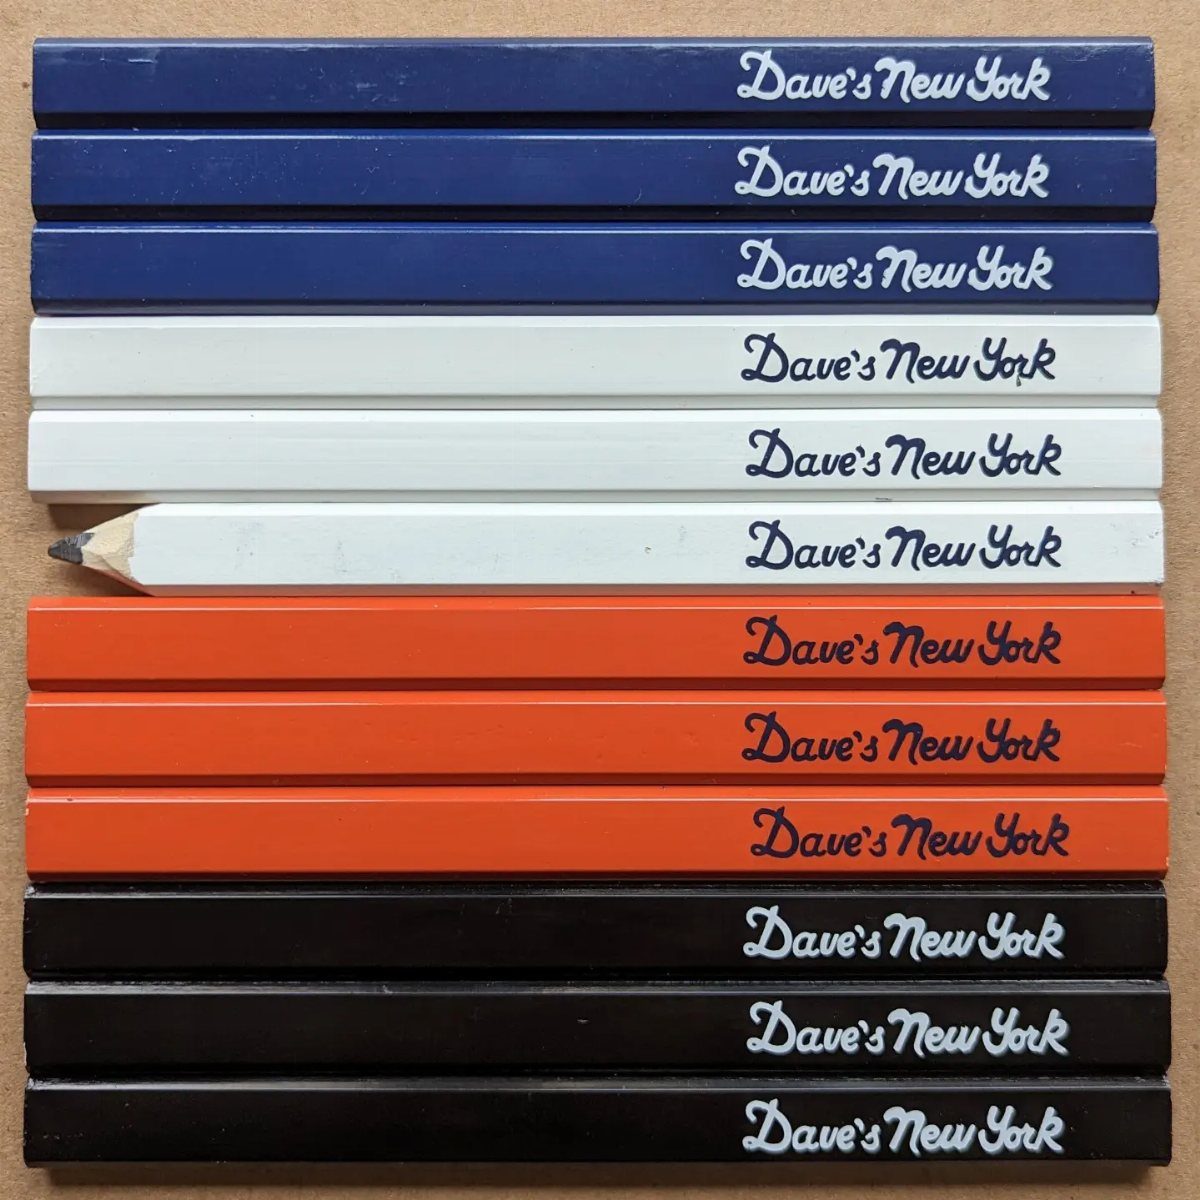
Flat, rectangular, and wide in the lead, a carpenter pencil is built so it won’t roll off a sloped board or a sawhorse. Pick one up before your next cut list.
The flat body also lets you shape the lead: sharpen it to a chisel edge for thick, visible lines, or turn it on its narrow side for a thin, precise mark.
A utility knife handles the sharpening nicely. Buy a handful, because they’re cheap and they vanish into pockets.
3. Utility Knife
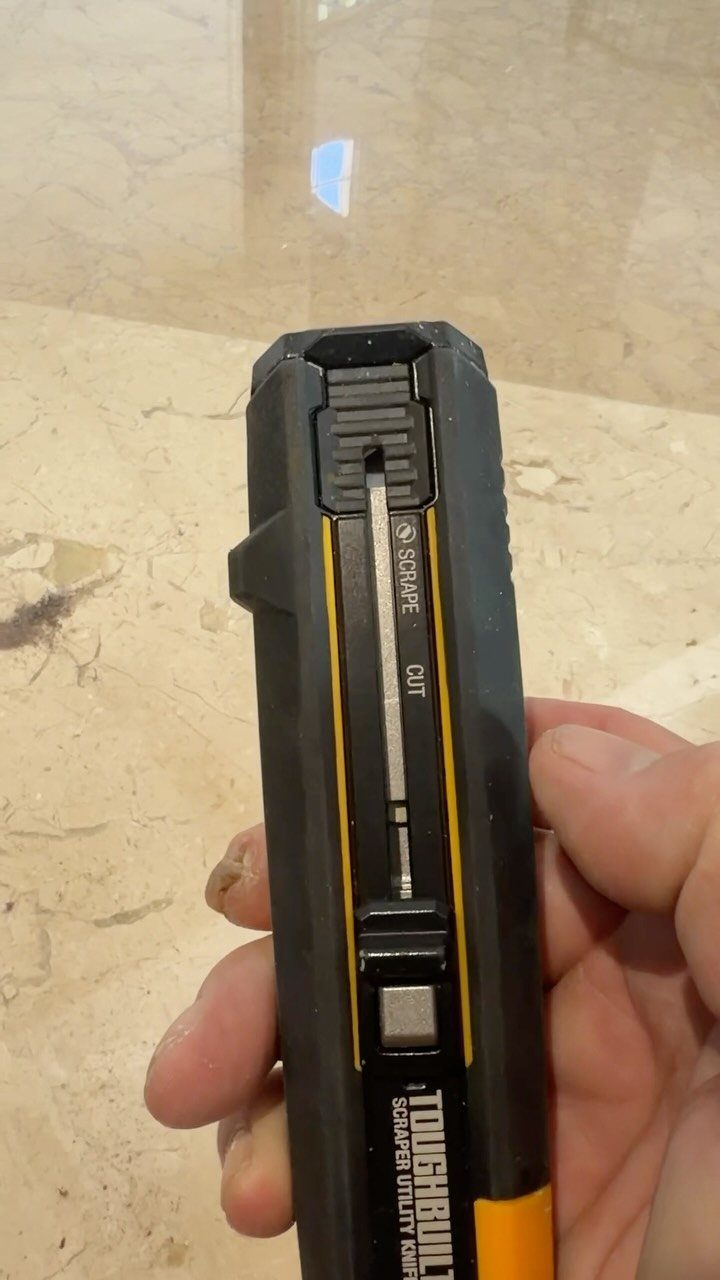
Cutting cardboard, trimming veneer, scoring a line, opening a box of hardware: a utility knife covers all of it, which makes it the most-used blade in my shop.
A utility knife with a built-in scraper does 2 jobs: the blade scores, trims and cuts, and the scraper edge lifts dried glue, paint drips and stray bits during final cleanup.
That suits an afternoon project, where you cut a piece and then scrape off glue squeeze-out or old paint. Swap the blade when it drags; a dull blade slips and cuts worse than a sharp one.
4. Mallet
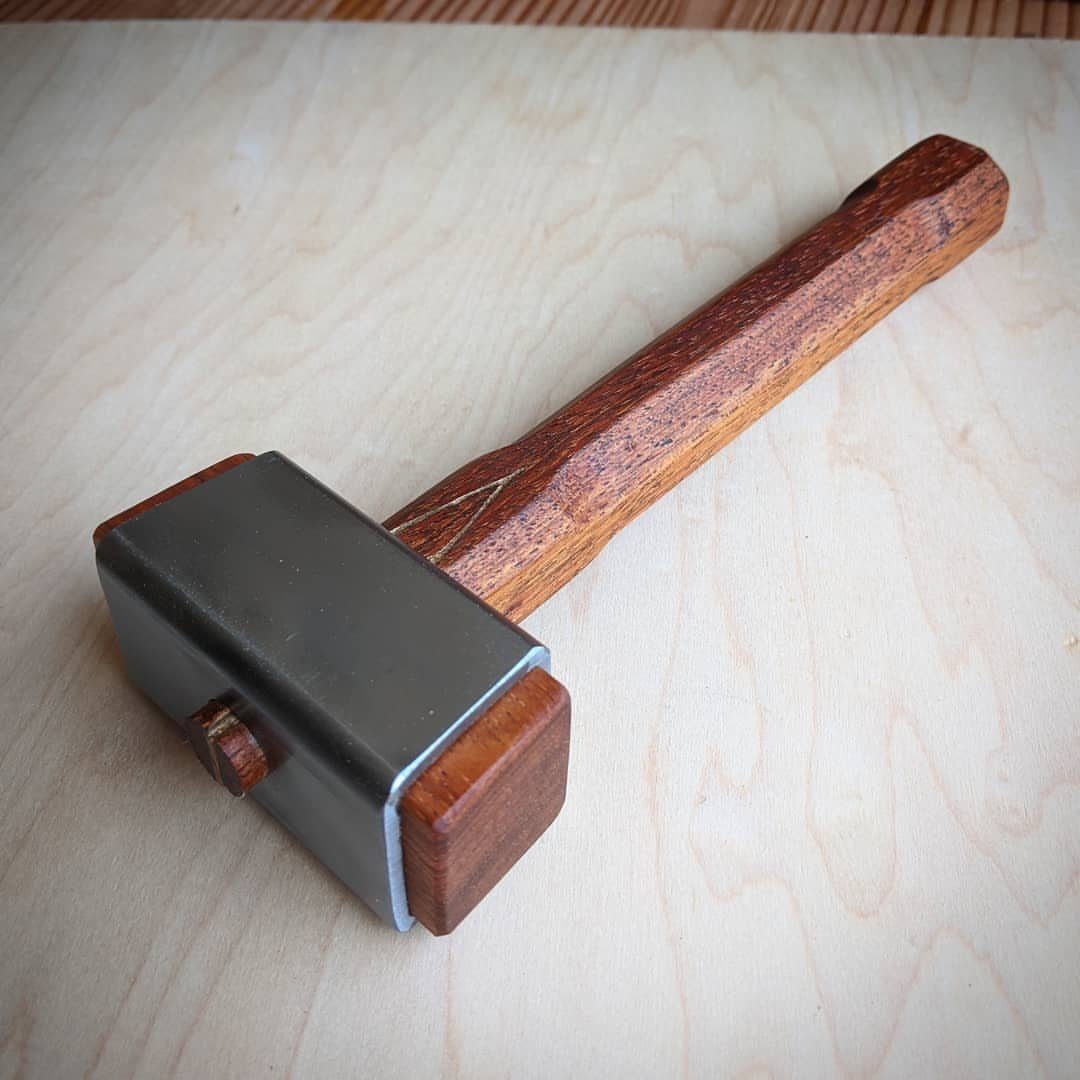
Strike a chisel with a hammer and the steel hammer face can mar the handle over time. A mallet solves that, with a wooden or softer head that absorbs the blow and spares your tools.
I like a wooden one for chisel work, and a handmade version like this one is a fun build for a weekend afternoon.
The metal plates on the head add some reinforcement. Hold the mallet loosely and tap rather than swing hard.
5. Power Sander
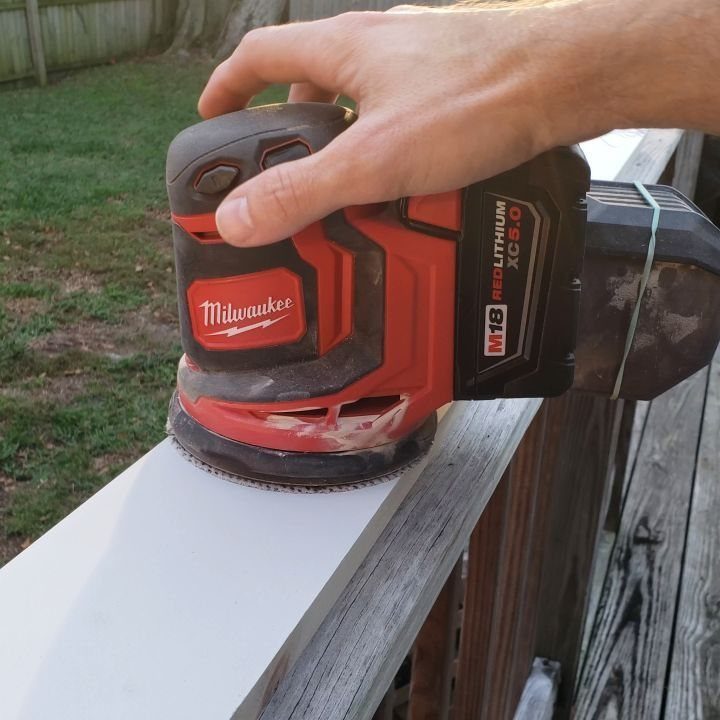
Hand sanding a railing or a tabletop can eat an entire afternoon, and a cordless power sander finishes the same surface in a fraction of the time.
Cordless means no extension cord dragging across a deck, which I value outdoors. Start with a coarser grit, then step up to a finer one for the last pass.
Keep the sander moving and let its weight do the work, because pressing hard leaves swirls and dips. Spare batteries are worth the cost.
6. Center Gauge Marking Tool
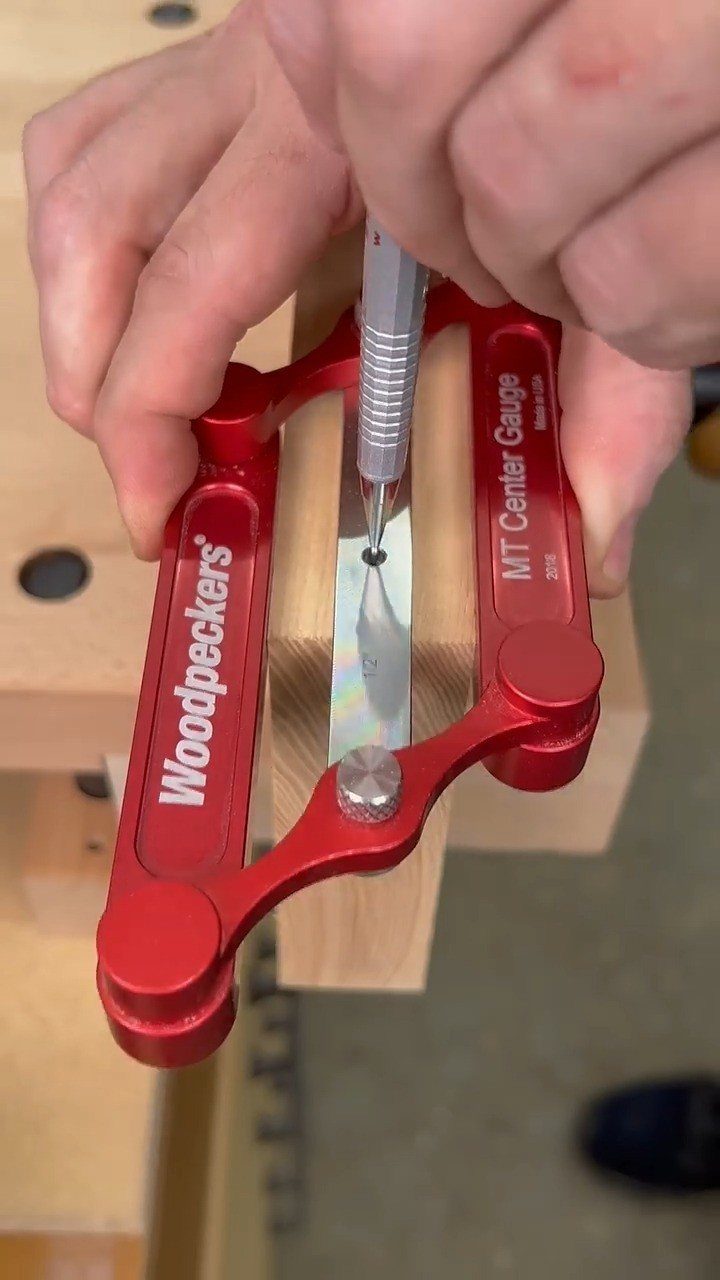
Finding the exact middle of a board by measuring and dividing invites small errors; a center gauge skips the math entirely.
Set it against the wood, hold your pencil in the notch, and slide along to scribe a line down the center. That’s handy for dowel holes, inlays, and centered cuts.
It’s a specialty tool, so a beginner with a tight budget can wait. If you make many repeat marks, though, it earns its place on the bench.
7. Digital Angle Finder
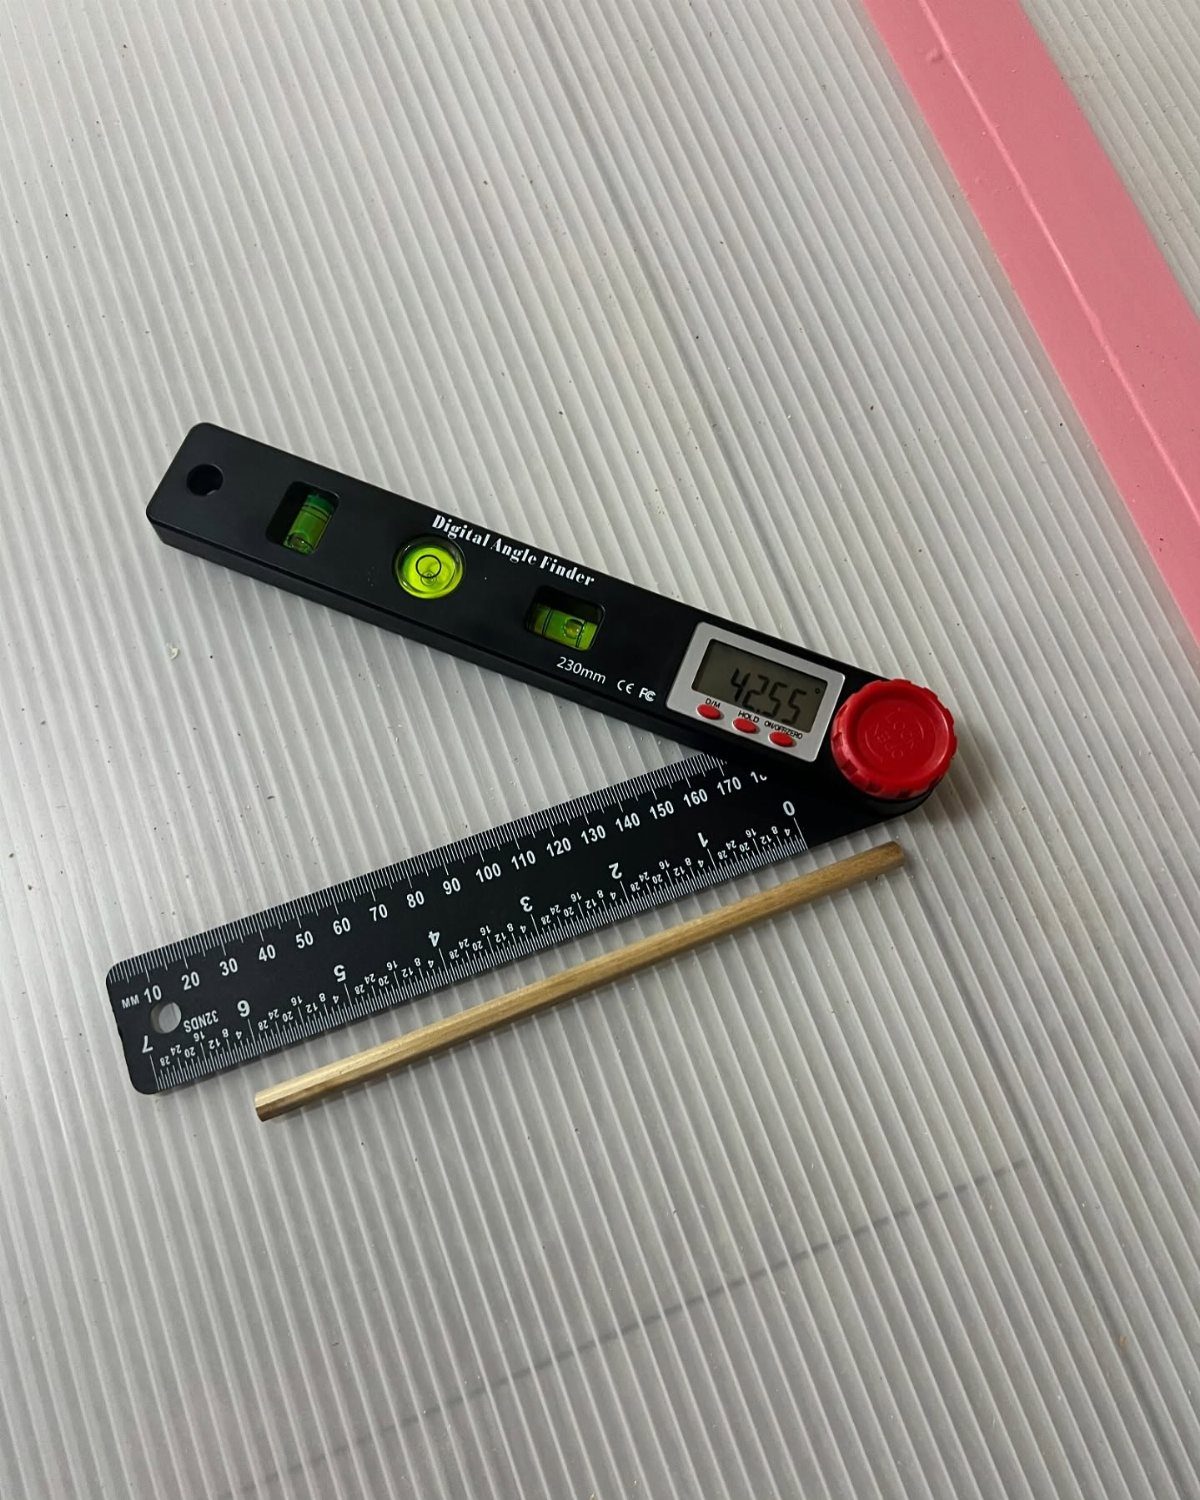
Set the base of a digital angle finder against a board, and the readout gives the angle as a number instead of a guess. The built-in bubble levels help you check that the tool sits true while you read it.
That suits miter cuts and trim work, where a degree or two of error shows up as a gap in the corner.
Tighten the red knob once the arms match the angle, then lift the tool away and copy that setting onto your saw. A metal ruler alongside keeps the arms straight.
It costs more than a plain protractor, so a beginner on a tight budget can start with the cheaper one. For repeat cuts, I’d rather have the numbers.
Maintenance Tips for Tools
Clean debris off every tool after each use, and store them somewhere dry. A stiff nylon brush clears dust and resin from blades and teeth without scratching them.
Sharpen chisels, plane irons, and saw blades on a regular basis. Waterstones or diamond plates handle the final honing, and a slow-speed grinder with the right wheel does the initial shaping if an edge is badly worn.
Match the lubricant to the tool. Dry PTFE lubricant suits cast iron surfaces like a table saw top, machine oil suits hand tools, and threaded rods and pivot points need a lubricant made for them.
Tighten any loose screws and bolts while you’re at it, and swap out a cracked or worn handle before it gives out mid-cut. Look over power cords and safety features while you’re at it.
Going over the tools once a month, or after each finished project, stops small problems from stacking up. A simple log of what you did and when shows which tools wear fastest.
Choosing Quality Tools
A well-made tool tends to last longer and spend less time out of commission, though how much you actually save depends on the tool, how hard you push it, how well you care for it, and what it cost.
A premium price on something you use twice a year rarely pays back.
Spend where use is heavy and the tool touches your hands or your accuracy. Save where a cheaper version does the same job.
Upkeep matters as much as the price tag. A mid-priced tool that gets cleaned, sharpened, and lubricated can outlast an expensive one left in a damp garage.
Buy one good piece at a time rather than a big set of mediocre ones. You’ll learn what you reach for, and what you skip.
Safety Tips for Carpentry
Wear safety glasses every time, including for quick jobs like tapping in a nail or sweeping off a freshly sanded board. Gloves help with handling rough lumber and sharp edges.
Forcing the wrong one is how most slips happen.
Inspect each tool before you start. Look for loose fasteners, worn grips, dull blades, and frayed power cords, and fix or replace them first.
Clean tools are safer tools, since resin and dust make blades bind and handles slick. Put everything away after use so the next session doesn’t begin with a blade in the wrong place.
Frequently Asked Questions
What are the main tools a carpenter needs?
Hammers, saws, measuring tapes, chisels, and drills cover the basics. A carpenter pencil and a utility knife are cheap additions that get used on nearly every cut.
What is the difference between hand tools and power tools?
A hand tool needs your arm to do the work, and a power tool gets its push from a cord or a battery pack.
Power tools finish work faster: a cordless sander can cover a tabletop in a fraction of the time hand sanding takes.
Hand tools cost less and give you more control, and a cordless model also spares you from dragging an extension cord across a deck.
What is a mallet used for in carpentry?
A mallet drives chisels without damaging them.
Its wooden or softer head absorbs the blow, while a steel hammer face can mar a chisel handle over time. A light grip and short taps work better with a mallet than big swings do.
Why do carpenters use flat pencils?
Because it is flat, the pencil stays put on a sawhorse or a tilted board instead of rolling away.
Sharpen the wide lead to a chisel edge and it lays down a bold line; turn the pencil onto its narrow edge and the same lead draws a fine one. A utility knife sharpens it well.






