The projects here run from a coaster set that costs close to nothing to a table saw workbench that will take longer than an afternoon, with a box with finger joints and a table with metal X-legs landing in between.
The saw you already own decides where to start: if your crosscuts wander, build the sled first, since the step stool and the workbench both lean on square, repeatable cuts.
1. Table Saw Sled
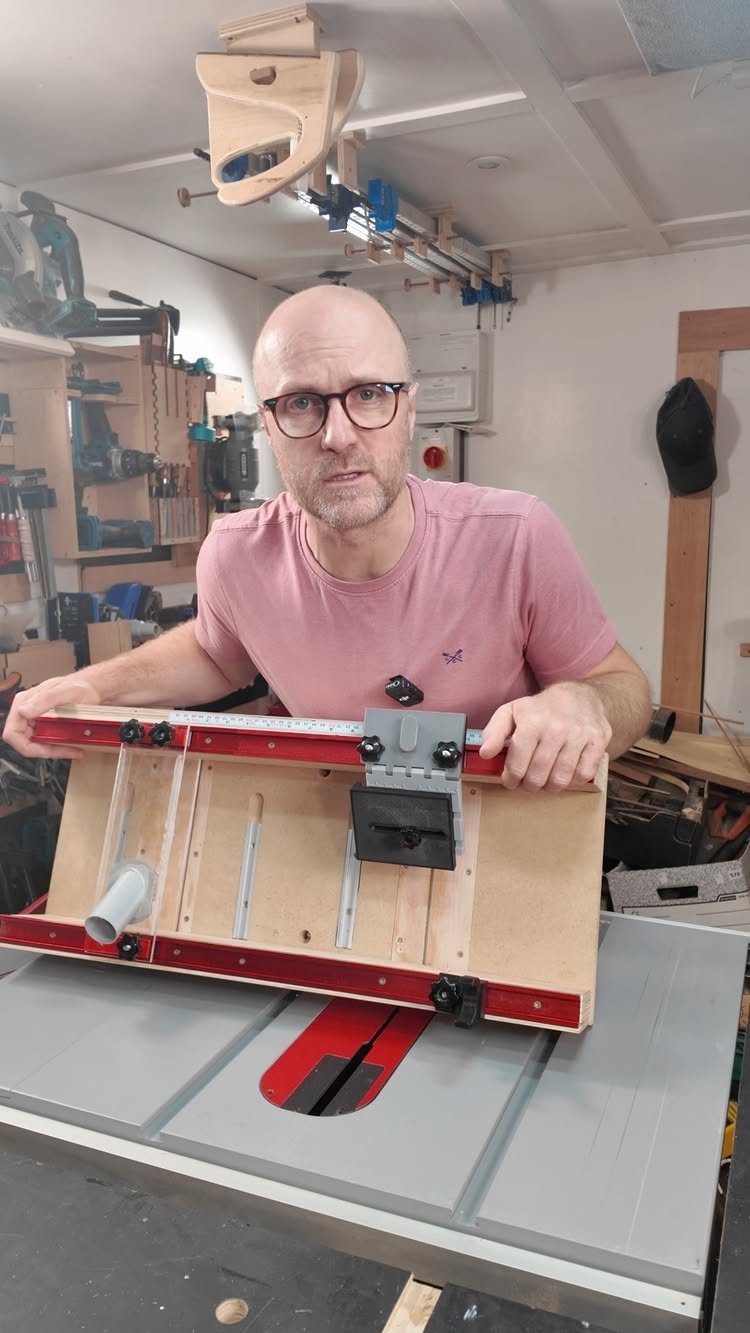
A sled is the first jig I would build for a table saw, because it turns the saw into a dependable crosscut machine.
The workpiece rides on a flat base that slides along the saw’s miter slot, so the cut stays square from one board to the next.
A sled also keeps your hands well clear of the blade. Build it carefully, check the fence for square, and every project on this list gets easier.
2. Planter Box
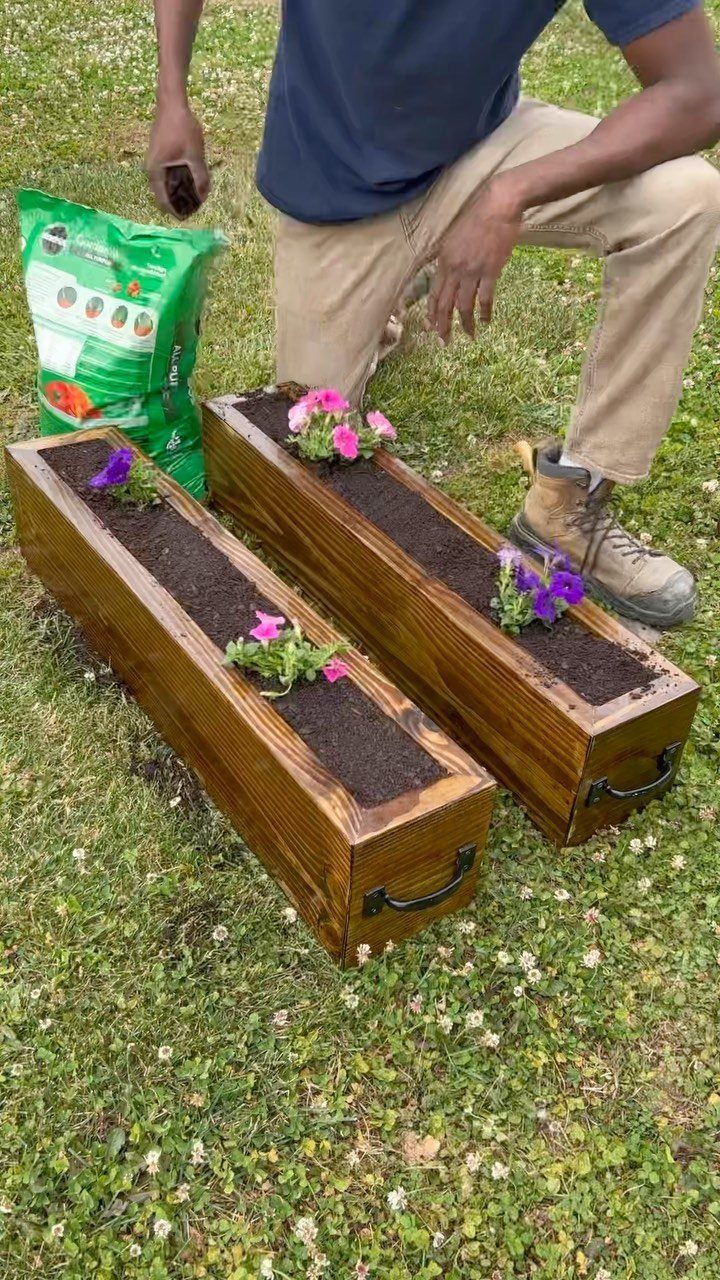
Long and narrow suits a planter box, and two matching boxes along a lawn or patio edge look tidier than one big one.
Because it is only straight rip cuts and crosscuts, it works as an afternoon build with basic tools.
A stain gives the wood a finished look. I would pick one that is safe for outdoor use, since soil and watering are hard on bare boards.
3. Birdhouse
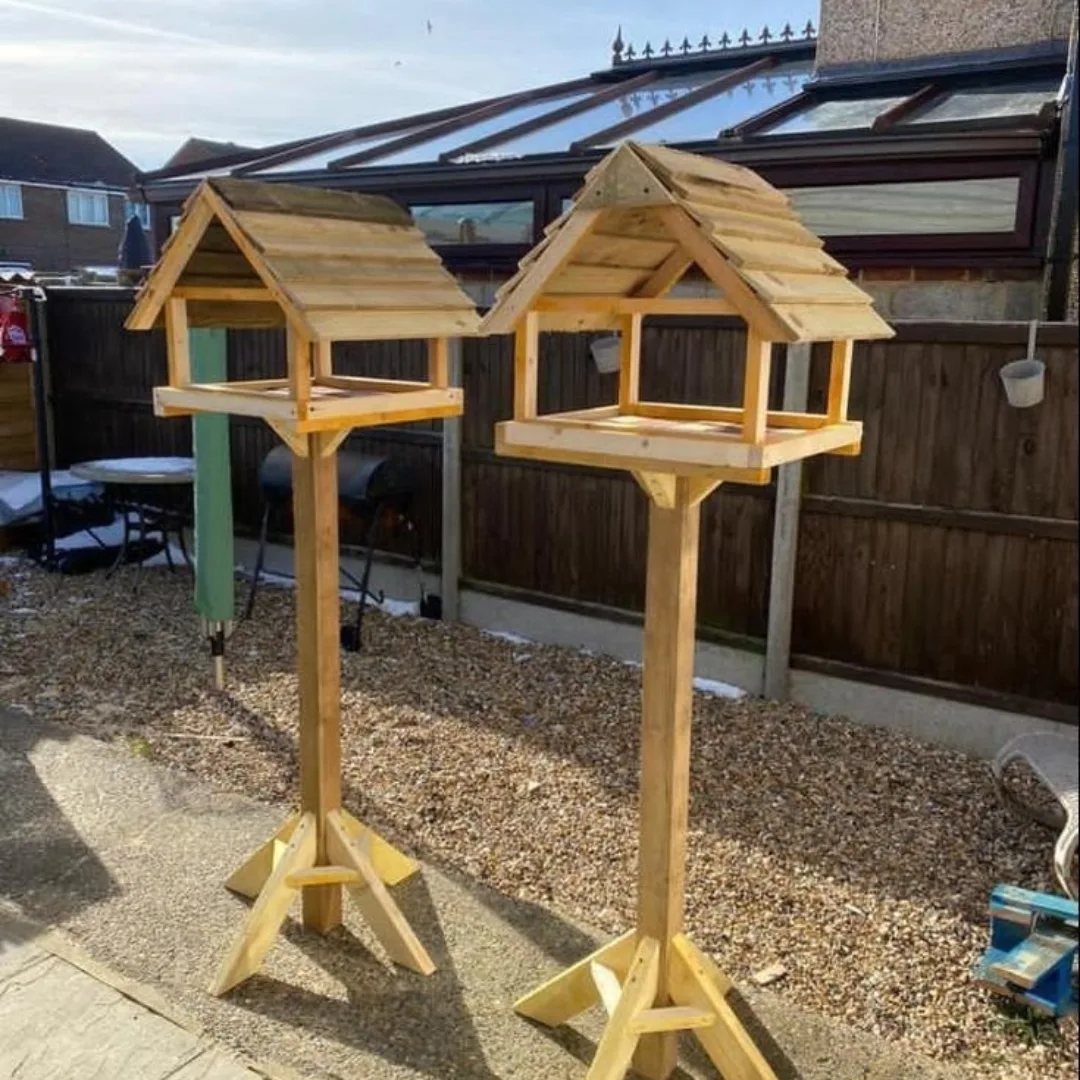
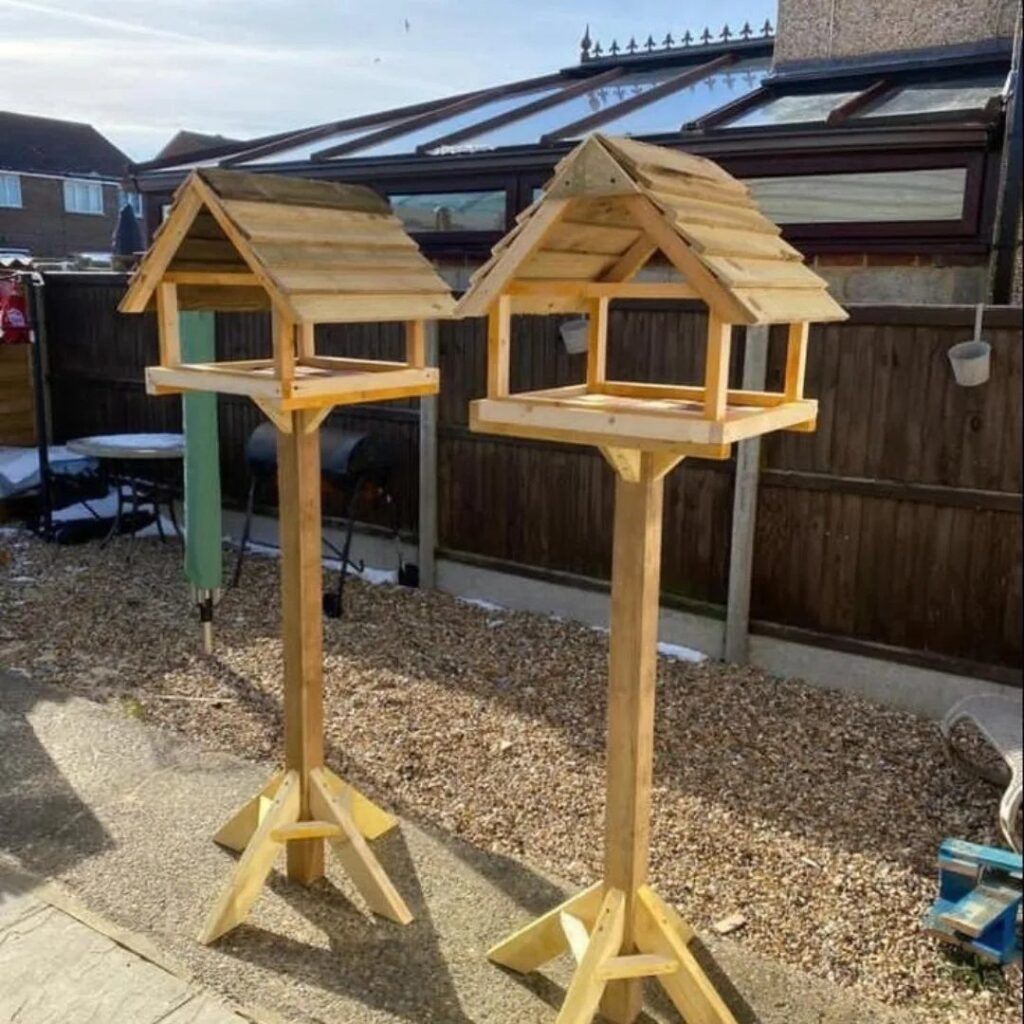
4 walls, a floor, and a pitched roof: a birdhouse teaches box-making in miniature. Cut the pieces from one board so the grain and thickness match, then dry-fit everything before any glue goes on.
Mount a birdhouse on a tall post to keep it high and out of reach. Mistakes cost little, so it is a forgiving place to practice square cuts and tight joints.
4. Book Rack
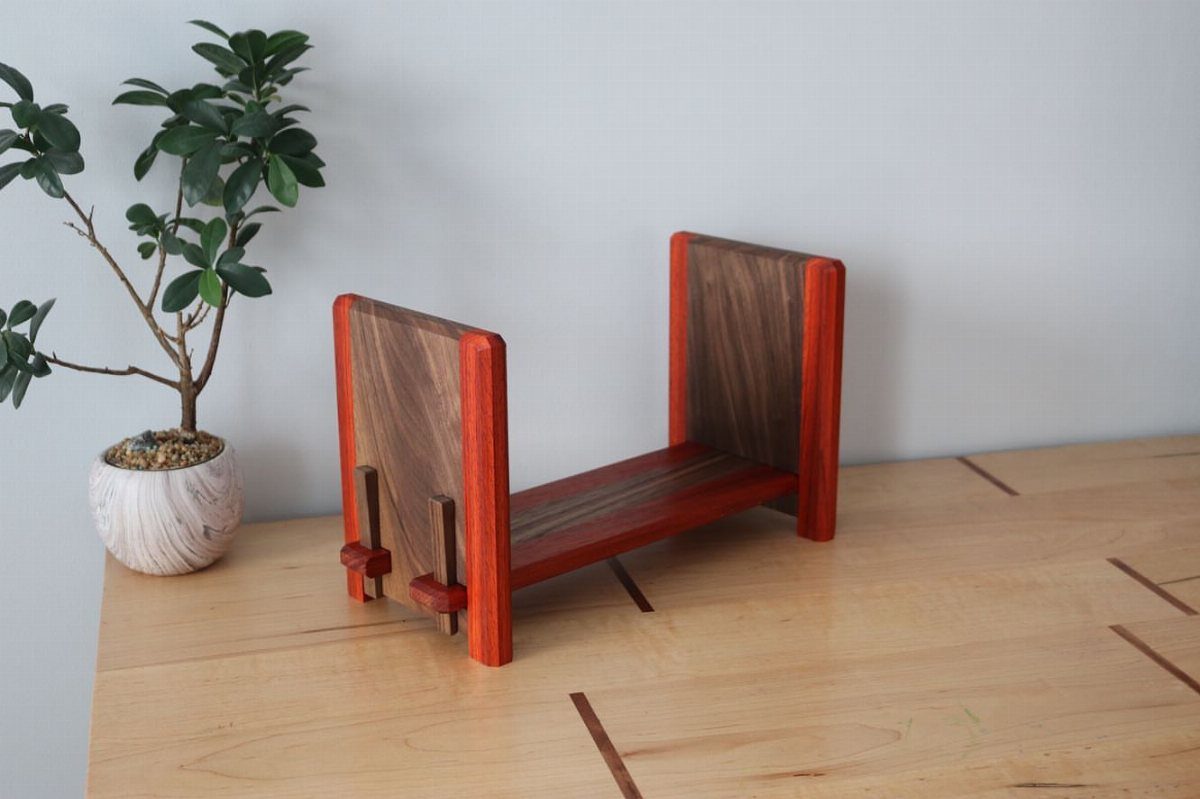
Pairing a reddish wood with a dark brown one gives a book rack its character, and the table saw makes that contrast easy. Rip both species to the same width and the 2 tones line up cleanly.
A rack this small holds a few books or magazines on a table, shelf, or desk. It makes a good gift, and I would sand each piece before assembly, since inside corners are awkward to reach afterward.
5. Picture Frame
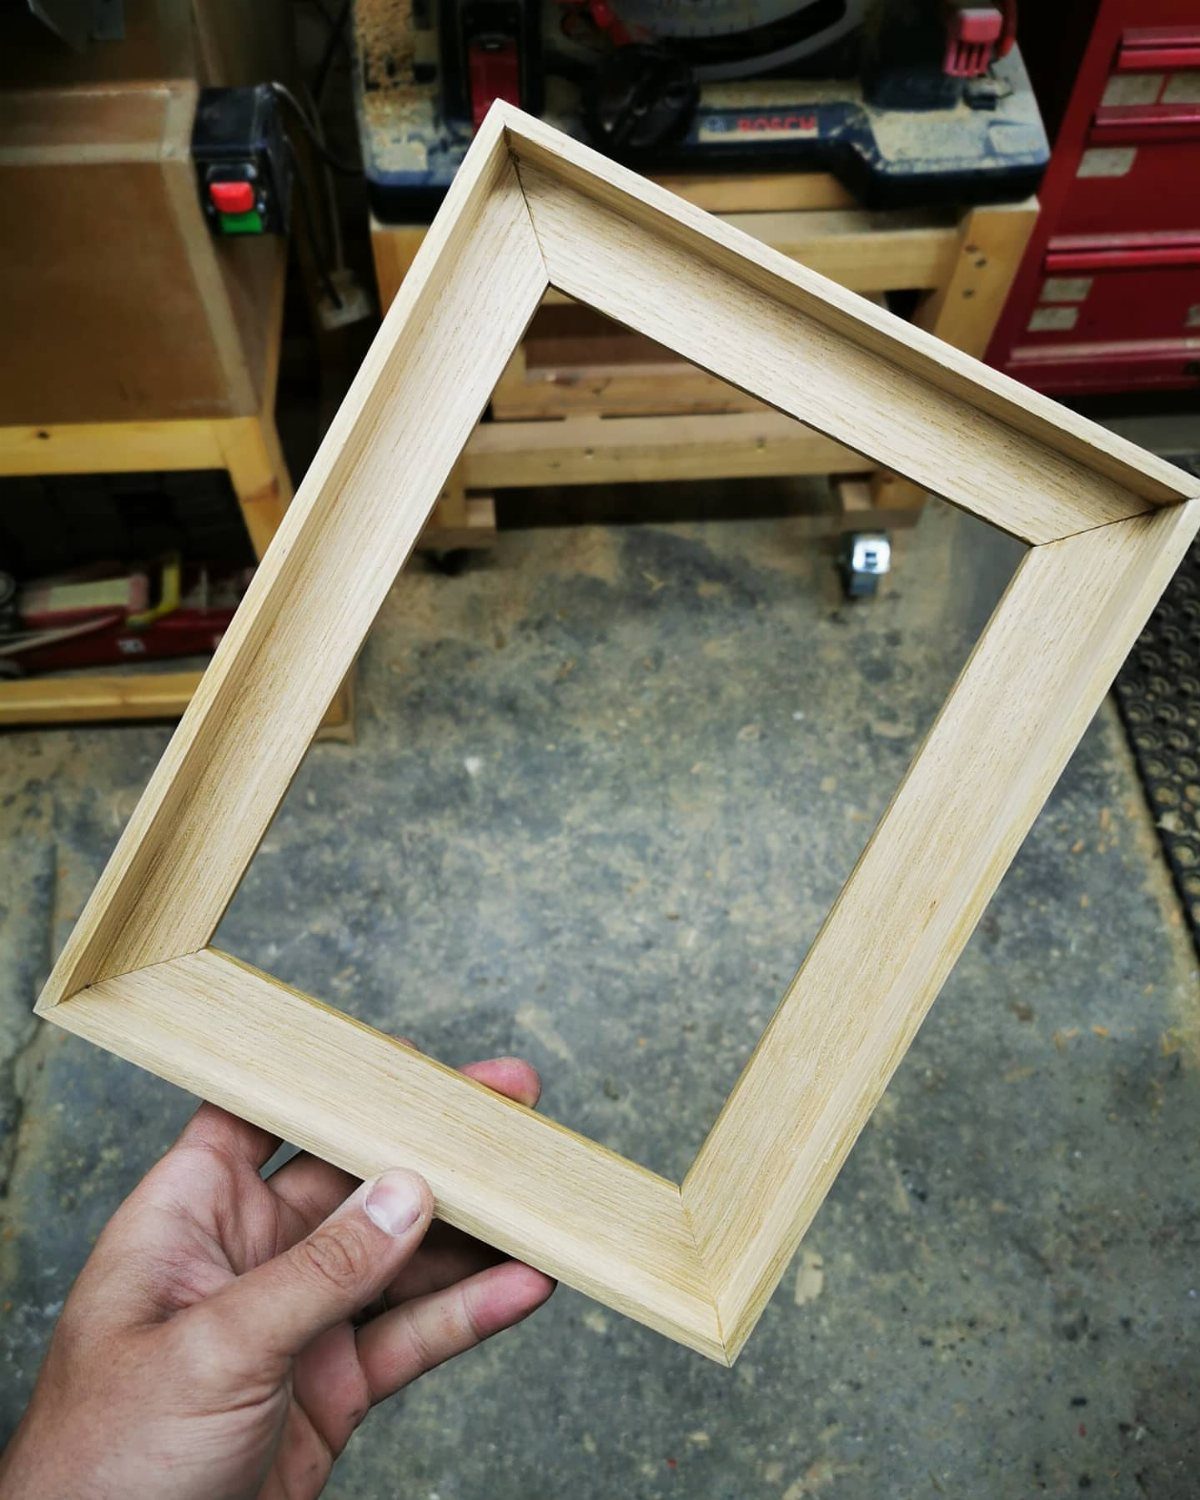
Nothing but straight cuts goes into a picture frame, which makes it one of the easiest projects here. Rip the strips to the same width, then crosscut them to length with matching angles at each end.
Take your time on the corners. A tiny error shows as a gap, so test the fit on scrap first.
6. Coasters
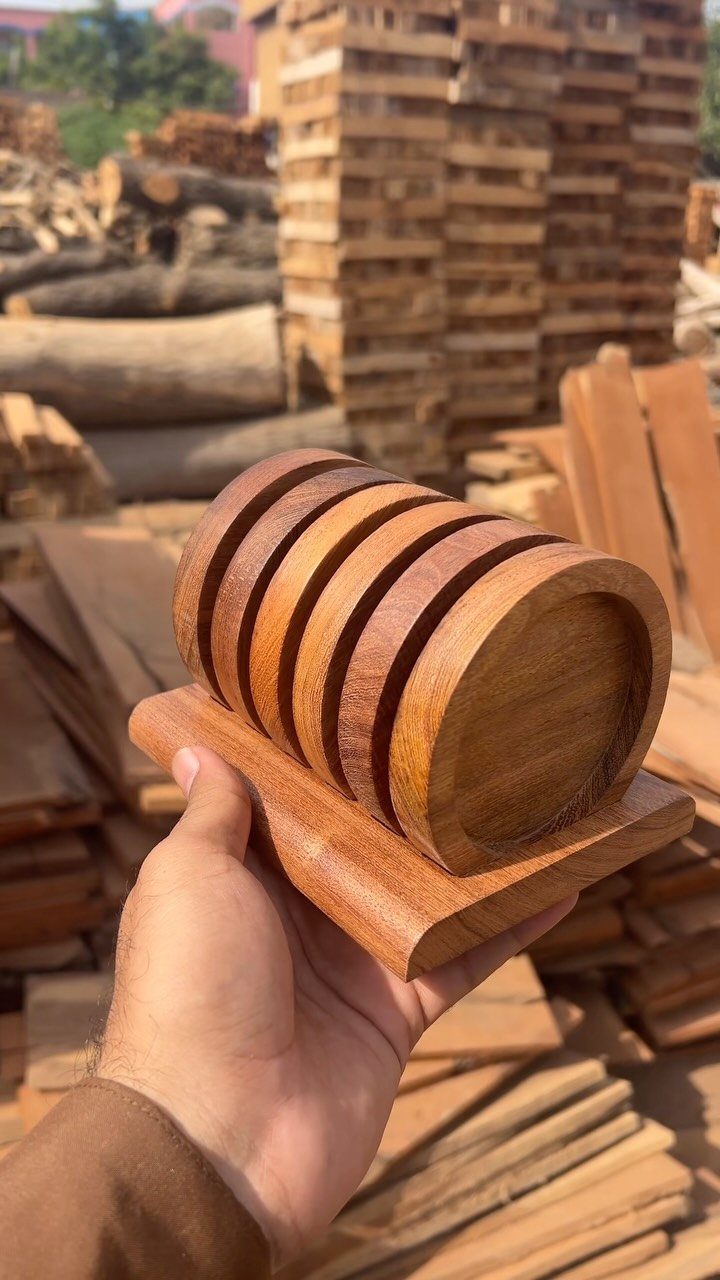
Round coasters with a matching holder make a set that looks planned. Any scrap board works, so the cost is close to nothing.
The table saw handles the stock prep: mill the boards to an even thickness and cut the holder’s pieces square.
Cutting the circles themselves needs another tool, and I would use one. Sand the edges smooth, then seal the tops, since a coaster sits in damp rings all day.
7. Charcuterie Board
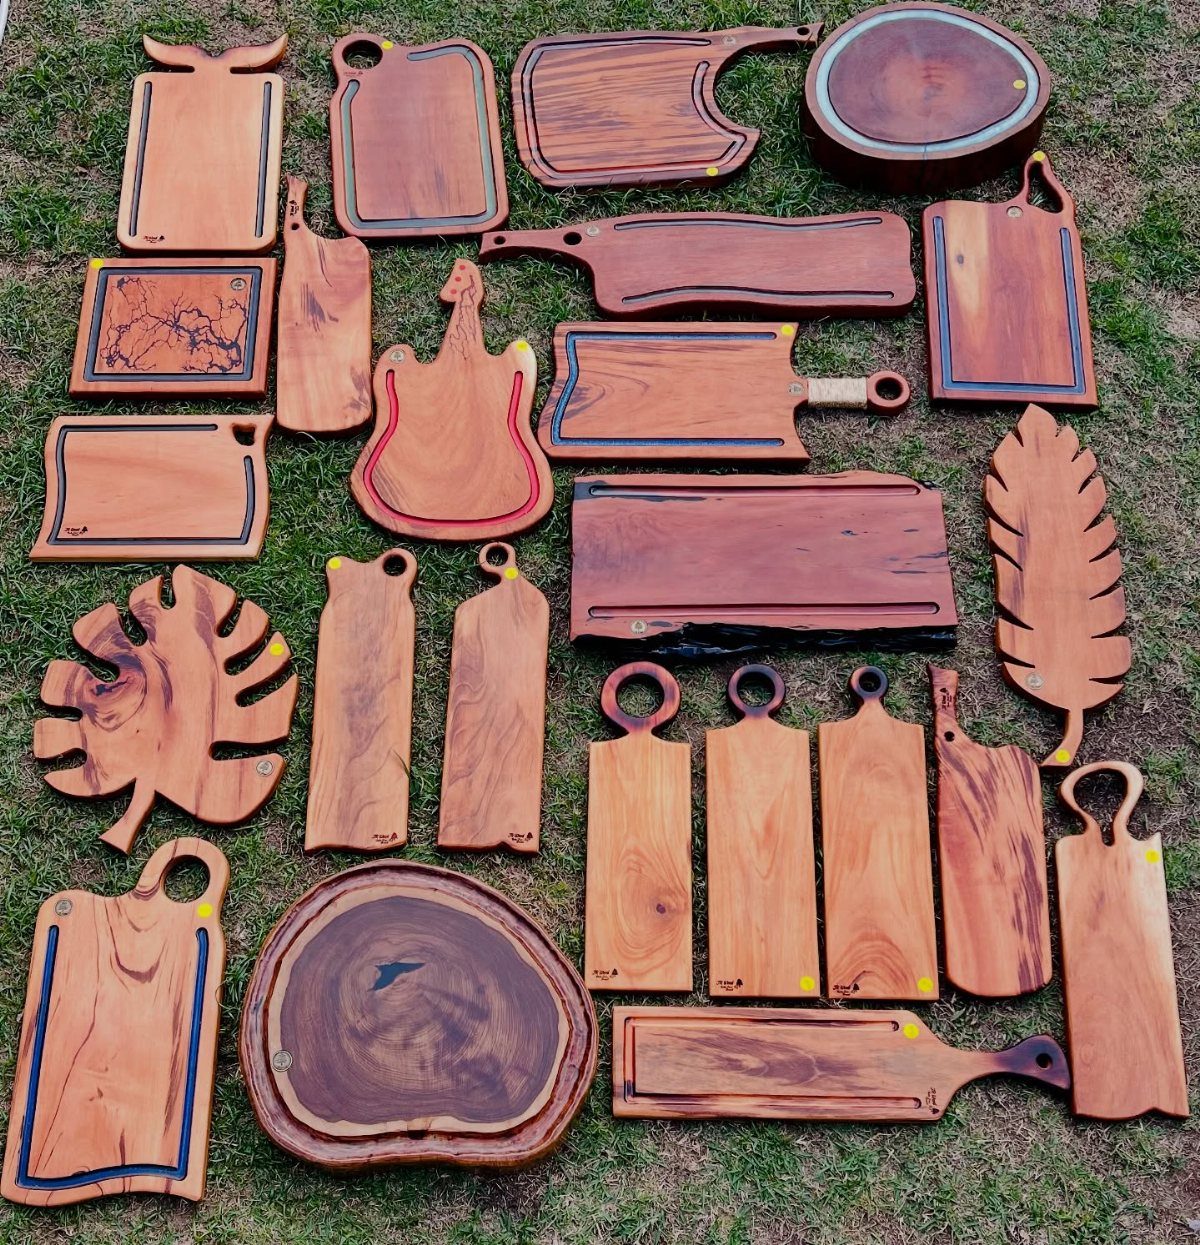
A serving tray is a forgiving first project for a table saw, since the saw only has to square up the stock. Glue up a few boards, rip them to a clean width, and crosscut both ends square.
Shapes beyond a rectangle need a different tool, so I would keep the first board simple. Sand it smooth and rub on a finish made for food contact before anyone sets cheese on it.
8. Earring Holder
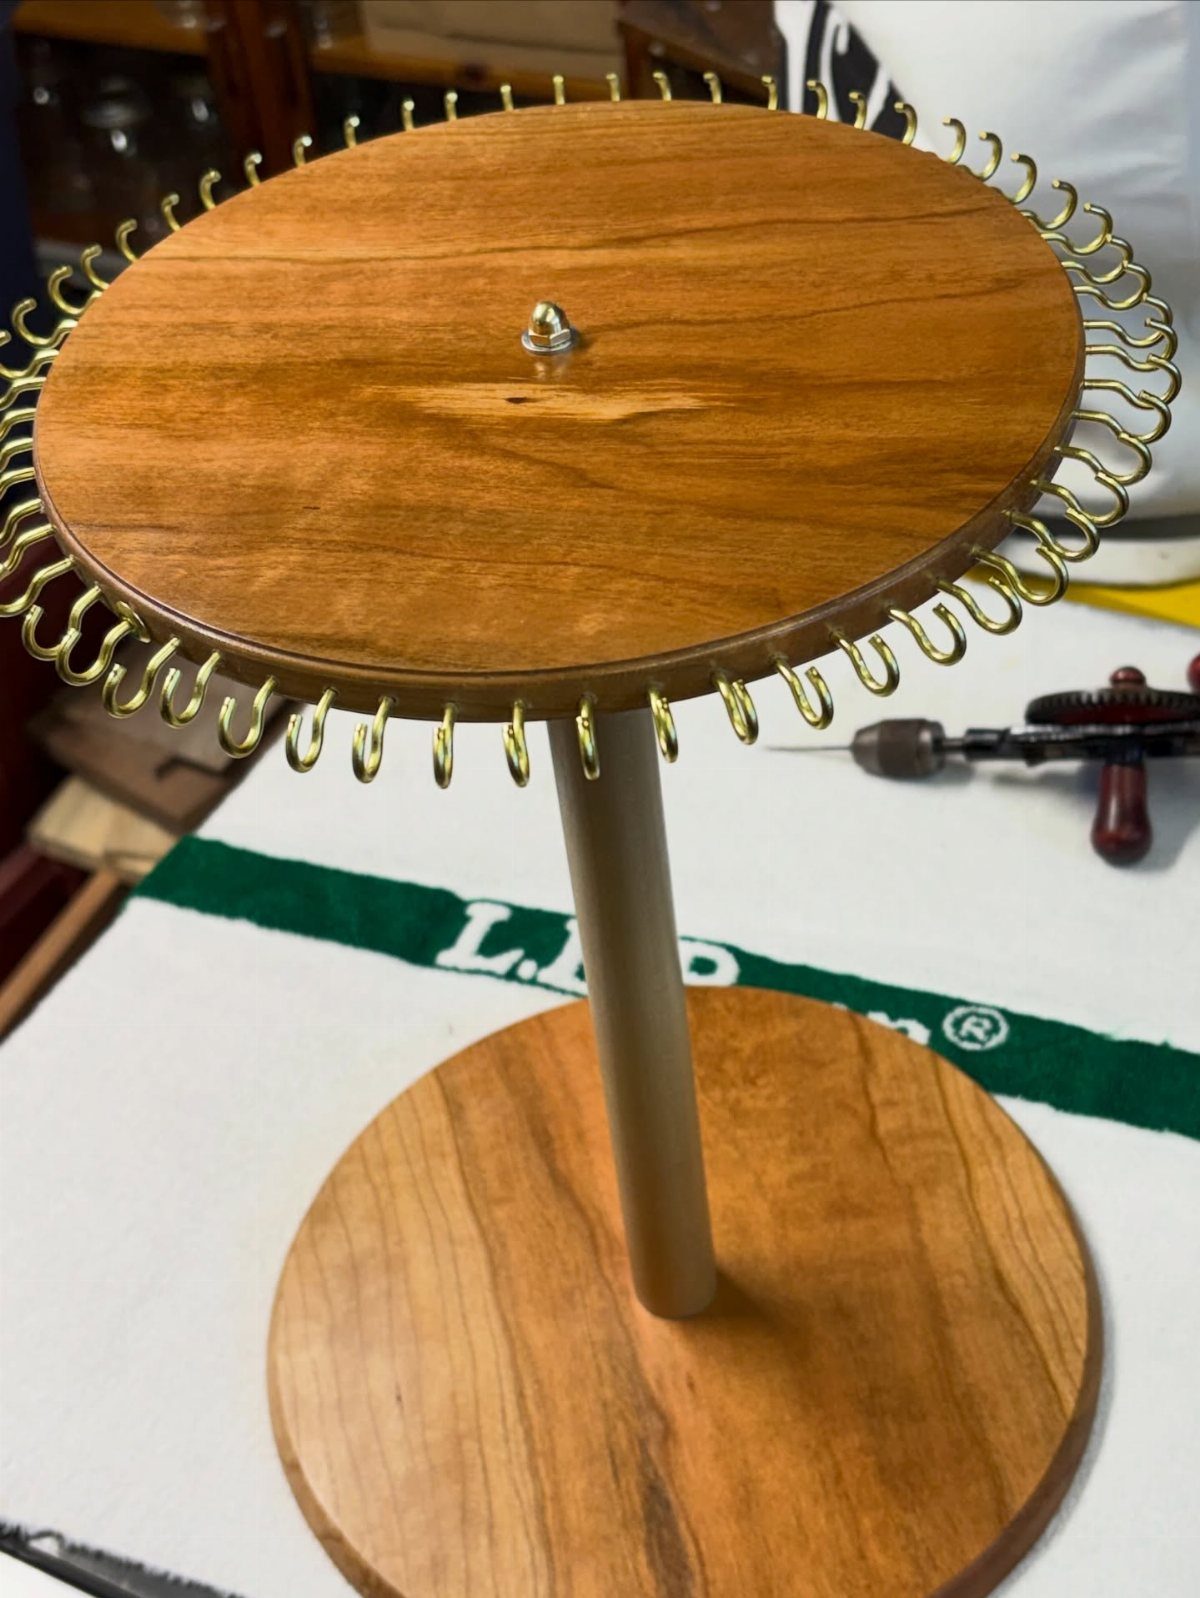
Small gold hooks around a round top make this earring holder a good use for scrap. Wood does the display work while the hardware stays small and bright.
The table saw preps the base and top, but cutting circles calls for another tool.
I would mark and drill the hook spots before assembly, so a slipped bit never lands on a finished piece. It also makes an easy gift.
9. Step Stool
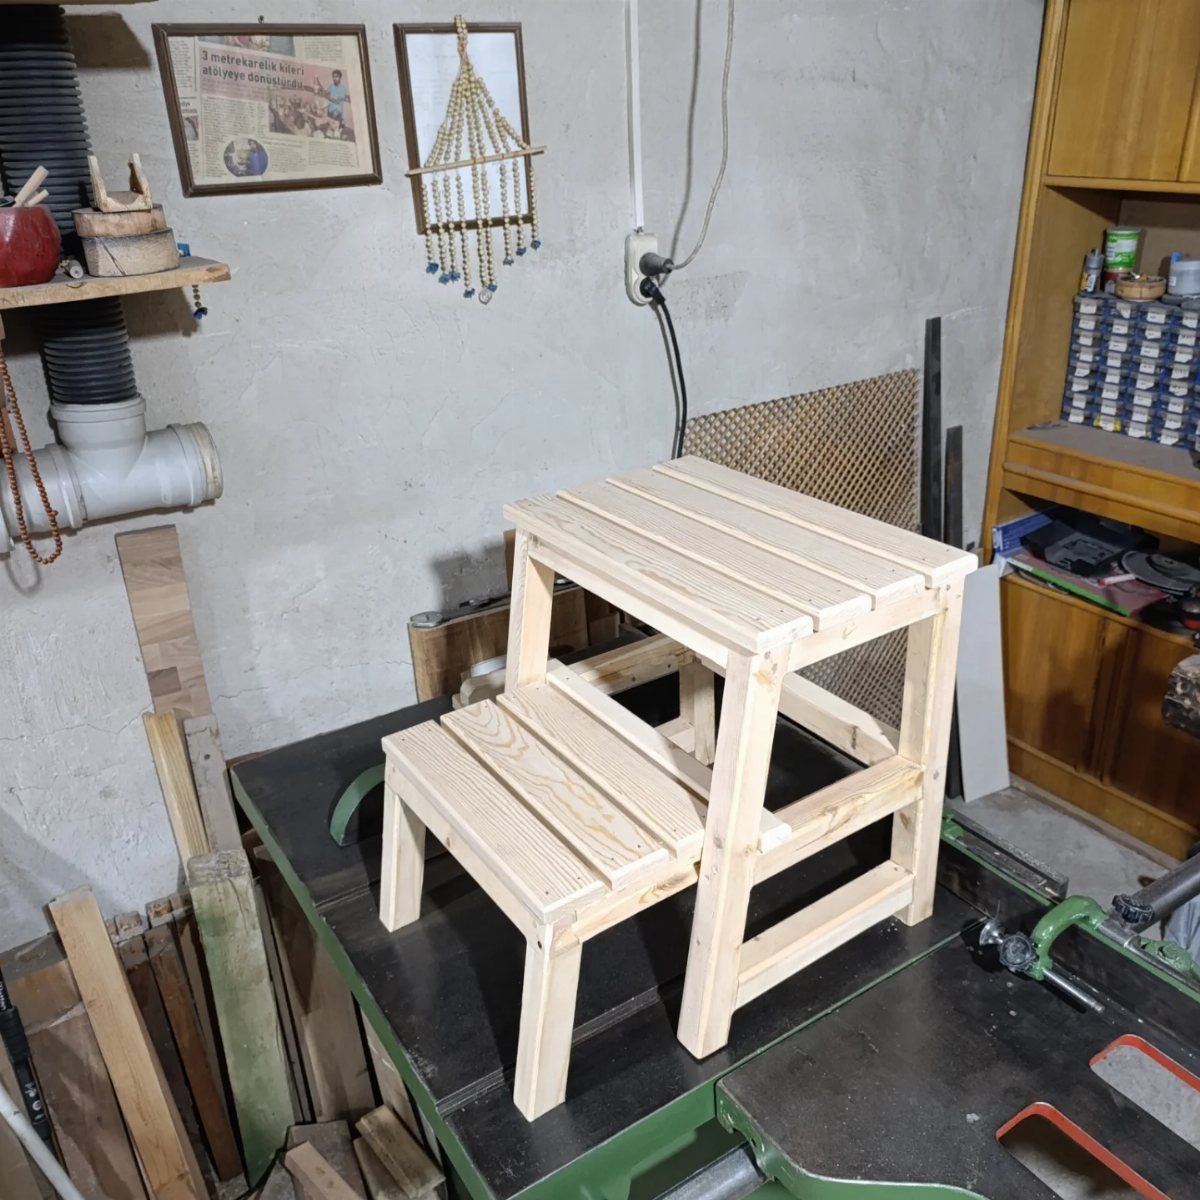
2 steps is plenty for a stool that reaches a high shelf, and it keeps the build to a handful of square cuts.
Rip the treads and rise pieces to matching widths, then crosscut each to length with the sled from the first entry.
Cut both side pieces together so they match.
Dry-fit everything before gluing, because a stool that rocks is no use to anyone. An afternoon covers it.
10. Shoe Organizer
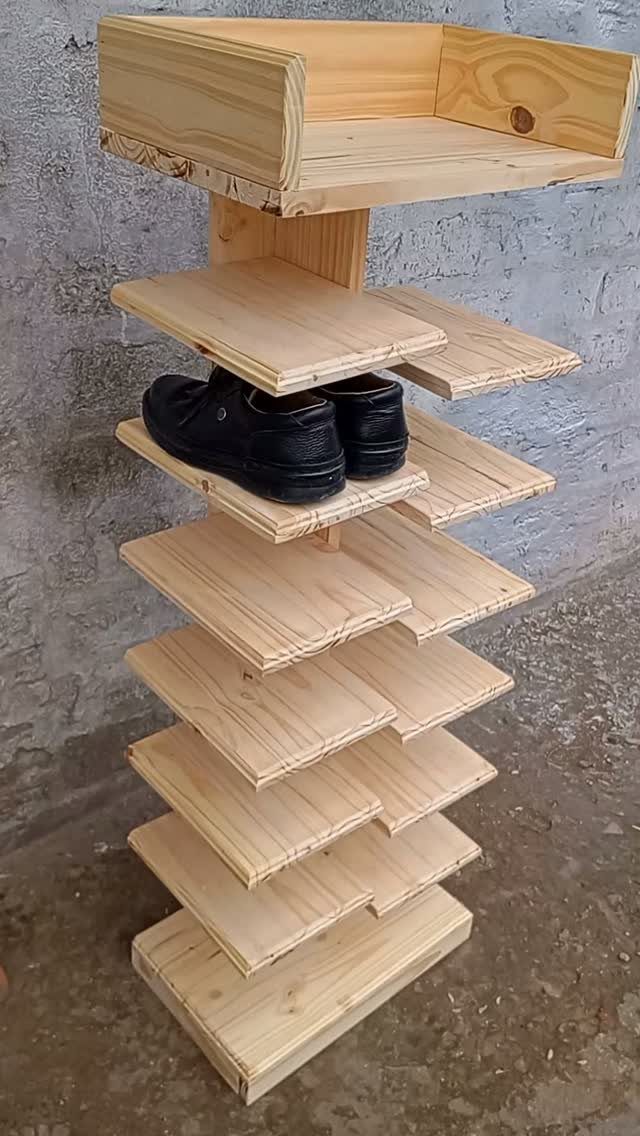
Staggered shelves are what make this shoe organizer work: each pair gets its own level, and the top tray catches keys or mail. Pine suits it well, since it is easy to cut and sand.
Set the fence once and rip every shelf board at that width, then swap to a miter gauge or sled and cut them to length, so each tier matches the next.
I would sand every piece before assembly, because the gaps between shelves are tight once it is together.
11. Table Saw Workbench
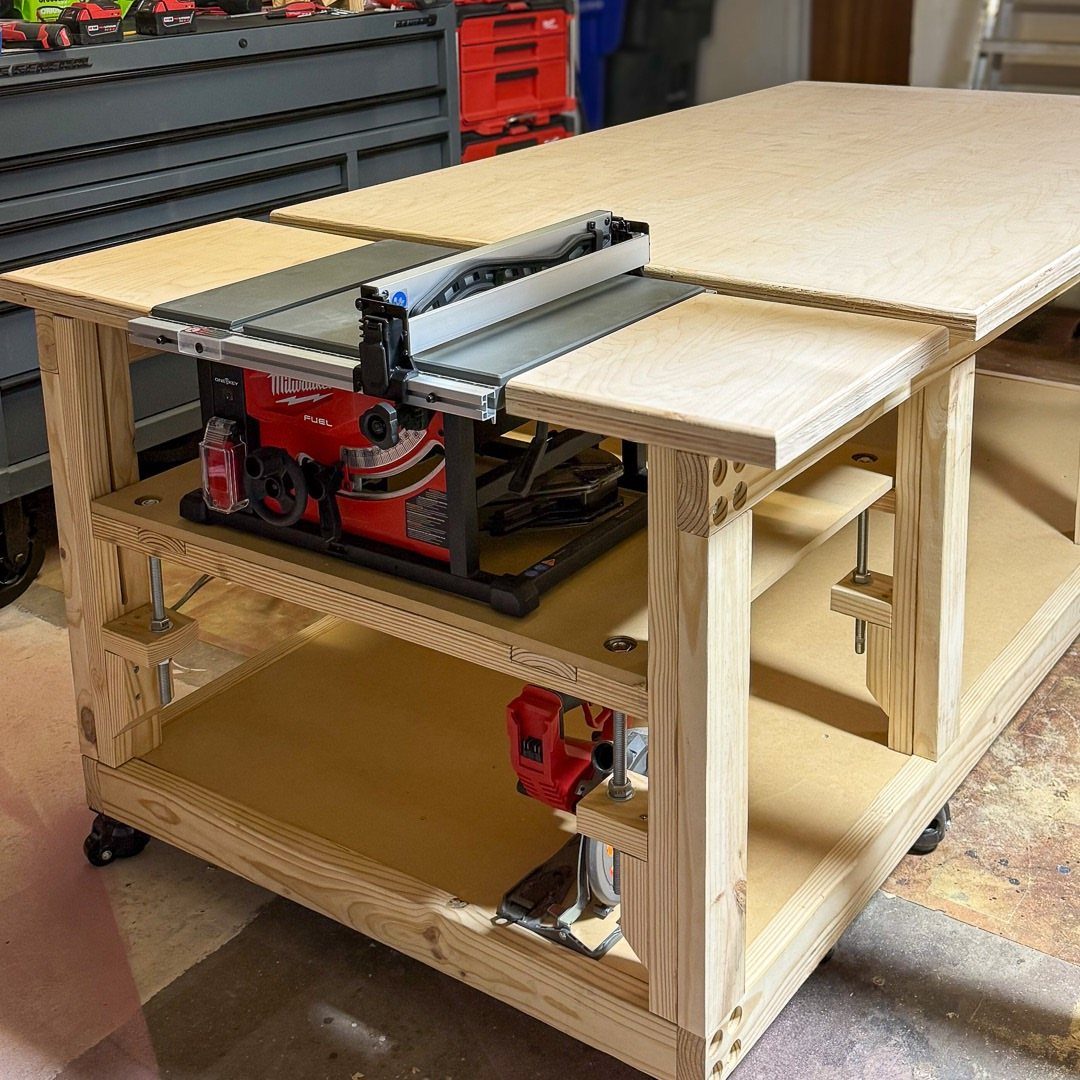
Building the saw into a mobile workbench solves 2 problems at once: the top gives you a flat outfeed surface, and wheels let the whole thing roll out of the garage corner.
Long boards stop sagging off the back of the cut.
Set the saw’s table flush with the bench top so stock slides across without catching.
Check that level before you fasten anything down. A workbench built around the saw takes longer than an afternoon, but it earns its floor space in the shop more than anything else here.
12. Striped Silhouette Cutting Board
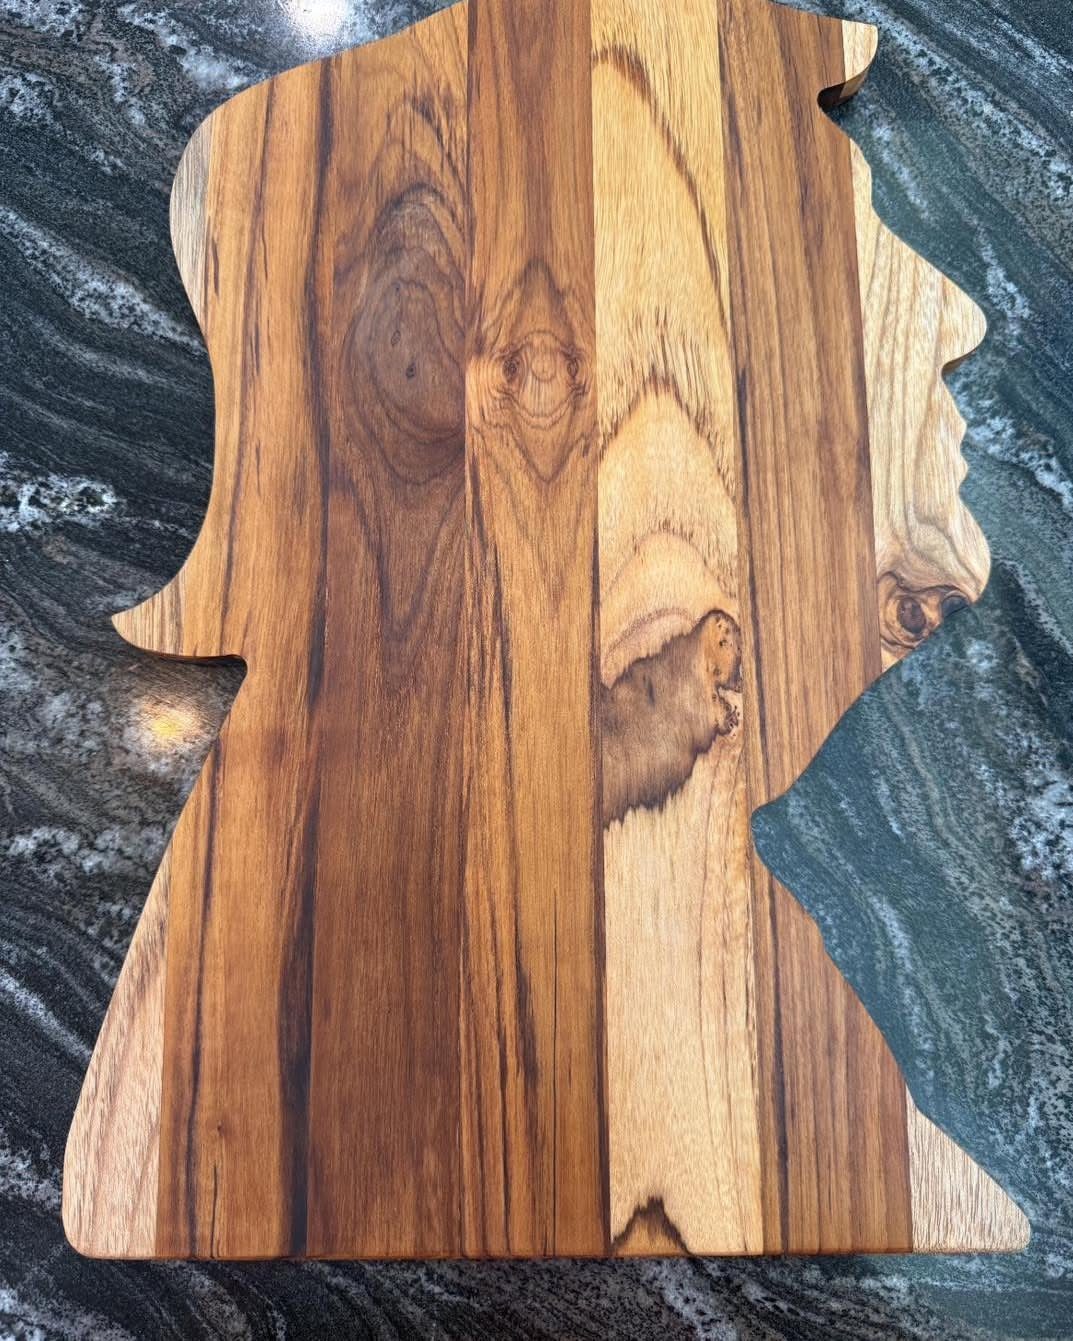
Vertical strips of contrasting wood glued into one panel give a cutting board its stripes, and the table saw makes every strip the same width. Rip them all at one fence setting so the seams line up.
Glue the panel, let it cure, and flatten it before shaping. Cutting the profile outline needs a different tool than the table saw.
Choose food-safe glue and finish, since the board will touch dinner. I would pick woods with clear color contrast.
13. Wooden Wine Caddy
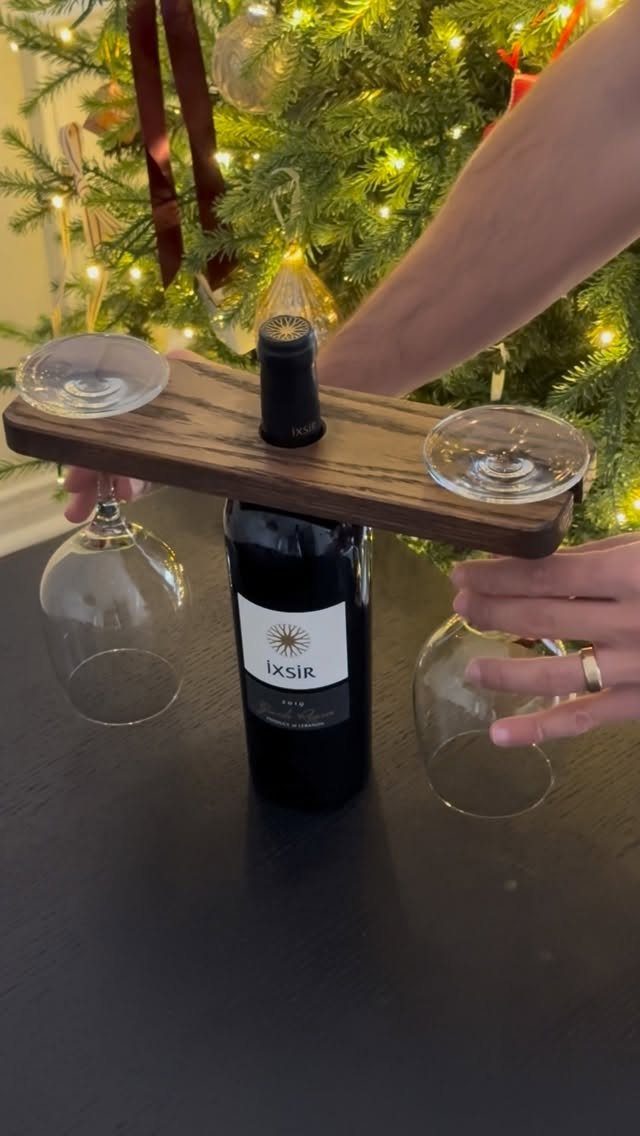
A caddy that slips over the neck of a bottle and holds 2 stemmed glasses turns a bottle of wine into a ready-made gift. It uses little lumber, so a single offcut can cover the build.
Cut the pieces square on the saw, and size the opening around the bottle you plan to give.
Check that the glass seats snugly before you glue anything. Sand every edge smooth, since people handle this one constantly.
A short build like this fits an afternoon.
14. Box with Finger Joints
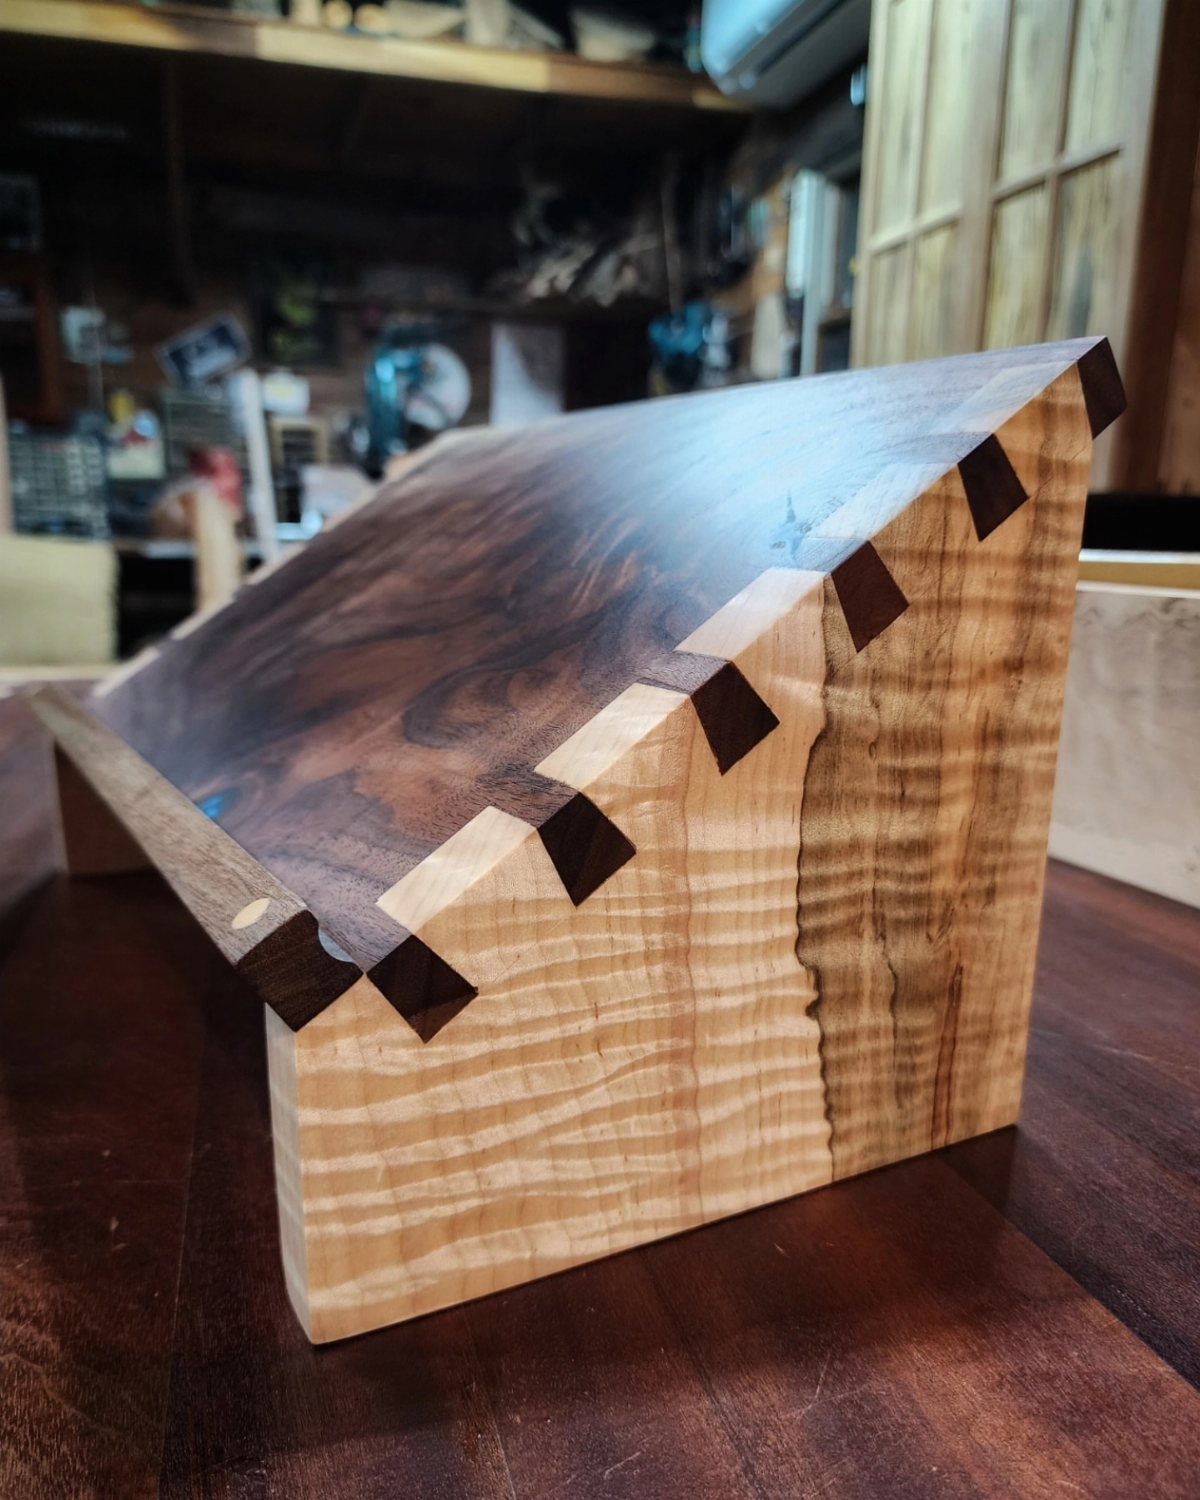
Finger joints give a small box its look: interlocking teeth that show off the glue lines instead of hiding them. A light wood for the sides and a dark wood for a slanted lid makes the joinery stand out.
This is the most exacting build on the list.
Each cut must match the one before it, so I would run test joints in scrap and adjust until they close without gaps. Mark the sides so the teeth stay paired to their neighbors.
Pick a box this size when you want practice that ends in something worth keeping.
15. Table with Metal X-Legs
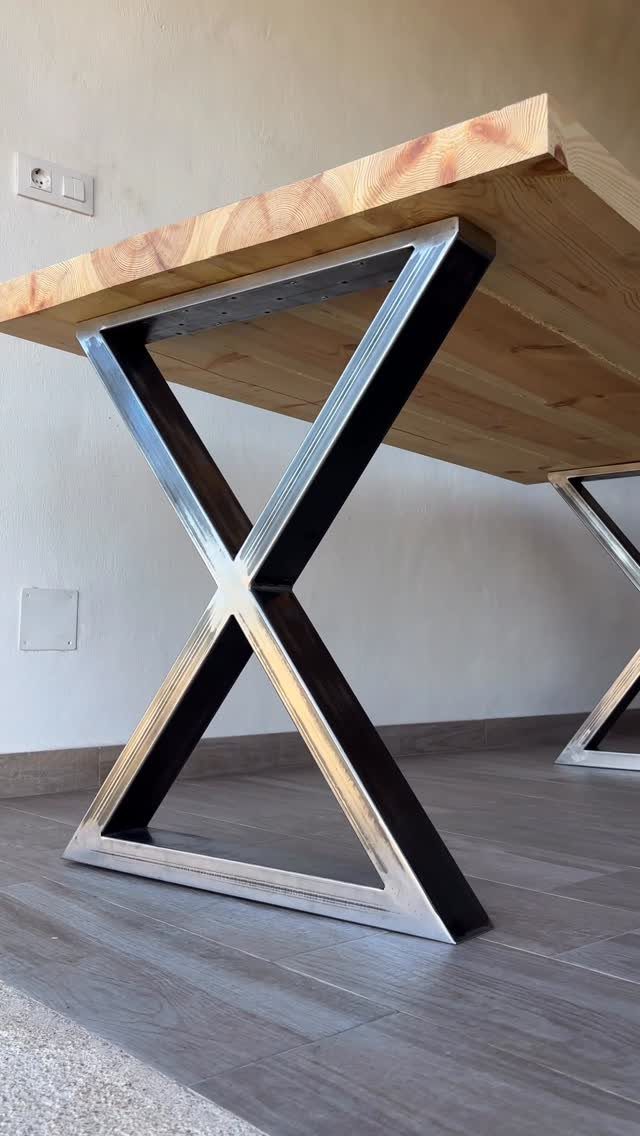
Polished metal X-legs under a wooden top make a table that looks far more expensive than the work behind it. The saw handles the wood, and the legs come ready made.
Ripping and crosscutting a few boards, then gluing them into one panel, gives the top.
Sand it flat before finishing, because a plain slab shows every flaw. I would choose a clear finish that lets the grain contrast with the metal.
Set the legs square to the top edges before you drive any screws.
Table Saw Safety Tips
Push sticks belong within reach of the saw before the power goes on. Any cut that leaves a narrow strip between the fence and the blade needs one, because a thin piece pulls your hand closer than you think.
Keep both hands out of the blade’s path for the whole cut, and let the push stick finish the pass instead of your fingers.
A sharp blade helps here too: it cuts clean and cuts easily, so you push less and the wood is less likely to bind or kick back.
A well-built sled gives repeatable, accurate cuts, and it holds the workpiece firmly while it travels, so it is the safest way to make crosscuts.
Essential Tools for Woodworking
A miter saw, a drill, and a table saw cover most of what a beginner builds. Buy them in that order of need, and learn each one well before adding another.
A router is the first extra I would consider. It adds finished edges and shaped profiles that the basic three cannot make, and it lifts the look of a plain project.
Accessories matter as much as new machines. A shop-made crosscut sled and a few cheap add-ons can make the saw already in your garage safer to run, cut squarer, and far less fussy to set up.
Pick tools for the project in front of you, not for a wish list.
Project Planning Advice
Start with a simple project and finish it. A completed first build teaches more than an ambitious one left half done, and the confidence carries into the next.
Choose a plan with step-by-step instructions and diagrams, and read it from start to finish before cutting anything. Then gather the lumber, hardware, and tools it calls for, so you are not stopping mid-build.
Follow the order the plan gives. Steps are usually sequenced so each cut and joint sets up the next, and skipping ahead tends to cost you a board.
Once a plan feels easy, change one thing, such as the wood or the size, and keep the rest the same.
Frequently Asked Questions
What are some beginner-friendly table saw projects?
A picture frame is one of the easiest, since it takes nothing but straight rips and matching angled crosscuts.
Birdhouses make a forgiving first build, since the walls, floor, and pitched roof all come out of a single board and a ruined cut costs you very little.
Either a book rack or a plain charcuterie board is another easy pick, because all the saw does is square up the stock.
How do I make a table saw sled?
For a sled, start with a flat base and attach runners that fit the miter slot; the workpiece rides along with the sled, so each crosscut lands at a true 90 degrees.
Use a sheet of plywood for the base, fit hardwood runners to the slots so it tracks straight, and clamp a stop block to the fence whenever you need several identical pieces.
Check the fence for square before you trust it, because every cut you make afterward depends on that angle.






