Your choice comes down to how much fine detail a piece carries and how much wood you’re willing to lose to a split, which is why a chunky Comfort Bird and a horned Ram’s Head Bust sit so far apart in difficulty.
The list starts with a palm-sized comfort bird and flat chip-carved triangles that need only a knife and a square of wood, then climbs to a ram’s head bust, where curling horns wrap around the skull and cutting against the grain splits them.
Pick the figure with the fewest delicate parts that your tools can still handle, such as the Comfort Bird or Small Wooden Whales, and save the Ram’s Head Bust for after a few chunky practice pieces.
1. Comfort Bird
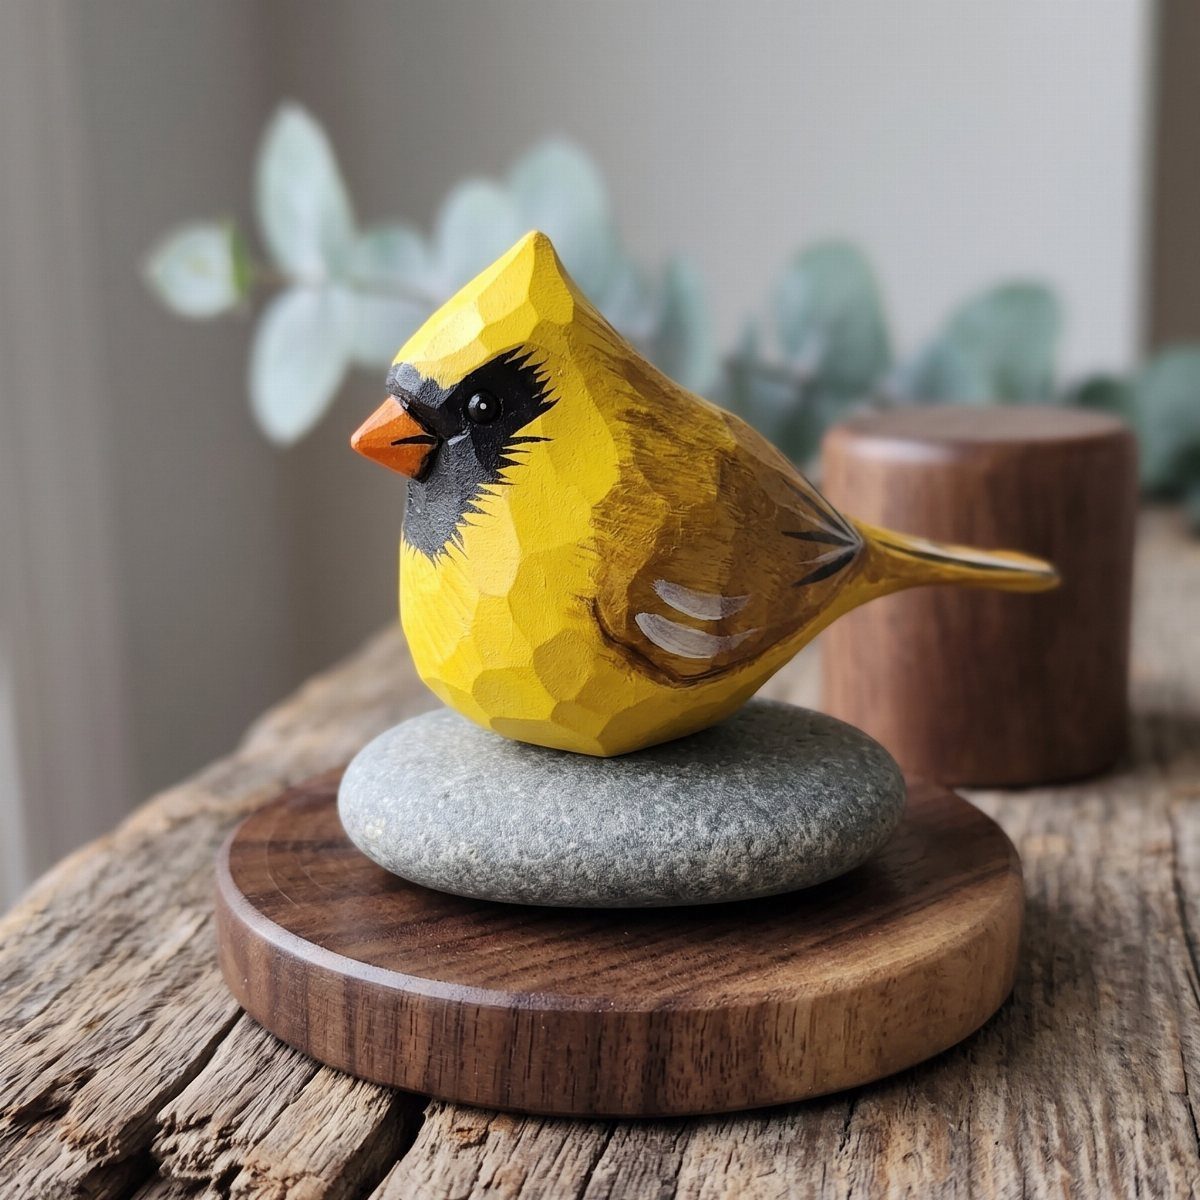
A palm-sized bird is the right first figure for a beginner: one compact body, a rounded head, a tail, and no thin parts to snap off.
The yellow paint on this one hides tool marks, which is forgiving if your cuts are still uneven.
Rough out the egg shape first, then separate the head from the body with a shallow stop cut. Keep the bird chunky, since a fat shape is easier to carve and easier to hold.
A small base of stone and wood makes a simple stand for a comfort bird, and the weight of the stone keeps a rounded carving from tipping.
2. Simple Geometric Patterns
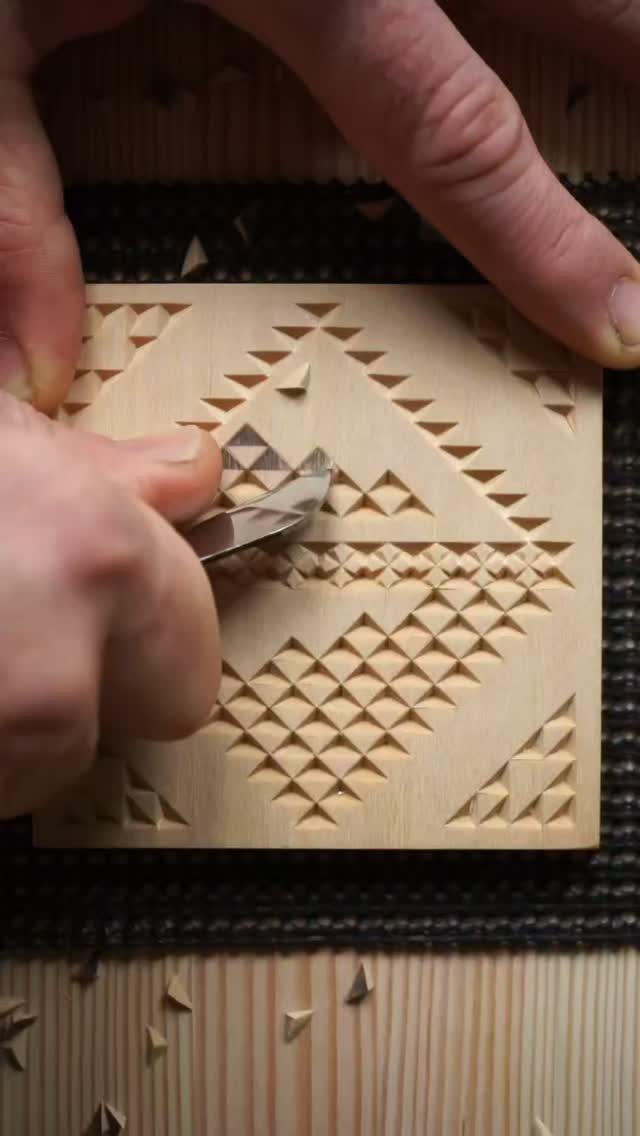
Chip carving needs only a knife and a flat square of wood, which makes it the cheapest way into carving. Triangles are the building block: each one is three angled cuts that pop out a small pyramid of wood.
The maker says they used a sharp chip carving knife, and I agree that sharpness matters most. A dull blade tears the grain and leaves fuzzy corners.
Practice single triangles on scrap before you commit to a pattern. Then repeat them in rows on a tile.
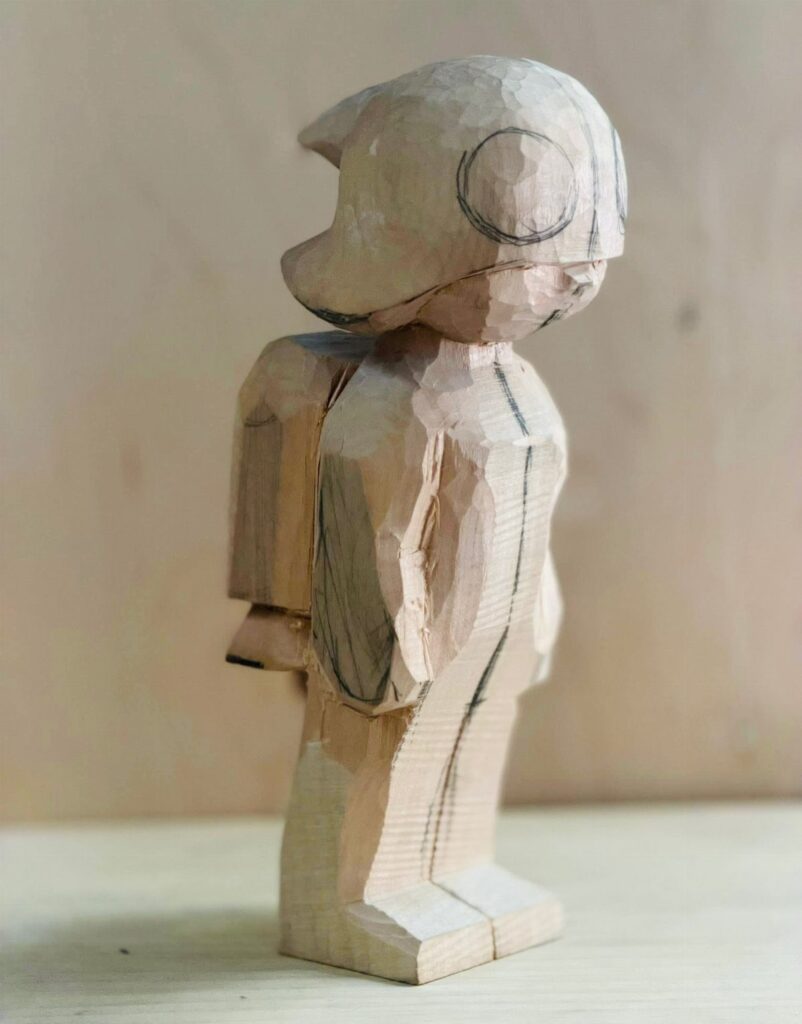
3. Stylized Person in Casual Clothes
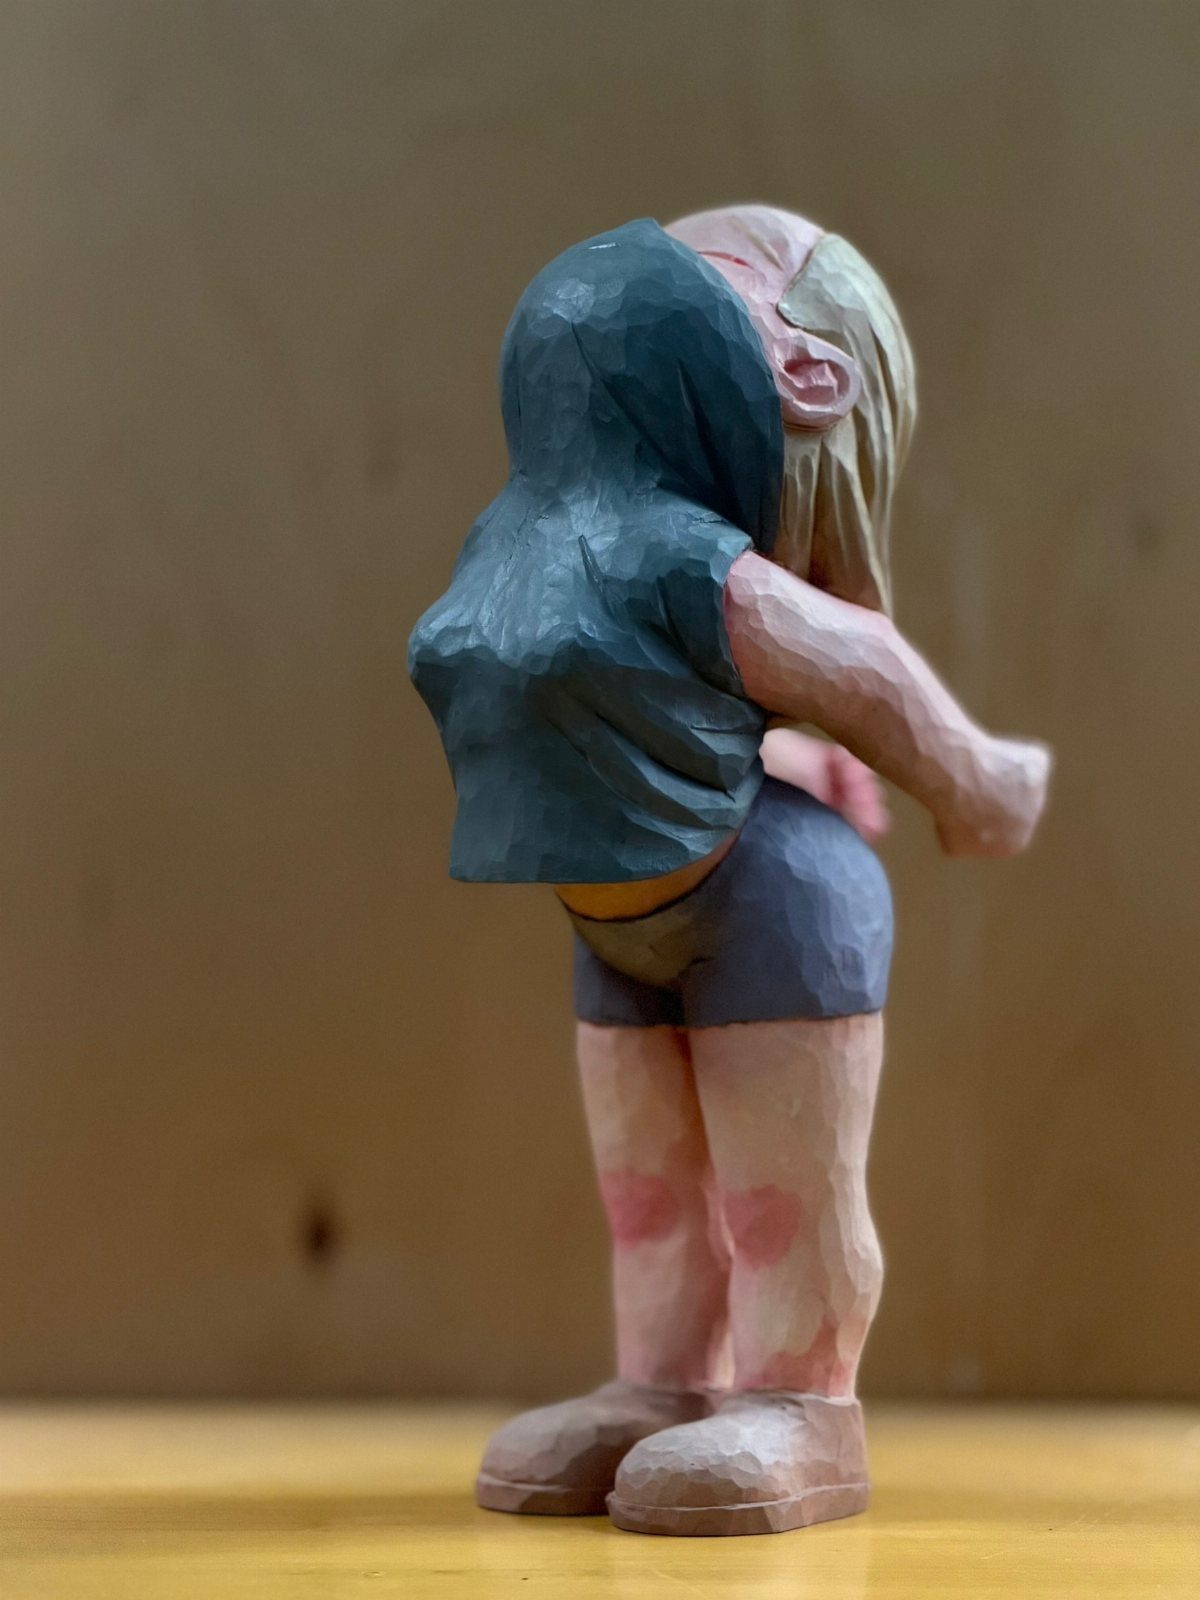
Faceted tool marks are the style here, so there is no pressure to sand a smooth surface. Flat planes left by the knife read as folds in the vest and shorts.
Start with a simple column of wood and mark where the hood, waist, and knees fall. Cut the big angles first, then add the hood and pockets with small stop cuts.
Paint the clothing in solid colors, as this blue vest and grey shorts show, and leave the rest bare wood.
4. Smiling Person with Hat
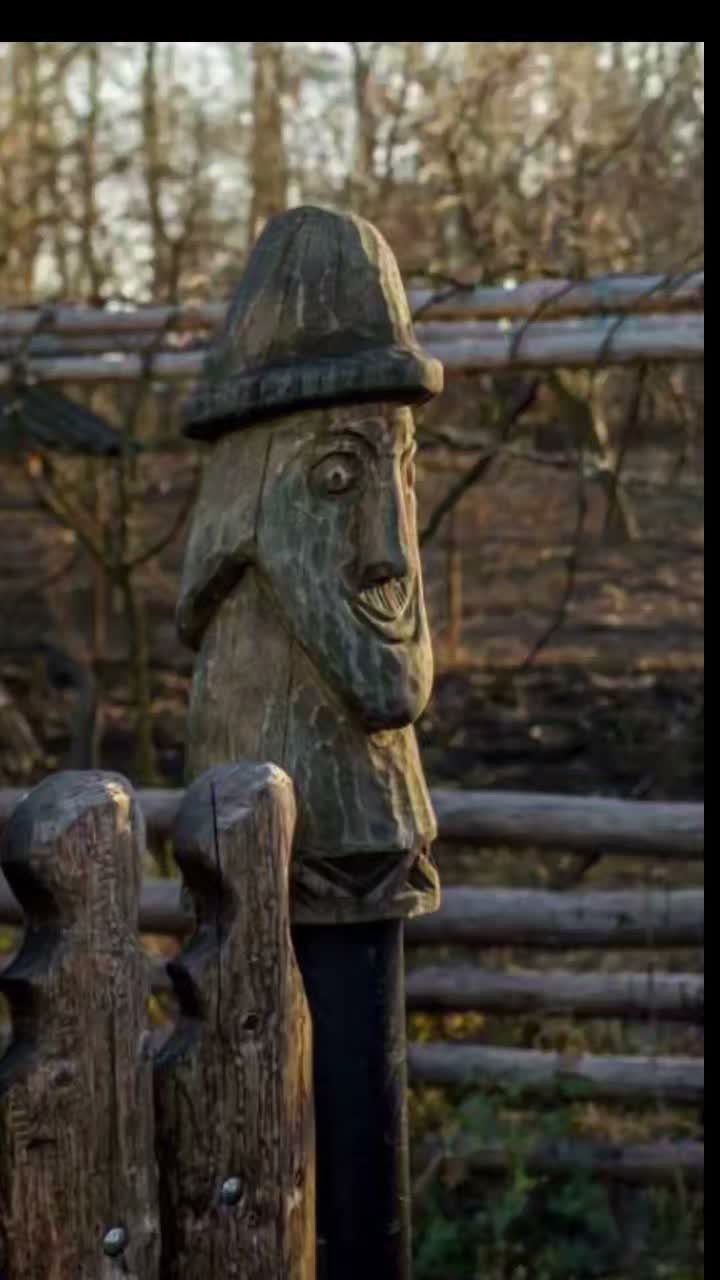
A grinning head on a post is a good way to carve a figure that lives outdoors. Without a full body to worry about, you can spend your effort on the face and the hat brim.
Carve the smile as a wide curved cut with raised cheeks above it; cheeks make a face look happy. Keep the hat brim thick so it holds up.
Set the post in a fence line or garden bed, where the rustic look suits it.
5. Expressive Wooden Pumpkins
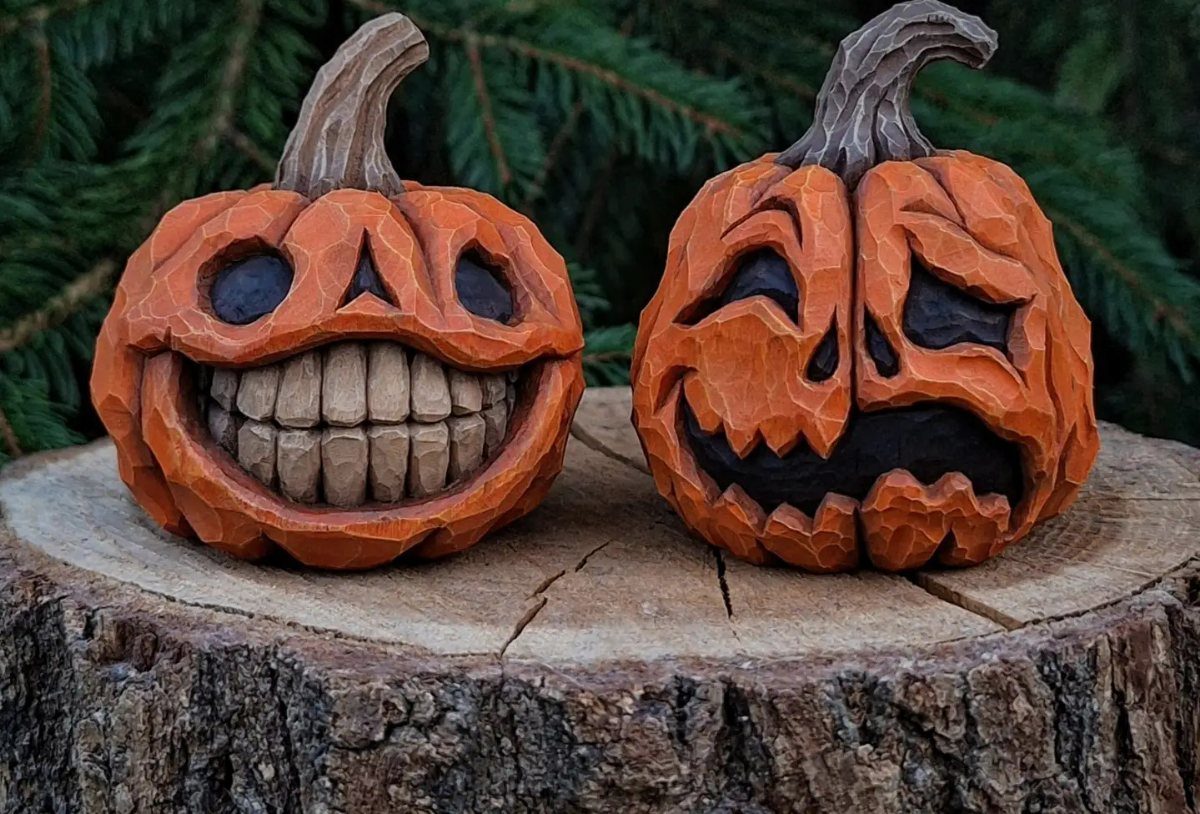
Give two pumpkins opposite moods, one smiling and one frowning, and you learn how little it takes to change an expression. The mouth curve and the angle of the brows do almost all the work.
Round the pumpkin shape first with the ridges as shallow grooves running top to bottom. Then cut the face with small, careful knife cuts.
A log slice makes a natural stand for the pair.
6. Mushroom Creature
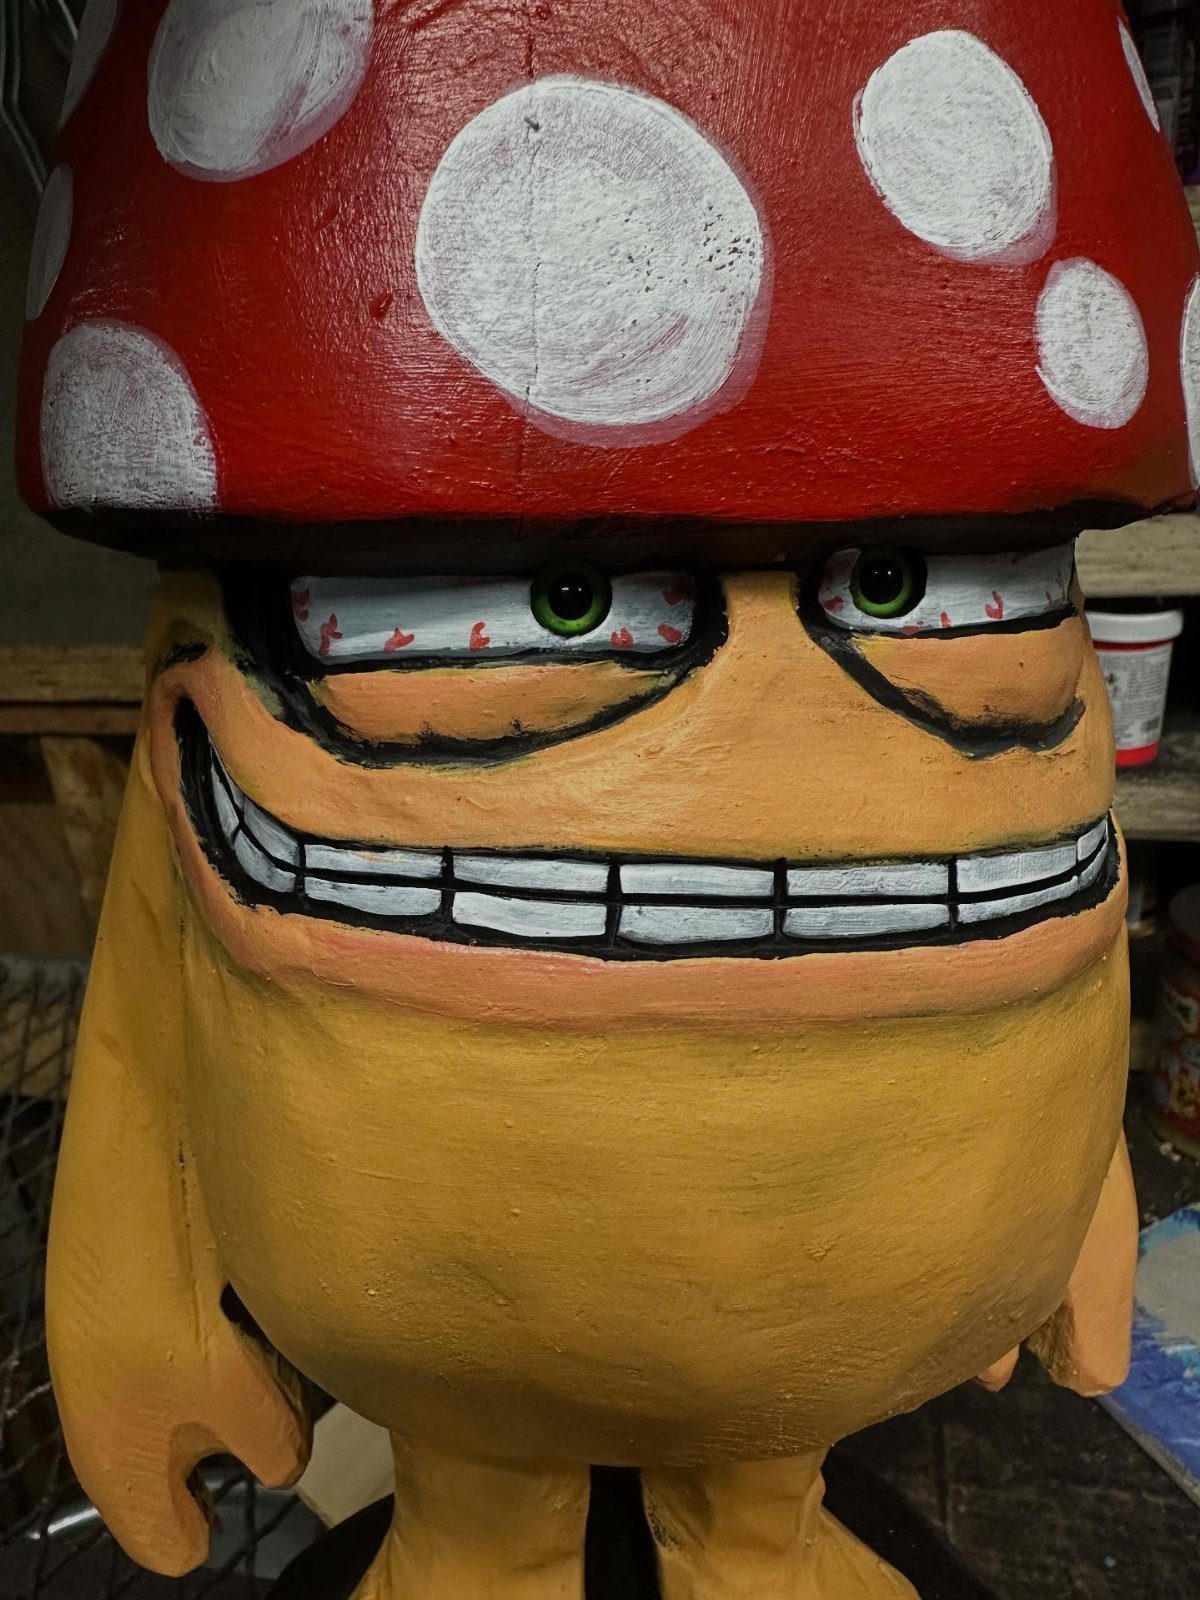
A mushroom cap turns an ordinary little character into something playful. Carve the cap as a separate dome shape over the head, with a lip where it overhangs.
Paint does a lot here. Keep the cap spots simple round dots rather than fussy shapes; they are easy to paint or burn in, and they read clearly on a small red cap.
Carve the teeth as a row of small, shallow cuts, then paint them in last.
7. Perched Bird on a Branch
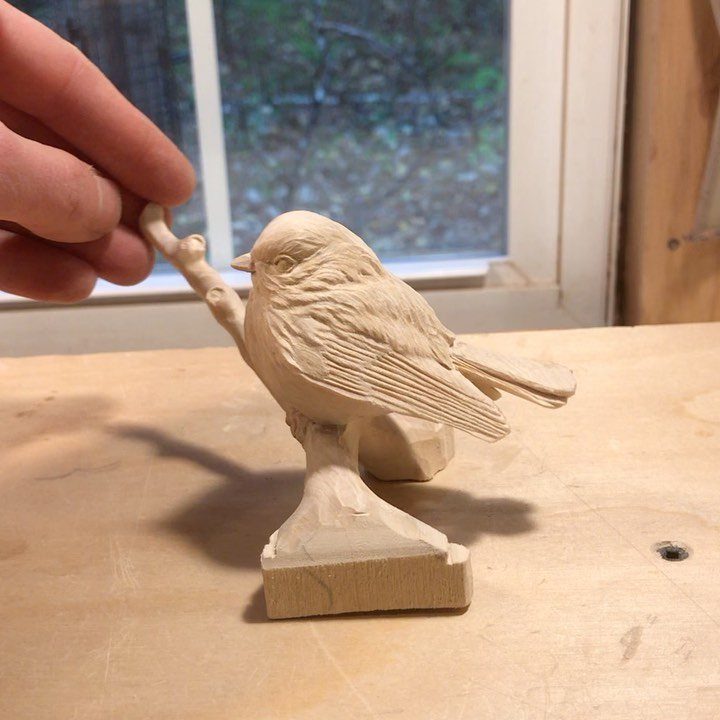
A bird on a branch is a step up from a solid bird body, because the perch adds a second shape to plan around. Leave the feet as simple blocks gripping the branch; thin toes snap off in softer wood.
Carve the bird and branch from one piece if you can, with the branch left thick. A chunky branch holds the bird steady and survives handling while you work.
I like leaving this one with knife facets showing rather than sanding it smooth.
8. Wooden Gnome
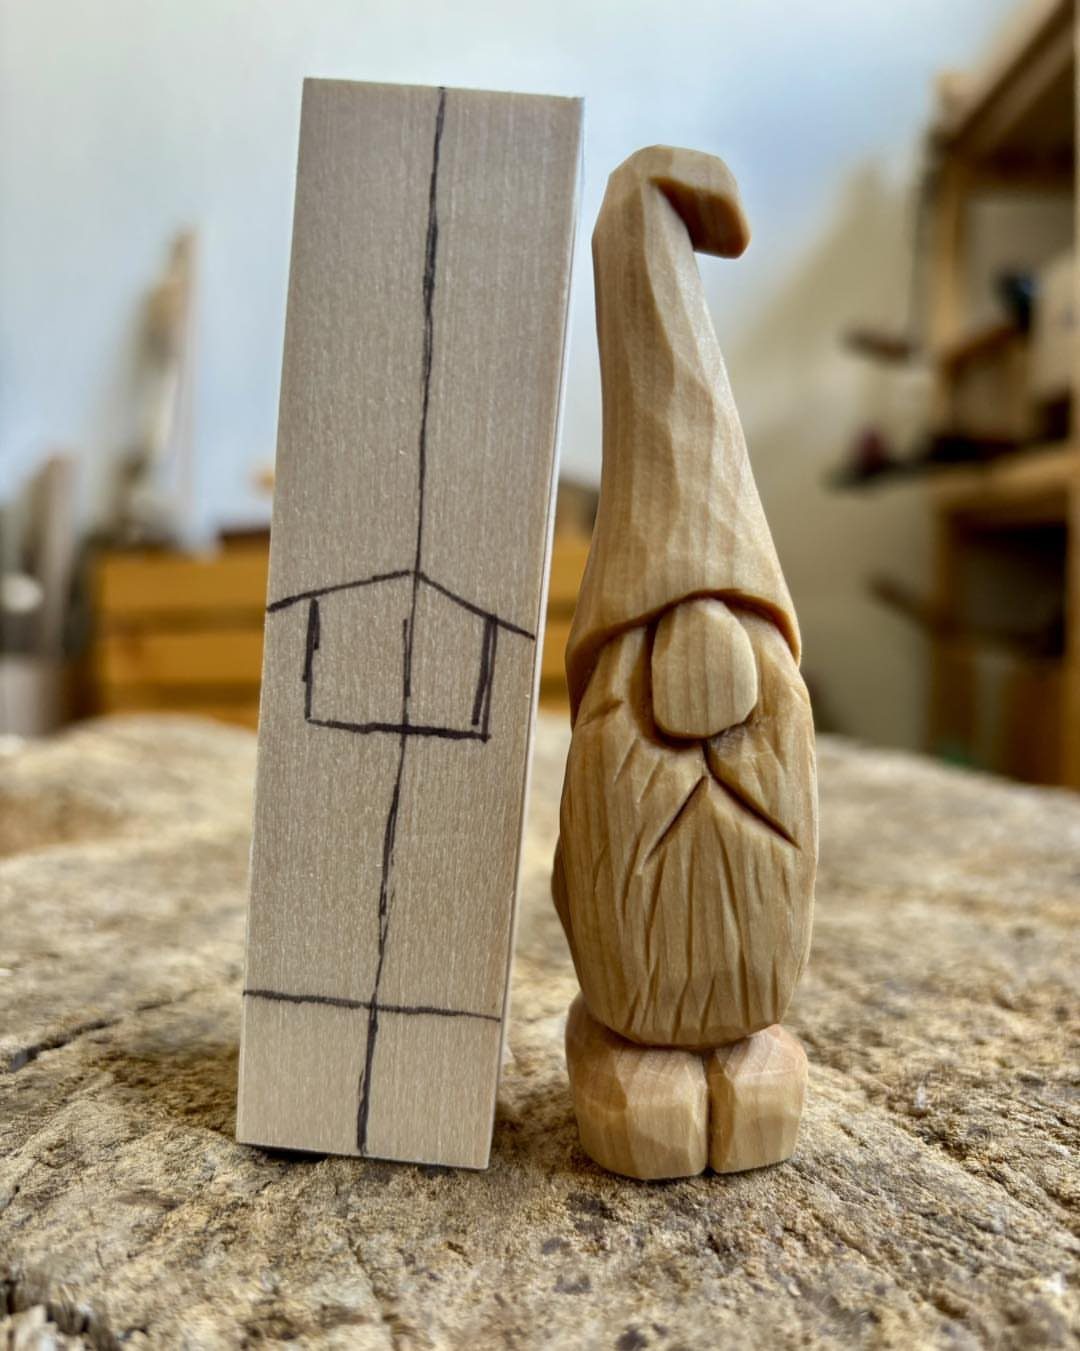
Pencil guidelines on the block do half the work for a gnome. Draw the front and side views on the wood before the first cut, then carve away everything outside the lines.
The hat, nose, and beard are the 3 masses to rough out first. A long beard can hide the body, which saves you from carving arms and hands, so I recommend it for a first gnome.
Redraw your lines as the wood disappears, since the first sketch is the first thing to go.
9. Small Wooden Whales
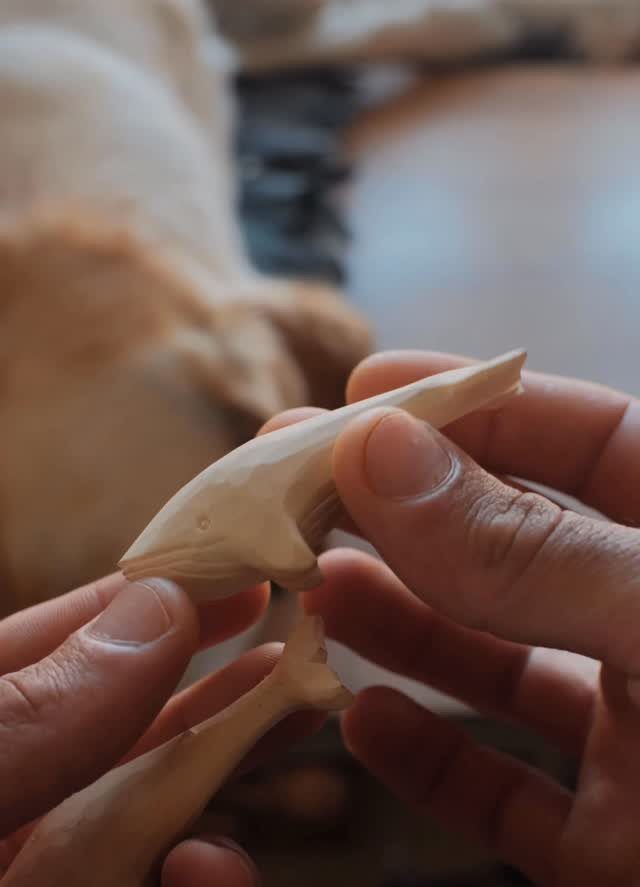
Two small whales make a good pair to carve together, because the second one goes faster once the first has taught you the shape. Each is a smooth, tapered body with a tail that curves up and a rounded head.
Keep the tail thick where it joins the body; a thin tail is the part that breaks. Small enough to hold in one hand, they need very little wood.
Leave the finish plain or lightly sanded so the grain reads as water.
10. Ram’s Head Bust
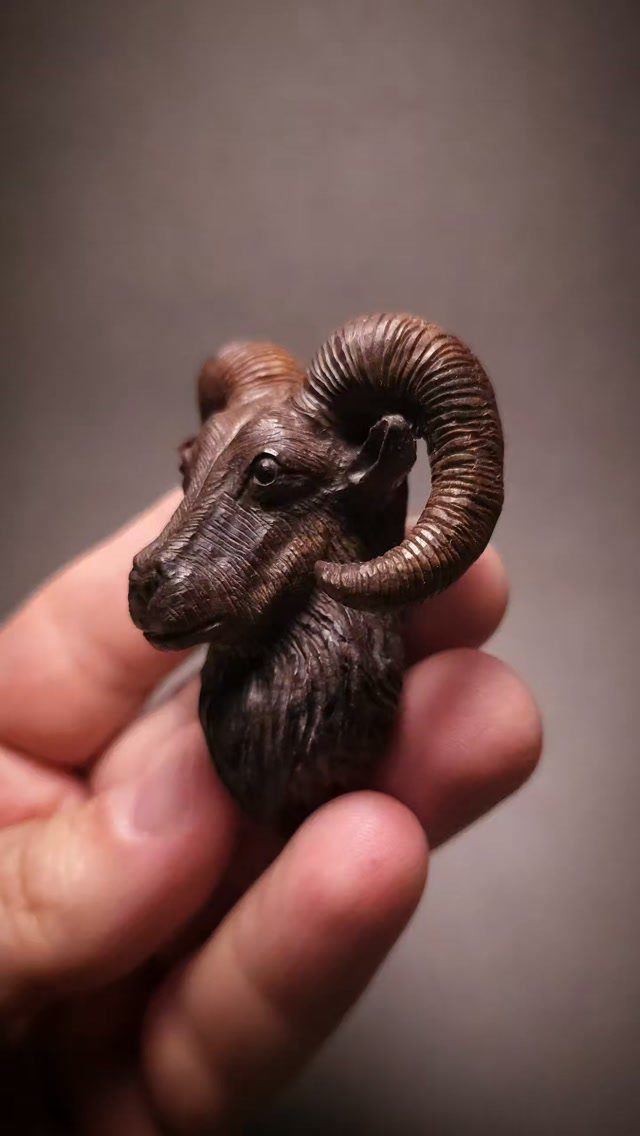
A ram’s head is the hardest figure of the bunch, so save it until a few simpler carvings are behind you. The curling horns are the challenge: they wrap around the head, and cutting against the grain there splits wood.
Carve the head first as a simple wedge, then add the horns as thick spirals. Texture on the fleece and brow can come from small, repeated knife cuts.
Go slowly, and take thin slices instead of deep ones.
Essential Tools for Beginners
A whittling knife handles most of what a first figure asks for, so start there. Gouges are the next purchase, because they cut curves and hollows that a straight blade fights.
A mallet pairs with gouges when you push through denser wood. For small pieces, hand pressure is often enough.
Sandpaper and a finish come later, once the shape is done. Power tools are not needed to learn the basics, and handwork teaches you more about grain direction and pressure.
Keep your carving hand behind the blade, work on a stable surface, and choose tools that suit your experience. Follow the maker’s safety guidance on any sharp edge you buy.
Building Fundamental Skills
Small projects let you practice one skill at a time without fighting a complicated design. These are the habits worth building:
- A steady grip and safe tool handling
- Before every cut, look at which way the grain runs and carve downhill with it, because cutting against it lifts splinters and tears out chunks you can’t put back.
- Controlling depth and pressure
- Coordinating your eye and your hand
- Noticing when a blade has gone dull
That last one matters more than it sounds.
If you are pushing harder to get the same cut, stop and sharpen. Forcing a dull edge is how slips happen.
Finishing Techniques
Natural oil or wax is my pick for finishing a carving. Either one warms the wood and brings out the grain without hiding the knife work.
Skip gloss varnish. The shiny surface reflects light and blurs the facets and small cuts you spent time on.
Wipe the piece clean of dust before you apply anything. A textured carving usually needs only a light touch-up, while a smooth one deserves more careful prep.
Once a piece is finished, set it on a shelf away from damp rooms and out of the heat of a window or radiator, since moisture and heat are what swell, dry out and crack carved wood.
Wood moves with humidity and temperature changes, and thin parts are the first to suffer.
Frequently Asked Questions
What type of wood is best for carving figurines?
Basswood is the usual pick for beginners because its fine texture cuts easily. Whatever wood you choose, plan the delicate parts to run along the grain instead of across it, since wood is much weaker across the grain.
Thin parts like toes or tails snap first, especially in softer wood, so keep them thick.
What is the easiest thing to carve from wood?
A small bird fits in one hand and makes an easy first project, since the body is a single compact mass with a rounded head and a short tail, and nothing slender sticks out to break off.
Paint can also hide uneven tool marks on a first bird.
What is the rule of three in wood carving?
Think of it as a shortcut for laying out a human figure, so you can skip memorizing the classic proportion of 8 heads from crown to foot.
The method holds up at any scale, from tiny miniatures to life-size pieces, and you can adjust the proportions to suit the figure’s clothing, age and job. I’d check that source for the exact proportions.






