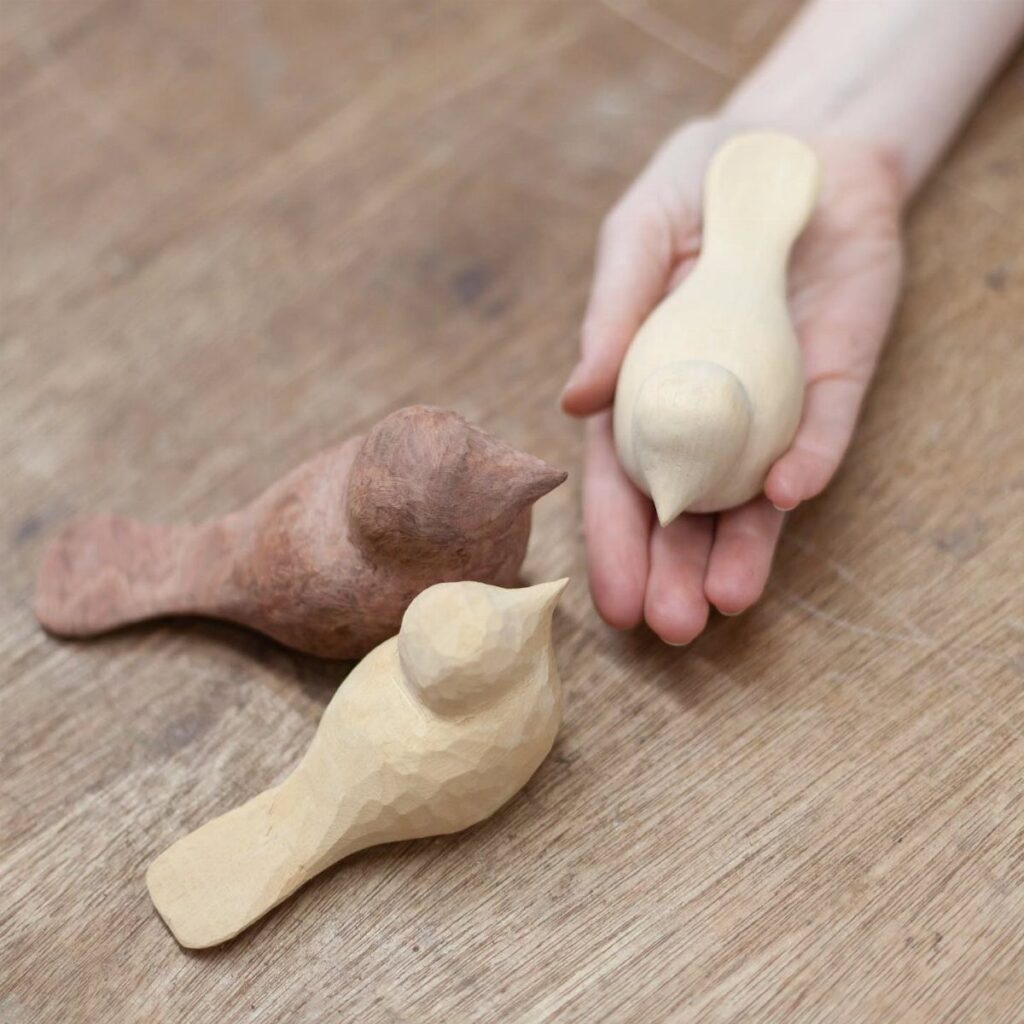
Your starting point on this list depends on how steady your knife control already is: a keychain or comfort bird takes a few hours and a handful of tools, while the bowl and fork punish a heavy hand with thin walls and snapped tines.
Pick the project whose hardest cut you can already make. Keep the pace slow, and read the safety section at the bottom before the knife comes out.
1. Wooden Spoon
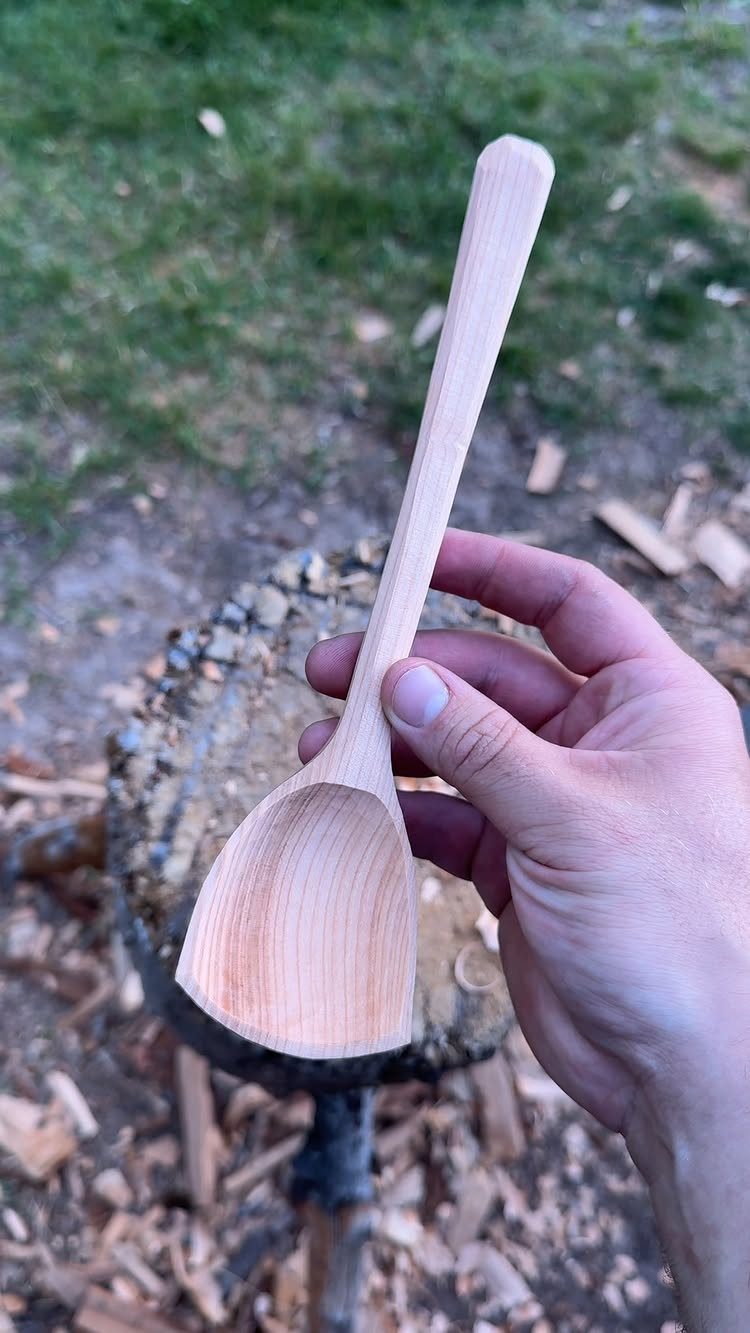
A spoon teaches more carving moves than almost any other first project, because the handle, the neck and the bowl each ask for a different cut.
You also end up with something you can actually use, which keeps a beginner motivated through the awkward middle.
Take your time on the bowl end, where the cuts get trickier. A rough spoon that stirs is a better result than a perfect one that never gets finished.
2. Comfort Bird
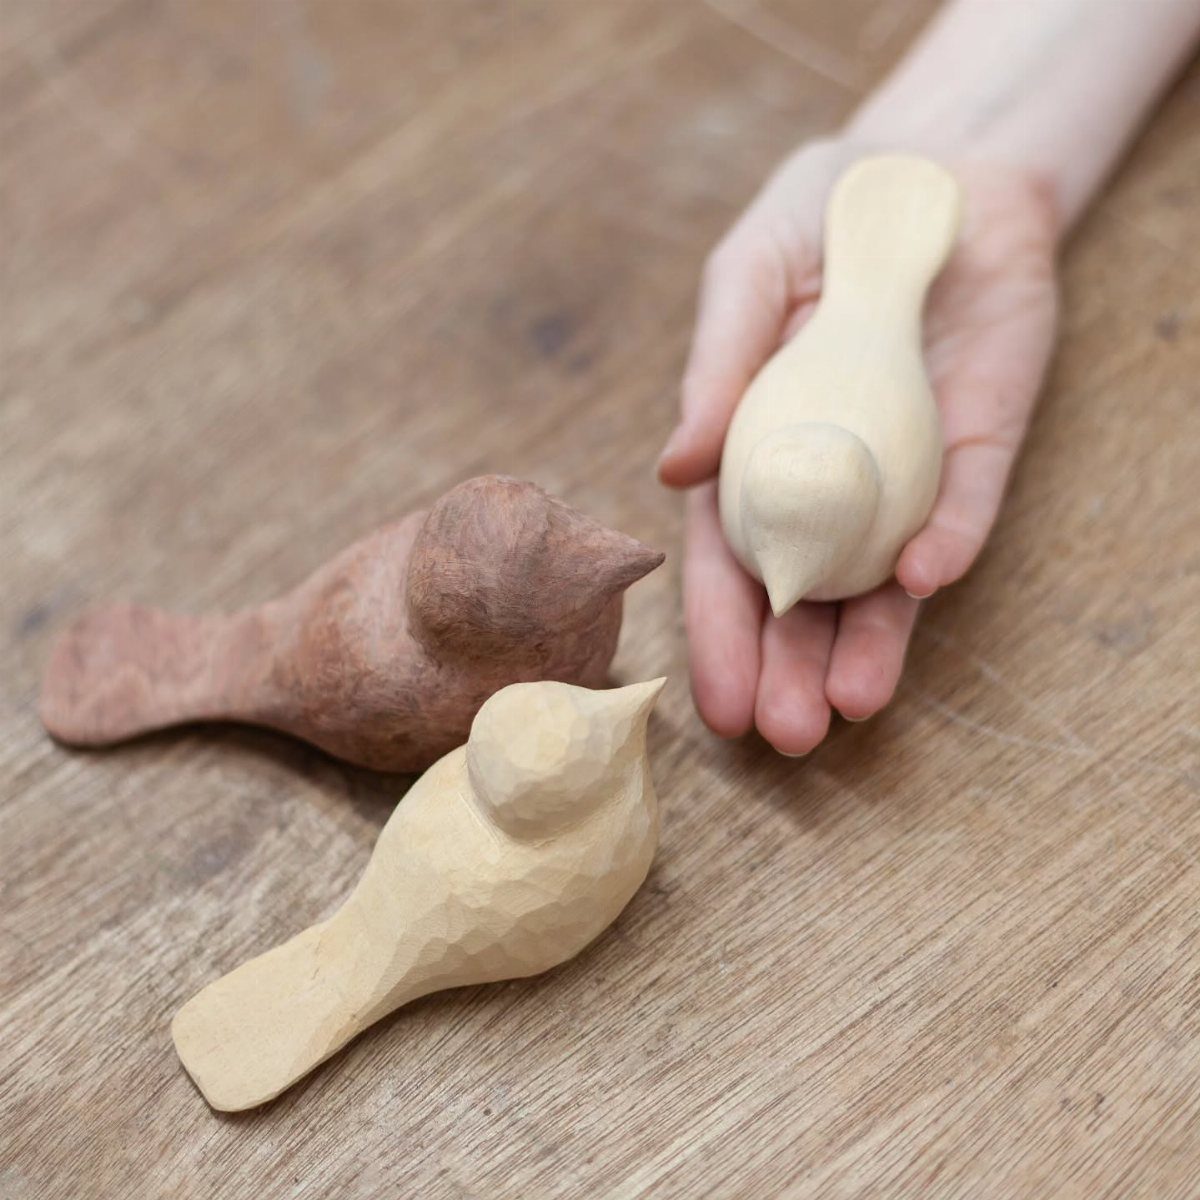
A comfort bird can vanish inside a closed hand, and that tells you its job: shape counts for more than detail.
You round it until nothing catches the palm: no sharp edges, no flat spots, just a smooth curve for your thumb to rest on.
That makes it a forgiving first carve for anyone with few tools and an afternoon to spare. I like sanding it by hand, since you can feel when the shape is done.
Make a few. The second one always looks better than the first.
3. Carved Geometric Patterns
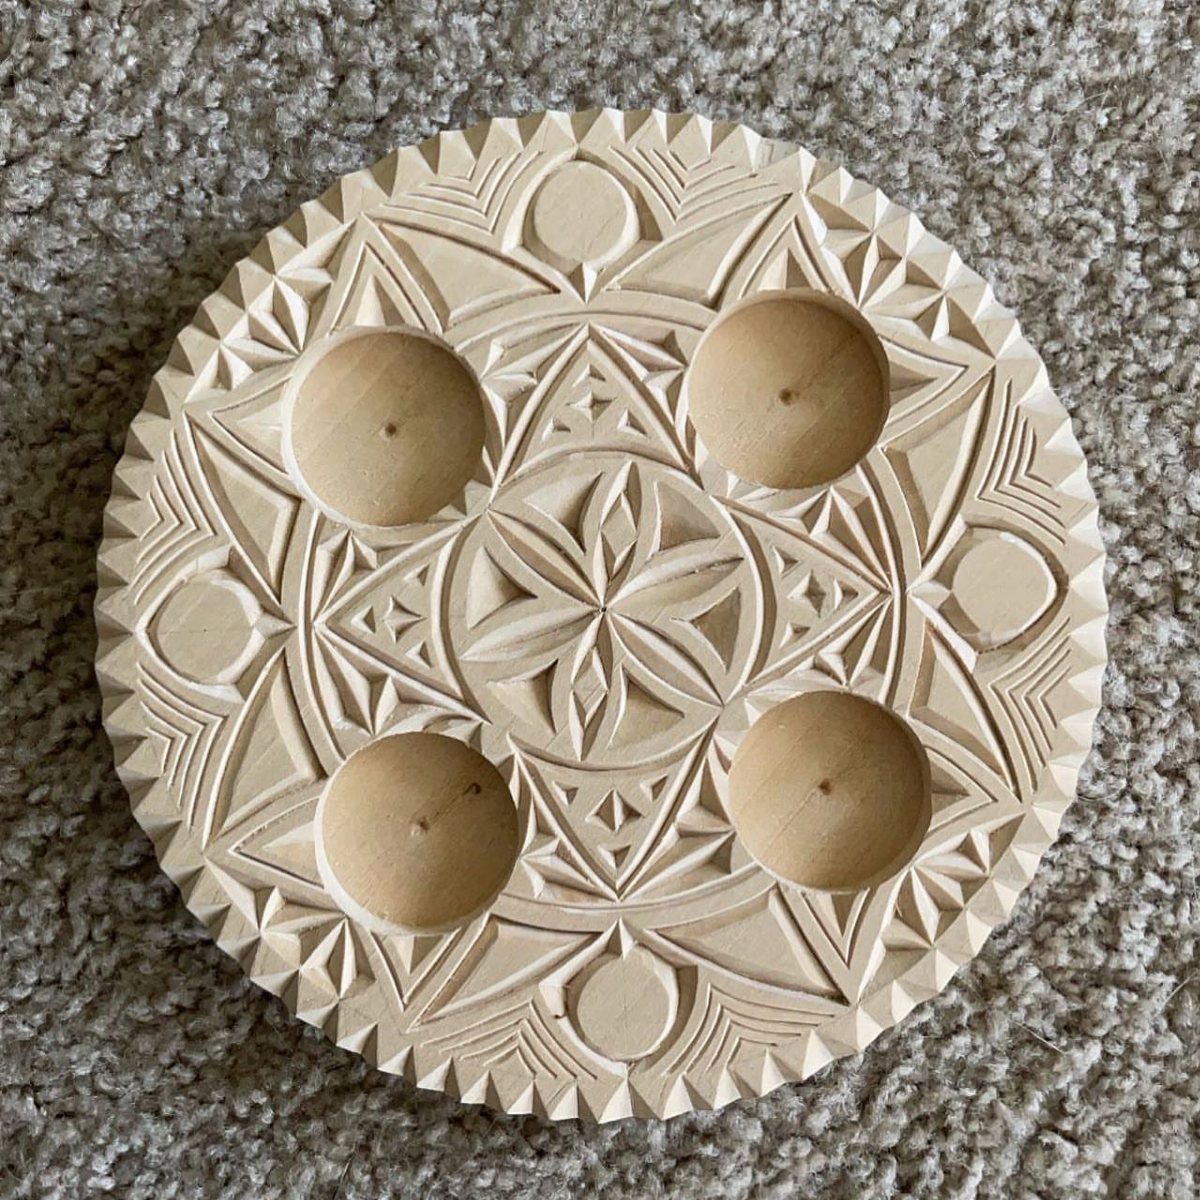
Chip carving is precision practice in its purest form: small, repeated cuts that form triangles and other geometric shapes.
A flat disc like this one gives you a clean surface to work on, so every mistake is easy to see and easy to learn from.
Start with the simplest repeating pattern you can draw, and mark your lines in pencil first. Straight, consistent cuts matter more than a complicated design.
A flat piece also costs little and takes up almost no space, which suits a beginner at a kitchen table.
4. Decorative Wooden Box
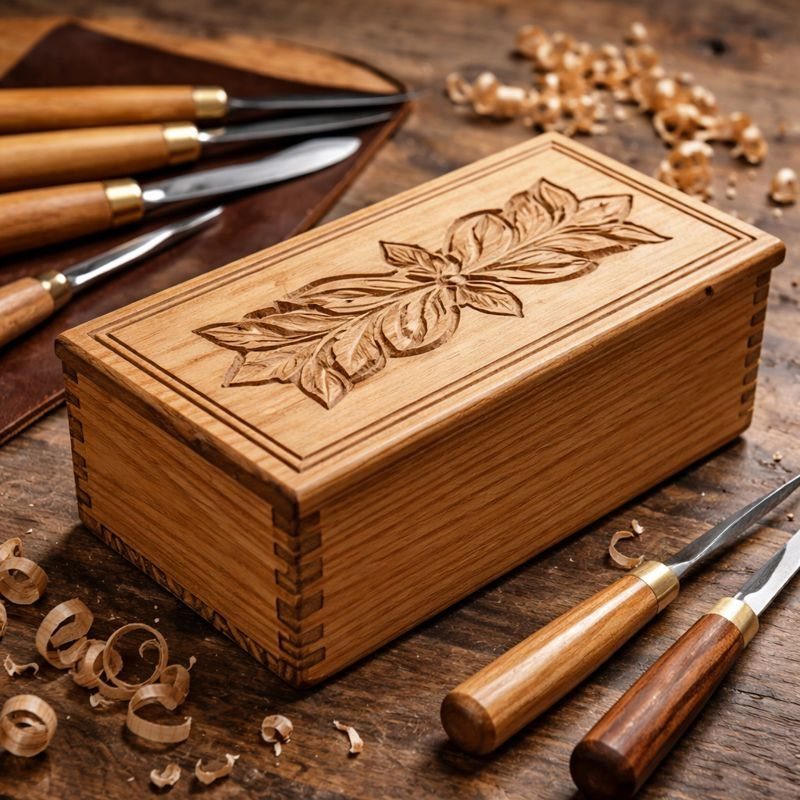
Carving a leaf into a lid is the easiest way I know to make a box look finished. The box itself is plain woodworking, and the carved top turns it from a container into a keepsake.
Build or buy a simple box first, then carve the design on the lid. A single leaf is a good size for a beginner, with room for a few mistakes to hide in the veins.
This one takes longer than a spoon or a bird, so plan on more than one sitting.
5. Simple Flower
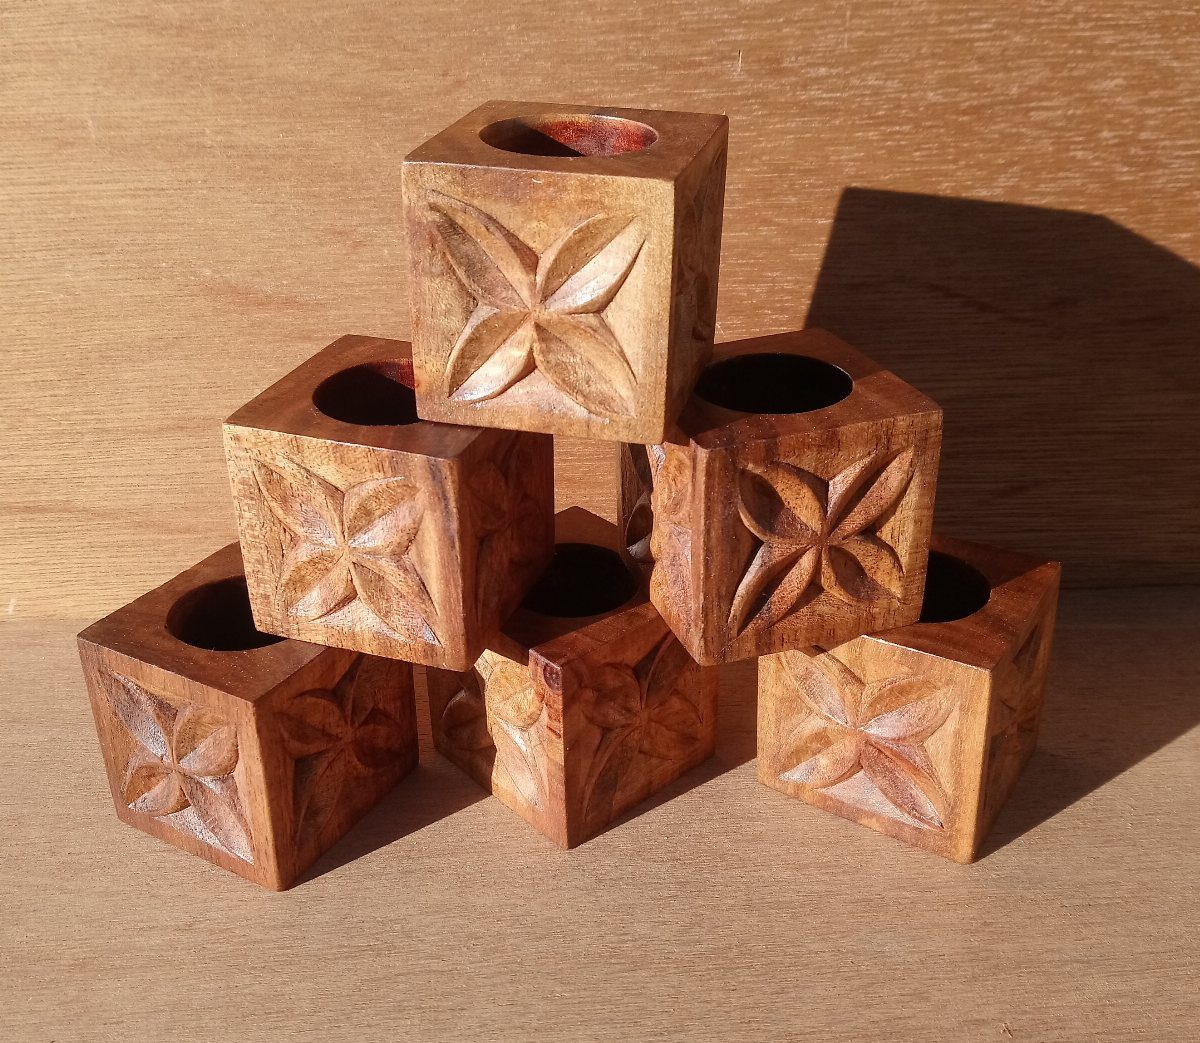
4 petals around a center point is about as approachable as floral carving gets, and repeating that motif across a stack of small cubes gives you plenty of practice.
By the sixth cube, your cuts will look noticeably steadier than they did on the first.
This one asks for more patience than the simpler projects here, since the petals need to match from face to face. Pencil your outline before you cut.
Keep the cubes small so a single one never feels like a big commitment.
6. Wooden Bowl
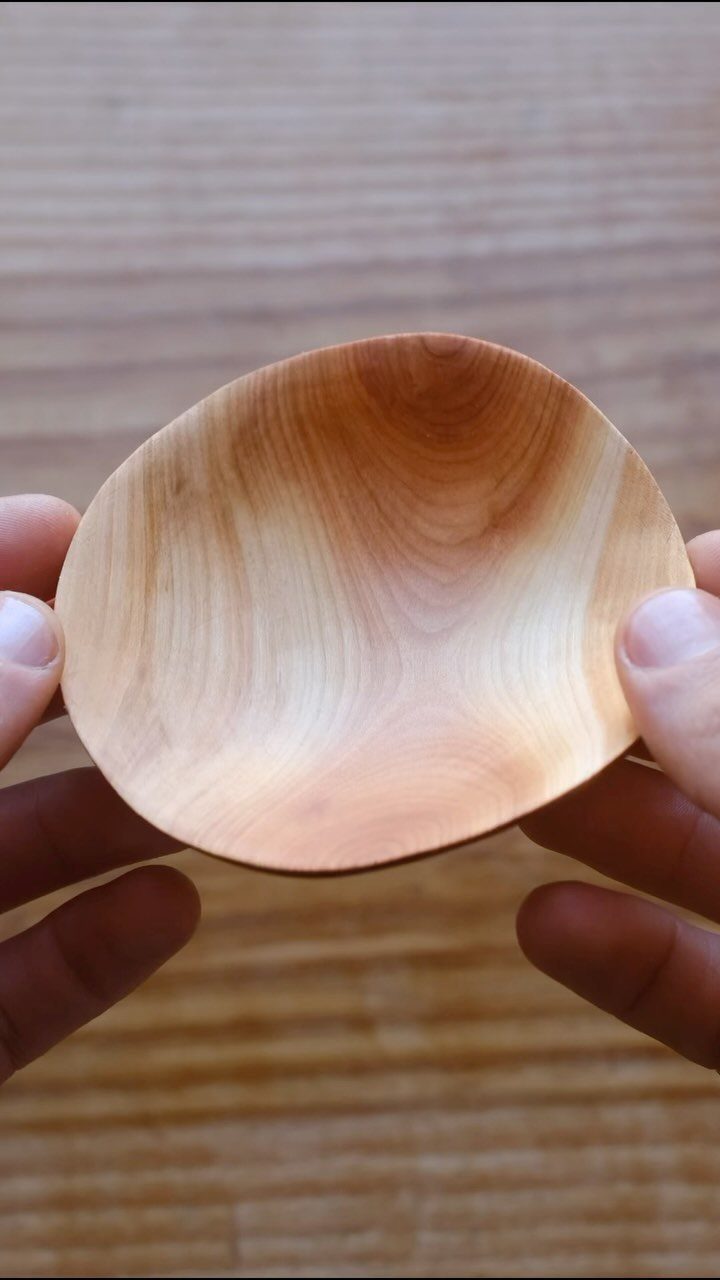
Hollowing a bowl is where carving gets serious. Removing wood from the inside means working against the grain in places, and the walls thin out as you go, so one careless cut can undo an hour of work.
I would not start here.
Carve a spoon first, then come back once your control feels solid. A small bowl, like this one, is the right size to attempt.
Go slowly and leave the walls thicker than you think you need.
7. Carved Keychain
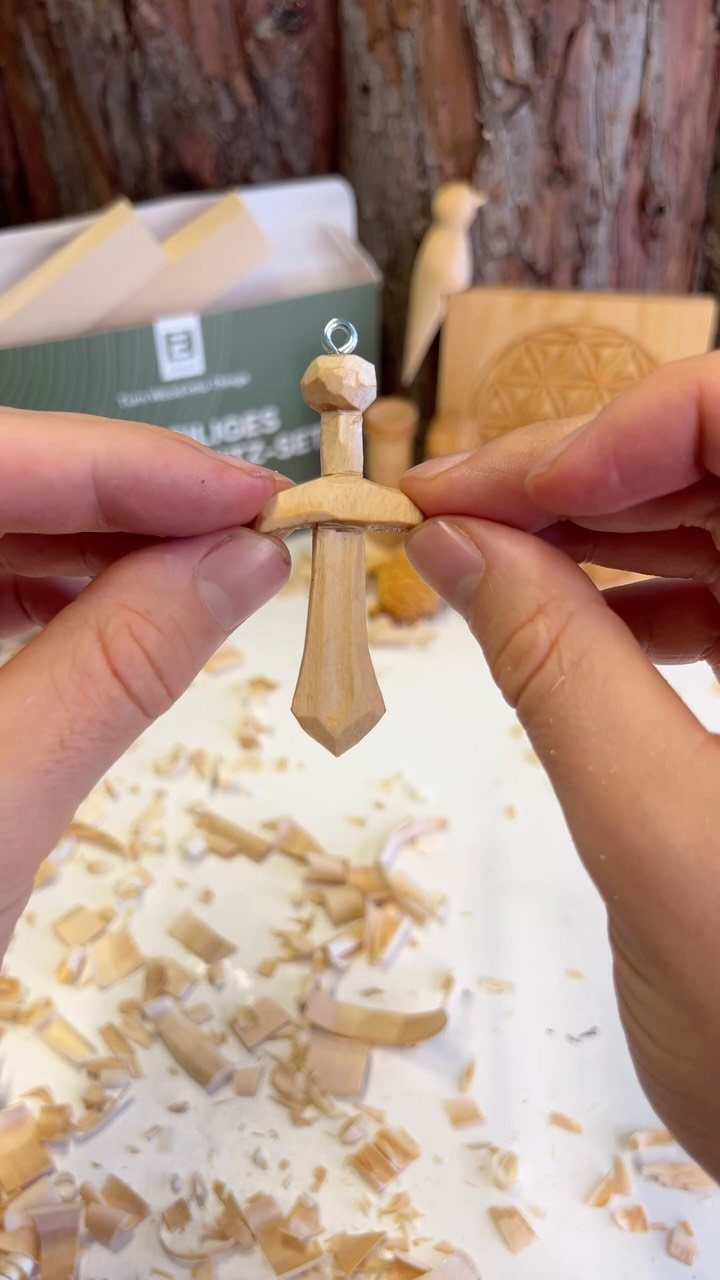
A keychain is a carving small enough to finish in one sitting.
A small screw eye twisted into the top of the handle is all the hardware a carved keychain needs, so drill a pilot hole slightly narrower than the threads to keep the wood from splitting.
Carve the shape first, then fit the ring last so it never gets in the way of your knife.
Keep the piece small. A tiny carving costs almost nothing in wood, and you can sand it smooth enough to live in a pocket.
Make a few for gifts.
8. Wooden Fork
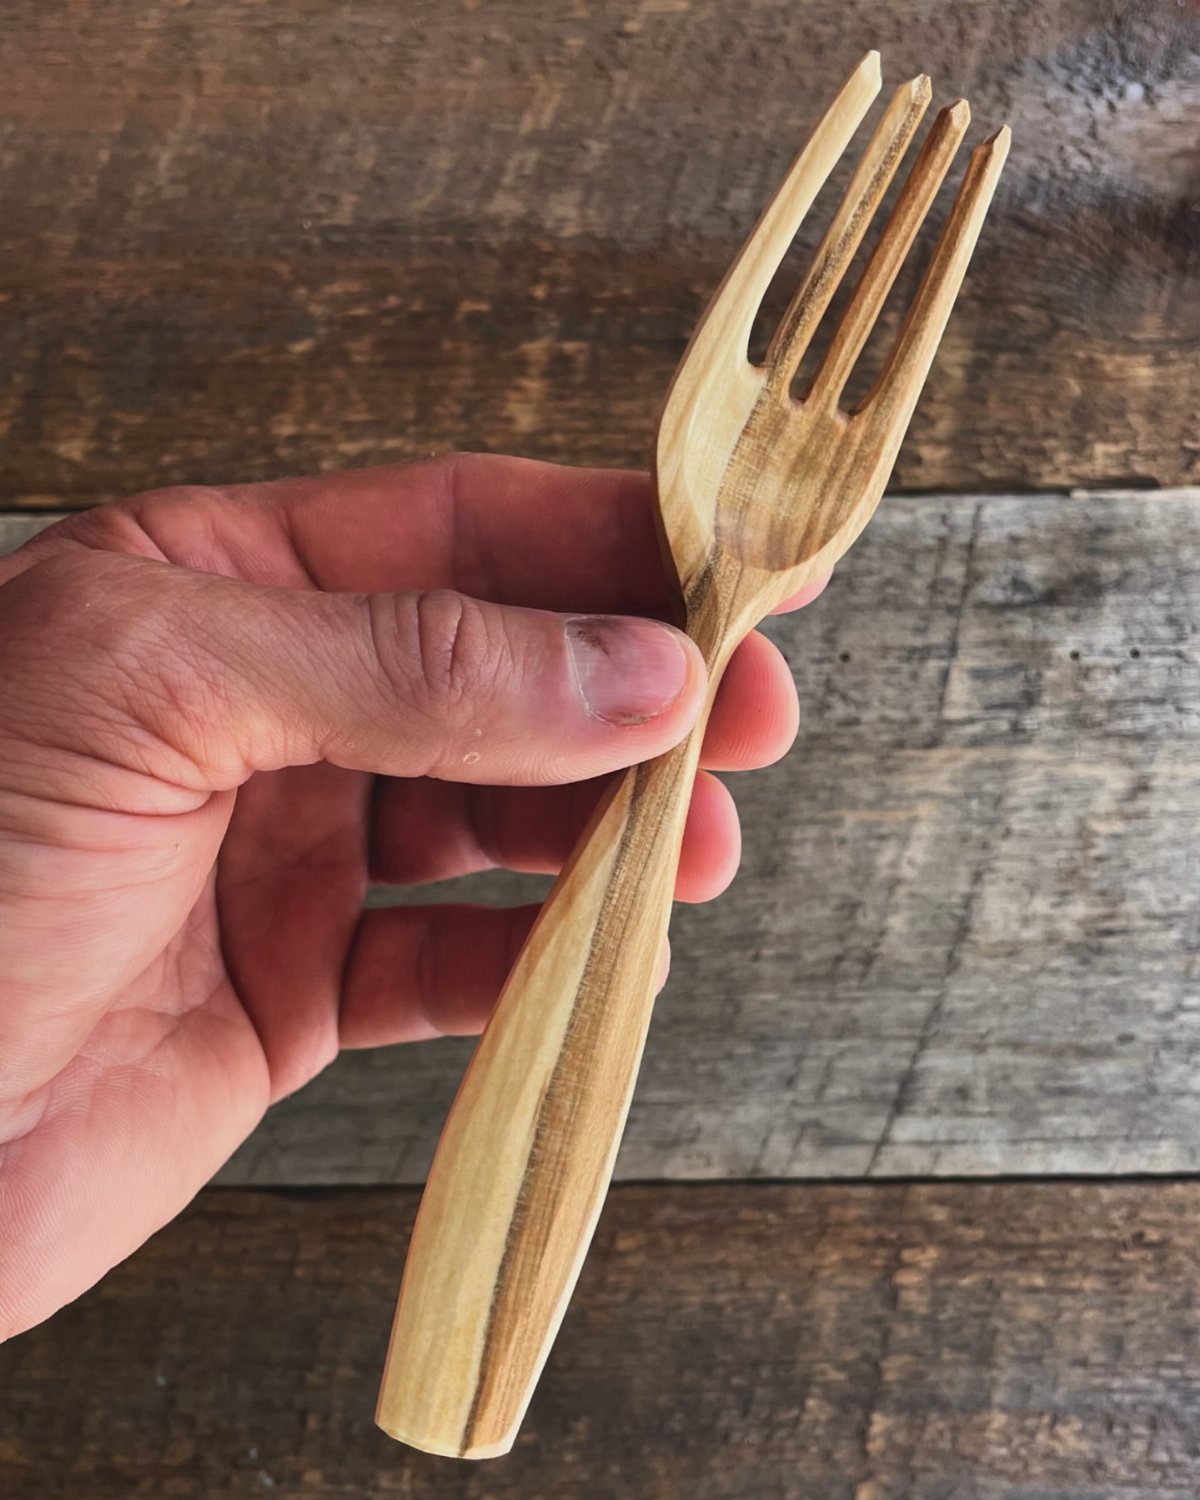
Carving a fork is a spoon project with a harder ending. The tines are where it gets fiddly, since each one has to be cut narrow without snapping.
Still, a fork is a simple, useful item for a beginner, and the handle gives you plenty of easy practice before you reach the tines. Pencil the outline on the plank first, then remove the waste in small, shallow cuts.
I would carve a spoon before this one. Take the tines slowly, and expect to redo at least one.
9. Toy Sword
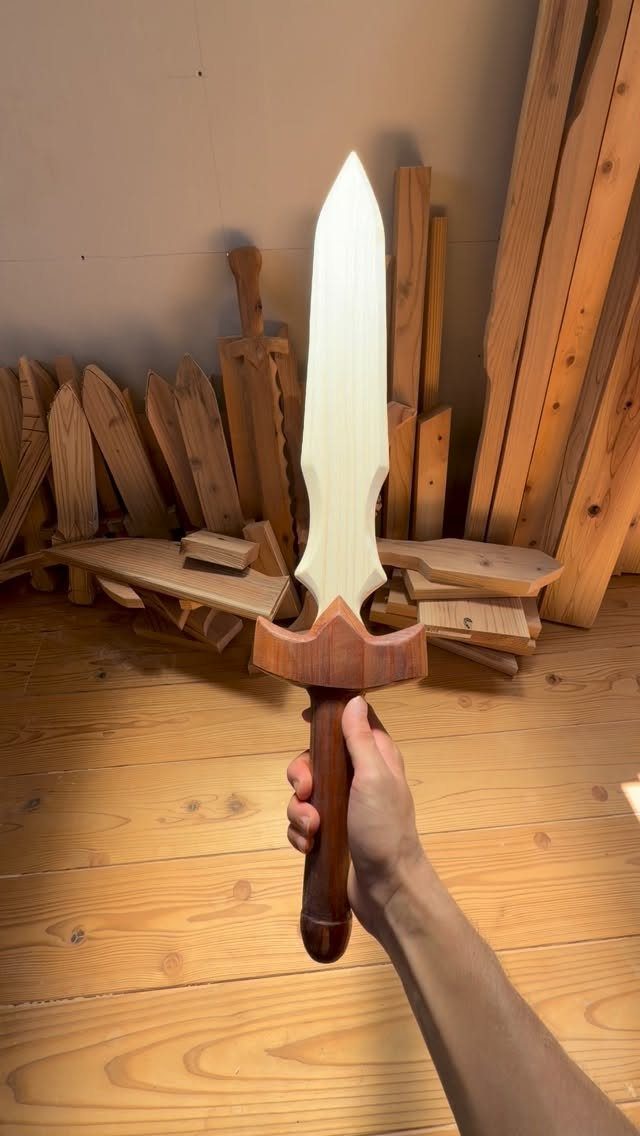
A toy sword is forgiving because nobody expects a straight line from a hand-carved blade.
The shape is 2 parts: a long, flat blade and a short hilt, and the hilt can be a different color from the blade if you stain it darker.
Taper the blade toward the tip, then round every edge so it feels friendly in a child’s hand. Sand it well, since small hands find splinters fast.
This is a good project for kids and beginners alike. Make two, and nobody has to share.
Safety Tips for Carving
Sharp tools are safer than dull ones.
A dull blade needs more force, and force is what sends a knife skidding into your hand. Stop and sharpen the moment the wood starts to tear instead of slice.
Always push the blade away from your body, and check where your free hand sits before every stroke so it never ends up in front of the edge.
A leather thumb guard or a carving glove on the hand holding the wood costs only a few dollars, and a cut-resistant glove adds protection for the fingers that grip the piece.
Set the piece on a stable surface, or clamp it, so it can’t shift mid-cut. Good light matters as much as a steady bench, because you can’t control a cut you can’t see clearly.
Take regular breaks. Tired hands slip, and most carving accidents happen late in a session, so build the habit of stepping away before your grip gets sloppy.
Frequently Asked Questions
What is the easiest thing to carve from wood?
A comfort bird or a wooden spoon is the best place to start. A comfort bird is a palm-sized piece where smooth shape matters more than detail, so you only round it until nothing catches your hand.
What are some cool wood carving ideas?
Good ideas include a carved spoon, a comfort bird, a chip-carved geometric disc, and a box with a leaf carved into the lid.
A set of small cubes with four-petal flowers is another, and so is a toy sword. Each one practices a different skill, from rounding and hollowing to precise repeated cuts.
What wood is best for beginners?
For a first project, I reach for basswood: the grain is tight and even, it cuts cleanly with a basic knife, and it forgives a heavy hand.
Aspen and pine work too, though pine has harder growth rings that can make a blade skip, so take lighter cuts. All 3 are softwoods that cut easily, go gently on your tools, and are affordable and easy to find.






