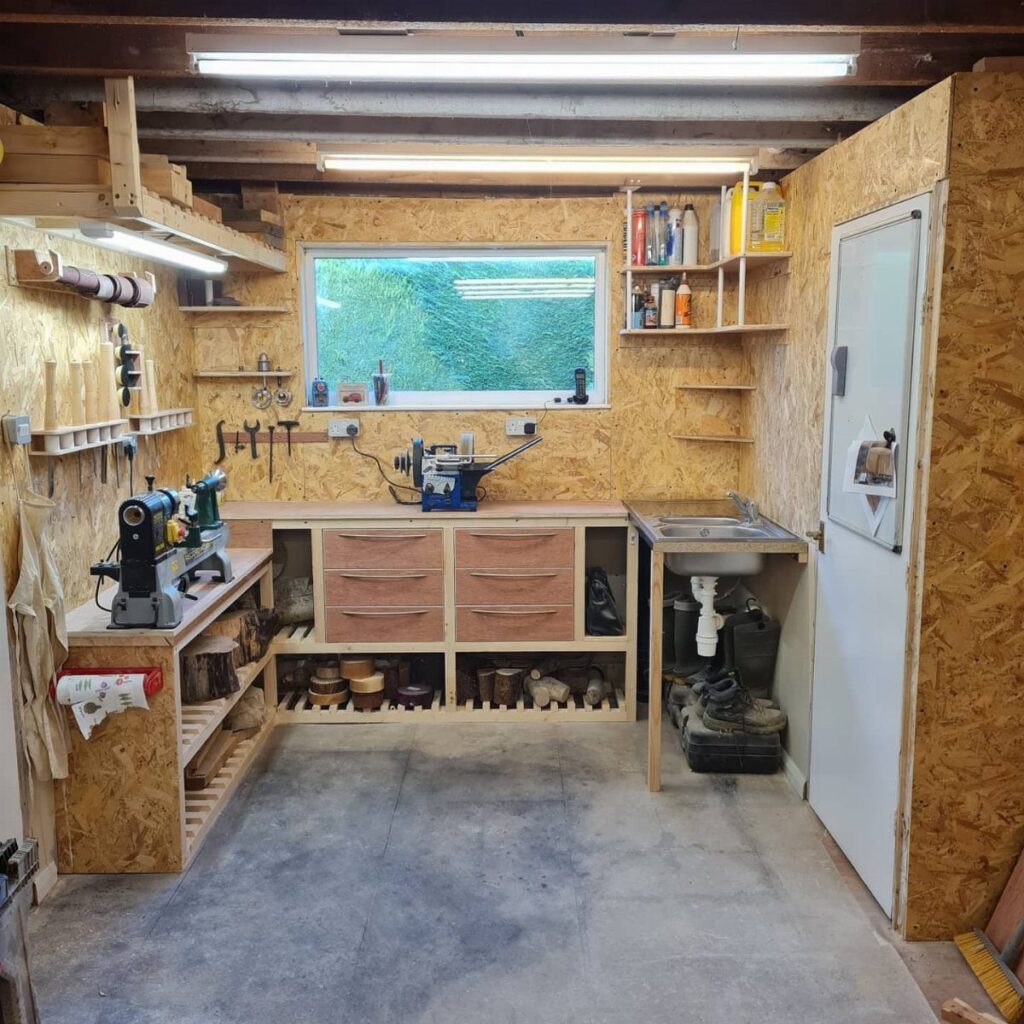
Small shop ideas run from better lighting to a rubber floor mat to a miter saw built into a workstation, and the right one for your room depends on what runs out first: floor space, light or stamina.
If the floor is gone, go vertical with shelves, pegboard and wall racks. In a dim room, task lighting and overhead lights come first, because no tool setup helps if you can’t see the cut line.
Hours on a concrete slab wear down your legs and back fast, so a layer of cushioning under your feet is the first fix I’d make.
1. Task Lighting and Overhead Lights
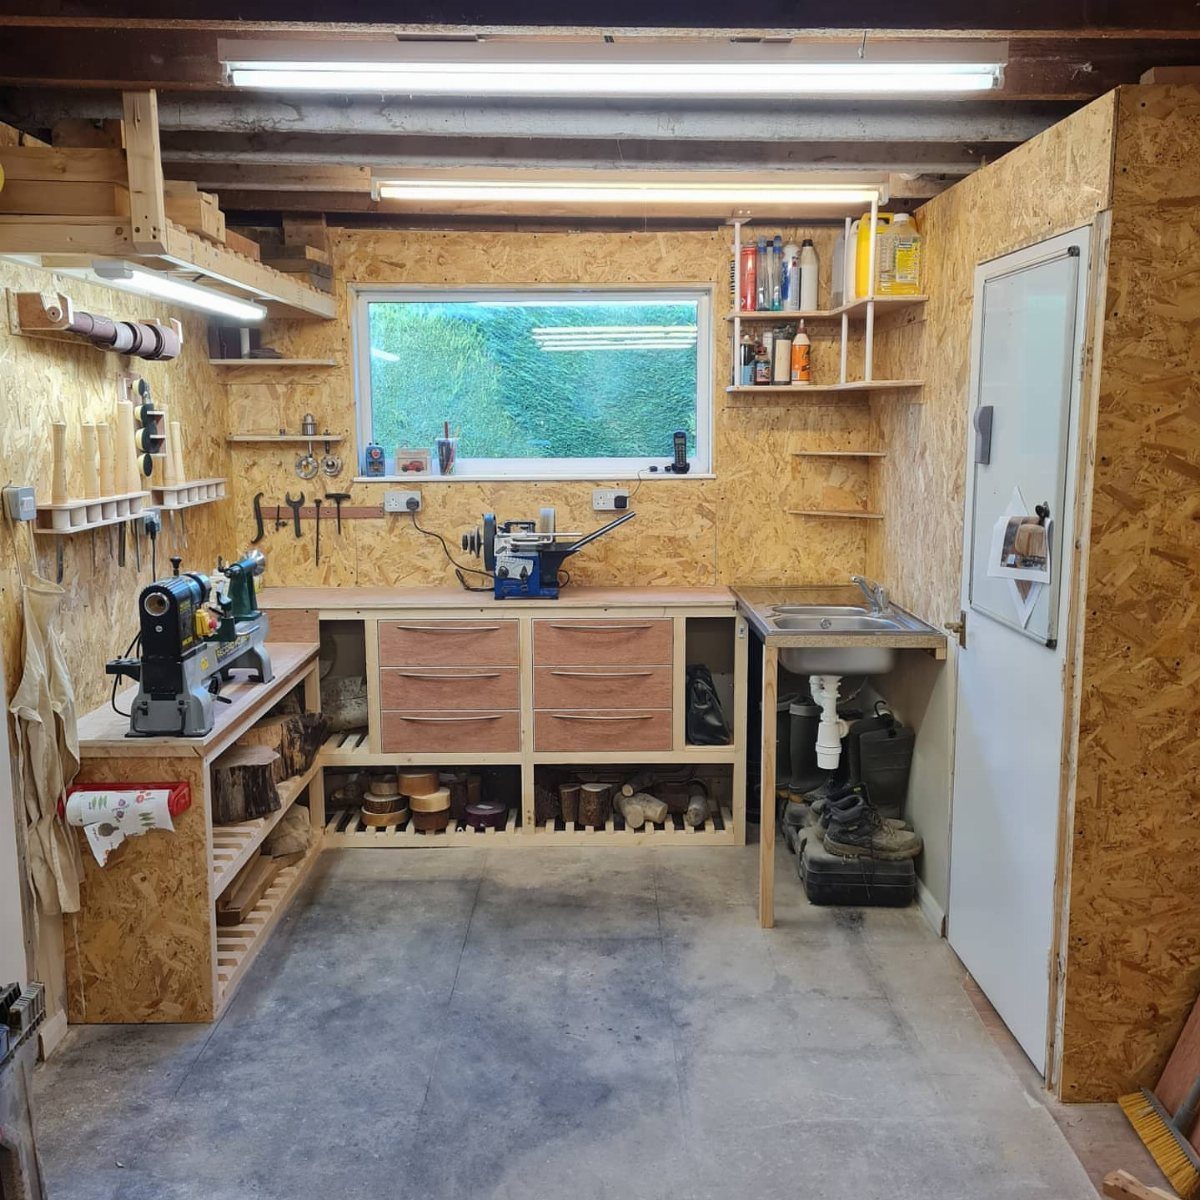
Fluorescent tubes overhead handle the general glow, but the light that matters most lands on the workbench itself. Shadows from your own body and the tool in your hand hide pencil lines and blade paths.
Fixing that is cheap: add a strip light under a shelf so it shines down at the work surface, and leave the overheads for the room.
Dark OSB walls soak up light, so expect to want more fixtures than a painted shop would.
2. Functional Areas for Cutting and Sanding
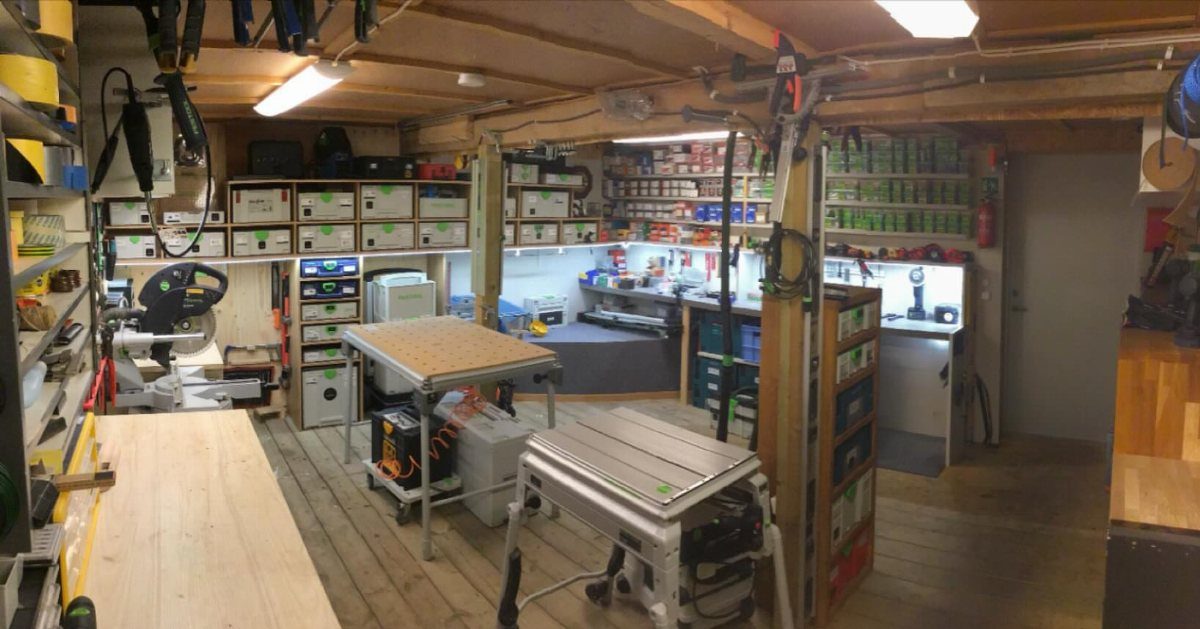
A miter saw and a table saw should each get their own patch of floor, with the workbench off to one side for assembly. Splitting the shop this way means you stop shuffling tools every time the task changes.
In a small room, I’d put the 2 saws along walls and keep the middle open for handling boards. Bins on the shelves behind them hold blades and accessories right where you use them.
Sanding is the messy one, so give it a spot away from finish and glue work.
3. Sturdy Workbench
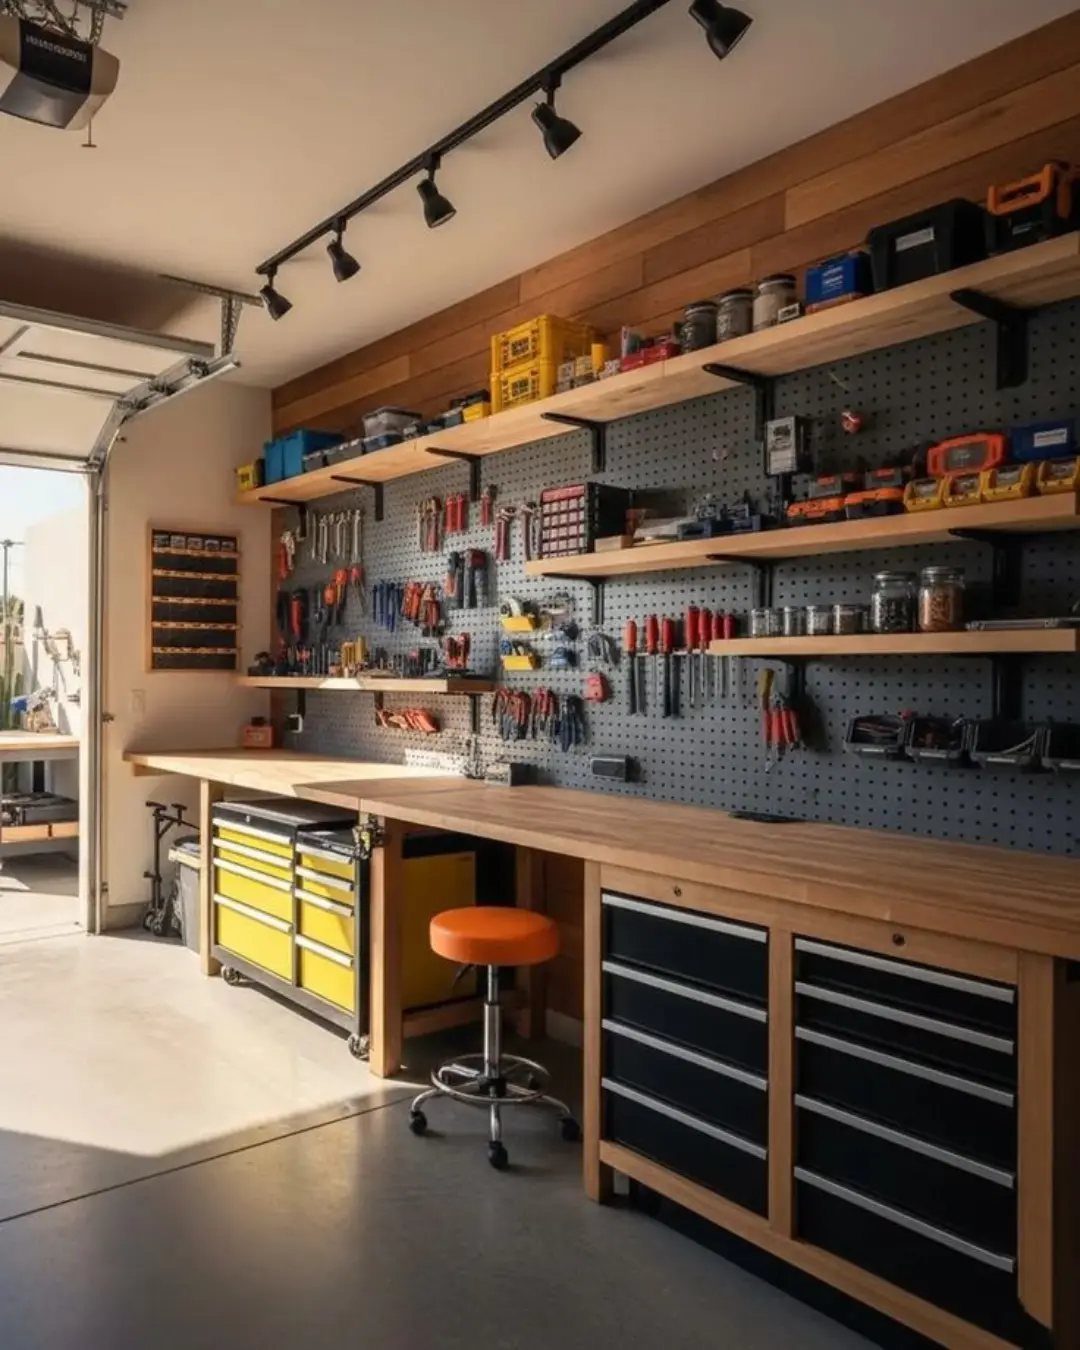
Most of a shop’s work happens at the bench, so it earns the best spot and the most care. A solid wooden top with drawers underneath keeps small tools off the surface and within a step.
Hang a pegboard on the wall behind the bench, and the tools you reach for all day stay at eye level, with no digging through drawers.
Build it heavy; a bench that shifts while you plane or chisel is more frustrating than a small one.
4. Utilize Vertical Storage
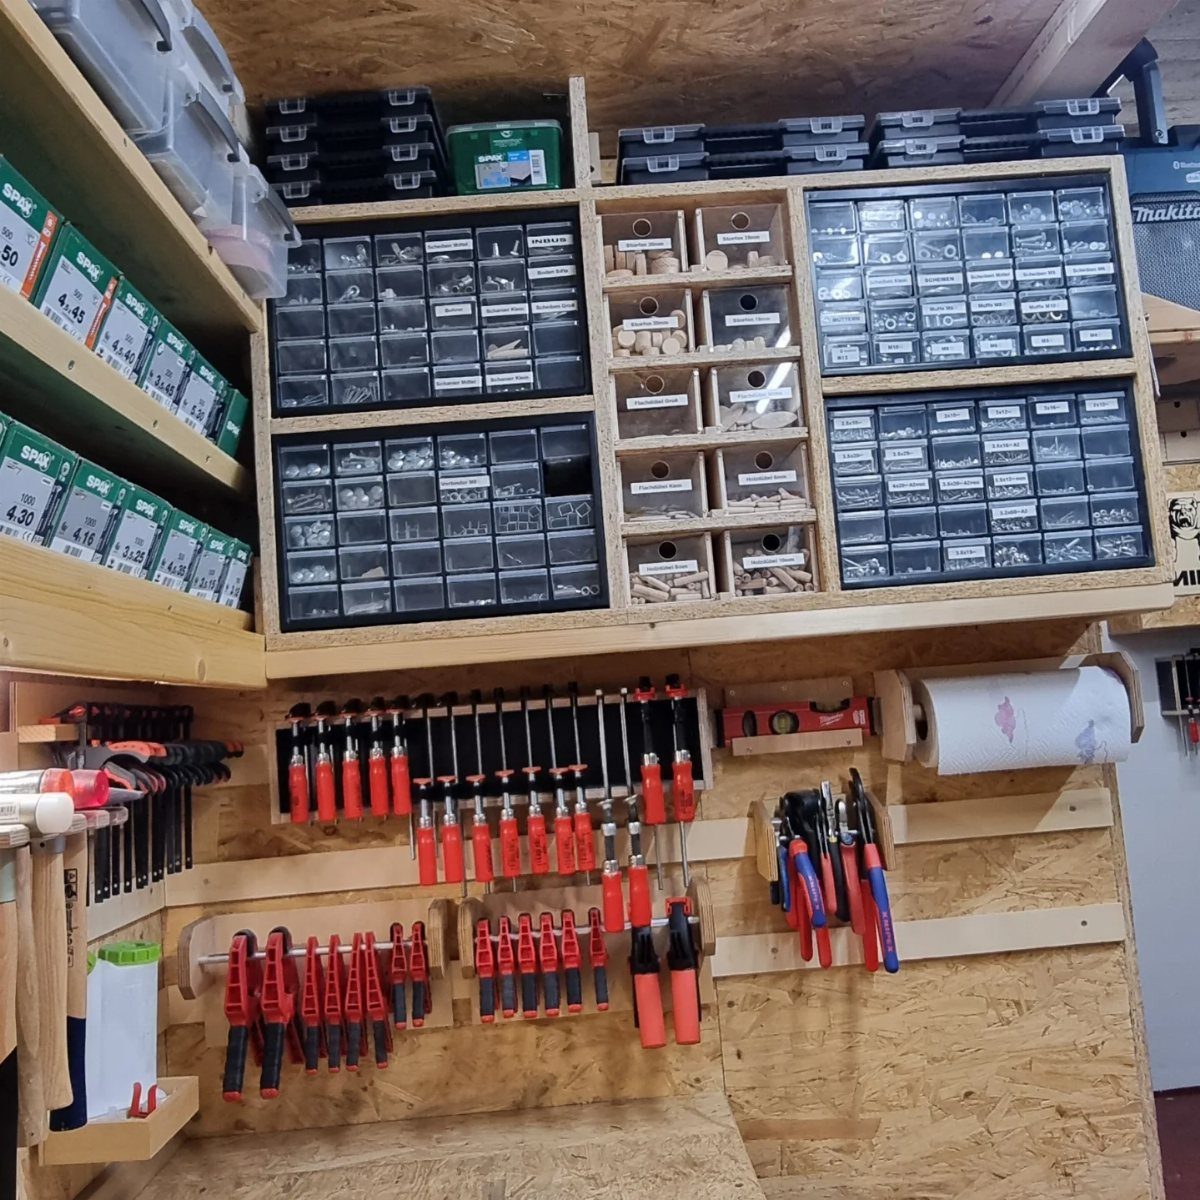
Wall space costs nothing, and floor space in a small shop is the thing you run out of first. Shelves of small plastic organizers hold screws and hardware, and a wooden rack keeps clamps off the bench.
Label every box, because a drawer of mixed fasteners is slower than no drawer at all. Put the clamps you grab most at shoulder height and the rarely used ones up high.
OSB walls work well here, since you can screw a shelf or rack into them almost anywhere.
5. Dust Collectors and Air Filters
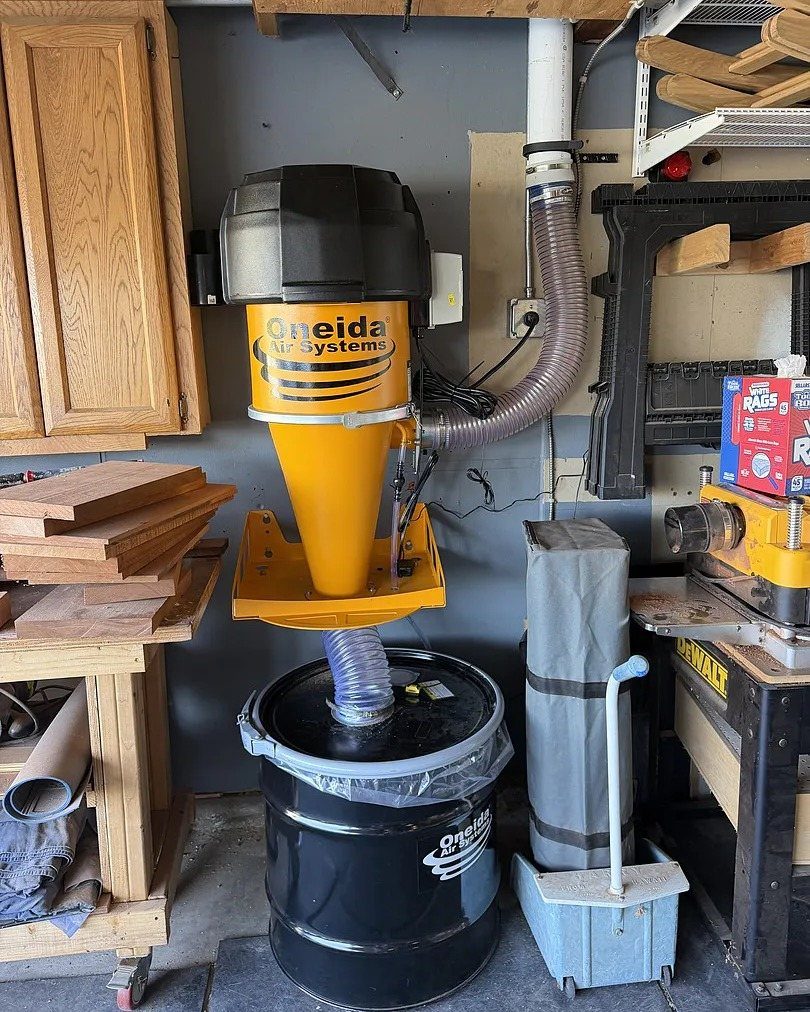
Fine dust hangs in the air long after the saw stops, so a wall-mounted collector hooked to a drum gets it off the floor and out of your lungs.
Mounting the unit on the wall, as above, keeps most of the footprint off the floor, though the collection drum still needs a spot to sit.
Empty the drum before it fills, since a packed drum loses suction. A collector costs real money, so it’s worth budgeting early rather than treating it as an upgrade for later.
6. Tools Within Easy Reach of Workbench
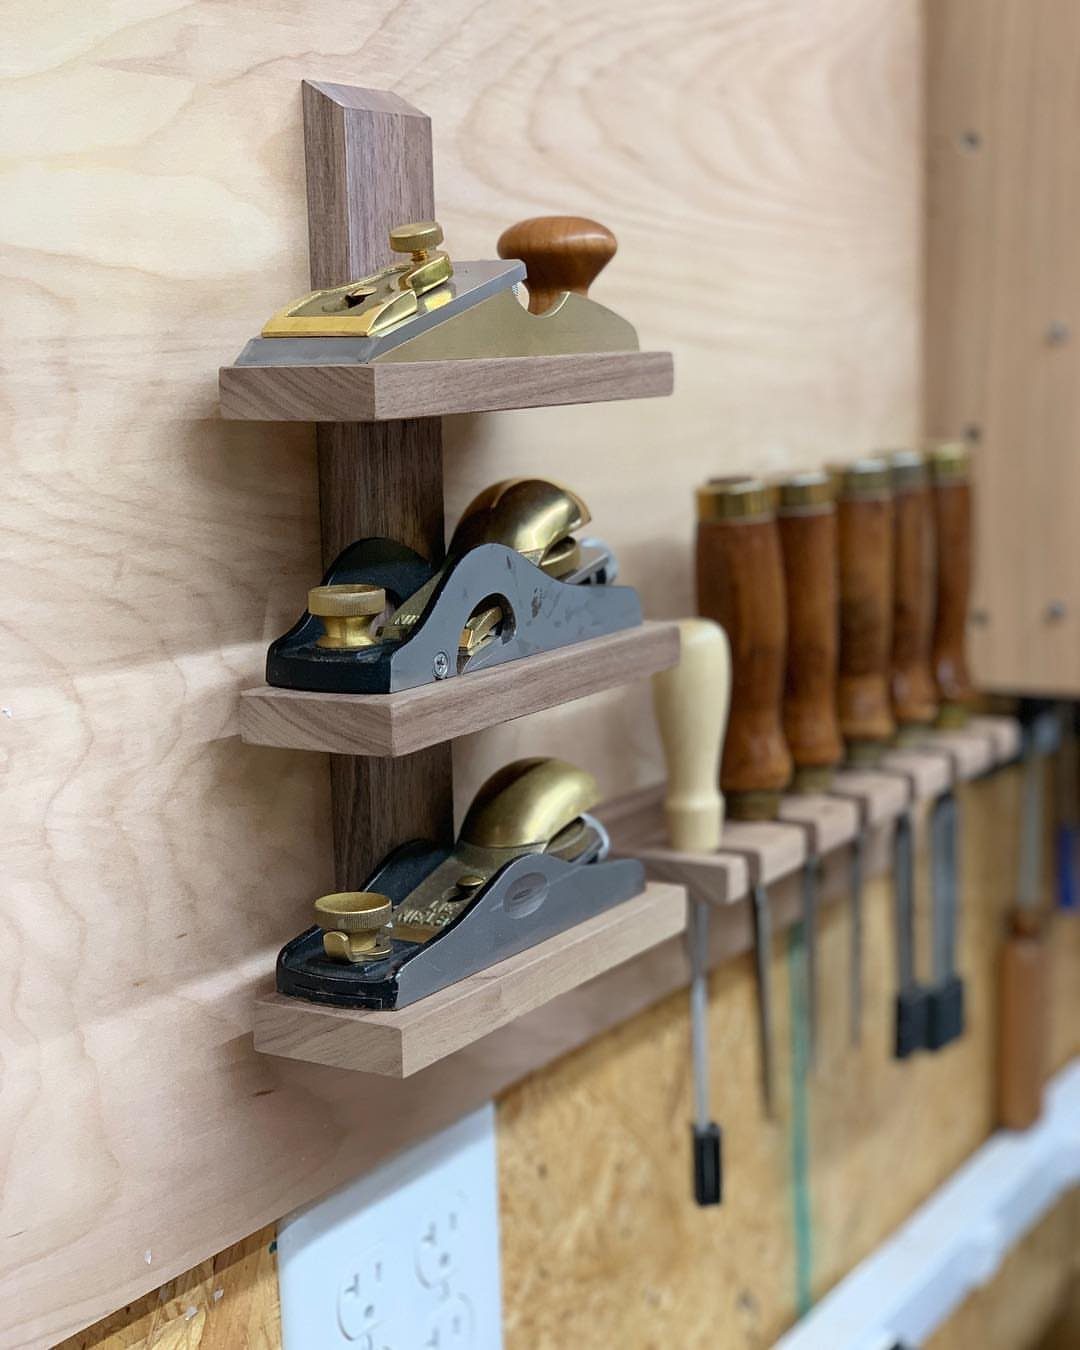
Hand planes and chisels belong on a wall rack within arm’s reach of the bench, not in a drawer where edges knock together.
A simple wooden rack mounted on a sheet of plywood keeps each tool in plain sight, so you spot the one you need at a glance.
Sort by how often you reach: what you use every session goes closest, and specialty tools can sit farther off. Rearrange after a few projects, once your habits show you what actually gets grabbed.
7. Rolling Lumber Cart
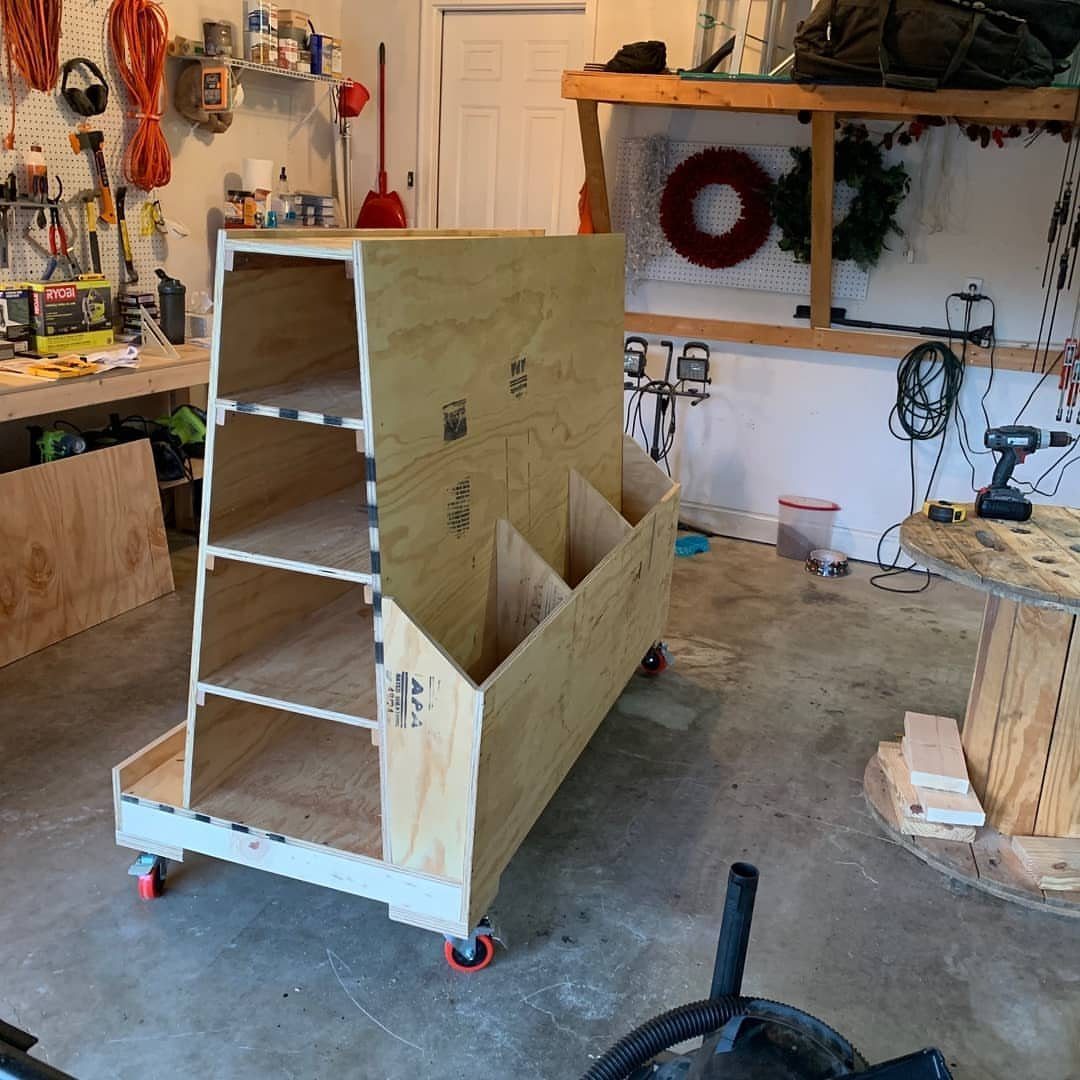
A plywood cart on casters turns lumber storage into something you can push to the saw. Slots keep boards upright and sorted, so you pull one without unstacking the pile.
In a garage shop, wheels matter more than anything else on the cart: the cart parks against a wall and rolls out when a project starts. Lock the casters whenever you load or unload, or the whole thing drifts.
Cost stays low, since plywood and a set of locking casters cover most of it.
8. Integrated Miter Saw Workstation
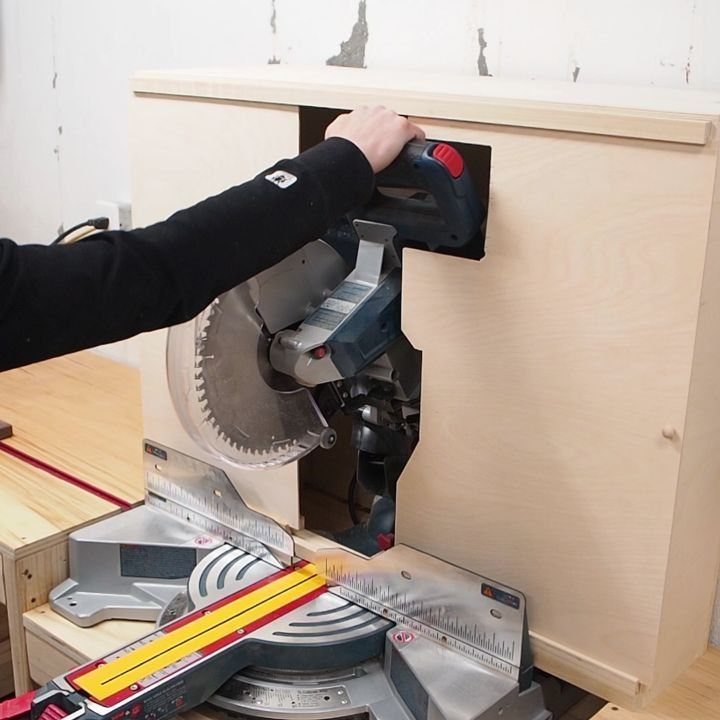
Recessing a miter saw into a cabinet puts the saw table level with a flush outfeed surface, so long boards lie flat on both sides of the blade. That alignment is what makes cuts repeatable.
I like the cabinet build because the space under the saw becomes storage, and a small shop gets a workstation and a cabinet from one footprint.
Measure your saw’s base before cutting any openings, and set the saw height by laying a straightedge across the table to check for gaps.
A light wood finish helps a dim shop look brighter, too.
9. Dedicated Thickness Planer Station
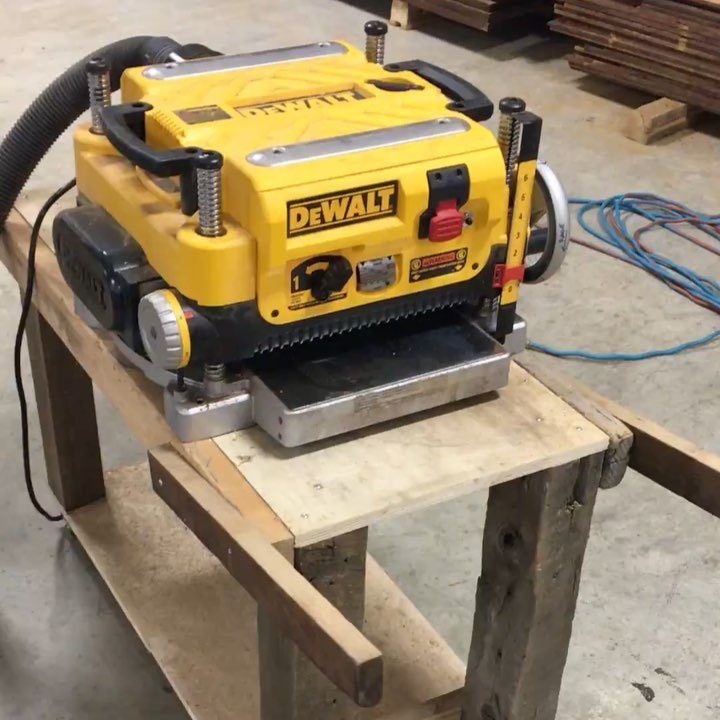
A planer sitting on a loose bench gets dragged out, leveled and put away every time. Bolting it to its own wooden stand ends that routine, and the machine is ready when you are.
Planers throw off a startling amount of chips, so connect a vacuum hose to the dust port and keep it attached.
Leave room at both ends of the stand for long boards to feed in and out, or you will be hauling the stand around anyway.
10. Rubber Anti-fatigue Floor Matting
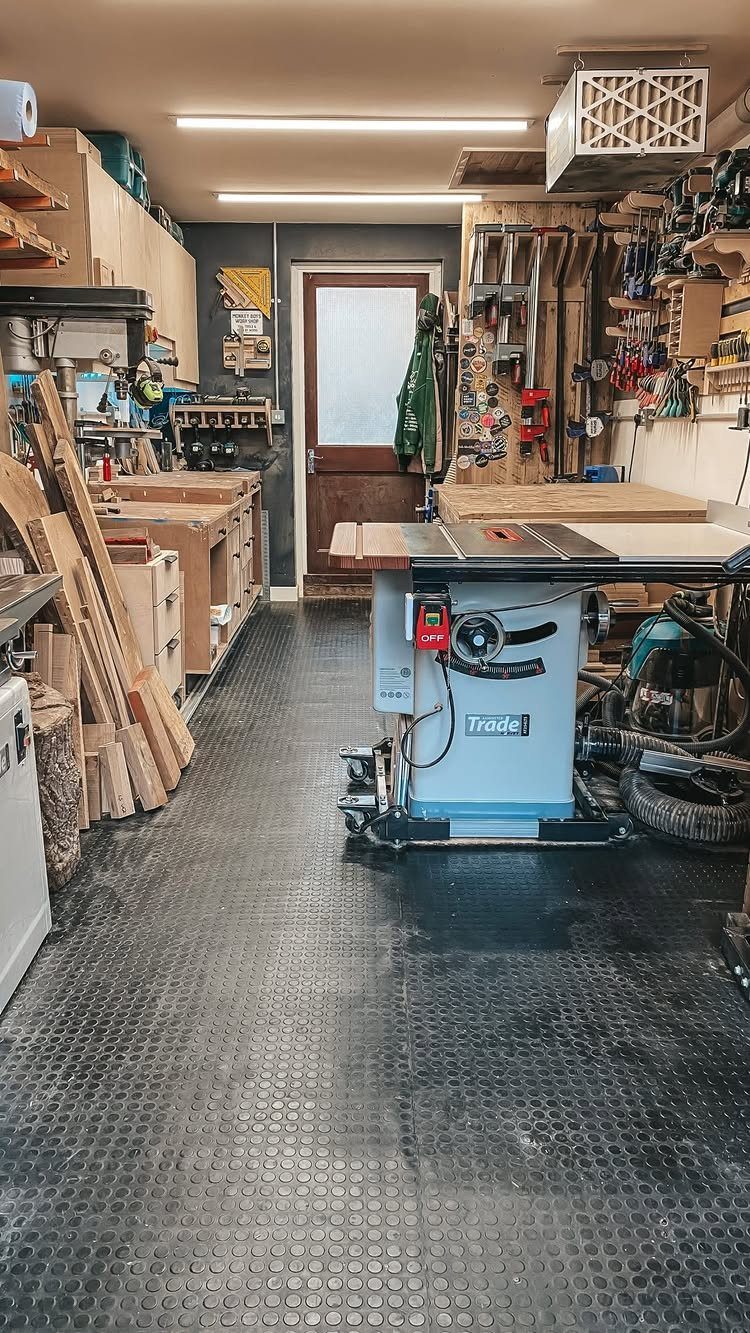
Standing on concrete for hours wears on your feet and lower back, and a rubber mat in front of the table saw is the cheapest fix. Put it where you stand longest: at the saw and the main work area.
Pick a mat thick enough to feel soft but with edges that lie flat, since a curled corner can catch a foot while you push a board through. Sweep it often, because chips and dust hide under the mat.
11. Dedicated Wood Lathe Corner
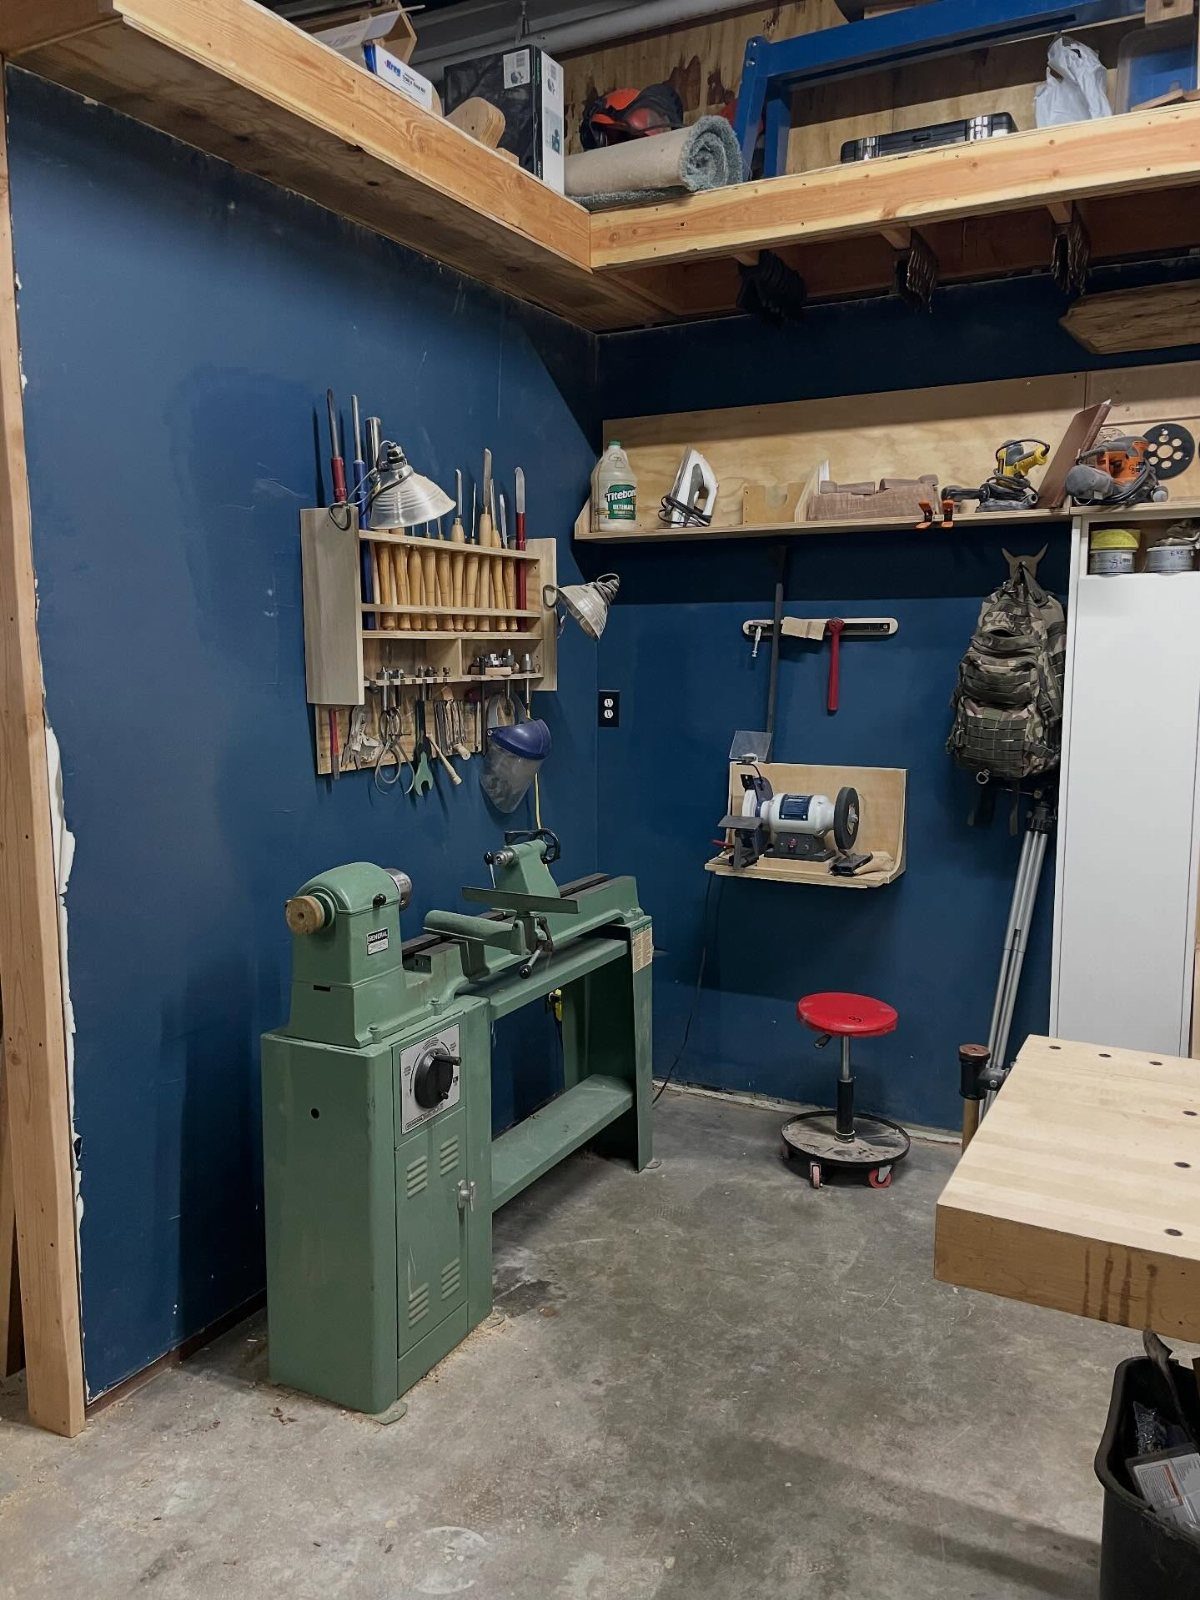
A lathe needs only a corner: a benchtop lathe, a wall rack for turning chisels and a grinder close by.
Sharpening within a step means you touch up an edge the moment it dulls instead of pushing on with a bad one.
Mount the lathe to a sturdy bench, since vibration shows up fast.
A stool lets you rest between cuts. Keep the chisels on the wall, not in a drawer, so you grab the right one by sight.
Benefits of a Home Workshop
A permanent shop saves the setup and teardown time that eats into a short work session. If you only have an afternoon, dragging tools out of a closet before you can start eats a big bite of it.
Focus follows from that. A room with a door, even a garage corner you can close off, keeps the work separate from the rest of the house, and nobody asks you to clear the dining table.
Safety improves for the same reason. Tools that live in one place get proper storage, and dust stays in the shop instead of drifting into the living space.
Clutter is a hazard on its own, so a tidy floor around the saws counts as a safety measure.
Put the heaviest machines on mobile bases so you can still rearrange the room as your projects change.
Workshop Workflow Tips
Start with where your tools live. The ones you grab every session belong within a step or two of the bench, and anything you use a few times a year can sit farther away.
Follow the natural order of a project: boards come in, get cut, get assembled, then get sanded and finished. Place stations in that order so you are never walking backward.
Plan outlets before you plan anything else.
Extension cords across the floor trip you and tangle with boards, so put outlets near each machine and near the bench. If you can’t add outlets, set the corded tools closest to the ones you have.
Lumber and sheet goods need a system that lets you reach a board without moving everything else. If you have to clear a path to get at your stock, the storage is working against you.
Power Tools Vs. Hand Tools
Power tools win on speed. They also let you take on bigger projects and give consistent results when you repeat the same cut or hole many times.
Hand tools win on control. They suit detailed work, and they usually cost less, which matters when you are building a first kit.
My advice is to start with a mix. A cordless drill and a circular saw cover the heavy lifting, and a few essential hand tools handle the fine fitting.
For a first drill, I’d pick a hammer-drill style model: it drives screws, and it handles holes in brick or concrete when a job calls for it.
Add to the collection only when a project calls for something you lack. Buying for the work in front of you keeps the shop from filling with tools you rarely touch.
Frequently Asked Questions
How to set up a garage woodworking shop?
A good garage layout gives every big machine its own square of floor, leaves the center clear for swinging long boards around, and pushes the workbench to one side where assembly can happen.
Casters make a small shop work: mobile bases under the heavy machines, and a plywood lumber cart with locking wheels that sits against the wall until a project needs it.
What are the key considerations when laying out a small wood shop?
Start with where your tools live: what you grab every session goes within a step or two of the bench, and rarely used tools can sit farther away.
Stations also work best when they follow the path a project takes: rough boards arrive, get cut, move to assembly, and end at sanding and finishing.
That way you never walk backward. Outlets near each machine and good light at the bench round out the plan.
How can I maximize space in a small wood shop?
Walls are free storage, and floor space is the first thing to disappear, so I fill the walls before anything else.
Hardware sorts well into small plastic bins on a shelf, clamps hang on a simple wooden rack, and a pegboard above the bench puts the tools I use daily right at eye level.
Mobile bases for the heaviest machines let you rearrange the room as projects change, and a miter saw recessed into a cabinet gives you storage under the saw.






