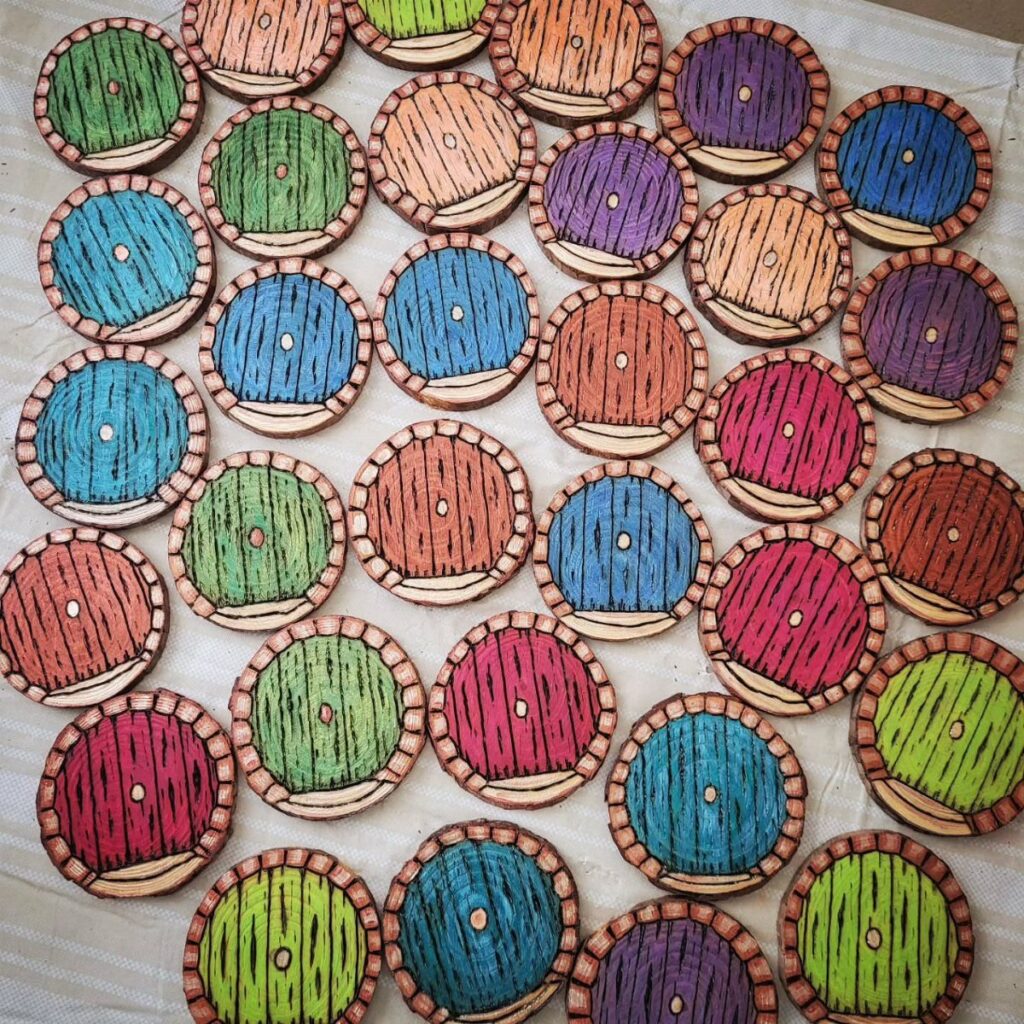
Skill level picks the project here: a bold outline on a small wood slice forgives a shaky hand, while animal portraits and landscape scenes ask for steady pen control and far more hours.
The ideas run from a magnifying glass that burns with sunlight alone to a handheld torch for soft shaded browns, and from a quick wood slice in one sitting to an animal portrait that rewards patience over speed.
If outlines still feel hard, start flat and simple, then work up to shading.
1. Shading
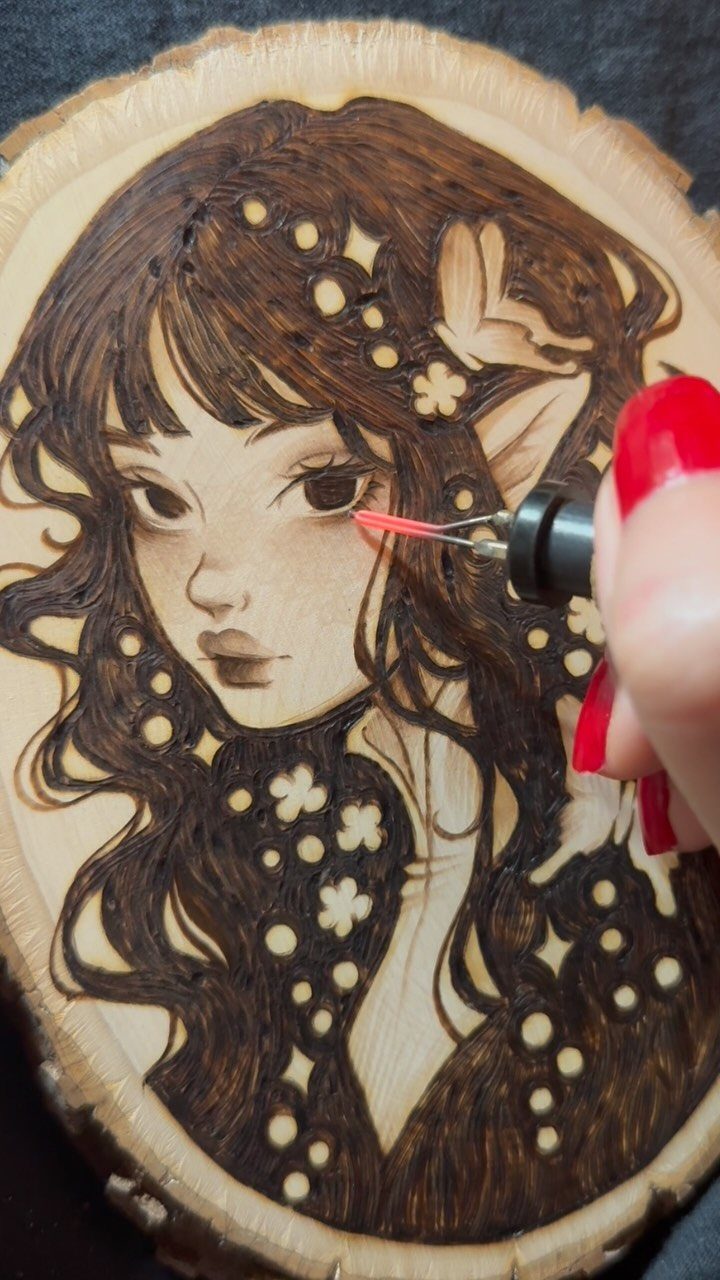
Shading is where a burned portrait stops looking like a drawing and starts looking like a face. Skin, hair and the curve of a cheek all come from how much heat reaches the wood and for how long.
Scrap wood is the place to test your shading, so burn a few swatches on an offcut of the same species before the real board gets anywhere near the tip.
Fill a strip with light-to-dark steps, using a slower pass for darker tones, and keep a steady hand so the gradient stays smooth. I would wait until outlines feel easy before trying a portrait; shading rewards patience more than speed.
2. Burn Wood Art Outlines
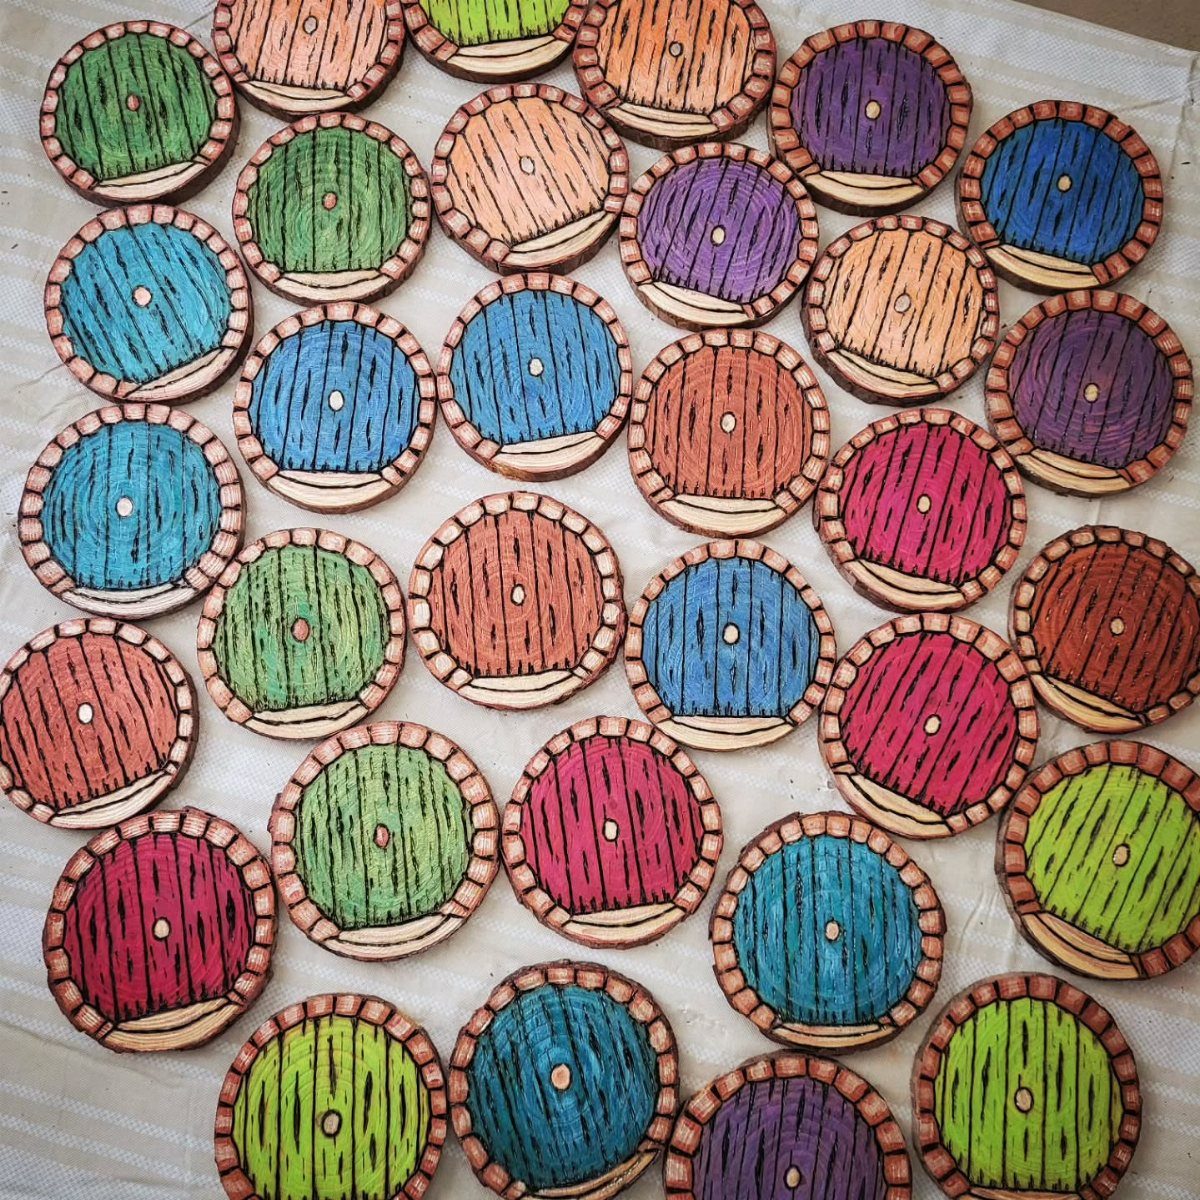
Outlines are the simplest way to start, and painted wood slices show why. A bold black line around a barrel shape reads clearly against bright color, so even a shaky first attempt looks deliberate.
Burn the outline first, then add color if you like. Small round slices keep the project short and cheap, which suits a beginner working at a kitchen table.
Burning several matching slices in one sitting makes a good afternoon of practice, and each slice teaches your hand something the last one didn’t.
3. Wood Burned Lettering
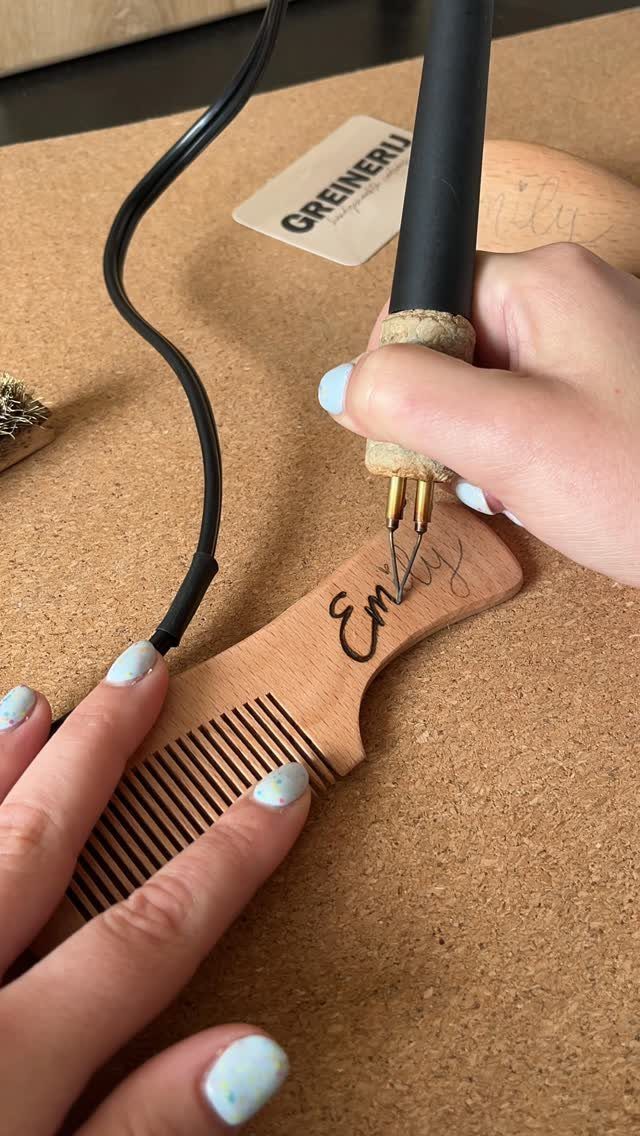
A name burned into a small wooden item turns a plain object into a gift. A comb is a smart choice: it is small, the surface is flat, and a short name like "Emily" fits in one sitting.
Pencil the letters first so spacing is settled before any heat touches the wood.
Then trace them slowly, keeping the tool moving so the lines stay even. Steady the piece with your free hand and let both wrists rest on the table edge, because a floating wrist is what wobbles a line.
4. Wood Slice Pyrography
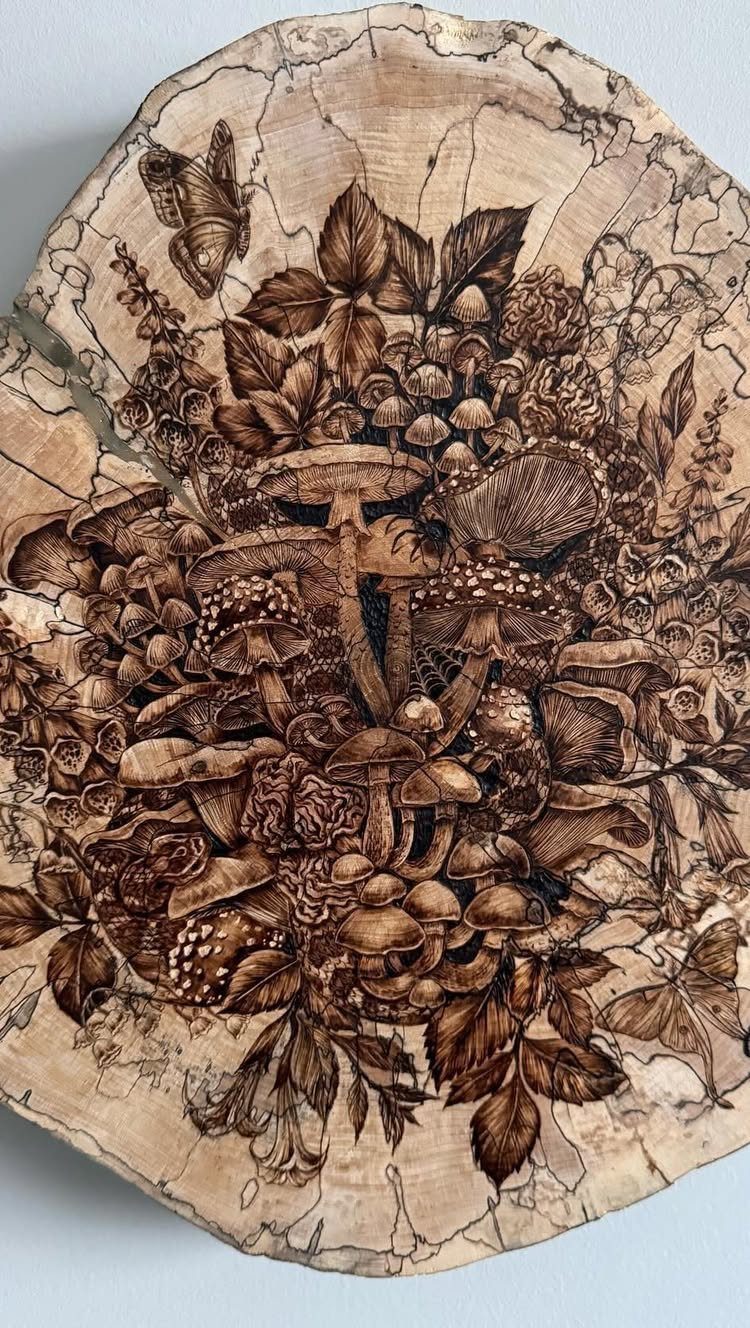
Round slices with bark edges give you a ready-made frame, so a simple scene of mushrooms and a single butterfly looks finished the moment the burning stops. The natural rim does the border work for you.
I like starting with one subject in the center and letting smaller details fill in around it. Lay the design out with a soft pencil line, and keep it well inside the bark edge so the burn never feels cramped.
Detail like this takes time, so a simpler layout is the better choice if you want it done in an afternoon.
5. Decorated Wooden Birdhouse
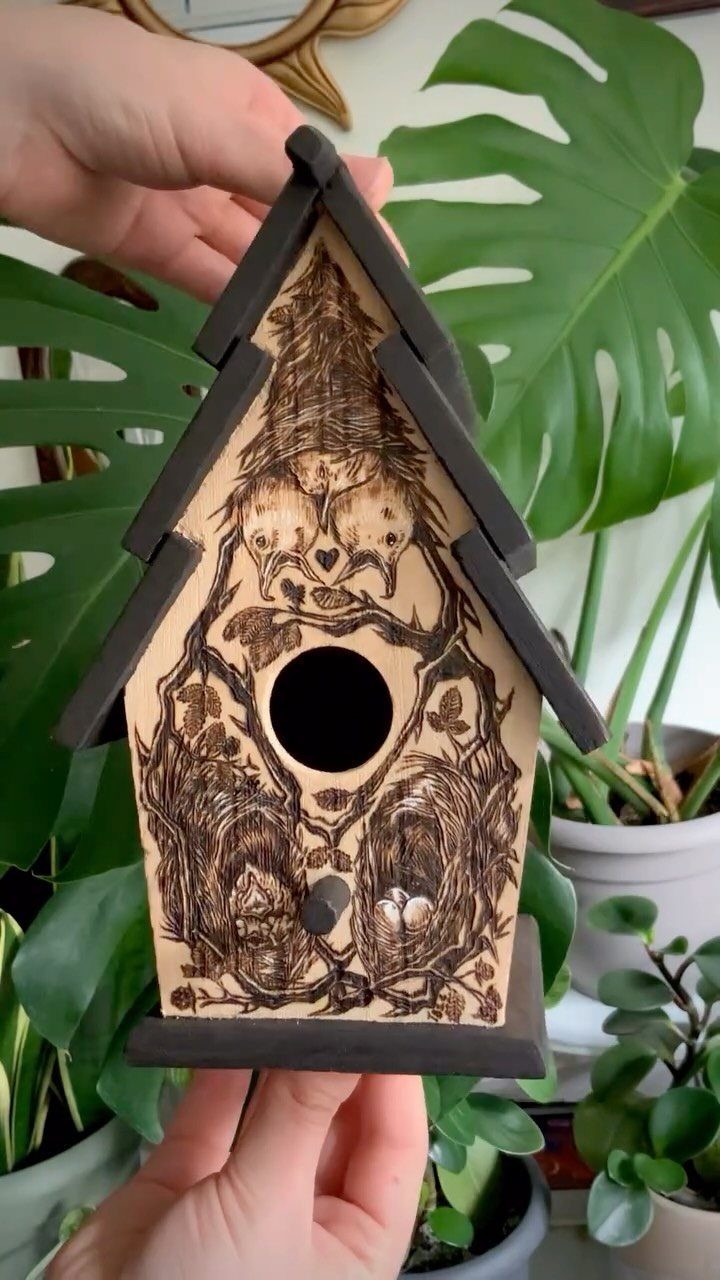
A birdhouse gives you walls to decorate, and owls among trees suit that shape well. Tall trunks follow the vertical lines of the panels, and the owls sit comfortably between them.
Burn the design before the house is put together if you can, since flat boards are far easier to work than an assembled box.
Pencil the layout across each panel first. An unfinished wooden birdhouse is an inexpensive blank, which keeps the cost low for a first project.
6. Driftwood Pyrography Art
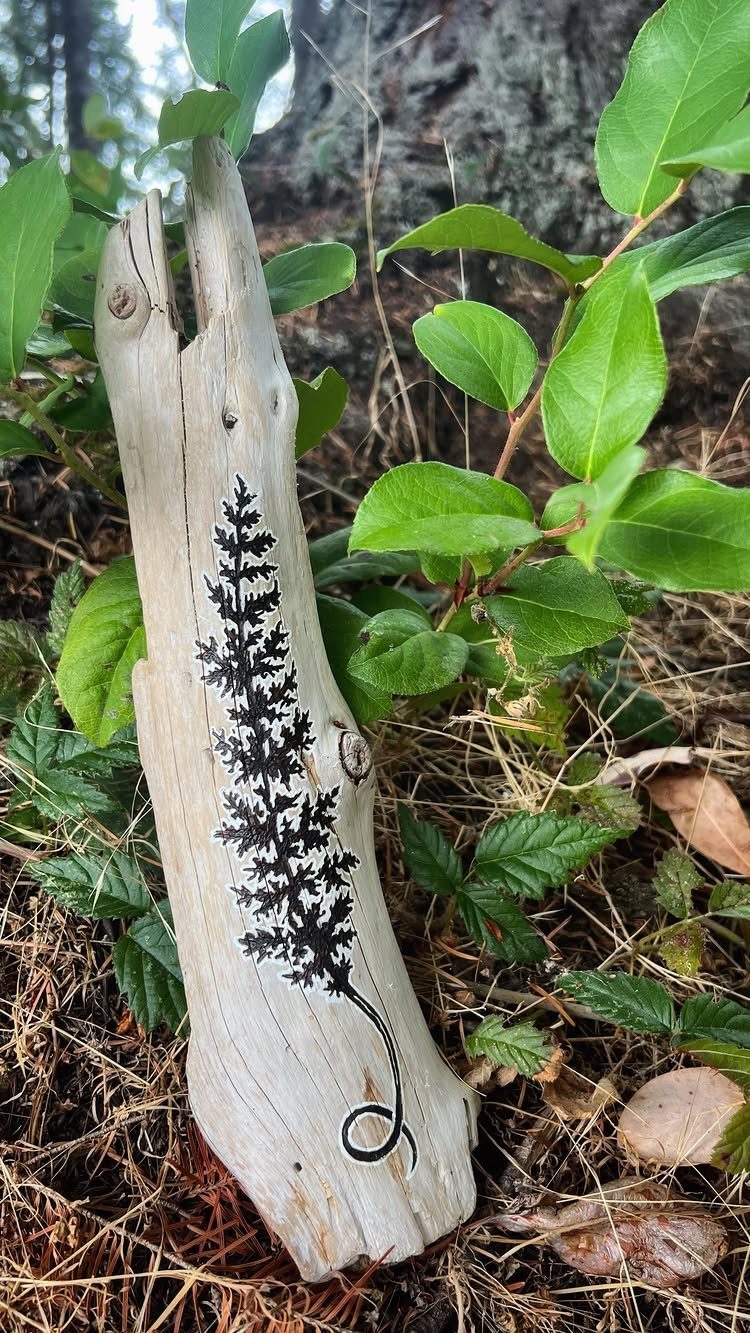
Pale, weathered driftwood makes a strong backdrop for a black pine silhouette, because the contrast does most of the work. A solid shape needs no shading, which keeps the technique forgiving.
Outline the pine first, then fill the shape with slow, even passes until the black is consistent.
Choose a piece that stands upright on its own, and pick a smooth patch for the tree. Rough grain will fight your lines, so test the surface with a few light strokes before committing.
7. Animal Portraits
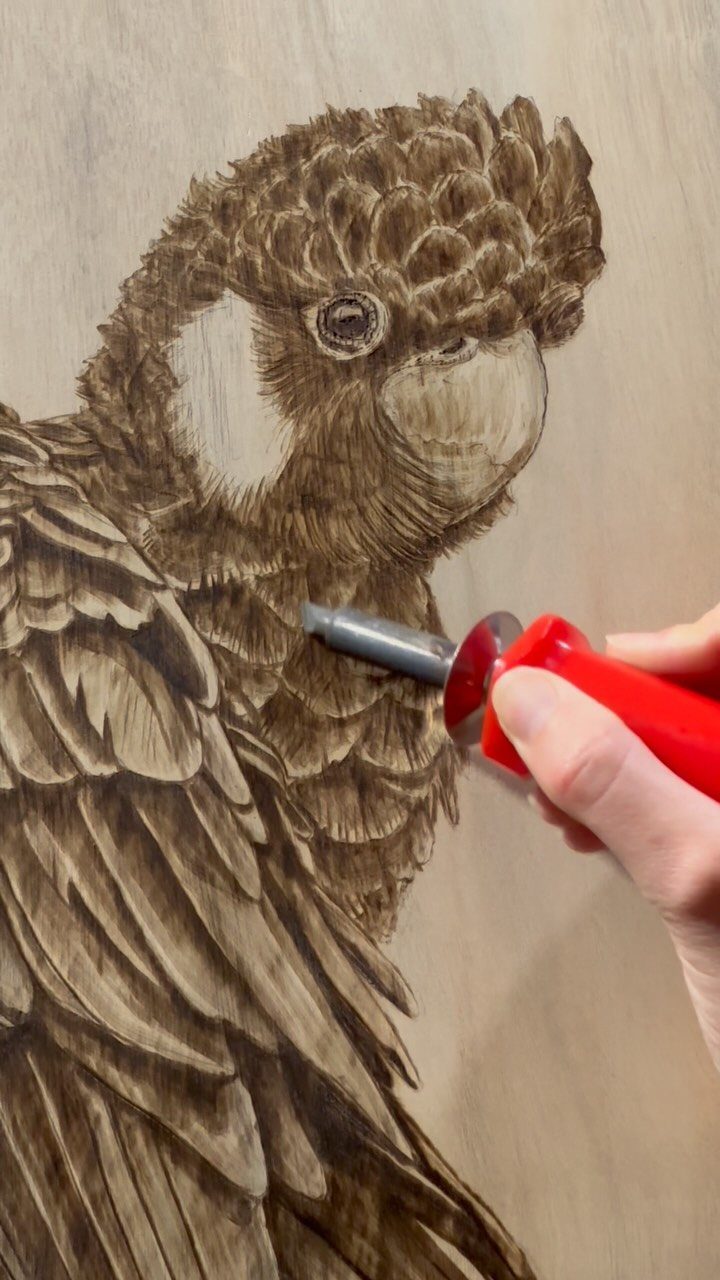
Fur and feathers are the reason a pyrography pen earns its place: a fine tip can lay down one tiny stroke at a time, and a bird’s crest or the edge of a wing rewards that kind of patience.
A cockatoo on a pale board gives the burn plenty of contrast to work with.
Sketch the outline in pencil, then build the feather direction stroke by stroke, following the way each one grows.
Practice on scrap first. Fur work takes far more time than a flat silhouette, so I’d try a few simpler burns first and come back to animal portraits once your pen control feels steady.
8. Torch Wood Burning
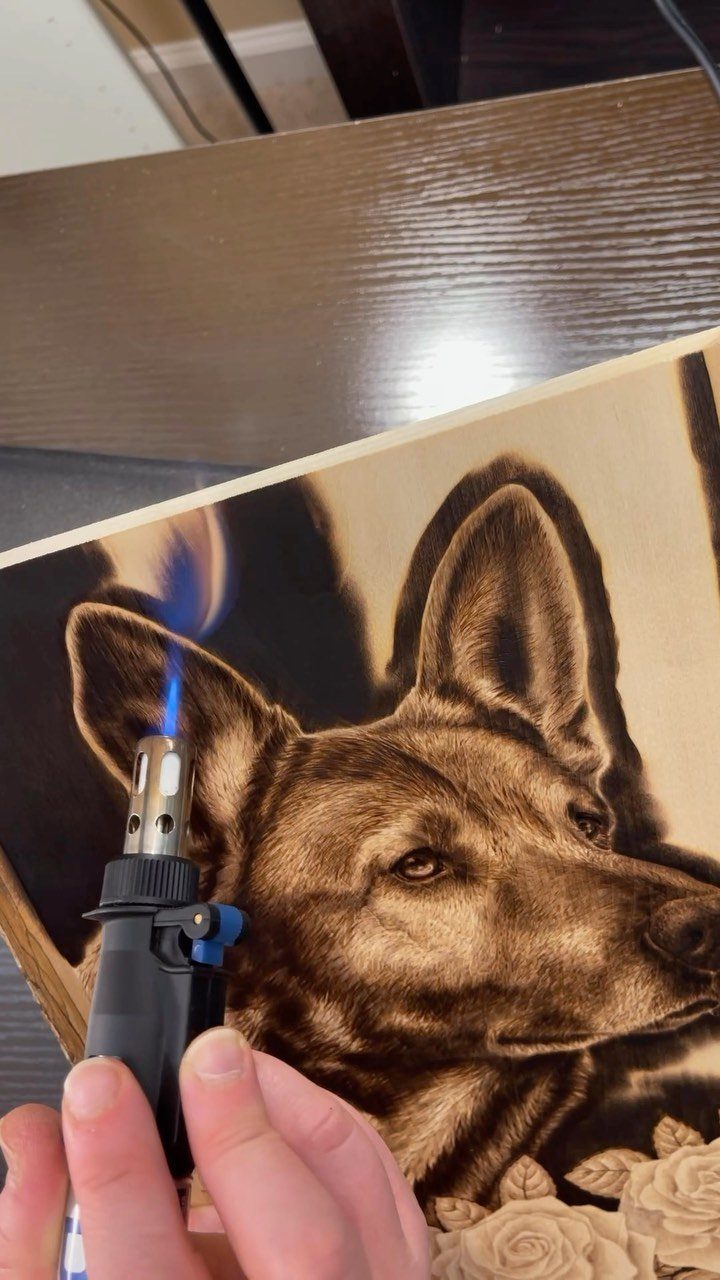
A handheld torch swaps the fine pen tip for open flame, which gives you soft, shaded browns that a pen can’t build as quickly, especially on light woods like pine or basswood.
Wood scorches quickly, so the shading comes from how long the flame lingers in one spot.
Keep the torch moving and practice on an offcut before touching the real board. Work outdoors or somewhere well ventilated, and keep the board on a surface that can take heat.
A torch covers large areas faster than a pen, though fine detail is harder to control, so I’d pair it with a pencil sketch.
9. Solar Wood Burning with Magnifying Glass
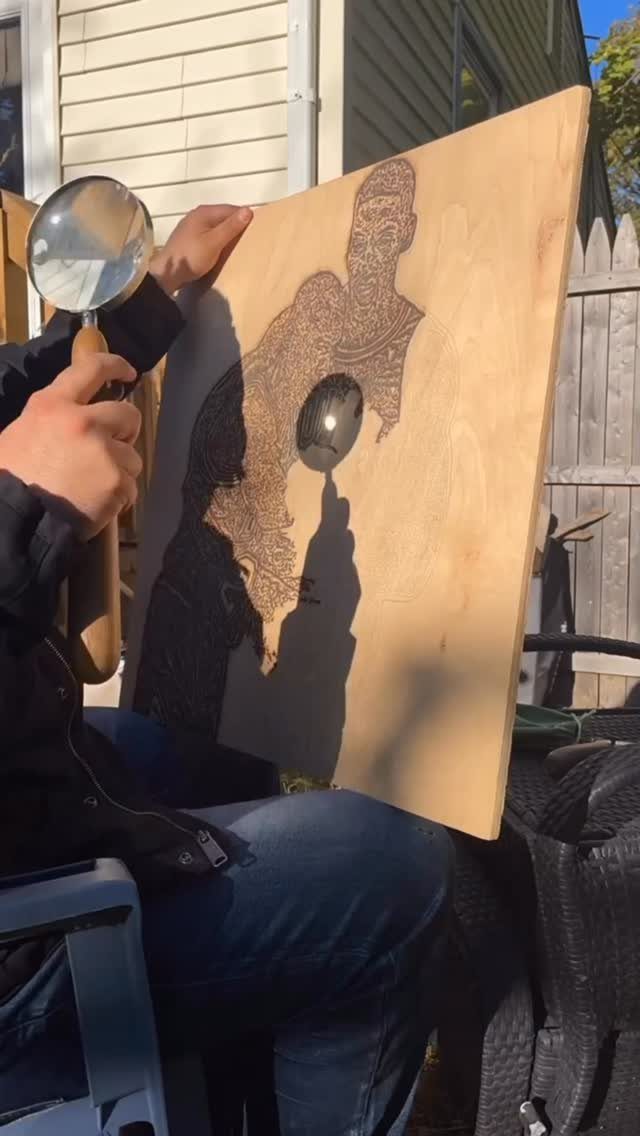
Sunlight alone can draw a portrait: a magnifying glass concentrates the sun to a bright point that scorches the wood, with no cord and no electricity.
That makes it a cheap way to try burning if you already own a lens.
Work outdoors on a clear day, with the board resting on a surface that won’t catch fire. Hold the lens steady and move the bright dot slowly along your pencil lines.
Expect a slow pace, because progress depends on the sun. Wear sunglasses, and never look at the focused spot or aim it at anything but the board.
10. Botanical and Floral Wood Burning
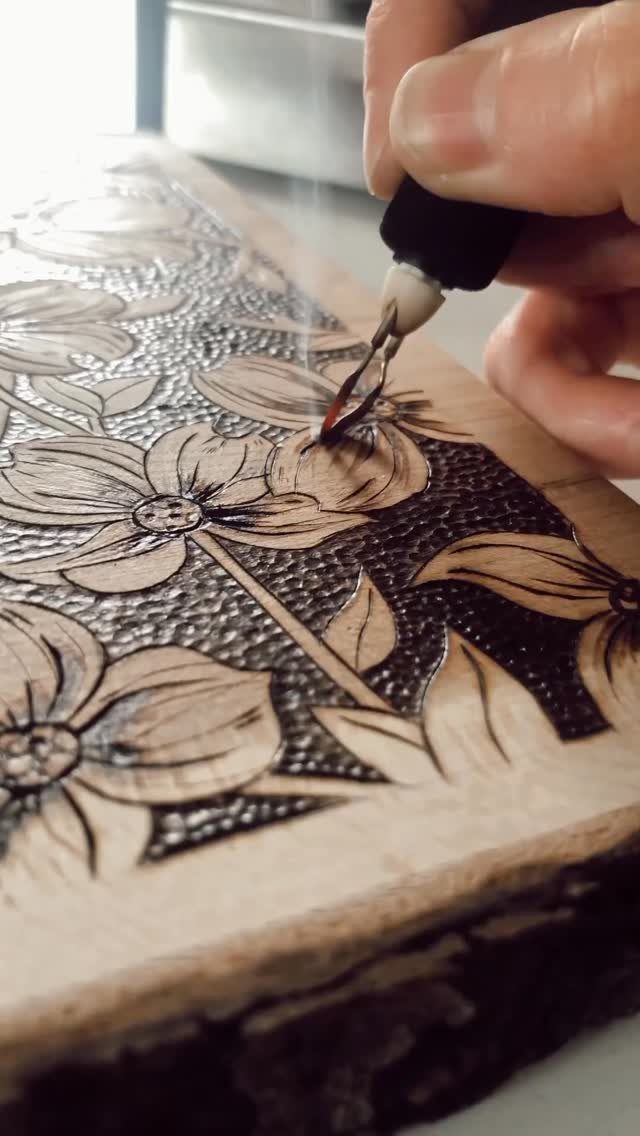
Flowers, leaves and mushrooms suit a burning pen because their shapes are made of small, simple strokes. A natural wood slab with a live edge adds a rustic frame around them.
Pencil the stems first, then burn the outlines and add veins and petal lines. Vary the tool pressure so some leaves read darker than others.
I like crowding several small plants on one board, since a slip on one leaf disappears among the rest. Keep the layout loose, and leave some bare wood so the grain shows between the plants.
11. Landscape Scene Pyrography
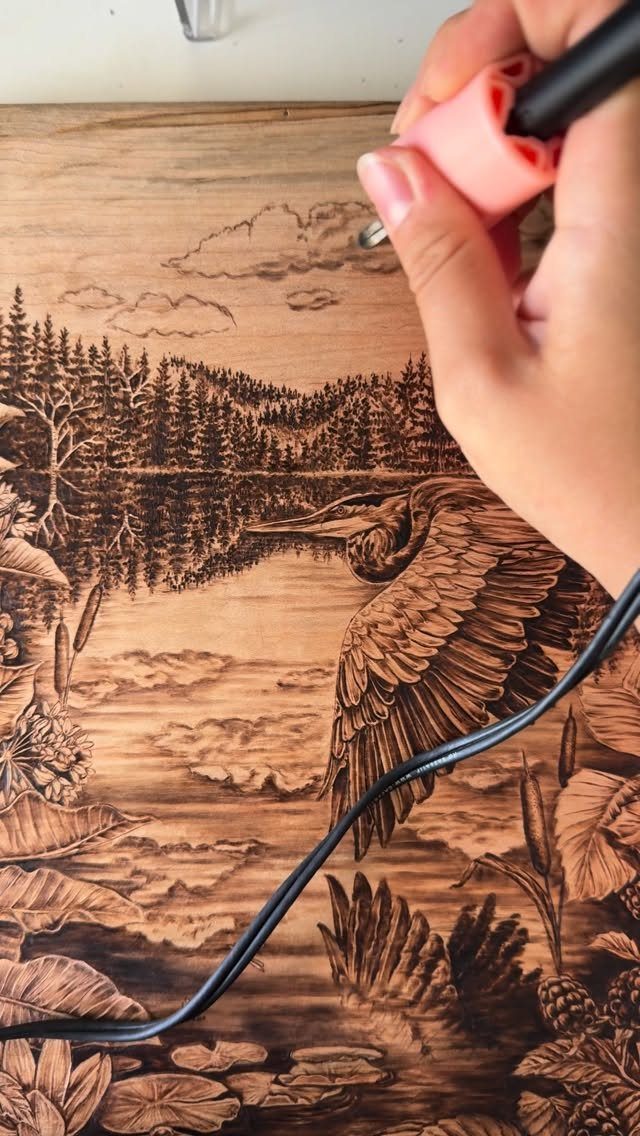
A heron standing at a lake edge with forest behind it is a layered scene: foreground bird, middle trees, background water. That layering gives a landscape its depth.
Sketch the sky, middle ground and foreground as separate bands in pencil first, since a burn mark is hard to take back. Burn the heron first, then the trees, then the water, using lighter strokes for the parts farthest away.
Landscapes take more hours than a single subject, so I’d choose a small board if you want to finish in one sitting. Test your light and dark values on scrap first.
12. Celestial Wood Burning Art
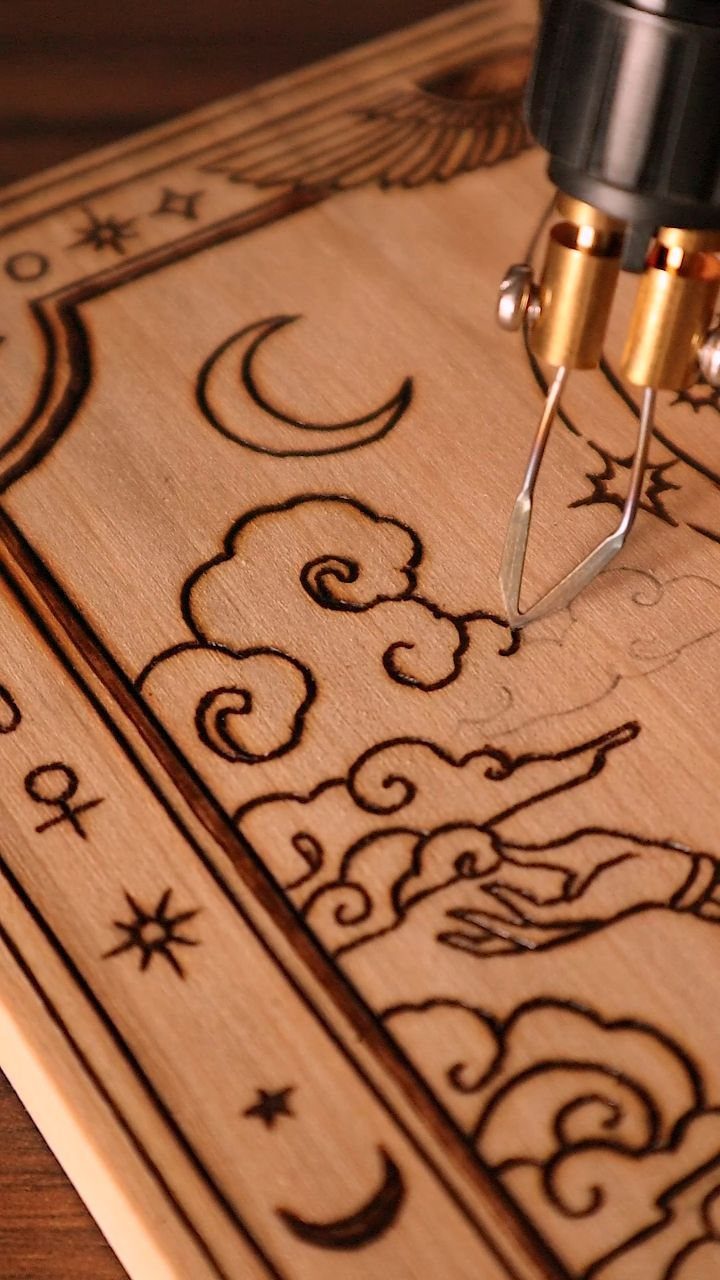
A crescent moon drifting through clouds is a good first step toward illustrated scenes, because the shapes are simple and the contrast between dark sky and bare wood does the drama for you.
Pencil the moon with a compass or a round lid, then burn the sky around it so the crescent stays pale. Clouds work best as soft, curled outlines with light shading underneath.
Keep your tool moving, since lingering will leave dark blotches. A small board keeps this project short and affordable.
Choosing the Right Wood
Basswood, pine and birch plywood with a sanded face give the cleanest burns, since soft, pale wood with tight, faint grain lets the tip move without catching.
Pine, aspen, birch, basswood and poplar all fit, and the pale tone gives your burn the contrast that makes a design read clearly.
The wood needs to be natural, with no preservatives or synthetic materials in it.
Natural branches, slices of stem and ordinary lumber all burn well, and plywood is fine too as long as it is real wood veneer and not a synthetic core.
Leave MDF and other pressed composites on the shelf, because the glues in them burn badly and give off fumes you don’t want to breathe.
Harder woods take more heat to mark, so they slow you down and tire your hand.
Common Mistakes to Avoid
Sand the board before any heat touches it. Smooth wood burns more evenly, so you spend less time scraping blobs off with a razor blade, and the finished picture looks crisper.
On a rough board the tip snags and jumps, so lines wobble and the finished piece looks scratchy rather than crisp.
Rushing causes most of the other trouble.
Slow down, keep your focus on the tip, and let the heat do the work instead of leaning on the pen. Pressing hard gouges the wood and makes lines that are difficult to even out.
Stay away from treated wood, and work with good airflow, since even natural wood gives off smoke you shouldn’t breathe in.
Maintaining Your Tools
Soot gathers on the tip while you burn, and once it is caked on, the pen drags across the wood and leaves muddy, uneven marks.
Lines turn uneven and the scorching gets patchy. Wipe the tip clean as you go so your strokes stay consistent.
Change tips while the tool is cool whenever you can. Before the tool ever heats up, swap the tips on and off a couple of times so your hands learn how they pop loose and snap back in.
If you have only one tool and must swap while it is hot, grip the hot tip with needle-nose pliers and wiggle it out gradually. The tip may not be hot, but the tool still is.
Sometimes your burner might be turned up too high and it burns a dark spot immediately upon contact with the wood, which can be very frustrating.
Frequently Asked Questions
How do I burn art into wood?
Sand the board smooth, pencil your design on it, then trace the lines with a heated wood burning pen, keeping the tip moving.
A light hand wins here: slow, steady movement lets the tip’s heat make the mark, while hard pressing digs a groove that is tough to blend back out.
Practice on an offcut of the same wood first, because a burn mark is difficult to take back.
What kind of wood is best for wood burning art?
For clean results I reach for basswood first, with aspen, birch, poplar and pine close behind, since their pale, even grain takes a burn without fighting you.
The light tone gives the burn contrast so the design reads clearly, and soft wood lets the tip glide without catching.
Dense hardwoods like oak or maple demand a hotter tip and slower passes, and my hand cramps far sooner on them.






