Prices climb along the list: a marking knife, which scores a crisp line into the wood fibers, costs only a few dollars, while a cordless drill and a router cost far more and eat up bench and storage space.
The build in front of you decides which tool comes next: if a project stalls because one specific tool is missing, buy that one and let the rest of the list wait.
Pacing helps too, since adding one tool every 2–3 projects gives you time to learn it before the next one shows up.
1. Combination Square
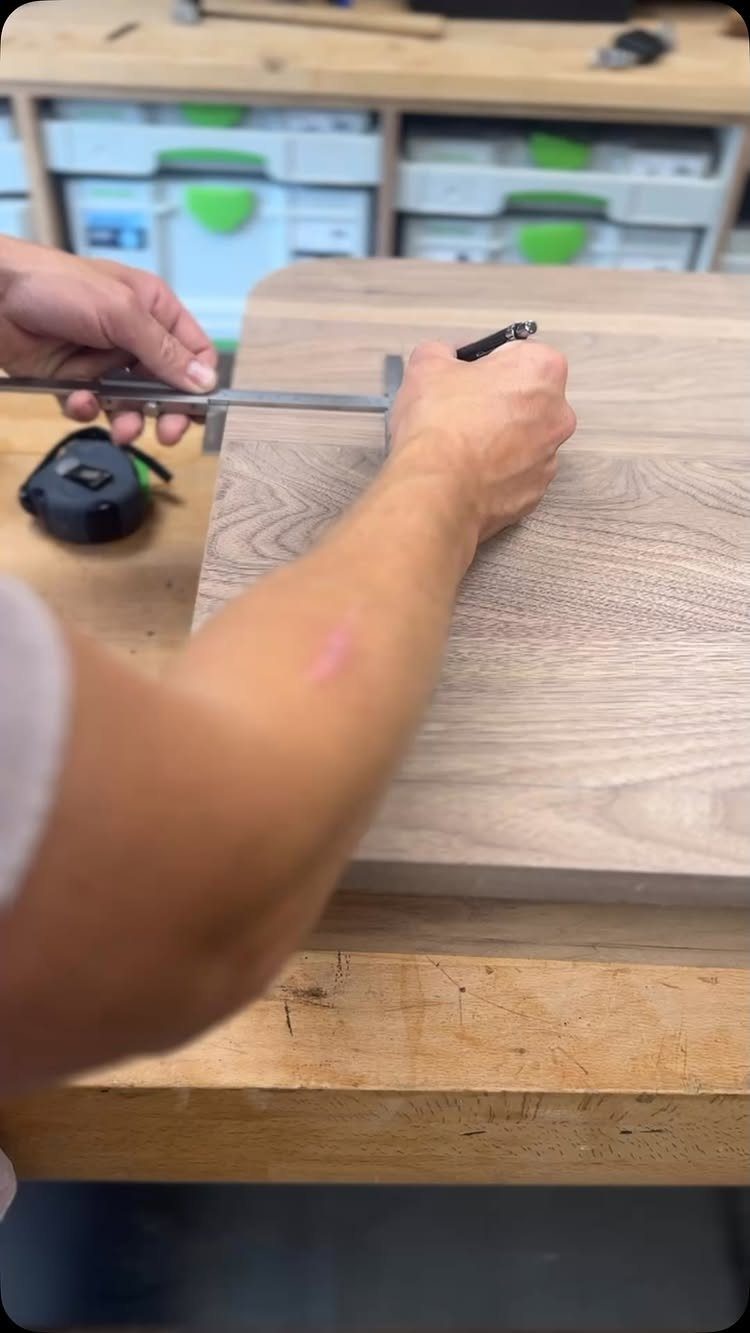
A combination square earns its place by doing 2 jobs: it marks a line at a set distance from an edge, and it tells you whether a cut or joint is truly square.
For a beginner with a small budget, that covers most of the layout work in a first table or shelf.
Press the stock firmly against the board edge, then slide the pencil along the blade with the tip tight to the metal.
Before trusting any square, draw a line, flip the tool over, and check that it traces the same line.
A combination square is indispensable for penciling or knifing a line at 45° and 90°. It’s important to get a good one, like those made by Starrett, because it will be accurate out of the box and it will stay that way.
2. Wood Chisels
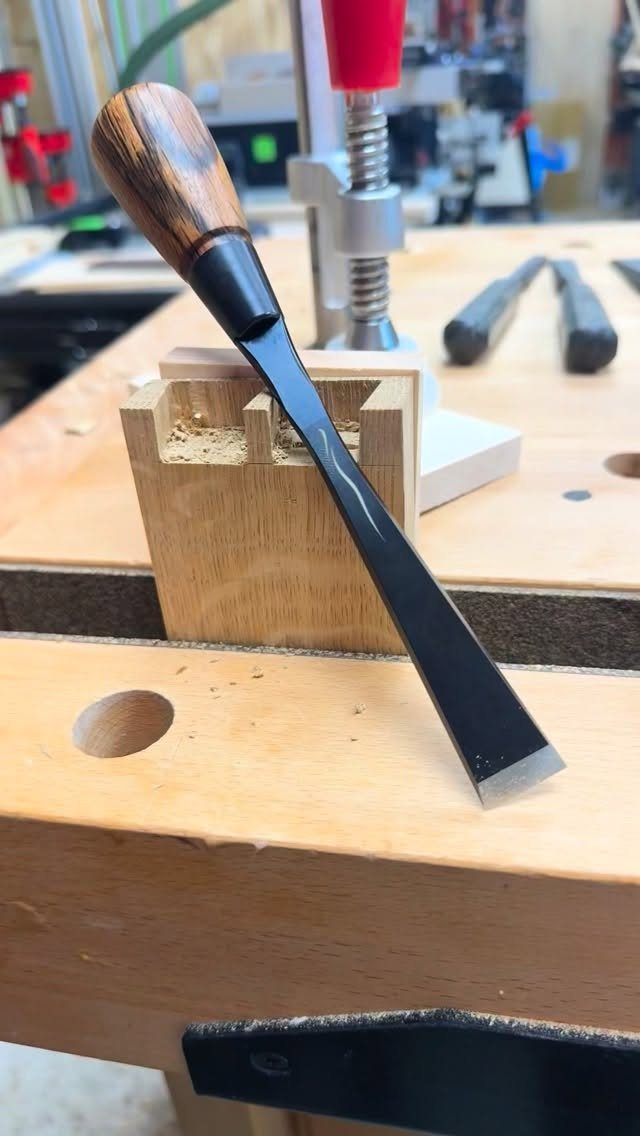
Wood chisels pare away what a saw leaves behind: the waste in a joint, a tight corner, a bit of proud wood.
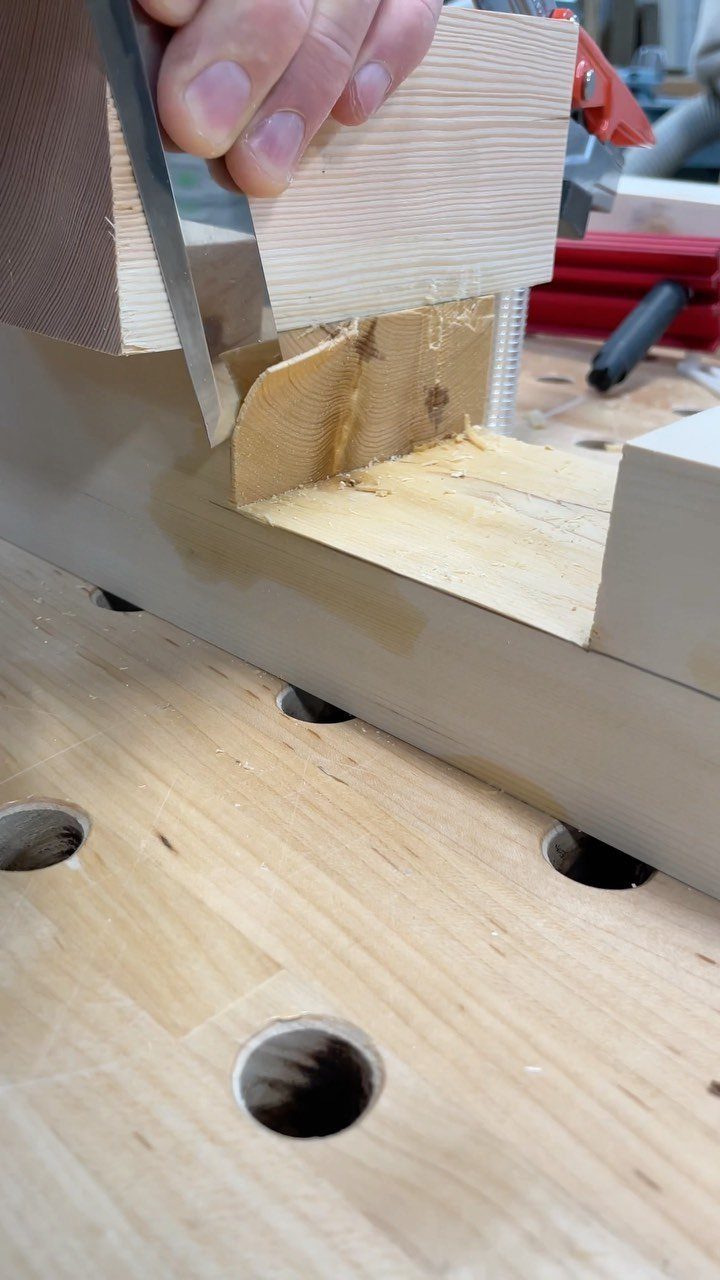
A wooden handle like the one on this chisel feels good in the palm, and a few basic sizes will handle most beginner furniture.
Keep the edge sharp, because a dull chisel slips and tears the grain. Cut away from your body, and clamp the board down so both hands stay behind the blade.
3. Hand Plane
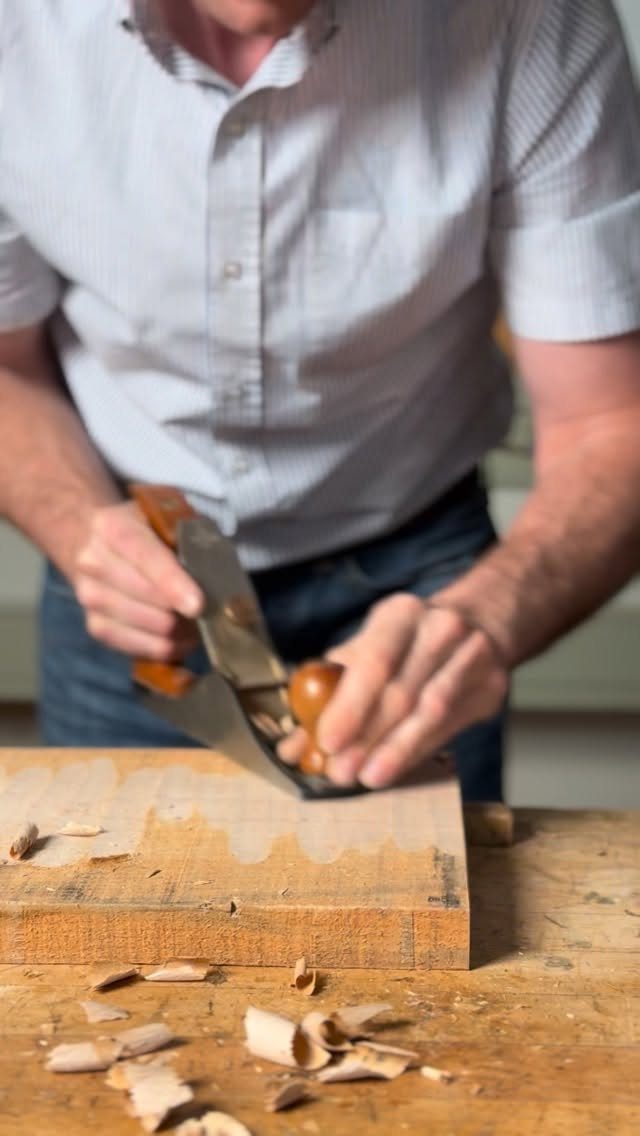
Thin, even curls coming off a board mean a hand plane is set right. Fine shavings are the goal, so back the blade out until it takes a whisper of wood, then adjust from there.
A plane suits a small shop because it is quiet, makes little dust, and needs no outlet.
It will cost you practice and a sharp blade, but it fits boards to size and smooths edges in ways a sander can’t match.
4. Random Orbital Sander
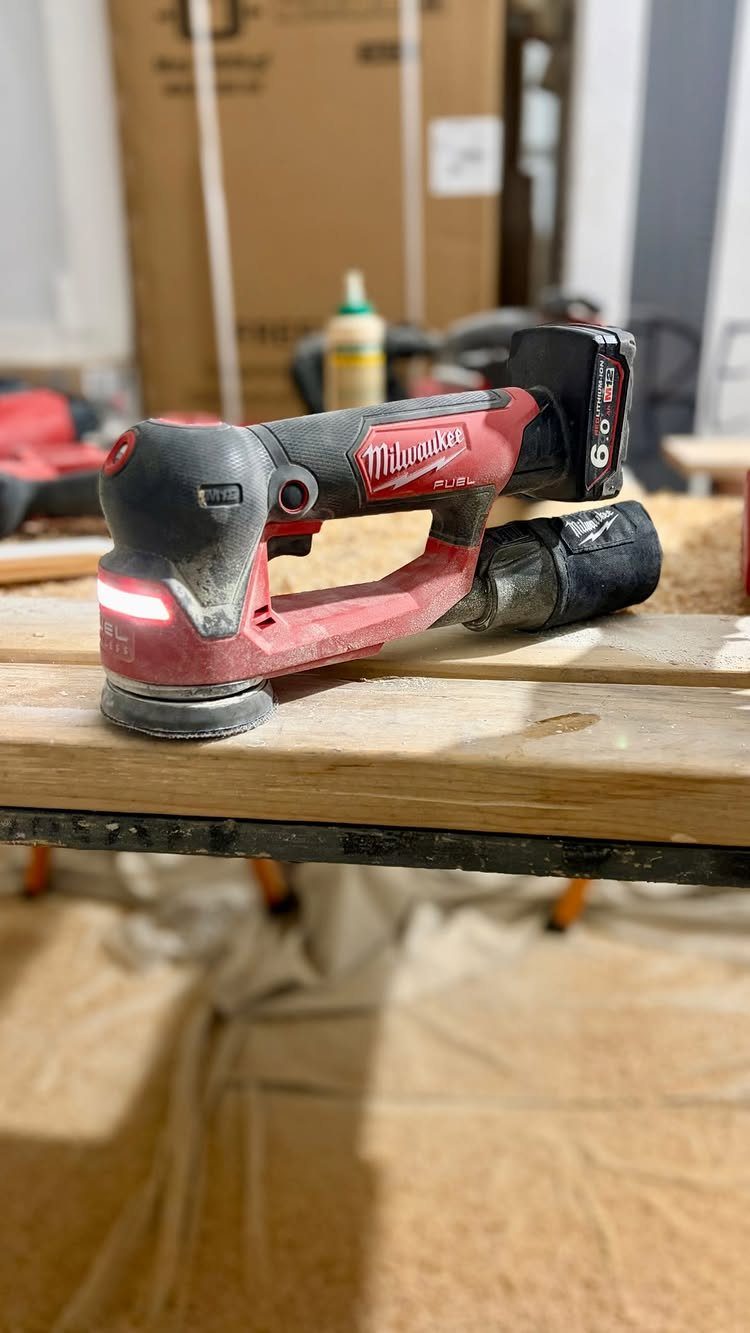
Cordless random orbital sanders like this one skip the cord, which matters when you are working around a bench and clamps.
A battery tool does cost more upfront, and the battery is a share of that price, so buy into a system you can use for other tools too.
Work through grits in order, and let the sander’s weight do the pushing. Pressing down just leaves swirl marks you will have to sand out again.
5. Woodworking Router
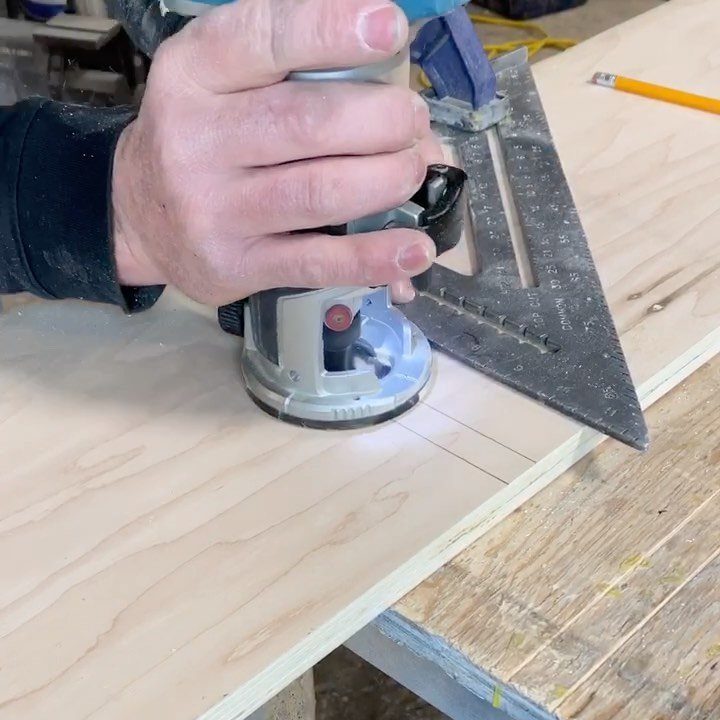
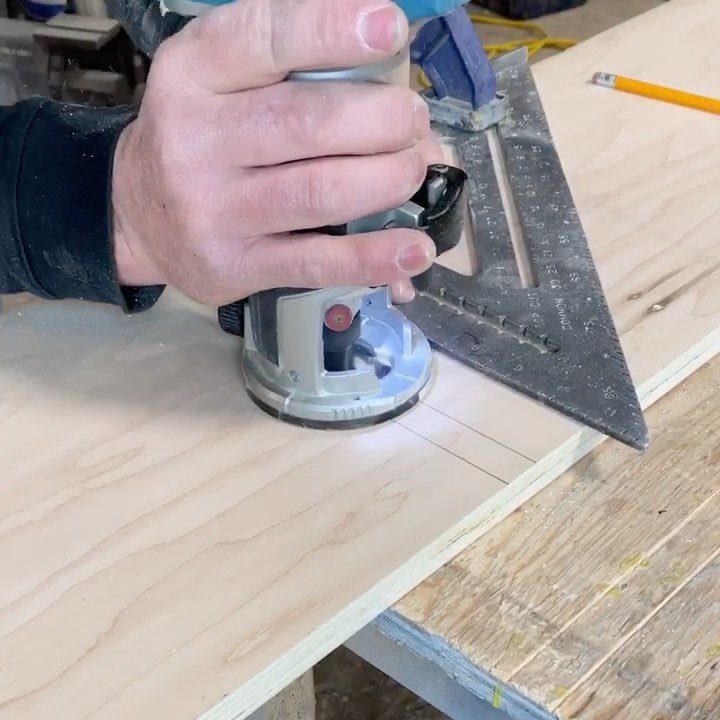
A router cuts grooves, rabbets, and decorative edges that no other beginner tool handles as cleanly. Clamping a straightedge to the plywood, or using a square as a guide, keeps the groove dead straight.
Take shallow passes rather than one deep cut, and keep both hands on the tool.
A router is loud and throws chips, so wear eye and ear protection. It is not a first purchase, but it opens up joinery fast.
6. Marking Knife
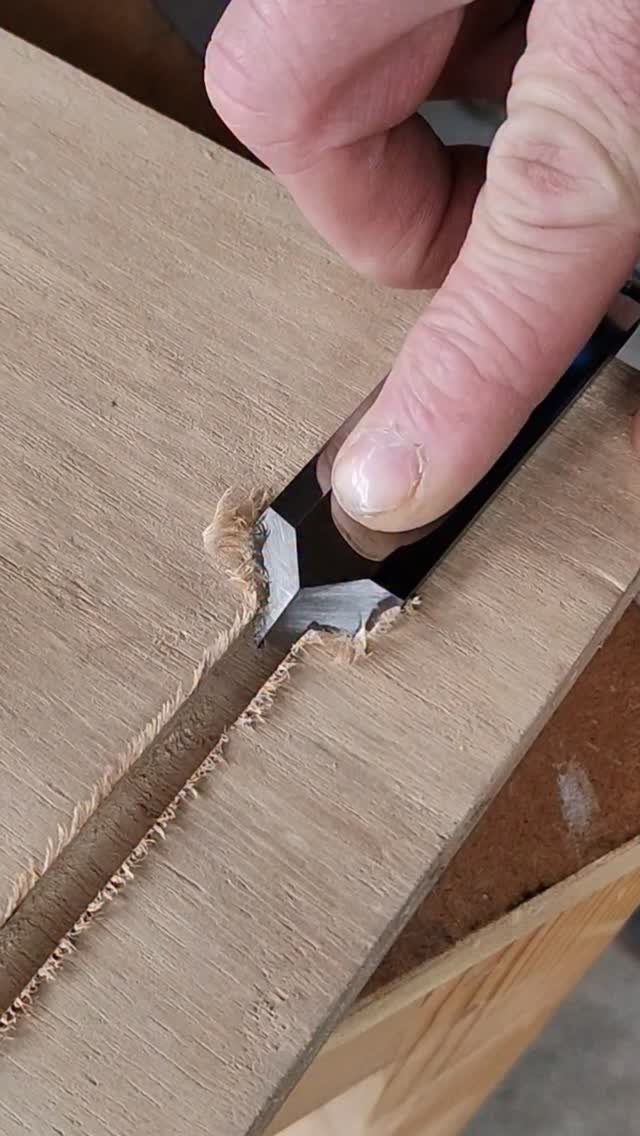
A marking knife scores a line into the wood fibers, so the line is a thin cut instead of a thick pencil stripe.
That gives your saw or chisel a edge to settle into, and it beats a pencil for joinery.
Press the blade against a square or rule and make a light first pass, then deepen it with a second.
Keep the flat side of the blade against the rule or square, on the keeper side of the line, so the bevel faces the waste and the cut lands exactly where you want it.
It costs little and pays back in tight joints.
7. Hand Saw
A hand saw cuts quietly, needs no outlet, and costs far less than any power saw, which suits a small space and a tight budget.
Clamp the board to the bench so it can’t shift, and keep your off hand clear of the blade path.
Start with a few light backward pulls to set the kerf, then let long, easy strokes do the cutting.
Forcing it wanders the cut. Saw on the waste side of your line and clean up the edge afterward.
8. Jigsaw
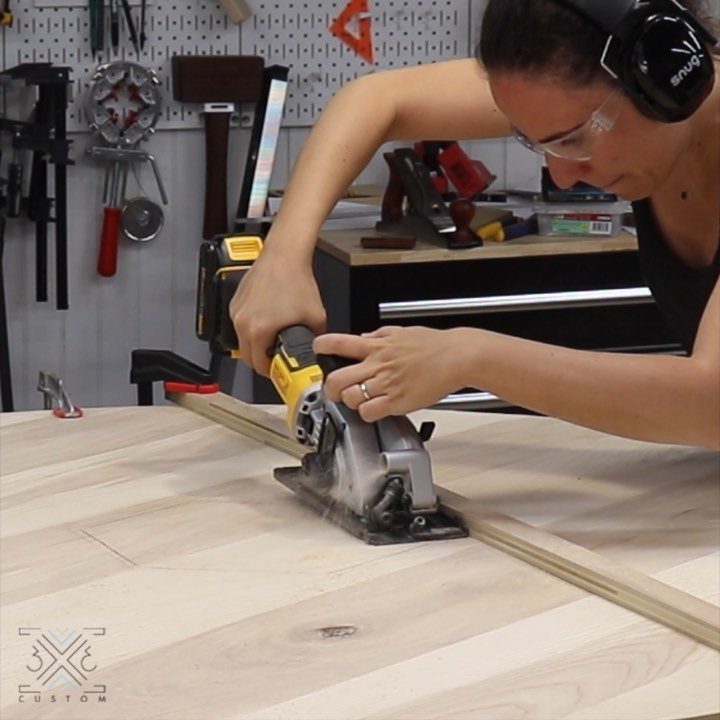
Curves are where a jigsaw wins. Straight cuts belong to other saws, but this one follows a marked line around a bracket, a rounded tabletop corner, or a cutout.
Wear eye and ear protection, and clamp the board so the cut edge hangs past the bench. Let the blade reach full speed before it touches the wood, then guide the saw along the line without forcing it.
Tight turns go better with a slower feed. Expect a rough edge, so plan on sanding.
9. Circular Saw
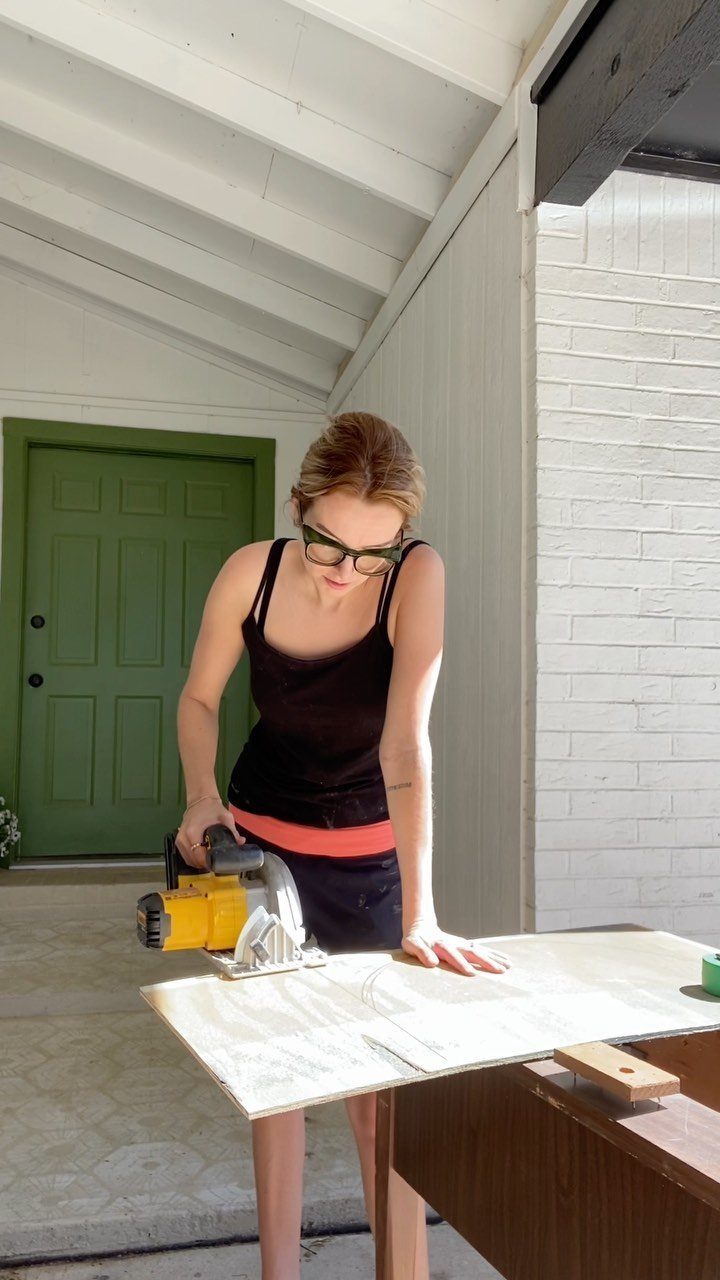
Breaking down plywood is the job a circular saw does best, and it makes quick work of long, straight cuts in sheet stock. Learn to use it with a clamped straightedge, and your cuts stay accurate.
Support the sheet so the offcut can’t pinch the blade, and set the blade depth just below the board’s thickness.
Eye protection goes on first, both hands stay on the saw, and the blade should be spinning at full speed before it touches the board. It is loud, so add ear protection too.
10. Cordless Power Drill
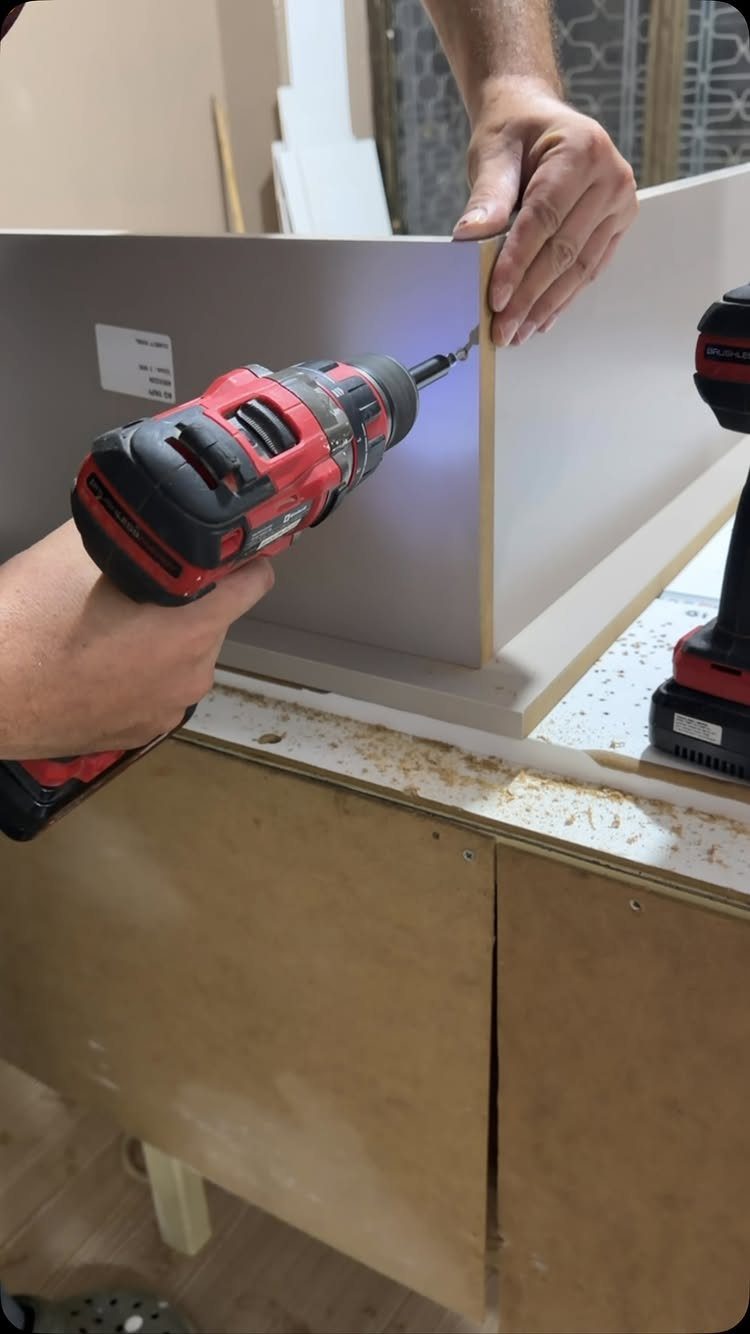
Pre-drilling pilot holes and driving screws are the 2 jobs a cordless drill handles in almost every furniture build. For assembling boards into a shelf or cabinet, it is the tool I would buy before any saw.
Drill a pilot hole first so the wood doesn’t split near an edge, then set the clutch low and drive the screw until it sits flush.
Raise the setting only if the screw stalls. A second battery keeps a long assembly moving.
11. Woodworking Marking Gauge
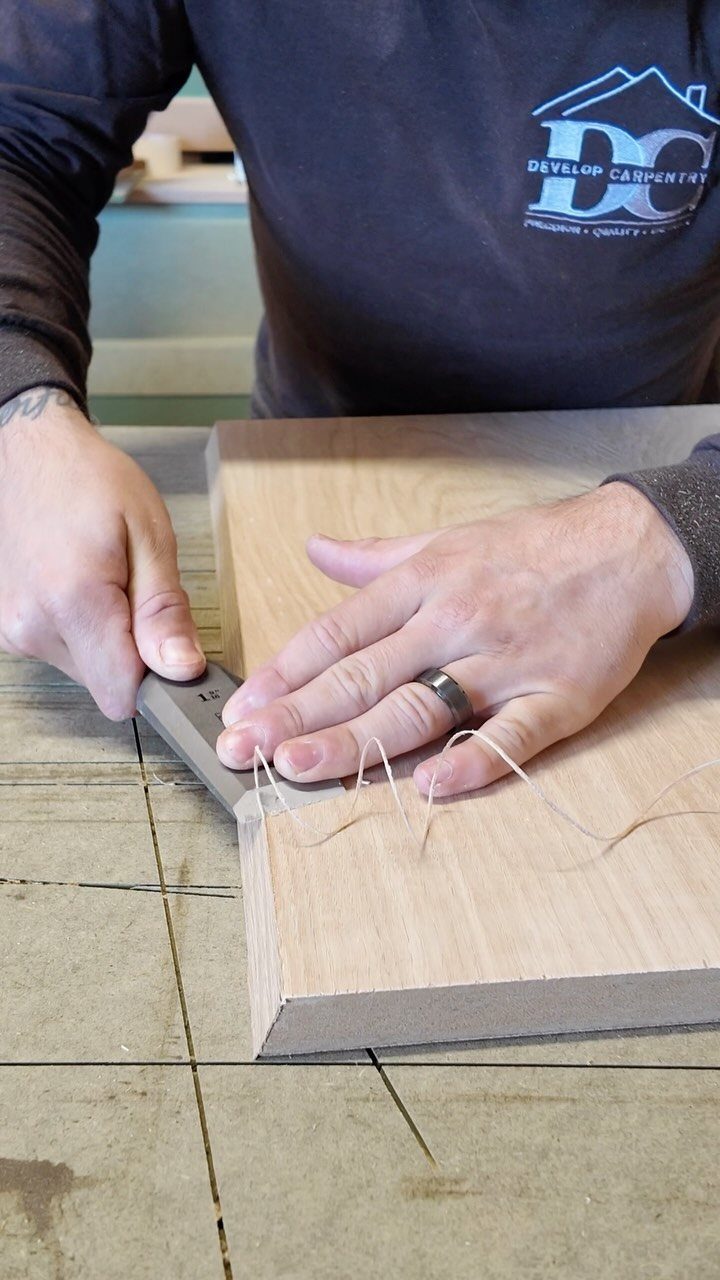
Where a pencil leaves a fat stripe, a marking gauge scribes a thin line parallel to an edge, at whatever distance you set.
A metal gauge holds that setting well, which makes it good for repeating the same measurement along a board.
Lock the fence at your measurement, press it firmly against the board’s edge, and drag the pin along with a light touch.
Tilt the tool slightly in the direction of travel. Make a second pass if the line looks faint.
Advice for Beginners
Buying one tool every 2–3 projects works better than buying a kit. That pace gives you time to learn a tool well before the next one shows up on the bench.
Let the project tell you what to buy. When a build stalls because you lack a specific tool, buy it then, and skip anything you only think you might want someday.
Budgets, shop space and building styles differ, so no single list fits everyone. Spend your money on what your next build needs, and put off the rest until your skills ask for it.
Safety Precautions
Safety goggles should fit your face, and I like a pair with side shields so debris can’t get in through the gaps.
Sawdust irritates your lungs, and the fumes from stains and oils (VOCs) are harmful too, so wear a respirator with replaceable filters rather than a thin dust mask.
Loud saws cause cumulative hearing loss, which means the damage adds up over years of short sessions.
Wireless hearing protection that meets OSHA standards lets you listen to a podcast while you work, and you are more likely to keep wearing it.
Open a window or run a fan when you sand or finish, and sweep or vacuum dust regularly so it doesn’t build up on the floor and your bench.
Tool Maintenance
A sharp tool works better and is safer, because a dull one makes you push harder and slip. Make honing a habit before a project rather than a rescue once the cut goes badly.
Wipe down metal surfaces after each session and store tools dry, since moisture leads to rust. A light coat of oil on bare steel helps.
Check cords, batteries and blades for wear before you start, and replace any that are damaged.
Brush sawdust out of moving parts and vents. Regular care extends a tool’s life, so a good one can last for many projects.
Frequently Asked Questions
What tools should every woodworker have?
Start with a combination square, a few chisels, a hand saw, a cordless drill, and safety gear: goggles, a respirator, and hearing protection.
A cordless drill goes in my cart ahead of any saw, because pilot holes and screws show up in nearly every furniture build.
Add other tools one at a time as a project calls for them, rather than buying a kit.
What are types of hand tools used in woodworking?
Woodworking hand tools fall into layout, cutting, and shaping groups. Layout tools include the combination square, marking knife, and marking gauge.
Cutting and shaping tools include the hand saw, wood chisels, and hand plane. All of them work quietly, need no outlet, and suit a small shop, though they ask for practice and a sharp edge.






