The plans here run from a plywood platform that sits on the desk you already own to full L-shaped builds with butcher block tops, X-frame legs or drawer units.
Floor space and wall length decide which one is yours: a tight room points to the standing desk converter or the floating desk, while a long wall can take either L-shaped desk or a desk set between two matching bookcases.
Budget is the second filter, since the pipe and fittings desk costs less than the double drawer unit or a thick butcher block top, and your money should go into the wood top either way.
1. Standing Desk Converter
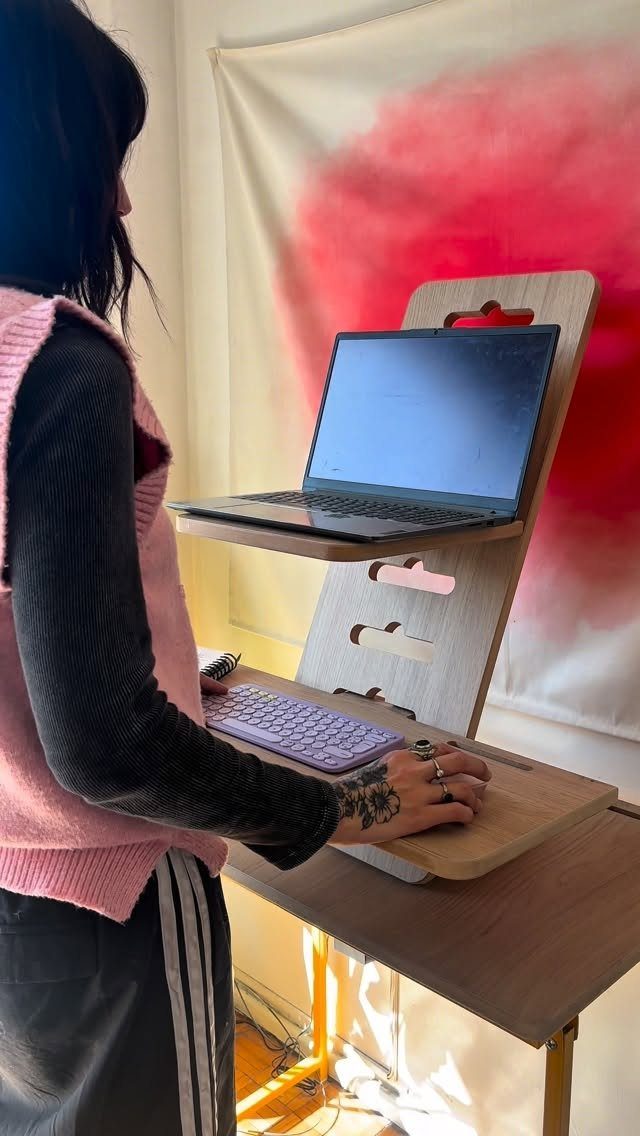
A converter is the cheapest route to a standing setup, because the desk you already own stays put.
A raised wooden platform that holds a laptop and a full-size keyboard is the layout I would copy, because the screen sits at eye level and the keys stay at elbow height.
Build it from plywood or boards you already have in the shop, and keep the platform wide enough for the keyboard and mouse.
A gamer with a tower and a big monitor will want to leave those on the desk below.
I would pick a converter over a new desk when floor space is tight.
2. LED Gaming Desk
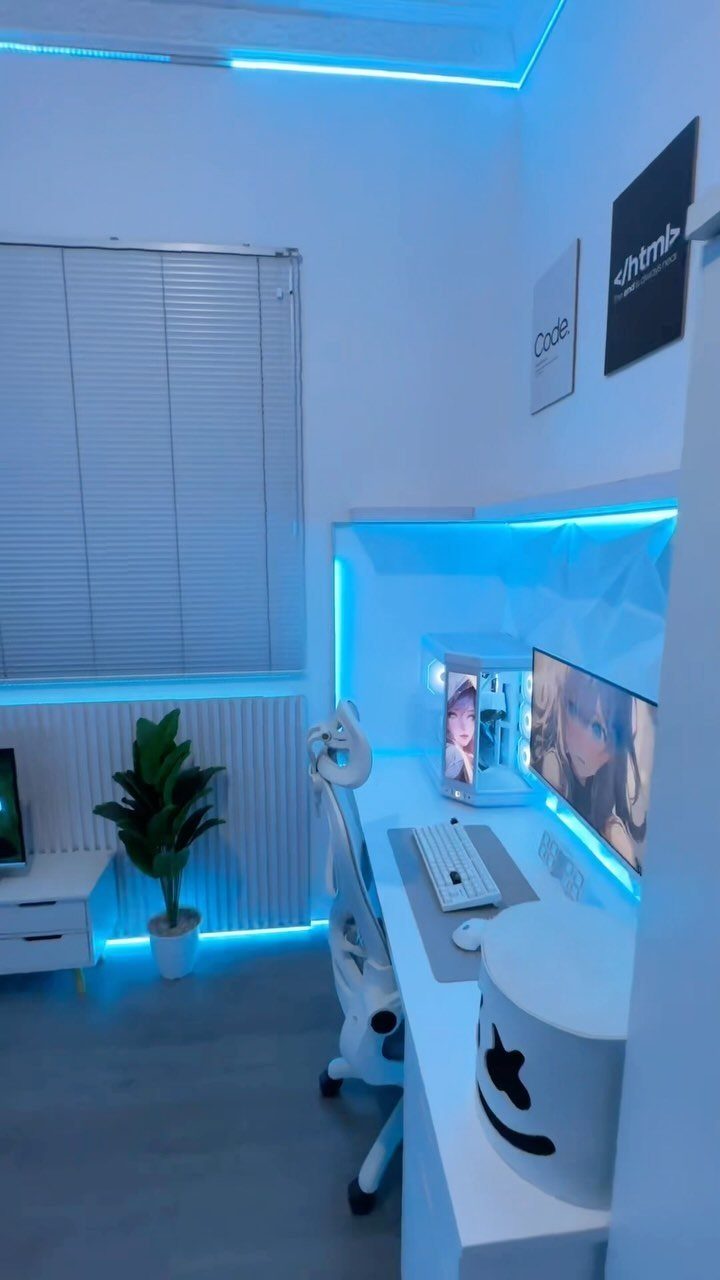
White paint with blue LED strips gives a desk a clean, lit-from-within look without any fancy joinery.
Run the strips along the underside or the back edge, where the glow washes the wall and keeps the monitor from competing with it.
Pick one color and stick with it. Blue LEDs pair well with a white chair and keep a gaming setup calm instead of loud.
A white finish shows scuffs, so I would use a wipeable topcoat on the desktop.
3. Pipe and Fittings Desk
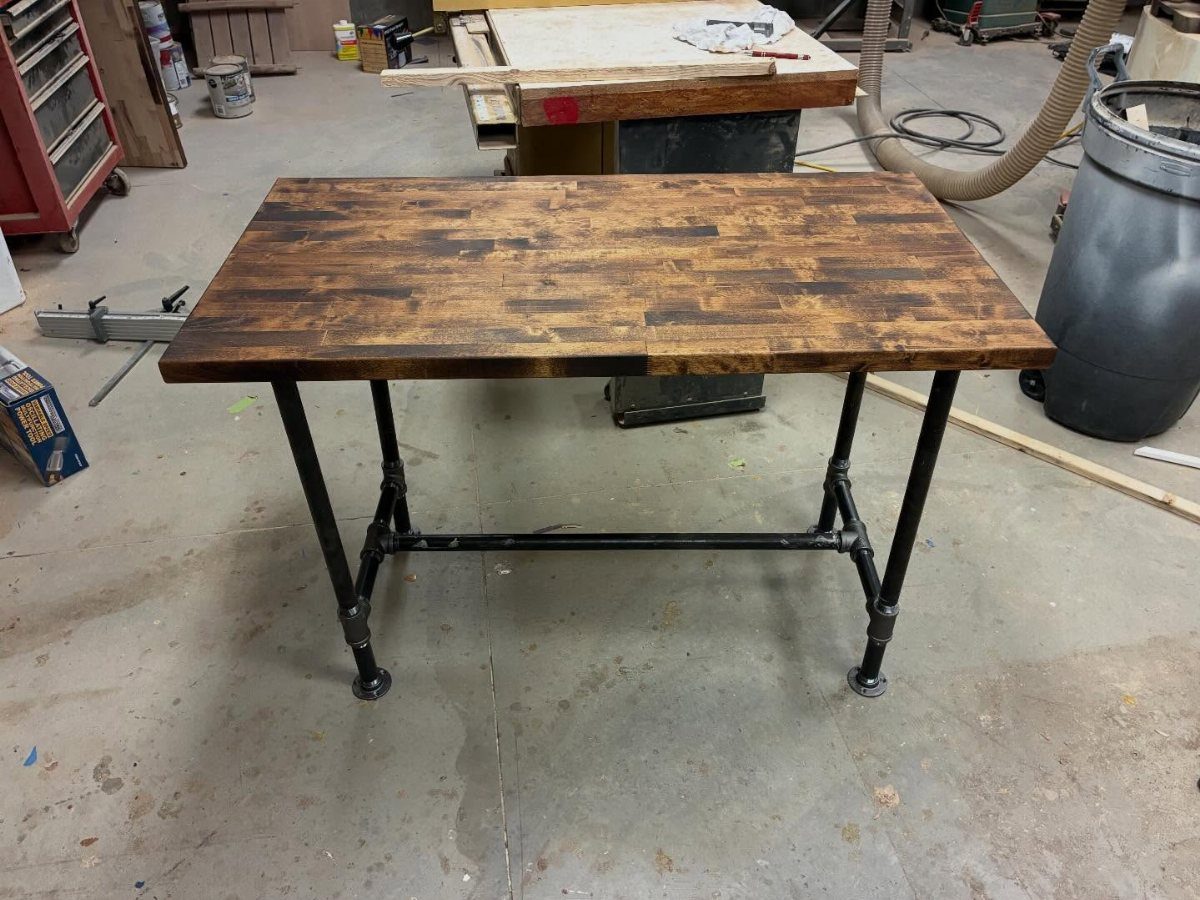
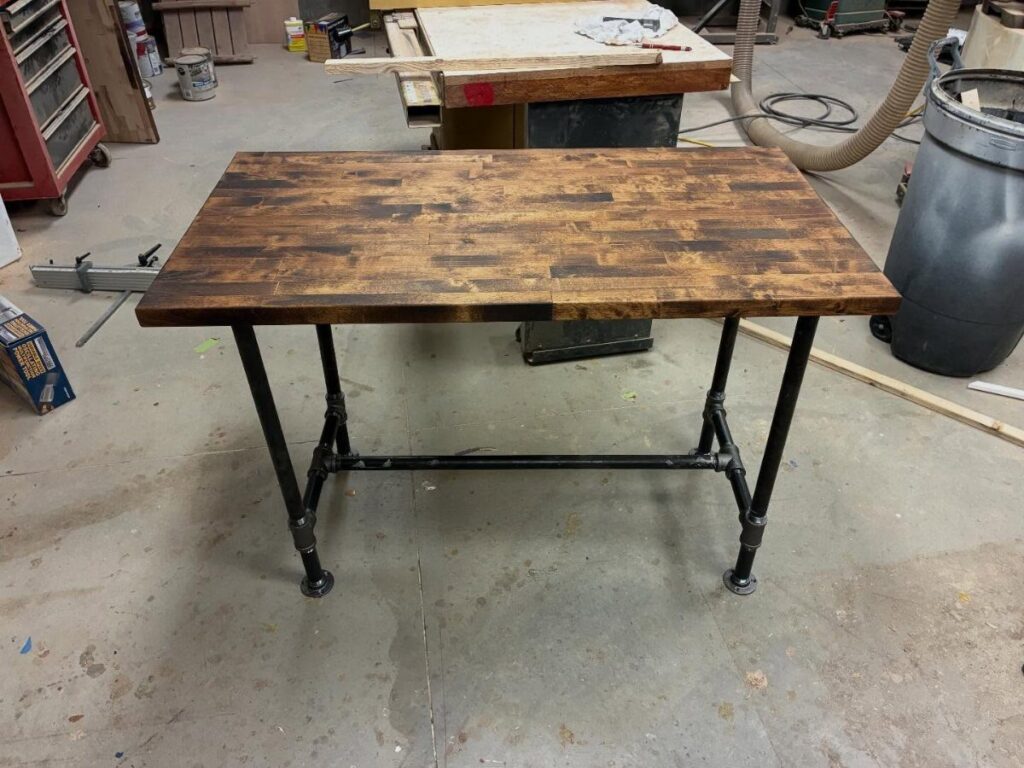
Black pipe and fittings make a frame that looks heavy and industrial, and you can size it to any wall or corner. Cut the length of the wooden top first, then build the legs and rails to match.
This is the version I would choose for a customized desk on a modest budget, since the parts are plain hardware pieces you assemble yourself.
The wood top is where your money should go, so sand it well and finish it before the frame goes underneath.
Pipe and fittings take patience, because every fitting has to stay square or the whole frame drifts out of true.
4. Floating Desk
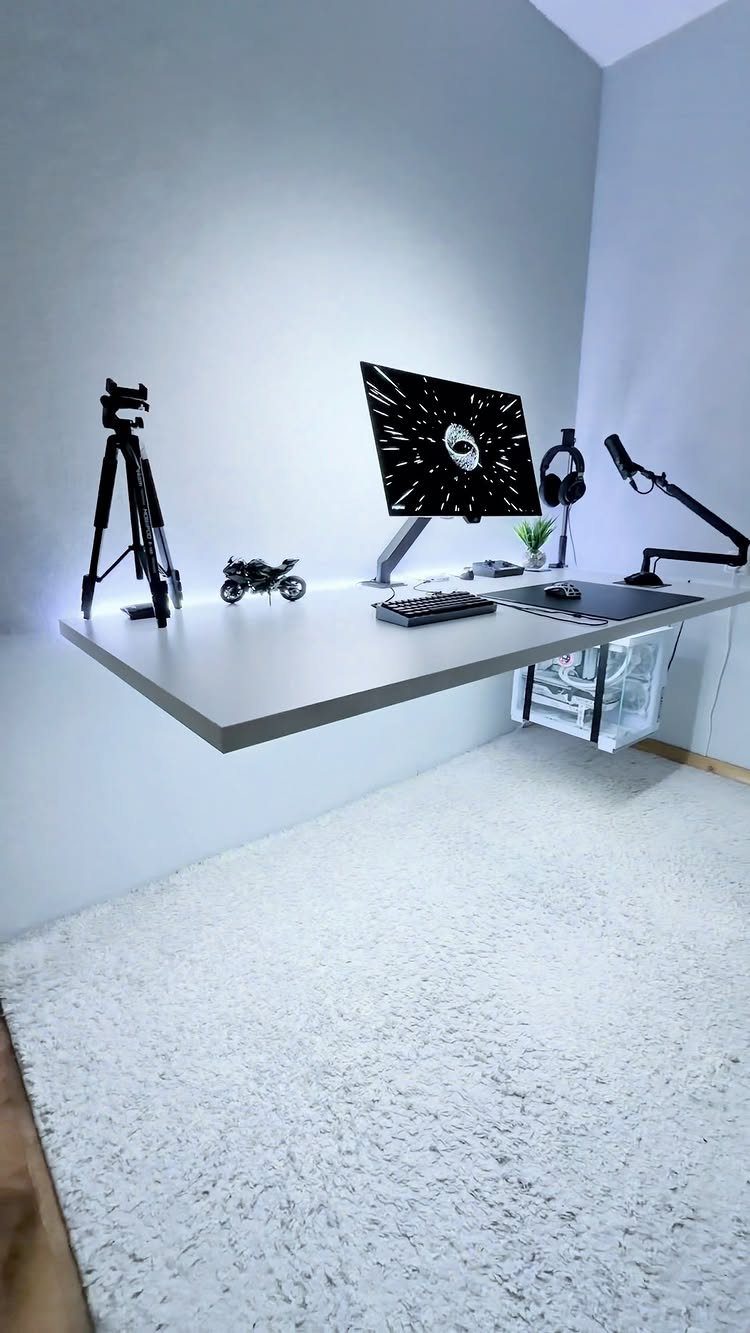
A floating desk frees the floor completely, which is why it suits small rooms and lets a rug run right underneath.
Fasten it to the wall, not just to drywall, so the shelf can hold a full setup. Hunt for studs before you cut anything, and size the depth to your monitor distance.
With no legs, you lose knee-to-floor stability, and cables need a plan before mounting. I like routing them down the wall behind the desk.
5. Light Wood Gaming Desk
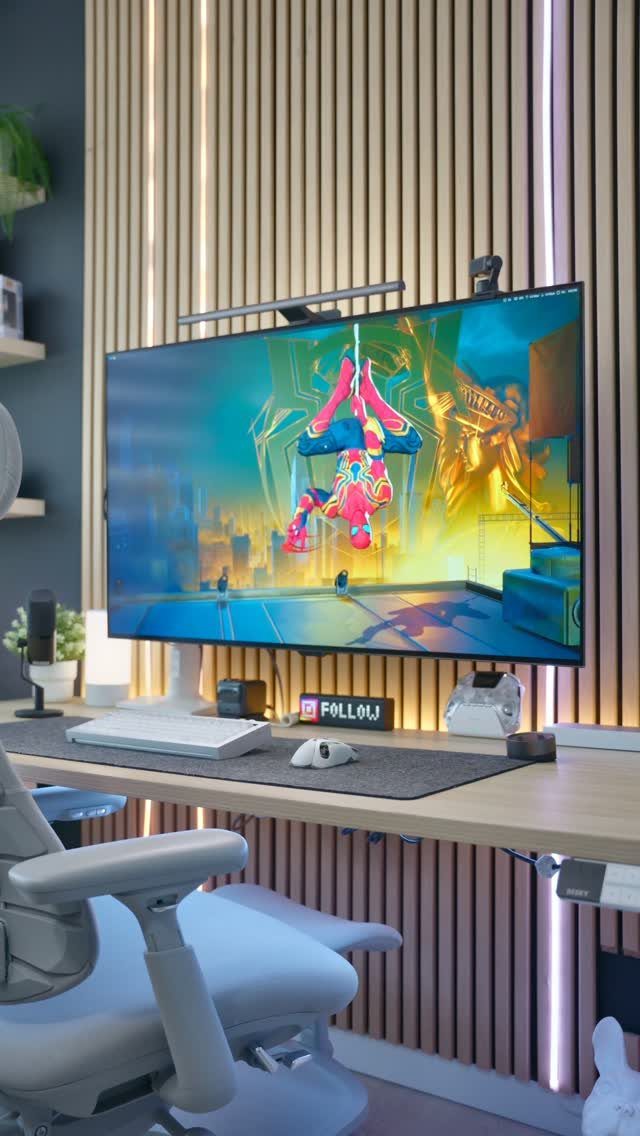
Light wood keeps a gaming room from feeling like a cave, and an ultrawide monitor looks right on a broad, uncluttered top. Pair it with a slatted wall behind and tuck lighting into the slats for a soft glow.
A clear finish lets the grain show, and I would choose it over paint here. Keep the keyboard and mouse the only items on the surface so the wood does the decorating.
Slats take more cutting and spacing work than a plain wall, so plan an afternoon for that part alone.
6. Butcher Block L-Shaped Desk
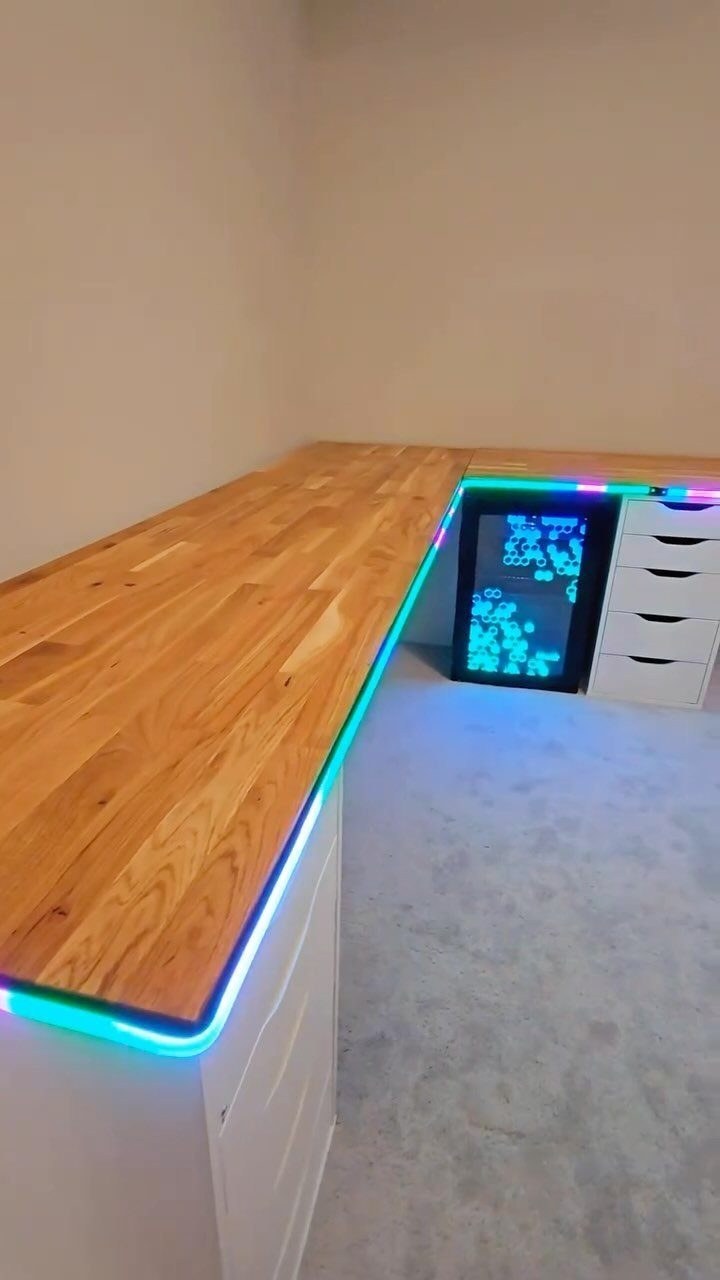
Butcher block countertops turn an L-shaped desk into a project you can finish quickly, because the tops arrive already flat and thick.
Rest them on white drawer units, one under each arm, and you get storage and support in one move.
Seal the wood well, since a desk gets daily handling.
I would choose this over a pipe frame when you want drawers and a warm, solid surface.
7. L-Shaped Desk with X Legs
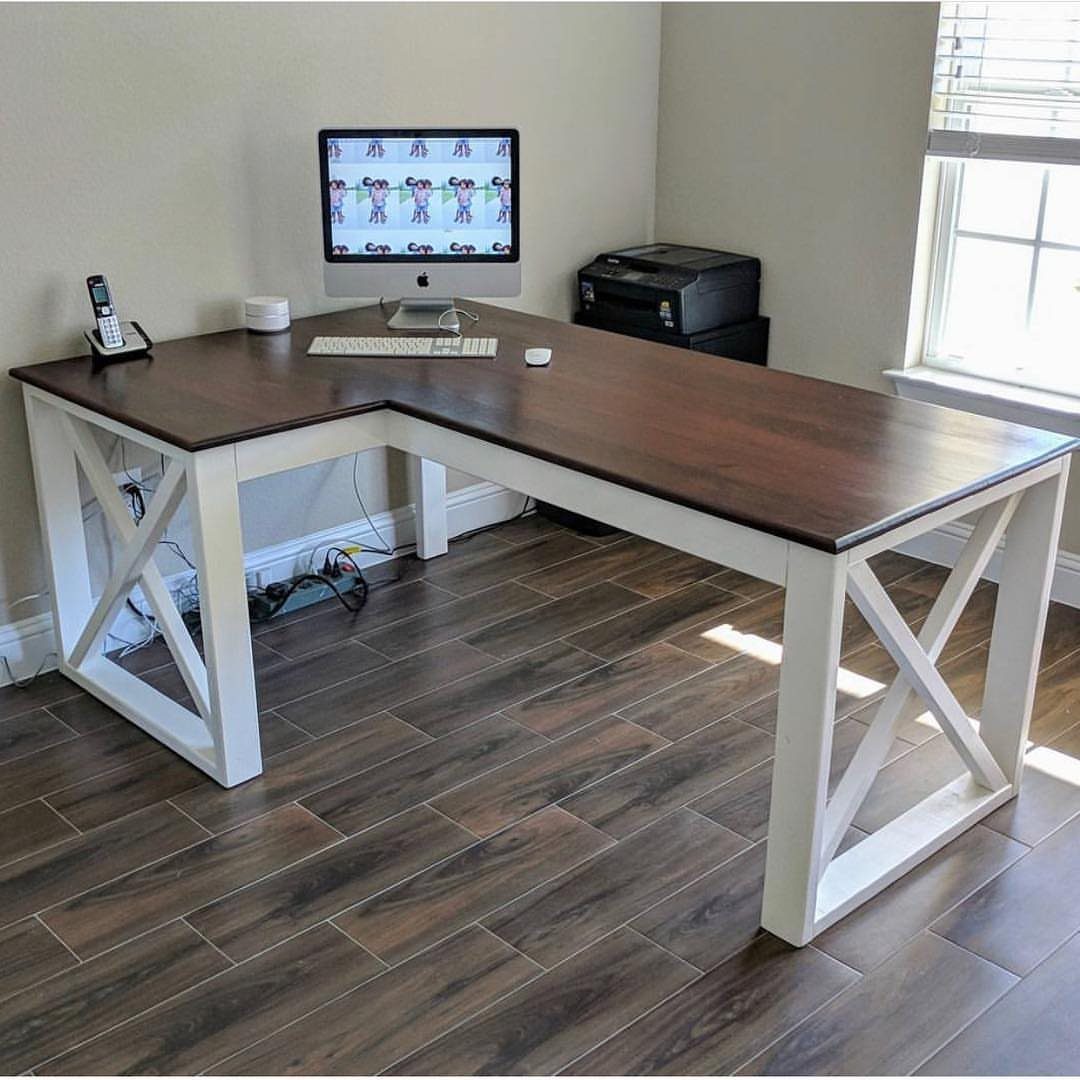
A dark stained top on white X-frame legs gives an L-shaped desk a farmhouse look, and the contrast does most of the decorating.
Paint the legs white and stain the top dark before you assemble, so neither finish gets smeared on the other.
Both arms of the L need leg support, so plan where the X frames sit before you cut anything. A corner with no leg gives you the most open room to roll a chair.
I would choose this over a pipe frame when you want a softer, homey feel.
8. Double Drawer Unit Desk
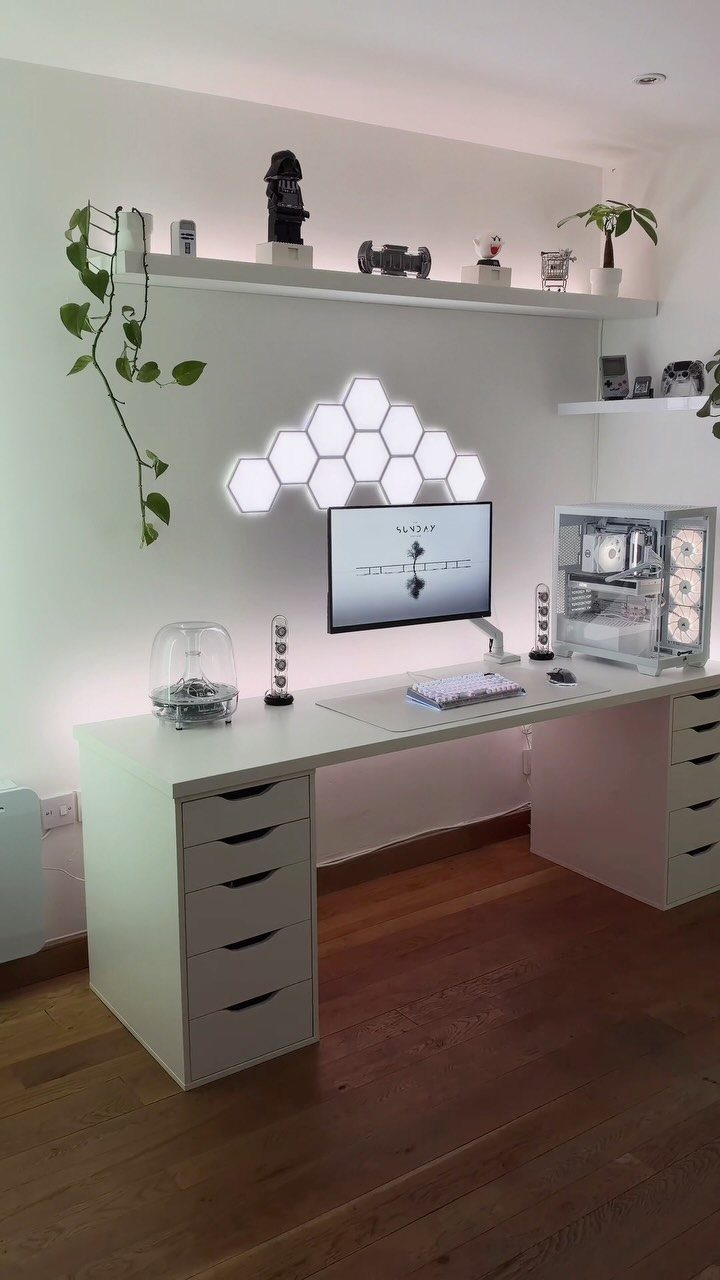
Two drawer units and one long tabletop make a gaming desk with storage built in, and no apron or leg joinery to cut.
Set the units apart far enough that the chair fits between them, then rest the top across both.
White units and a white top keep a big setup looking tidy.
Fasten the top to the units so it cannot slide when you lean on it.
9. Desk with Built-In Side Shelving
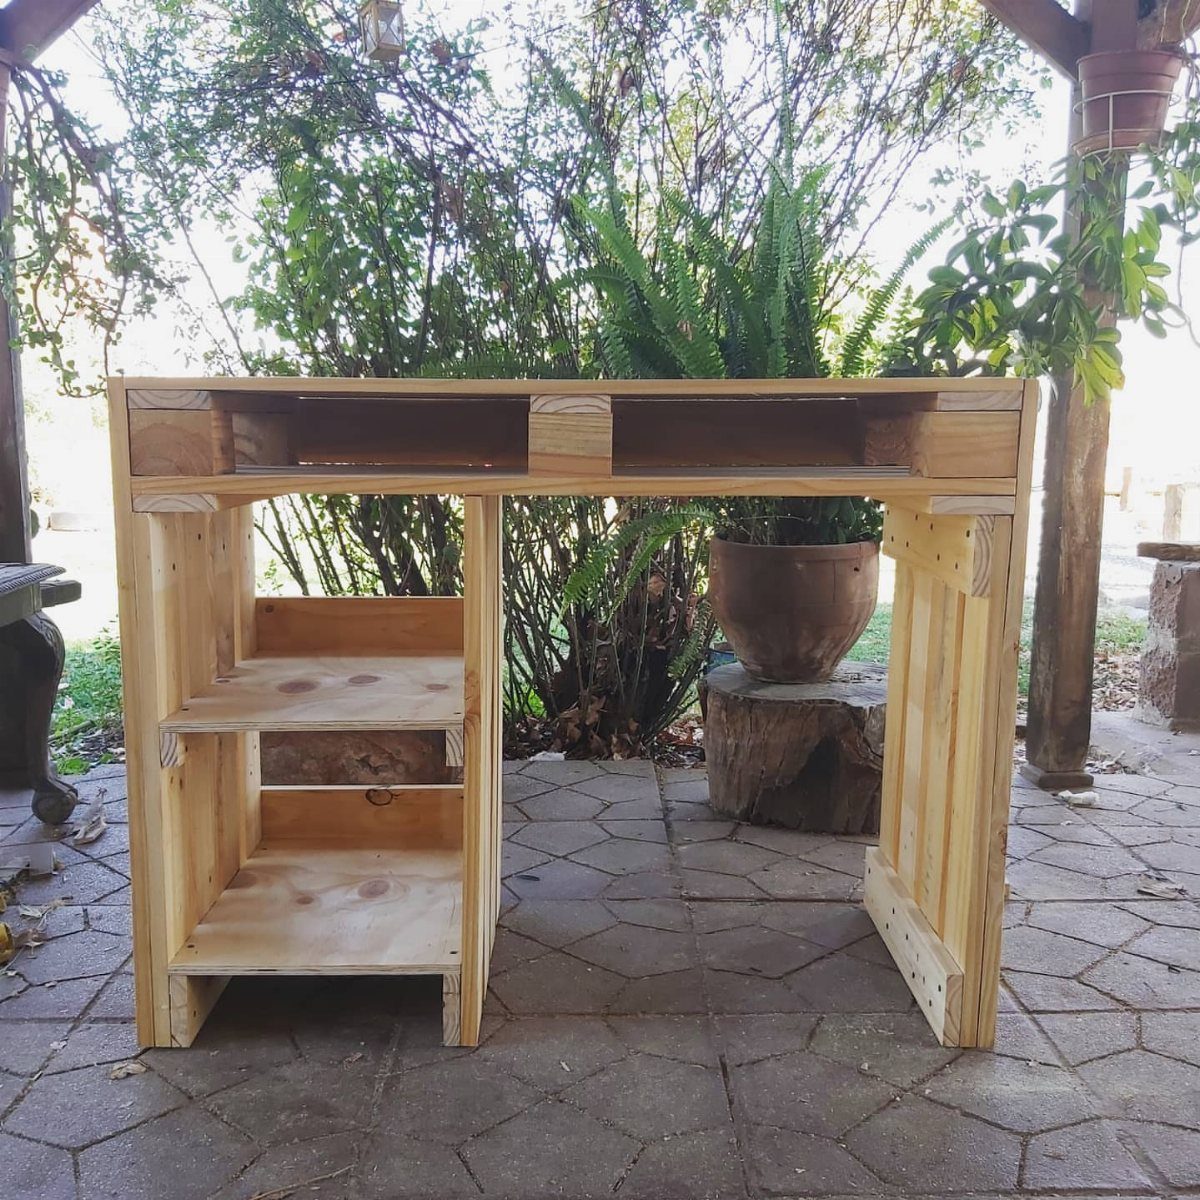
Open shelves built into one side of a pine desk keep books and gear within arm’s reach without a separate bookcase.
Pine is light in color and easy to cut with basic tools, which makes it a friendly wood for a first built-in.
Build the shelf section as its own box, then join it to the desktop so the two share one footprint. Sand everything and add a clear finish to keep the pale tone.
Open shelves collect dust, so I would keep only the things you actually grab on them.
10. Desk Flanked by Matching Bookcases
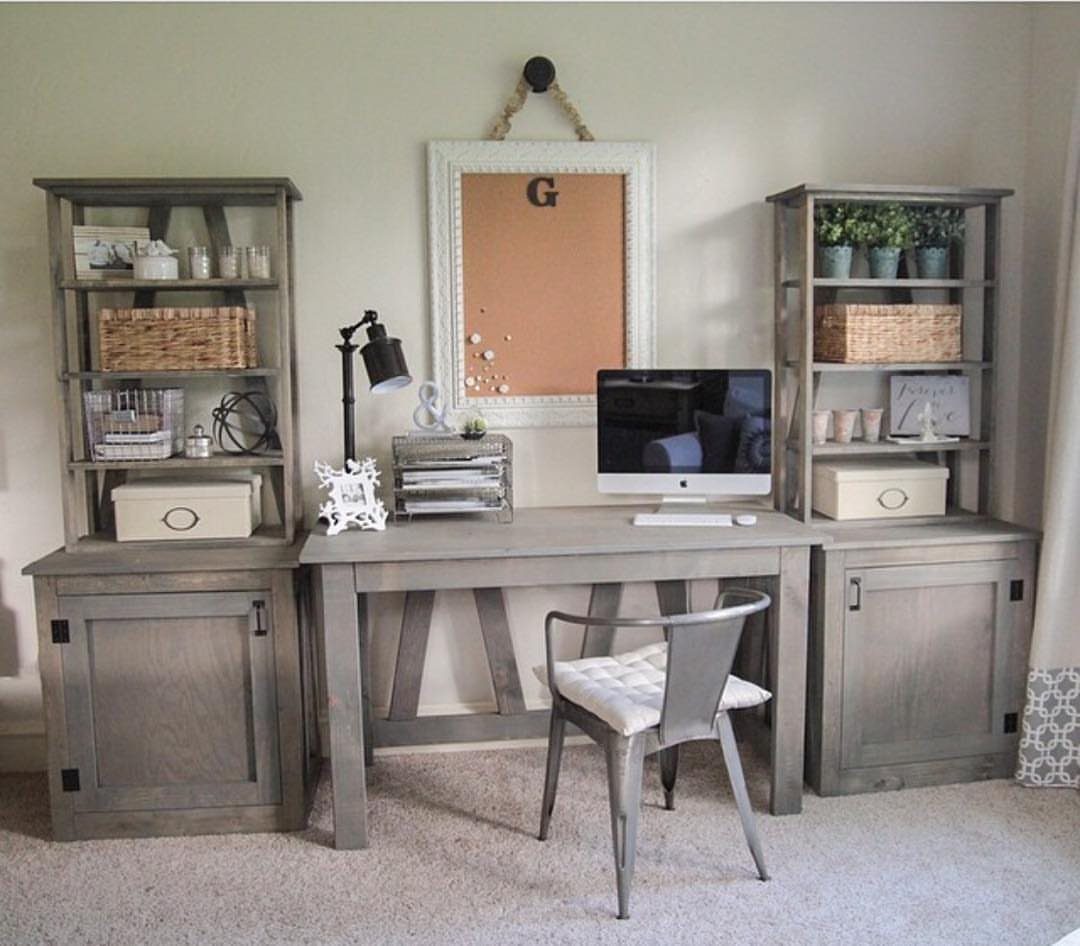
Two tall bookcases with a desk tucked between them turn one wall into a full workstation. The shelves carry the extra gear, and the desk becomes the center of the wall.
Build or buy the bookcases first, then size the desk to fit the gap between them. Paint all three pieces the same grey so they read as one unit.
Tall bookcases on both sides use the wall and leave the floor open, so this layout suits a narrow room with a lot of vertical space. Measure the gap twice before cutting the top.
Characteristics of a Good Gaming Desk
Ergonomics decides whether a desk still feels good in hour four.
A height that adjusts and a generous surface area are the 2 features that matter most, because they let you set the screen and keyboard to fit your body instead of the other way around.
An electrically adjustable frame takes the least effort to change, so you are more likely to actually switch positions. A fixed-height desk can still work if you sit at the right height for your chair.
Beyond comfort, a good gaming desk should be large, affordable and easy to assemble. Rank those four traits before you pick a plan, because one build rarely maxes out all of them.
Why Build Your Own Desk
Building lets you choose the exact size, color and finish you want, usually for a fraction of what a ready-made desk costs. A store model gives you whatever dimensions it was made in; a plan gives you your wall.
Set your budget first, then pick a design that fits inside it. Cost is the biggest limit on your choices, and deciding early saves you from falling for a plan you cannot afford to finish.
If you are newer to woodworking, start with a simple design. A plain desk with less storage still looks good and does the job, and you can add drawers or shelves on a second build.
Must-Have Accessories for Gamers
Start with comfort. Gaming sessions run long, so the accessories that matter most are the ones that keep your body in a good position.
An adjustable-height desk or frame is the biggest upgrade, and an electric one saves the most time and effort when you change positions.
Pair it with a wide surface so your monitor, keyboard and mouse have room to sit where your body wants them.
Plan cable management before you assemble anything. Decide where cords will run while the desk is still easy to reach, because routing them afterward means crawling underneath a loaded setup.






