Projects in this list range from gluing lace and faux pearls onto a round pink box, with no power tools at all, to building a small wooden case with a lid and one drawer, where the drawer has to be cut to fit the opening you actually have.
Dried flower resin and tooled leather land in the middle of the list, since both ask for patience and a few specialty supplies.
Your choice comes down to what you already own: with only glue and a brush, pick a decorated or painted box, and with a saw and clamps, build the wooden one.
If buying sounds better than making, the last 3 sections on shipping and delivery, artisan impact and customization options are for you.
1. DIY Wooden Jewelry Box
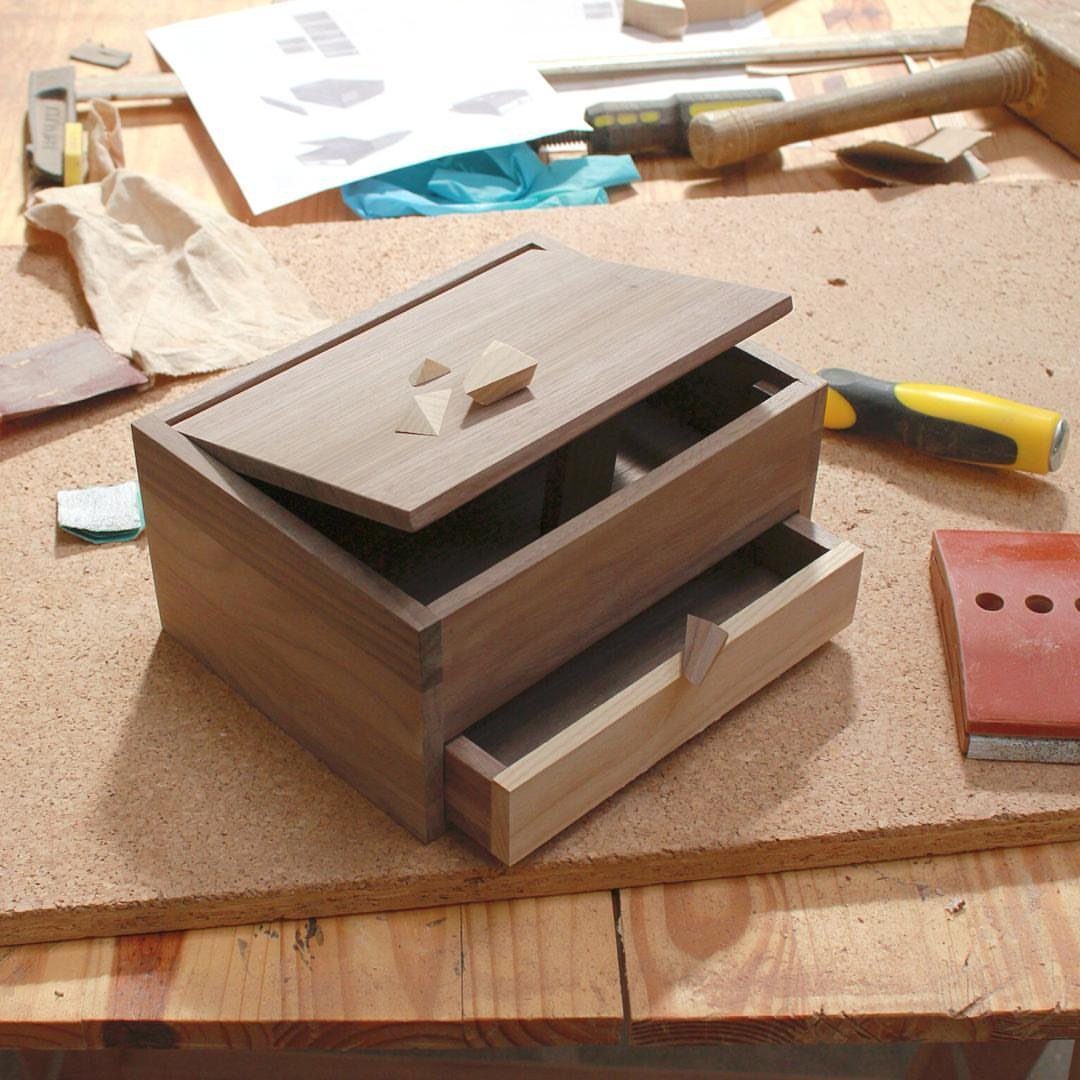
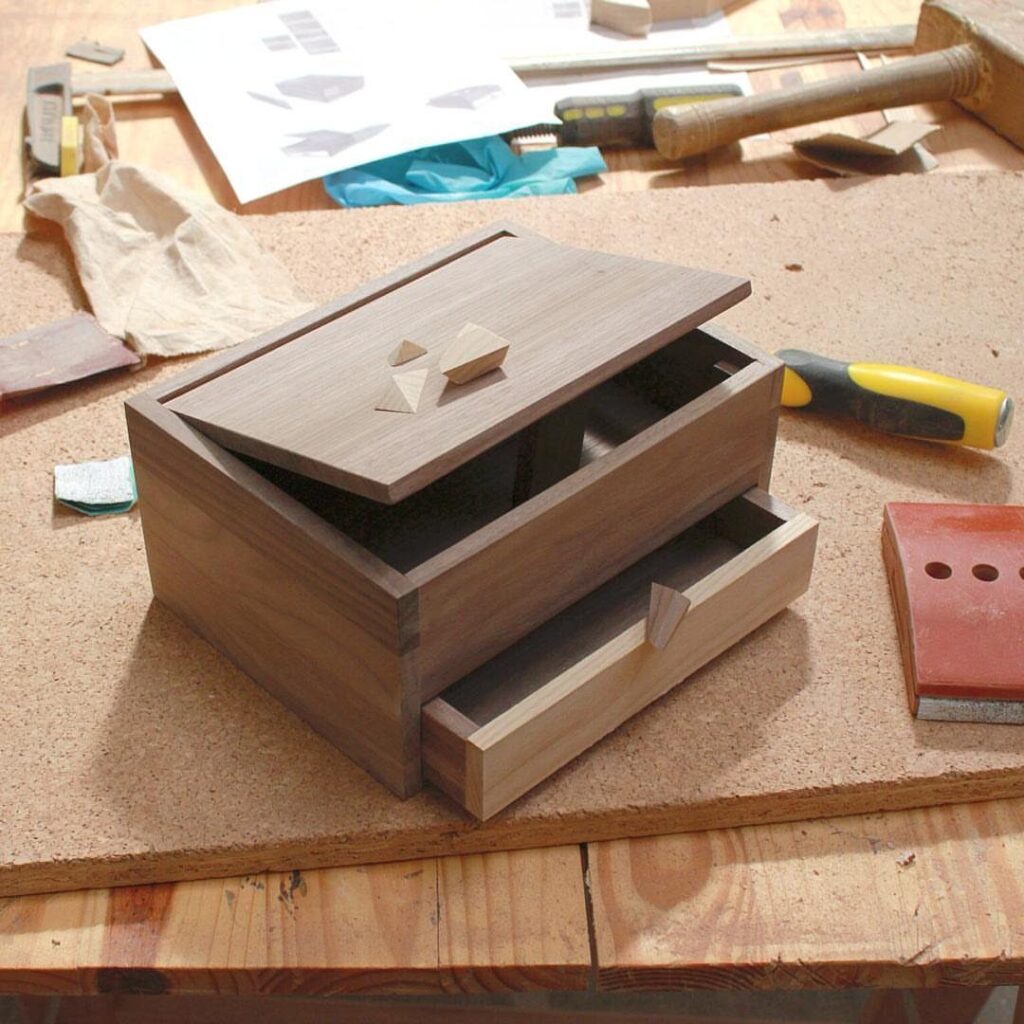
A small box with a lid and one drawer is the right size for an afternoon in the shop. 2 moving parts give you practice in fitting without the long glue-ups a bigger chest demands.
Build the drawer last. Make the case first, then cut the drawer to fit the opening you actually have, not the one on your sketch.
A drawer sized to the drawing tends to bind by a hair, and that is hard to fix once the glue is dry.
I would start with a plain wood and a clear finish. Add details like a carved lid or inlay on the second box, once the joinery is behind you.
2. Pearl and Lace Decorated Box
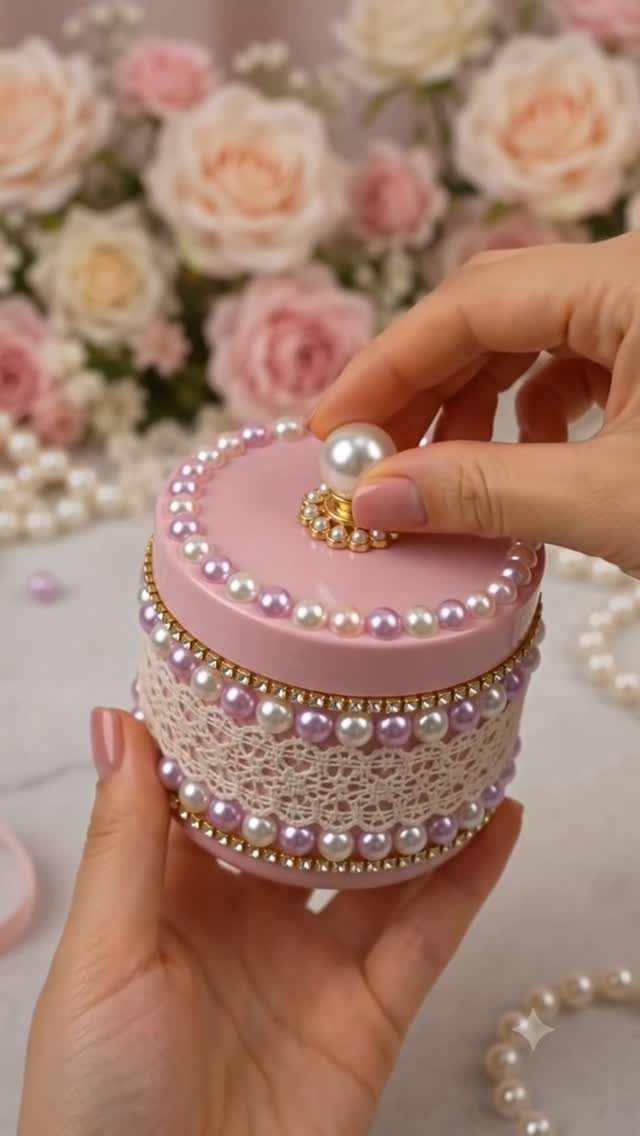
Lace, faux pearls and rhinestones turn a plain round box into a gift, and none of it needs a single power tool. A small round pink box is a forgiving base because the curved sides hide uneven trim.
Wrap the lace around the lid edge first and trim it to meet at one seam.
Then set the pearls and rhinestones in place before gluing, so you can judge the spacing. A purple accent against the pink makes the lace stand out, but keep it to one or two spots.
Use a glue that dries clear, and go light, since lace soaks it up and shows stains.
3. Painted Mini Drawer Jewelry Chest
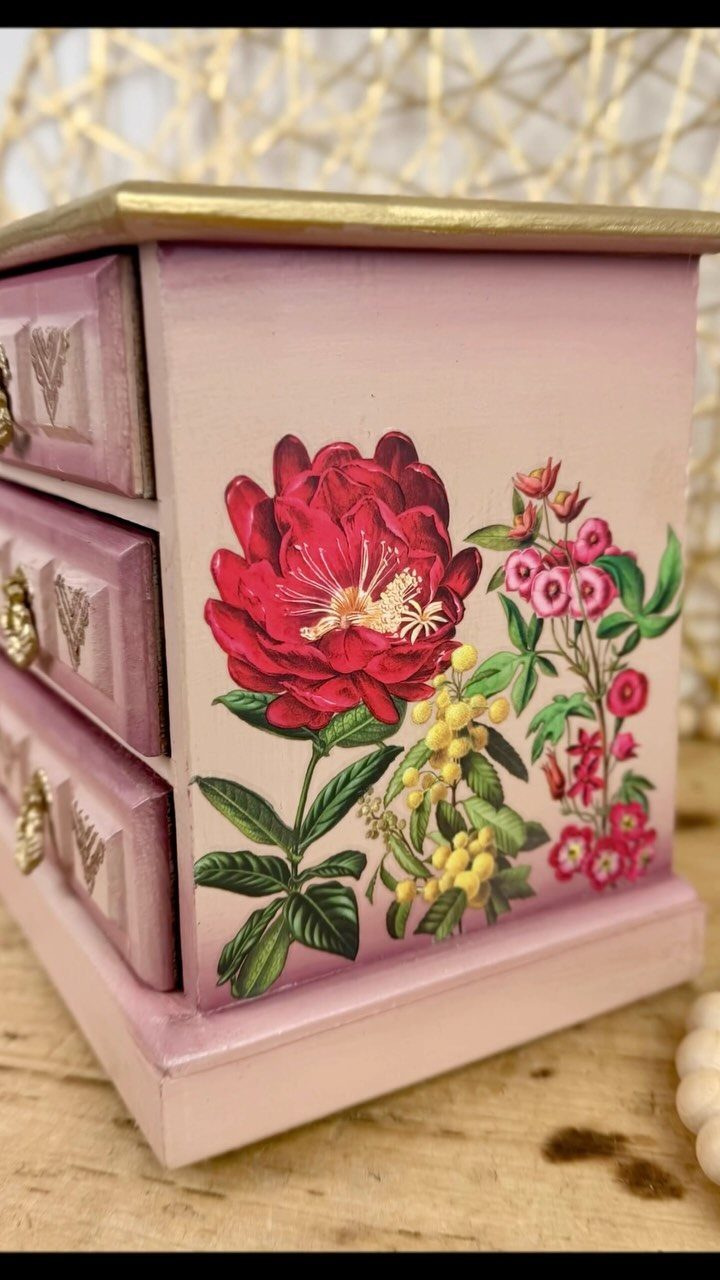
3 tiny drawers give a pink chest more charm than any lid ever could. Painting red and yellow flowers on the side turns a plain wooden mini chest into something that looks like it came from a folk art shop.
Paint the base pink first and let it dry fully before the flowers go on.
Red blooms with yellow centers read clearly against pink, so you can keep the brushwork simple: a dot, a few petals, a leaf. Practice the shapes on scrap before touching the chest.
I would pull the drawers out while painting so the edges do not stick.
4. Dried Flower Resin Box
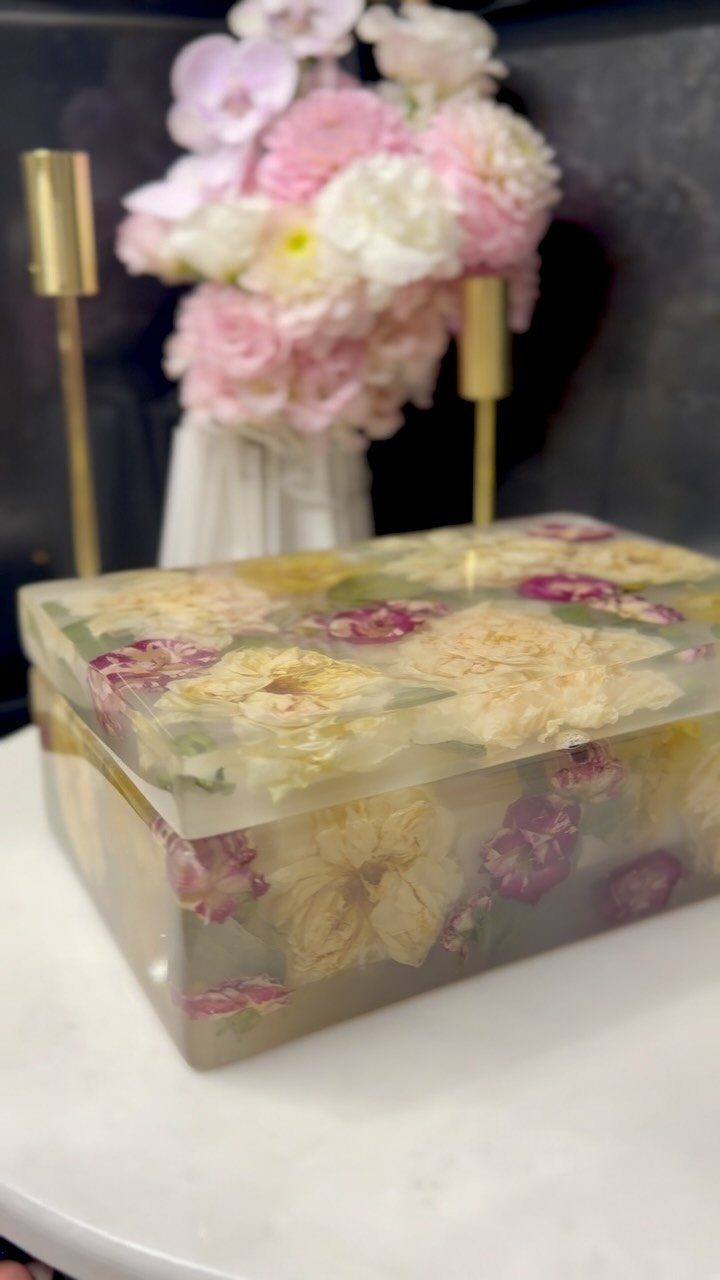
Clear resin lets dried flowers and greenery sit inside the walls of the box, so the decoration is part of the material itself.
Of everything I would build for a jewelry box, resin with dried flowers asks for the most patience, since the flowers must dry fully and each pour needs time to cure.
Press or dry the flowers completely first.
Damp petals cloud resin and can spoil a pour. Work in thin layers, setting the flowers as you go, so they stay spread through the walls instead of floating to the top.
A silicone mold shaped like a box makes this far easier than trying to build one from sheets. Resin also costs more than glue and paint, so I would try a small pour before committing to the full box.
5. Tooled Leather Jewelry Box
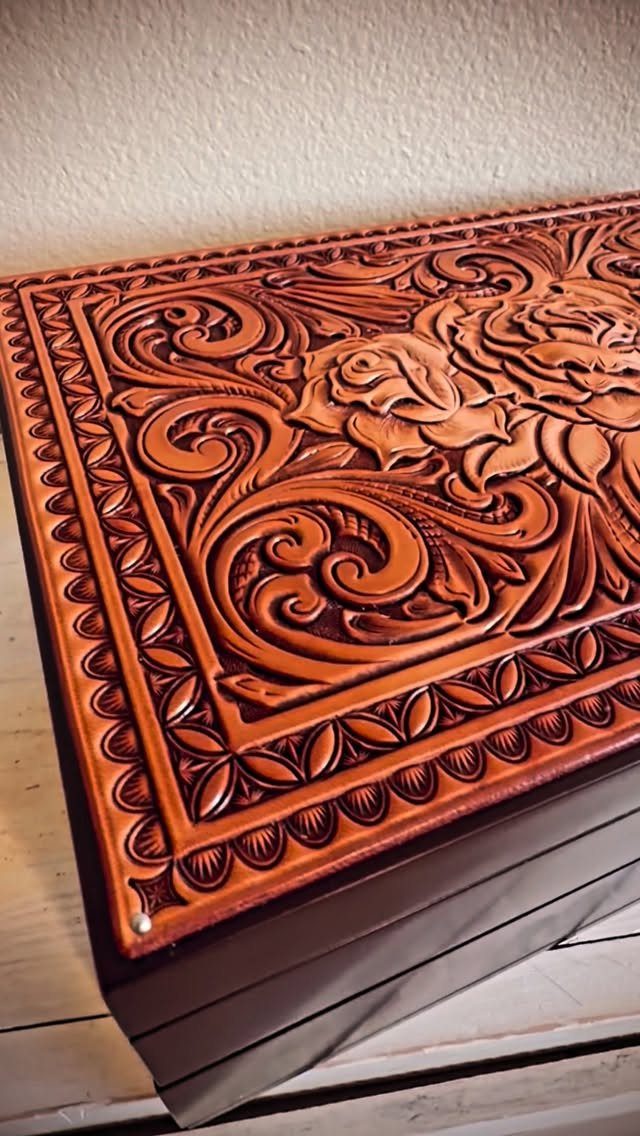
Leather tooling is where a wooden box starts looking like a heirloom. Dark wood and reddish-brown tooled leather pair well: the leather’s carved roses and scrolls pop against the deep tone of the box body.
Dampen the leather before carving so the lines hold their shape.
Rose and scroll patterns suit beginners because the curves forgive a wobbly hand. Cut the leather to the lid, tool it flat, then glue it down once it is dry.
This one asks for specialty tools, so it suits someone ready to buy a small starter set. If you are not, a stamped pattern on a wooden lid gives a similar feel.
6. Hand-Painted Glass Jewelry Box
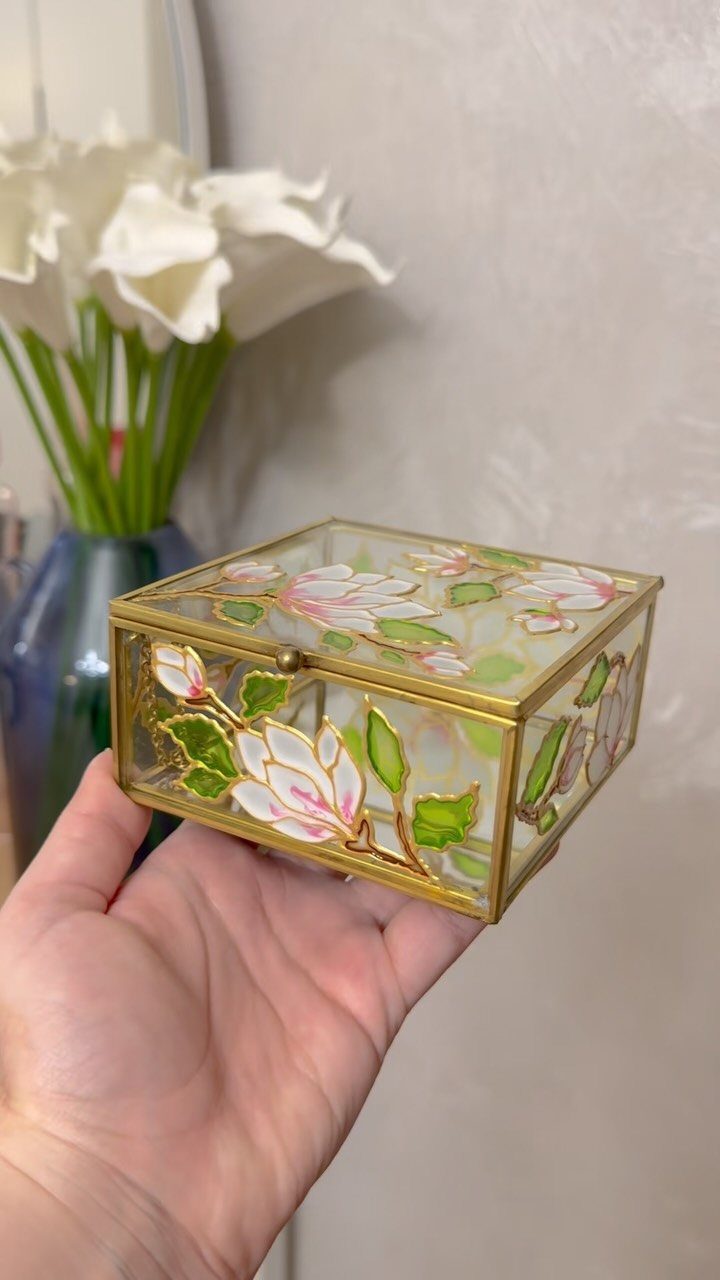
Magnolias look right on glass because their big, soft petals need only a few brushstrokes each. A gold-framed glass trinket box gives you a flat panel to paint, which is much easier than a curved surface.
Sketch the layout on paper, then slide it under the glass as a guide.
Paint the lightest petals first and add shadow after they dry. Glass shows every smudge, so keep a clean cloth under your hand.
I would pick paint made for glass and check whether it needs curing. A gold frame forgives small edge errors, and that alone makes this a good first glass project.
7. Fabric-Covered Cylindrical Box
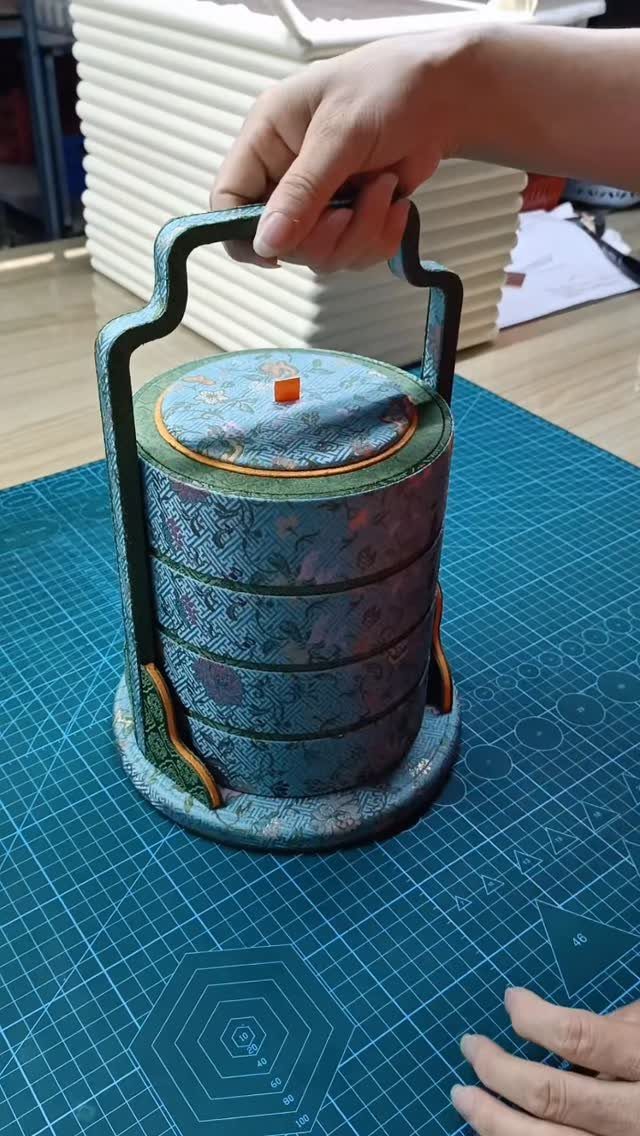
Stacked tiers under one handle make this the jewelry box you can carry from dresser to suitcase. A cylinder also takes fabric well, since a blue floral print wraps around the sides without any corners to miter.
Cut the fabric a little taller than each tier so the extra can fold over the rim and inside.
Glue it on in one smooth pass around the side, and line up the print’s pattern at a single seam so the flowers read as continuous. A small floral pattern hides that seam better than a large one.
A handle gives the box its character, so attach it to the top lid with something sturdier than craft glue. Stitching or a screw through the lid will hold better.
I would start with 2 tiers before building a taller stack. Each added tier is one more piece to cover and fit.
Shipping and Delivery
Free shipping is worth filtering for when you buy a handmade box, but check the return terms next to it. A free label means little if sending back a cracked hinge costs you the difference.
Look at how the seller packs the box. Wood, glass and resin all chip in transit, so a listing that mentions protective wrapping is a better sign than a low price alone.
Artisan Impact
If you buy a finished box instead of building one, look for sellers that say how artisans are paid.
One marketplace reports sending $144,093,808 USD to its artisans to date, and it describes itself as a verified social enterprise with fair trade practices.
That kind of detail is easy to check, so I would read the seller’s page before ordering. A guarantee on quality and safe packing is a good sign too, since it shows the seller stands behind the work.
Customization Options
Some sellers will engrave a box or make a specific design on request, so ask before you order. Send your wording or sketch in writing, and confirm the details before work starts.
Boxes made to order often can’t be returned, so I would settle spelling and placement first.
For ideas, look at what people have kept jewelry in for centuries. West African families pass heirloom beads from mother to daughter in wooden boxes, which makes a name or a date a natural engraving.
Music boxes with a twirling ballerina and a mirror in the lid are classics. Carved marble and tooled leather also have long followings.
Frequently Asked Questions
How do you make a homemade jewelry box?
Start with a small wooden box that has a lid and one drawer, and build the case first.
Cut the drawer last so it fits the opening you actually have, since a drawer sized to a sketch tends to bind slightly.
A plain wood with a clear finish is the easiest first pass, and carving or inlay can wait for the second box. For a no-power-tool option, decorate a small round box with lace, faux pearls and rhinestones.
Where can I find handmade keepsake boxes?
Online marketplaces that sell artisan work are the easiest place to look. Filter for free shipping, but check the return terms too, and read the seller’s page to see how artisans are paid.
Many sellers will engrave a lid or build to a custom design, as long as you send the exact wording or a rough sketch up front.
Who makes the best jewelry boxes?
Individual artisans who stand behind their work make the ones I would trust.
Look for sellers that state how their makers are paid, offer a quality guarantee and describe protective packing. Packing deserves as much thought as the design, since wood, glass and resin can all chip on the way to your door.






