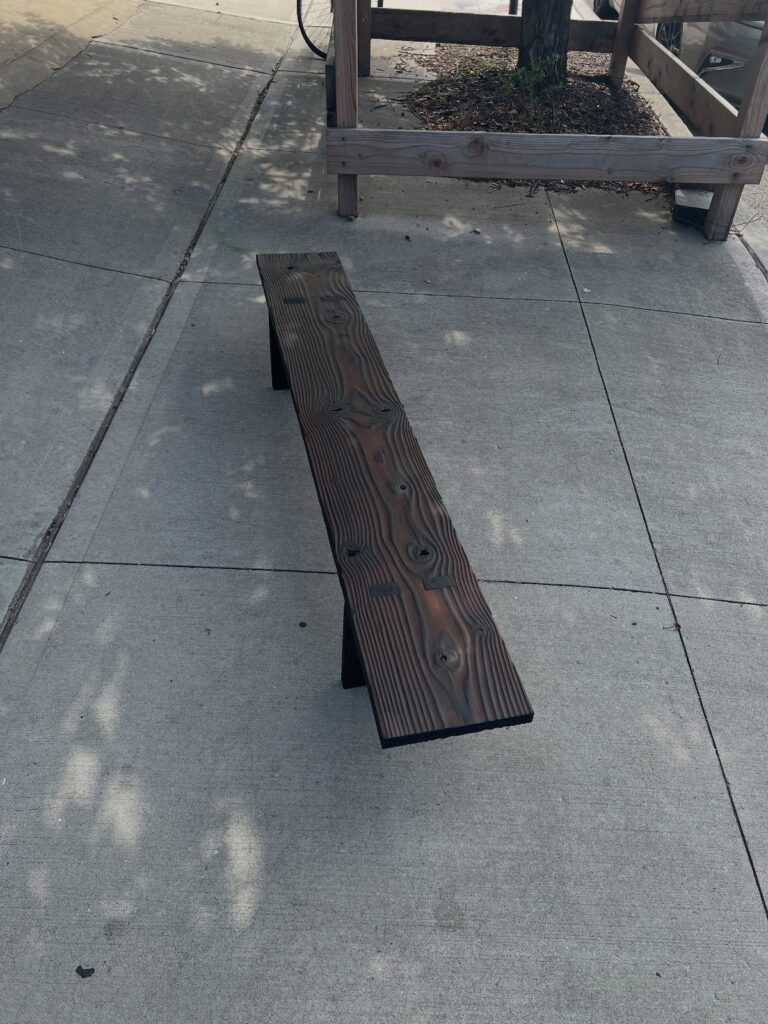
These ideas run from a small hexagon box with only its lid burned, finished in an afternoon, to a full wall of shou sugi ban siding that needs deep charring on every plank.
The size of the surface decides your method: a torch and a scrap offcut handle anything you can hold, while a door or siding has to be burned before it goes up, away from the house.
Whatever you pick, a char layer of 3–5 millimeters is what protects the wood, and a sealer keeps the soot off your hands.
1. Burning with a Torch
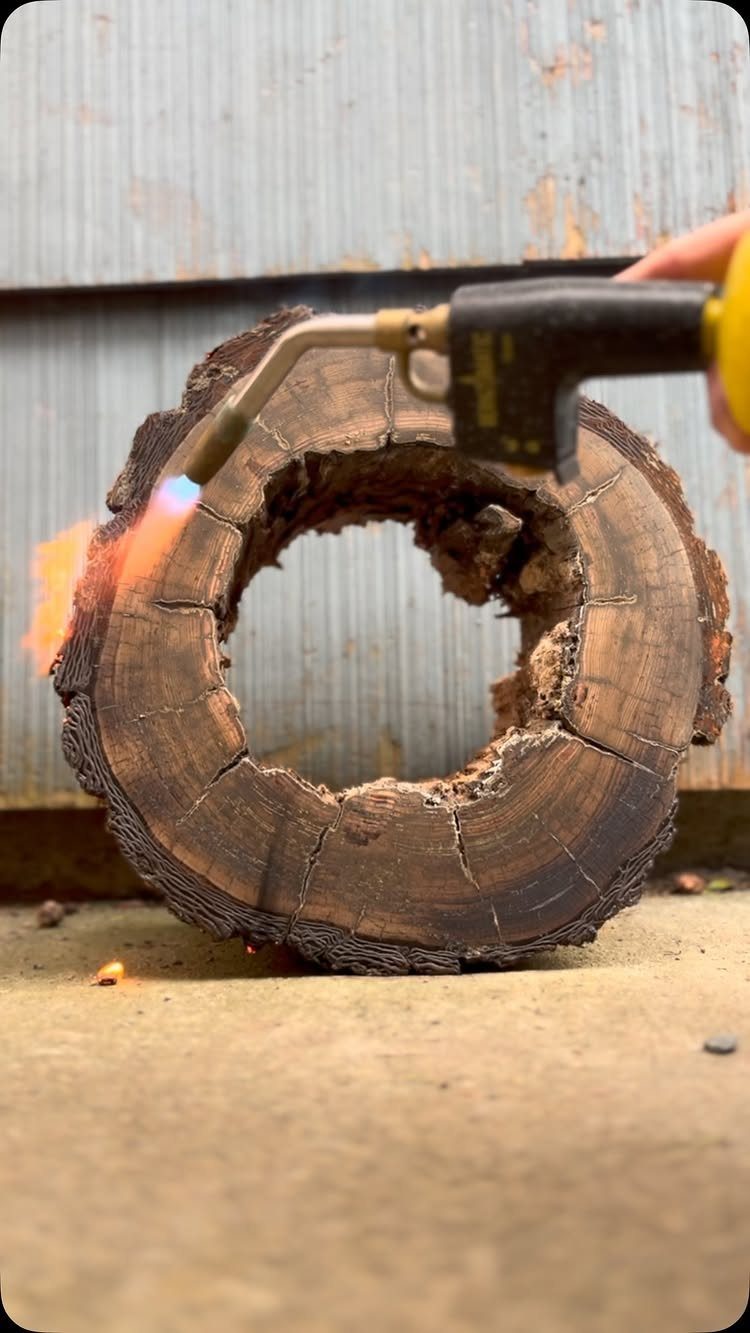
A propane torch gives you the most control of any way to burn wood, because you decide exactly where the flame goes.
On a round slice like this, working the edge slowly lets you build a dark rim while the face stays light.
Keep the flame moving and hold the torch at a steady distance.
Lingering in one spot burns a pit instead of an even char. Work outdoors, ideally against something noncombustible, and keep water close.
Test your torch, your distance, and your timing on an offcut of the same wood before you touch the real piece. It’s the cheapest way to learn how fast your torch darkens the wood.
2. Post-burn Treatments
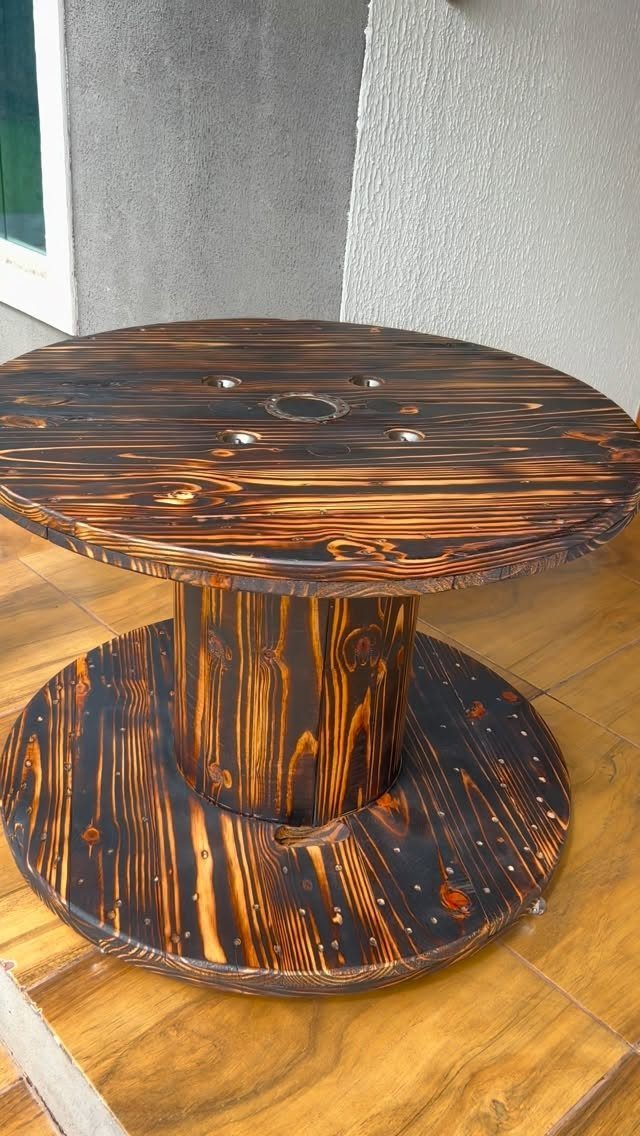
Raw char rubs off on hands, clothes and anything set on top of it, so the sealer matters as much as the burn.
A cable spool table like this one shows the payoff: a glossy coat deepens the black and locks the surface down.
Brush off loose soot with a stiff brush before you apply anything.
Then pick your sheen on purpose. Gloss gives a wet, dramatic look; a matte or satin coat keeps the char looking like burned wood.
For a table that will hold cups and elbows, I’d go glossy and add a second coat.
3. Charred Wood Bench
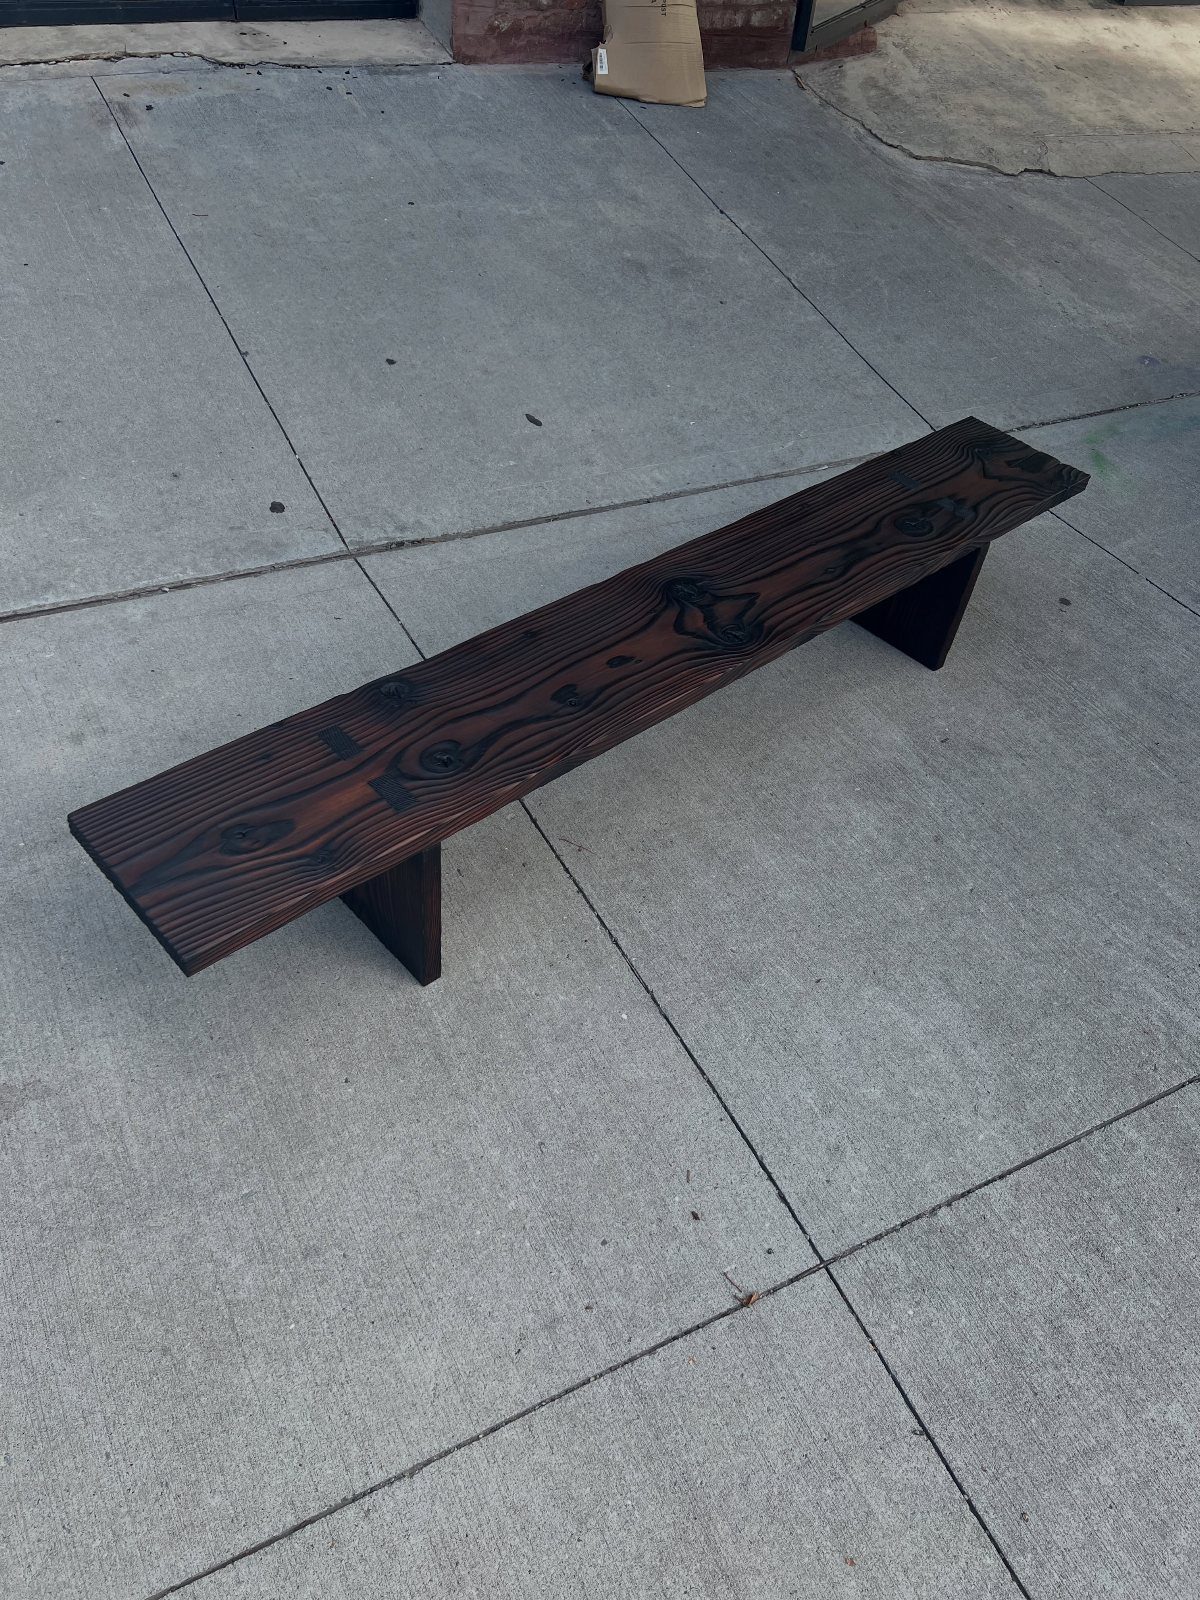
Deep black with the grain still readable: that is what a shou sugi ban finish does for a long bench. Burning brings the grain up in ridges, so a plain board looks like it has real depth.
Burn every face of each board, not just the top, so the color stays consistent if you flip or trim a piece later. Brush out the soot, then seal the seating surface so it doesn’t blacken whatever sits on it.
2 flat supports keep the design simple, which lets the char do the work.
4. Charred Block Wall Sculpture
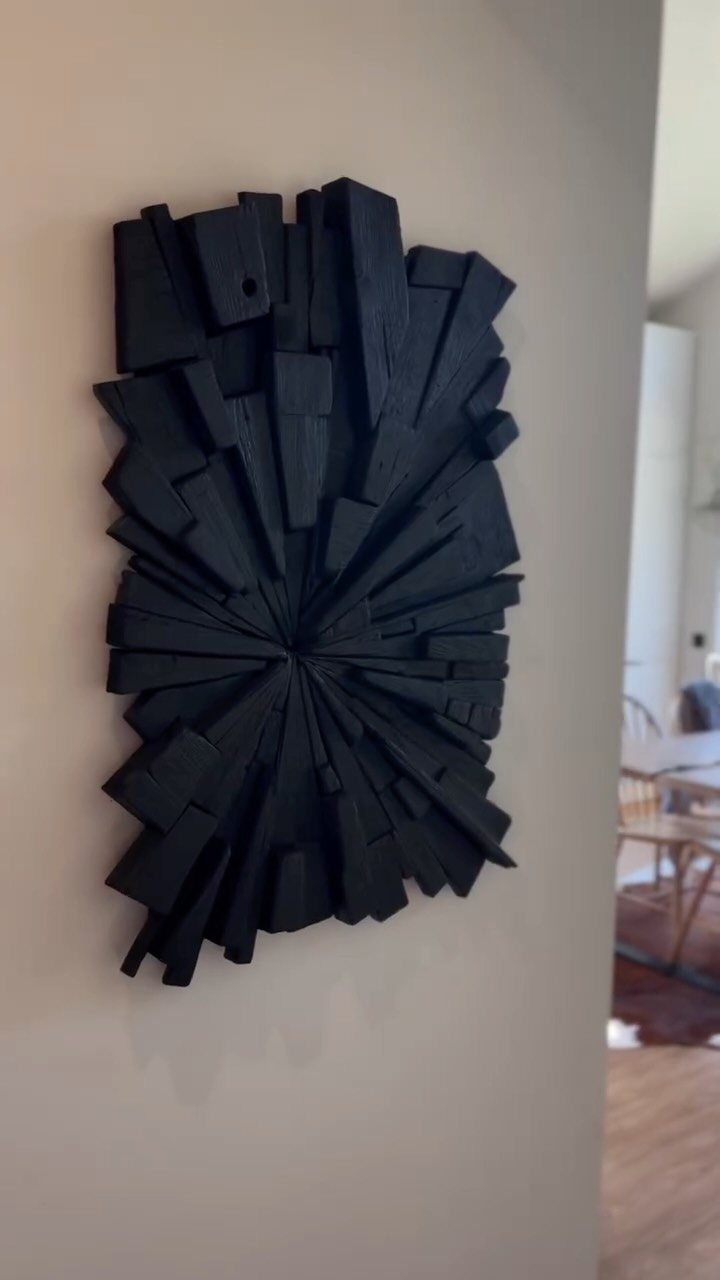
Radial blocks projecting from a center point turn a pile of scrap into wall art with real shadows. Because the pieces are charred black, the shadow lines do the decorating, and the piece reads well on a neutral wall.
Cut the blocks in varied lengths so the outward spray looks natural. Burn them before assembly; it’s far easier to char each block on all sides than to reach between glued pieces.
Seal them, too, since soot on a wall is hard to clean. Mount the sculpture on a sturdy backer so the weight stays put.
5. Small Box with Burned Lid
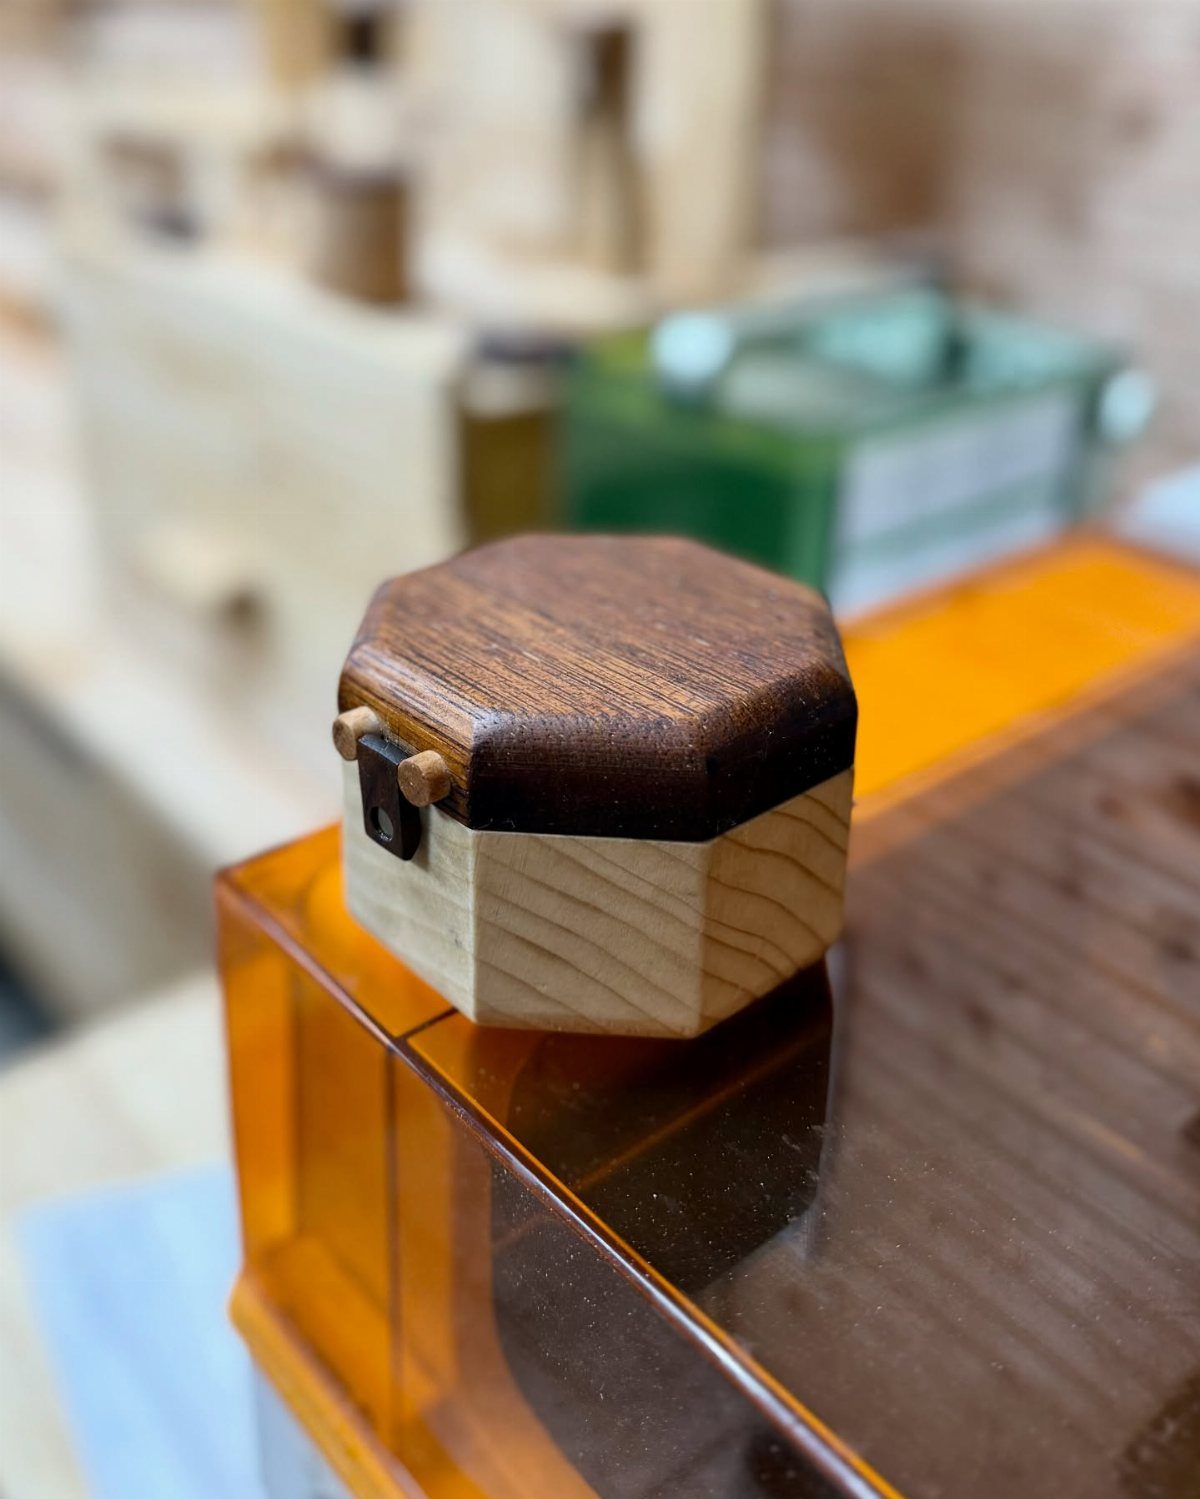
Contrast makes this box: a natural, light base under a lid burned dark brown. Burning only the lid keeps the project small enough for an afternoon, and it needs just a torch and a few minutes.
On a hexagon, take your time with the angled edges so the char stays even rather than darkening at the corners. Stop at brown instead of pushing to black if you want the grain to stay visible.
Seal the lid before use. A keepsake box gets handled constantly, and loose char will leave marks on fingers and whatever goes inside.
6. Shou Sugi Ban Siding
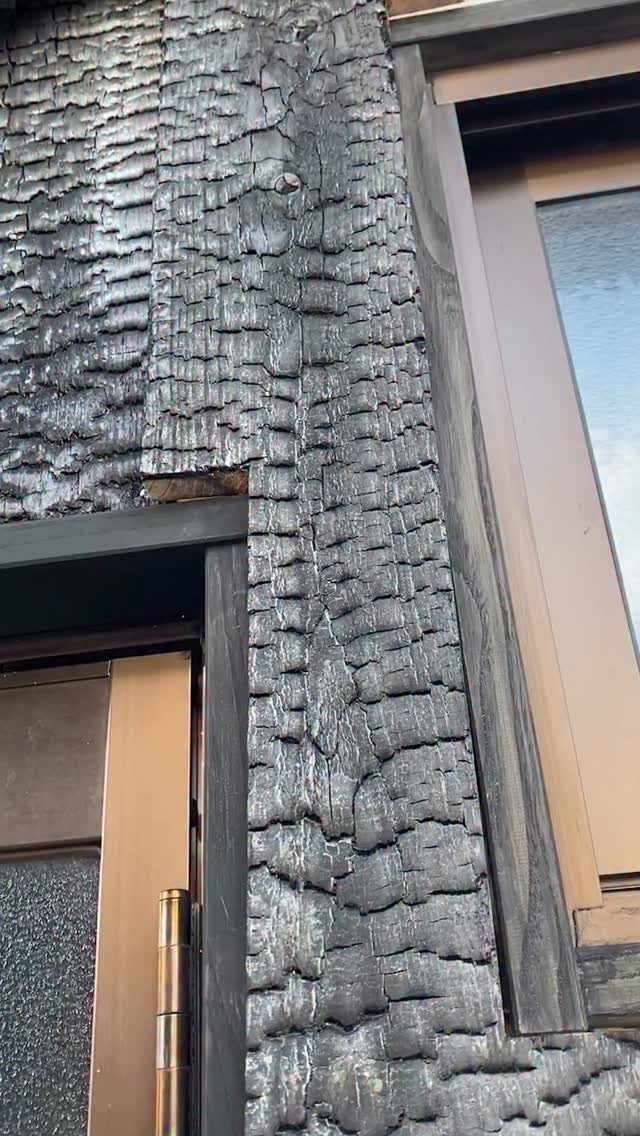
Heavy charring leaves a cracked, scaly surface often called alligator skin, and on siding it looks dramatic beside a window or door frame. That texture comes from burning the planks deeply, not lightly.
I’d test a few scrap planks first to decide how deep the char should go before committing to a whole wall.
Burn the boards before installation, because open flame next to a finished house is a risk that isn’t worth taking.
Wire-brushing softens the scales; skipping it keeps the roughest, blackest look. Pick based on how much texture you want to live with.
7. Charred Front Door

A black door against glass walls does a lot with very little: the char gives the entry a deep, matte-looking surface that makes the clear glass around it feel lighter.
I’d keep everything else plain and let the door be the one dark note.
An exterior door gets touched constantly, so brush out the loose soot and seal every face before it’s hung. Burn the door off the hinges, away from the house, and finish the edges as well as the front.
Test the burn and sealer on a scrap of the same wood first.
8. Lathe-turned Burned Wood Vessel
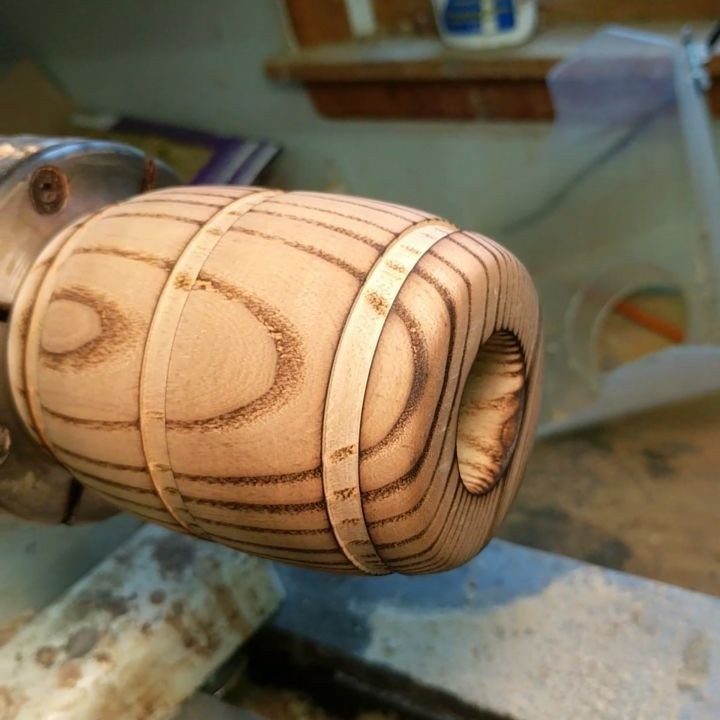
Rings of scorched black on a turned vessel read as deliberate lines because the lathe holds the piece at a steady height and turns it evenly.
A spinning piece also acts as a built-in guide, so every band stays the same width.
Burn the rings with the piece stopped or turning slowly, and move the torch steadily so the char stays crisp instead of blurring into the light wood.
Shape and sand first; burning a finished form is far easier than sanding around char.
A vessel gets picked up often, and loose char will rub off on hands.
Best Finishes for Burnt Wood
Polyurethane and tung oil are the 2 clear finishes worth reaching for on charred wood. Polyurethane gives a harder film, while tung oil soaks in and brings out the dark tones without building a thick coat.
Brush or wipe the finish on evenly, and cover the edges and corners, since those get skipped most often.
Give every coat time to dry all the way through before the next one goes on, or the layers will gum up.
If you want more color, stain should complement the burn. Oil pulls the grain into sharper relief and gives the burned wood a warmer, richer color.
Sand before you finish.
Sanding lines show through most finishes, so smooth the surface and wipe off the dust with a clean, dry cloth. Brushing on a pre-stain conditioner or a thin coat of oil first keeps the finish from soaking in patchy.
Common Burning Issues
A burn that comes out patchy is easy to fix. Go back over the lighter areas with the torch, using slow, even passes in the direction of the grain.
Flame size changes the result in a way that surprises people. A smaller flame burns more intensely because the hottest part sits closer to the wood, and a larger flame burns more gently.
When a stray scorch mark shows up, sand it lightly, then go over the spot with a gentle pass of the burner so it melts into the surrounding wood.
Uneven distance is the most common cause of uneven color.
Maintenance of Burnt Wood
Burnt wood needs little care, but it does need some. Wipe dust and dirt off with a soft cloth, because buildup dulls the surface.
Reapply the sealant about once a year, or sooner on outdoor projects where it wears faster. Check the wood now and then for cracks or fading, and deal with them early before they spread.
A deep burn is also part of the protection.
A char layer around 3 millimeters thick makes the wood water-resistant, so it resists warping and swelling. It also loses the cellulose that wood-boring insects feed on, and the hard carbon layer is harder to ignite.
To keep those benefits, burn the wood thoroughly, to 3–5 millimeters. A light scorch looks similar but won’t protect nearly as well.
Frequently Asked Questions
What is burnt wood finish called?
Most people call it shou sugi ban, a technique that chars the surface of the wood on purpose.
It leaves a deep black color with the grain standing out in ridges. Heavy charring also cracks into a scaly texture often called alligator skin.
Does torched wood need to be sealed?
Yes. Loose char smudges onto skin, sleeves and whatever you set on the board, so a coat of sealer is what keeps the black where it belongs.
Brush out the soot first, cover every face, edges and corners included, and let each coat dry all the way before the next.






