Coasters cost you one scrap piece if a cut goes wrong, while the utility cart with its drawers and locking casters asks for a couple of simpler boxes first.
That gap in effort is what sorts this list, and the rule is skill: pick the build that matches the joinery you already have, then move up.
A 45-degree miter on the picture frame, for example, is a good middle step between a flat coaster and a stool with legs.
Every project here can still be finished in a single afternoon, if you choose at your own level.
1. DIY Farmhouse Bench
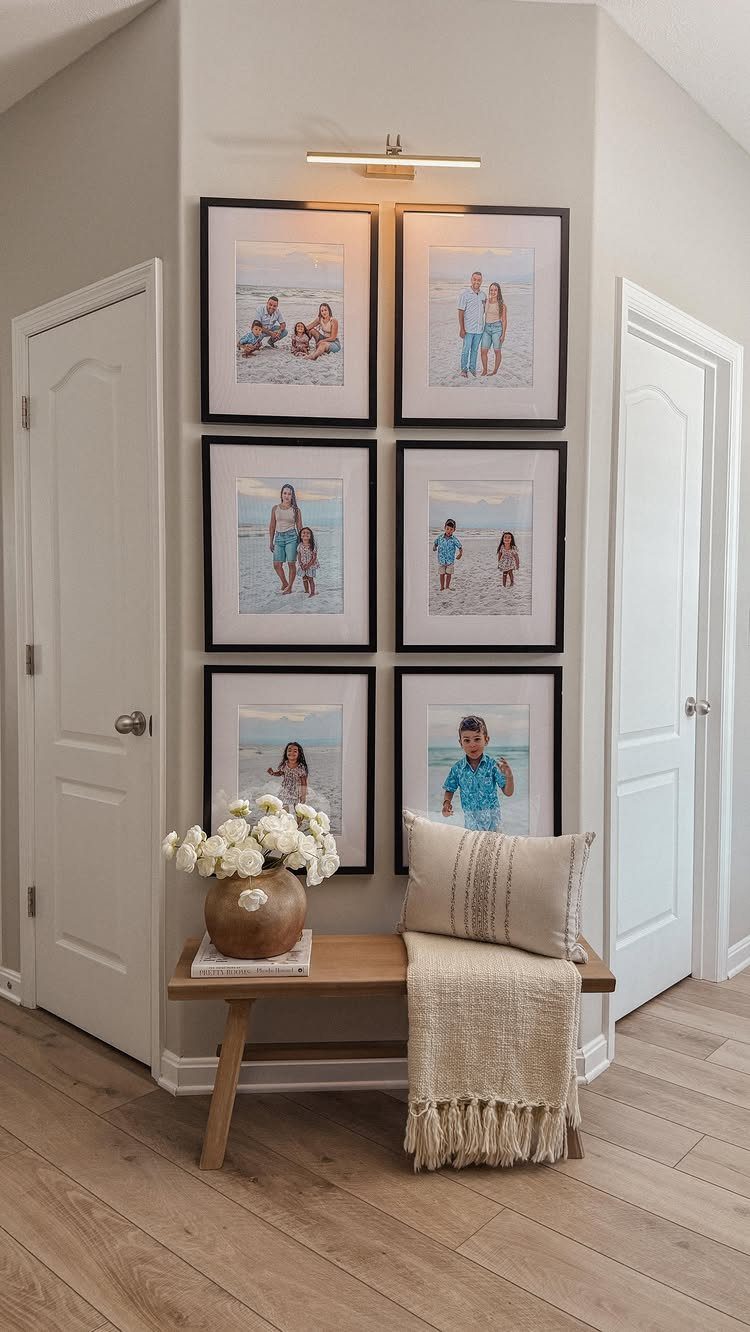
A bench this plain in shape does a lot of work in a hallway, and the light wood keeps it from crowding a gallery wall.
Enough seat for a pillow and a folded throw makes it a place to sit and pull on shoes, not just a shelf with legs.
For a first build, I’d keep the design simple: a flat top and sturdy legs, with nothing fancy to fuss over. Sand the top well, since that’s the surface everyone touches, and finish it before you pile on the decor.
2. Wall-Mounted Key Holder
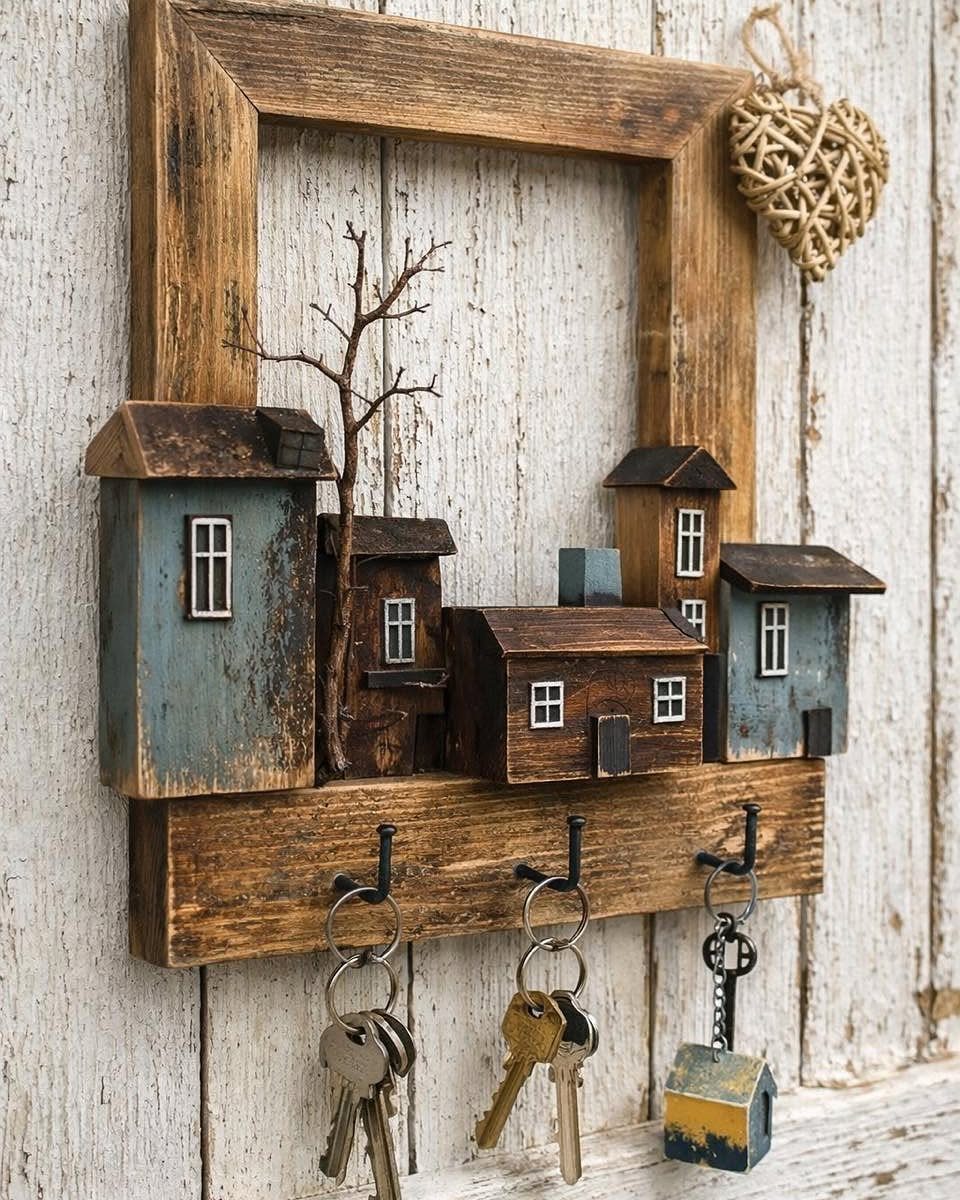
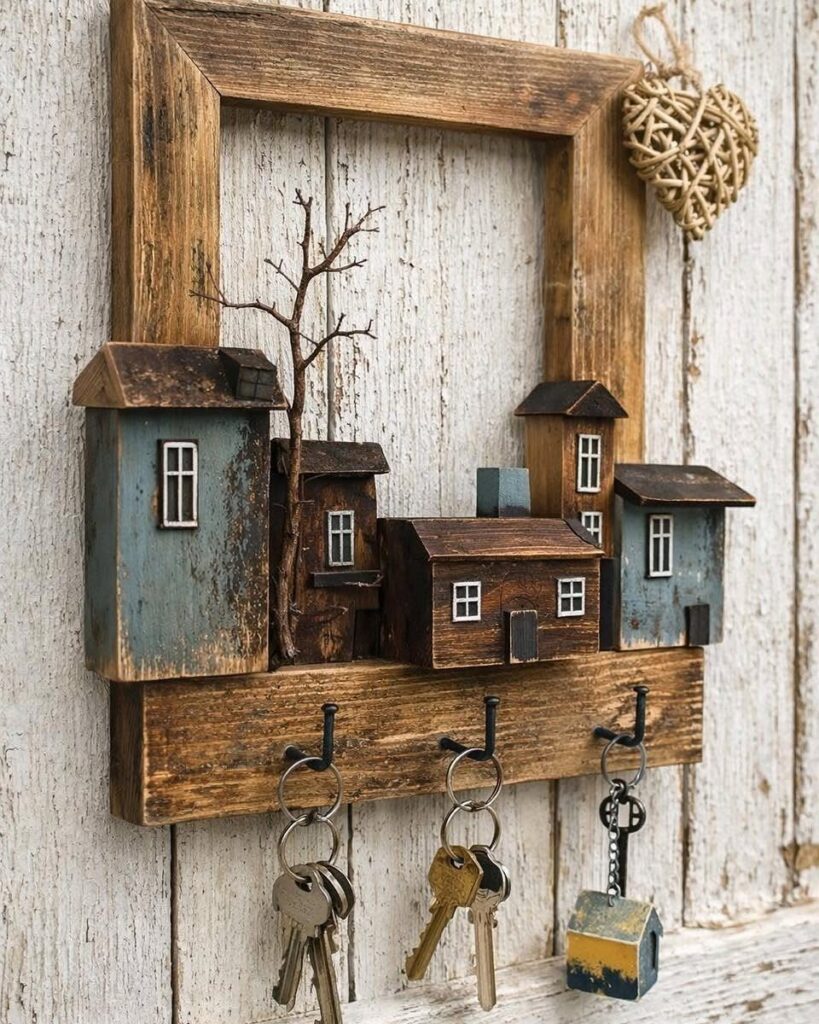
3 hooks and a small frame of scenery turn a plain board into the thing you see first when you walk in. Keys stop disappearing into coat pockets once they have a spot at eye level.
Start with one backer board and screw in the hooks, spacing them so keys don’t tangle.
A weathered white finish, like the wall behind this one, hides dings and takes the pressure off getting every surface perfect. The miniature houses are an optional extra; a bare board with hooks works fine.
3. Picture Frame
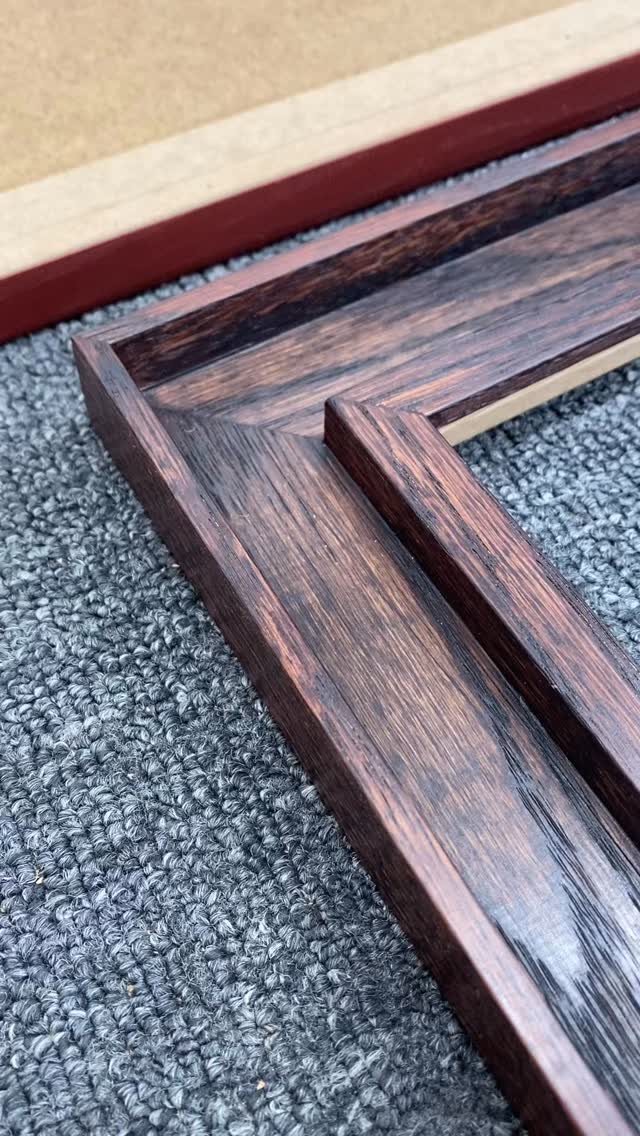
Mitered corners are what make a frame look finished, and they’re the skill this project teaches. Each end is cut at 45 degrees so two pieces meet in a clean point.
A hand miter box and a saw will do it, and a cheap one is enough to start.
Cut slowly, check the corners against a square, and expect the first frame to show a few gaps. Dark stain and a polished topcoat hide small ones better than a light finish would.
4. DIY Workshop Utility Cart
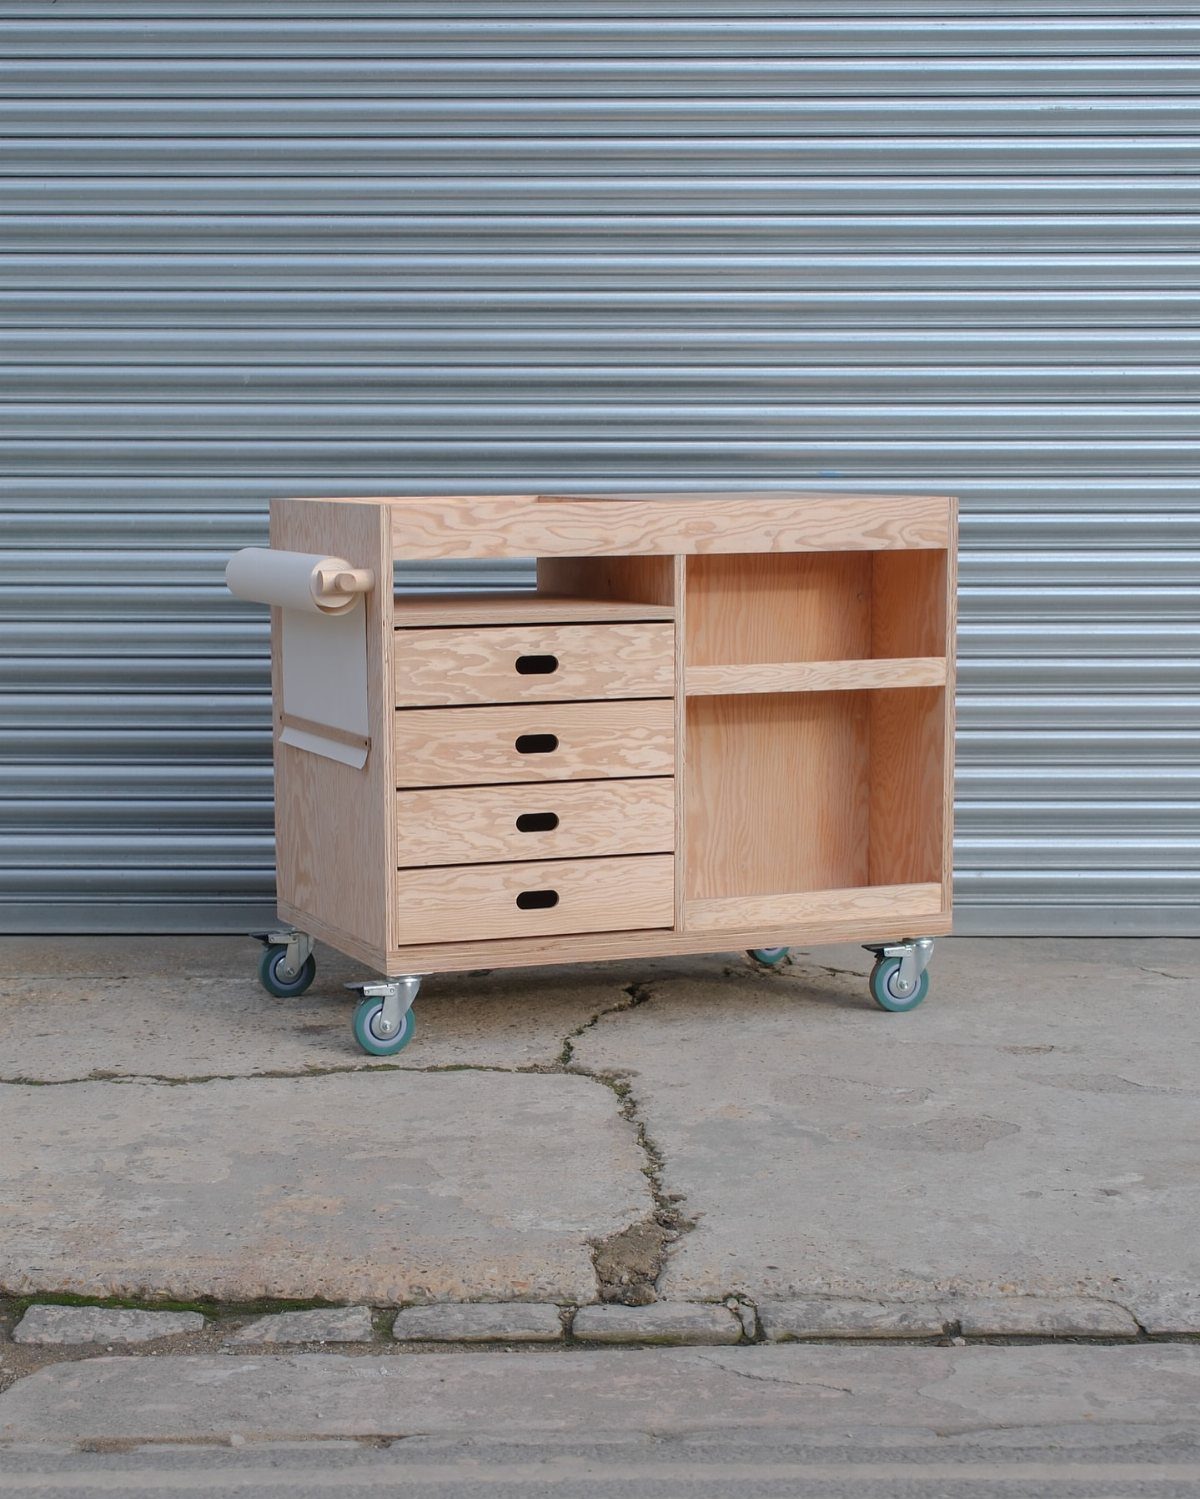
Wheels change how a workshop works: this cart rolls the drawers, shelves and supplies to wherever the job is. Locking casters matter on a cart like this, because one that drifts while you drill is a nuisance.
This is the most involved build in this stretch, so I’d save it until you’ve done a couple of simpler boxes.
Drawers take the most patience. Open shelves are the easier choice if you want the cart done in a single session.
5. Wood Stool
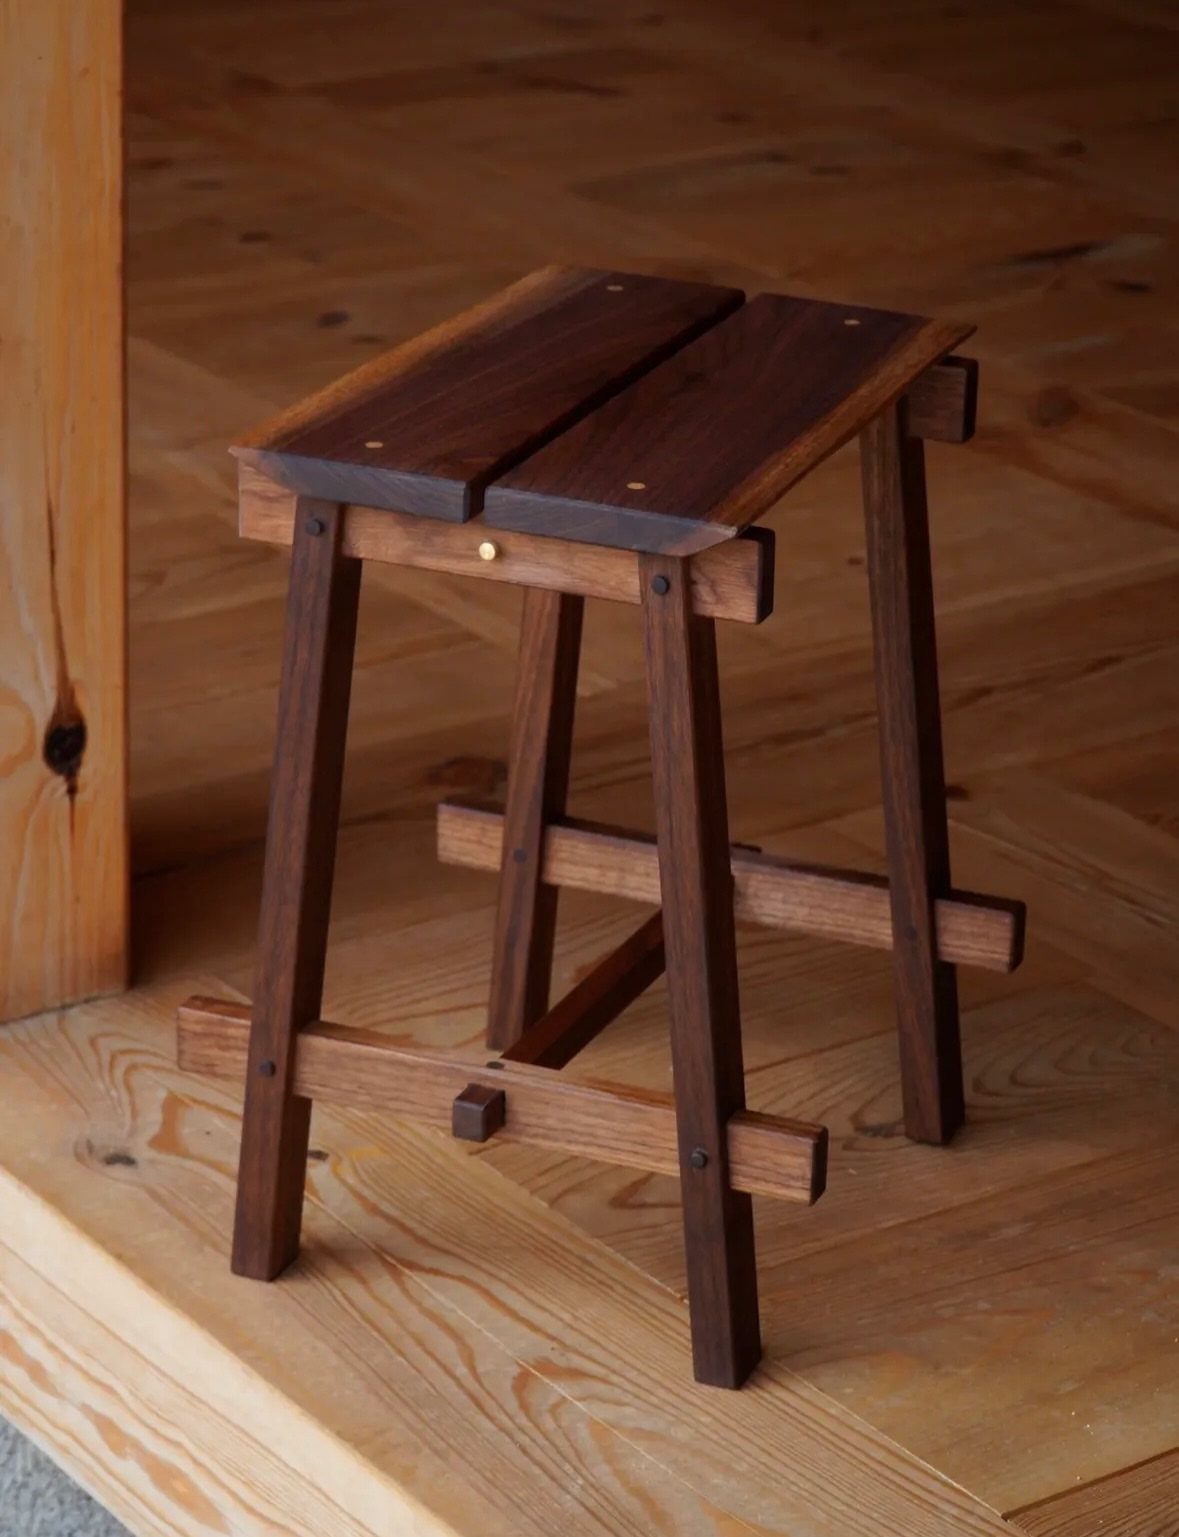
Stools are a good way to learn how legs, a seat and joinery fit together without building a full table. A split seat, like this one, shows off two tones of wood: a dark stained top over lighter supports.
Pick one finish and stick with it.
Stain the seat darker than the base for contrast, and sand both to the same smoothness first so the color goes on evenly. Check that every leg touches the floor before you glue.
6. Rustic Wooden Serving Tray
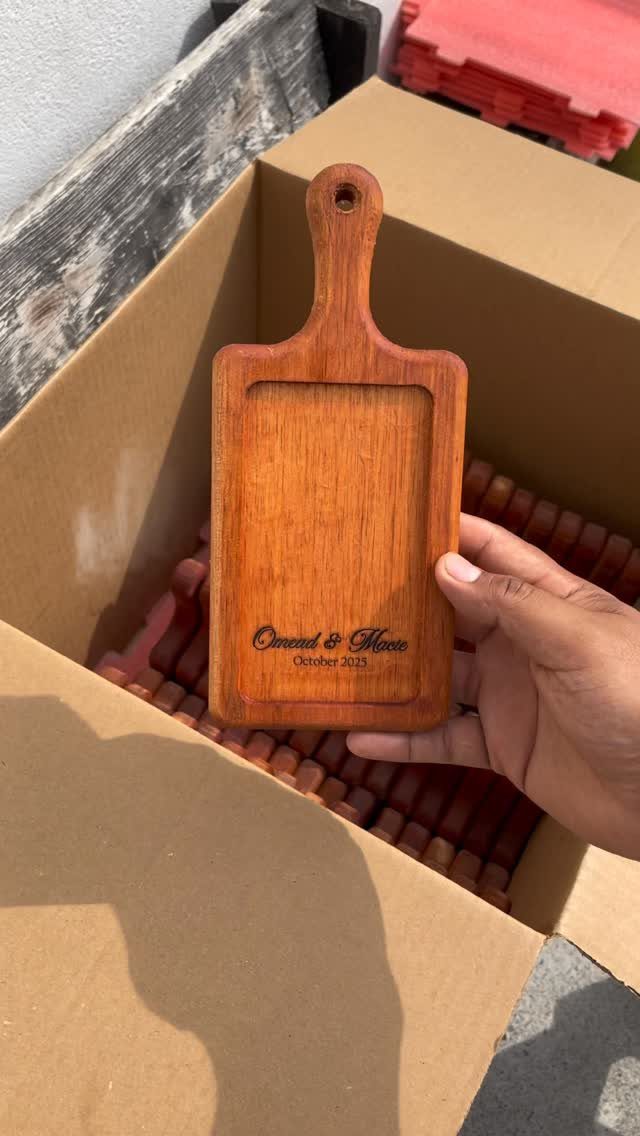
A tray with a handle and engraved lettering makes an easy gift, and the engraving is what makes it personal. Names and a date, as on this one, turn a simple board into a keepsake.
Keep the size small if you’re new: a rectangle of wood, 2 handle pieces, and a smooth sanded edge.
A wood burning pen or a stencil can add the lettering, so practice on scrap first. Finish the surface with something food-safe if it will carry snacks.
7. Wood Bowl
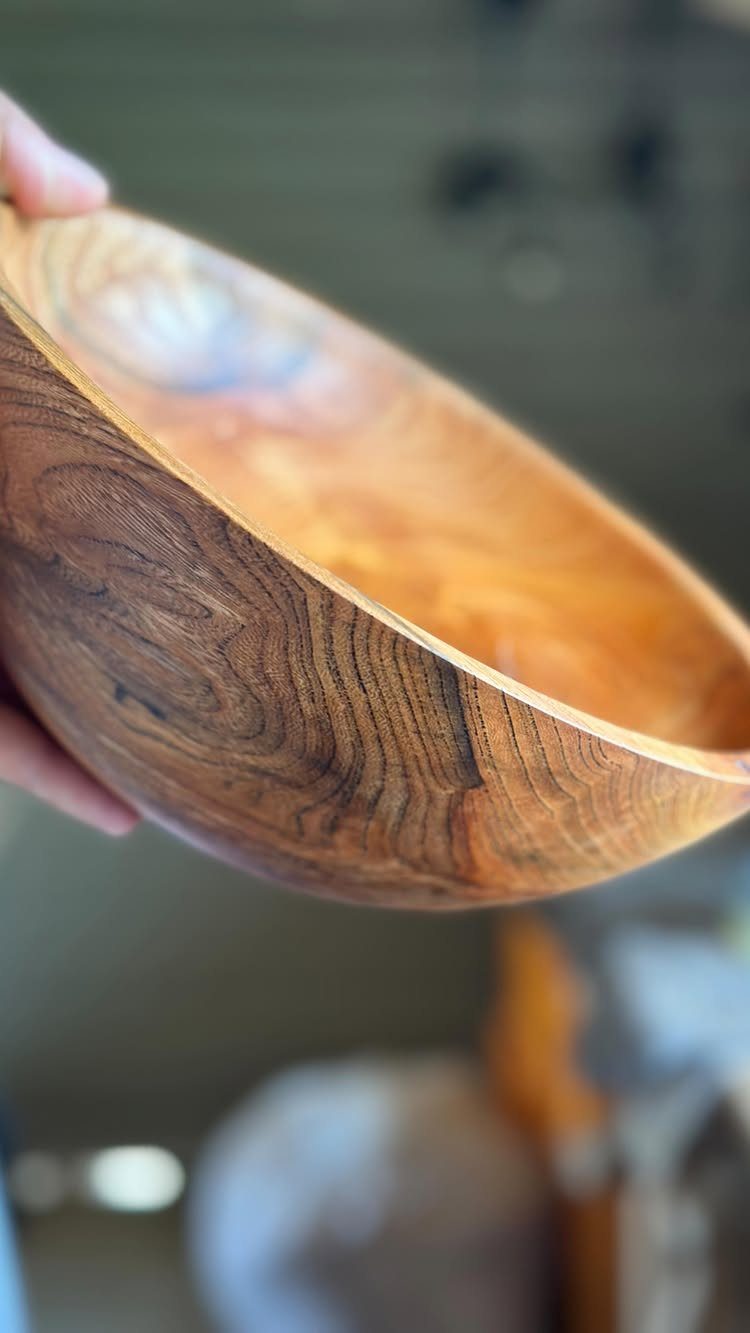
A bowl is the one project here where the grain does the decorating. Polished smooth, a plain shape like this one needs no carving or paint to look finished.
Sanding is where the work lives, so expect to spend more time with sandpaper than with any cutting tool.
Work through finer grits until the surface feels even under your palm, then finish it. A food-safe finish is the sensible pick if the bowl will ever hold fruit or snacks.
8. DIY Boot Rack
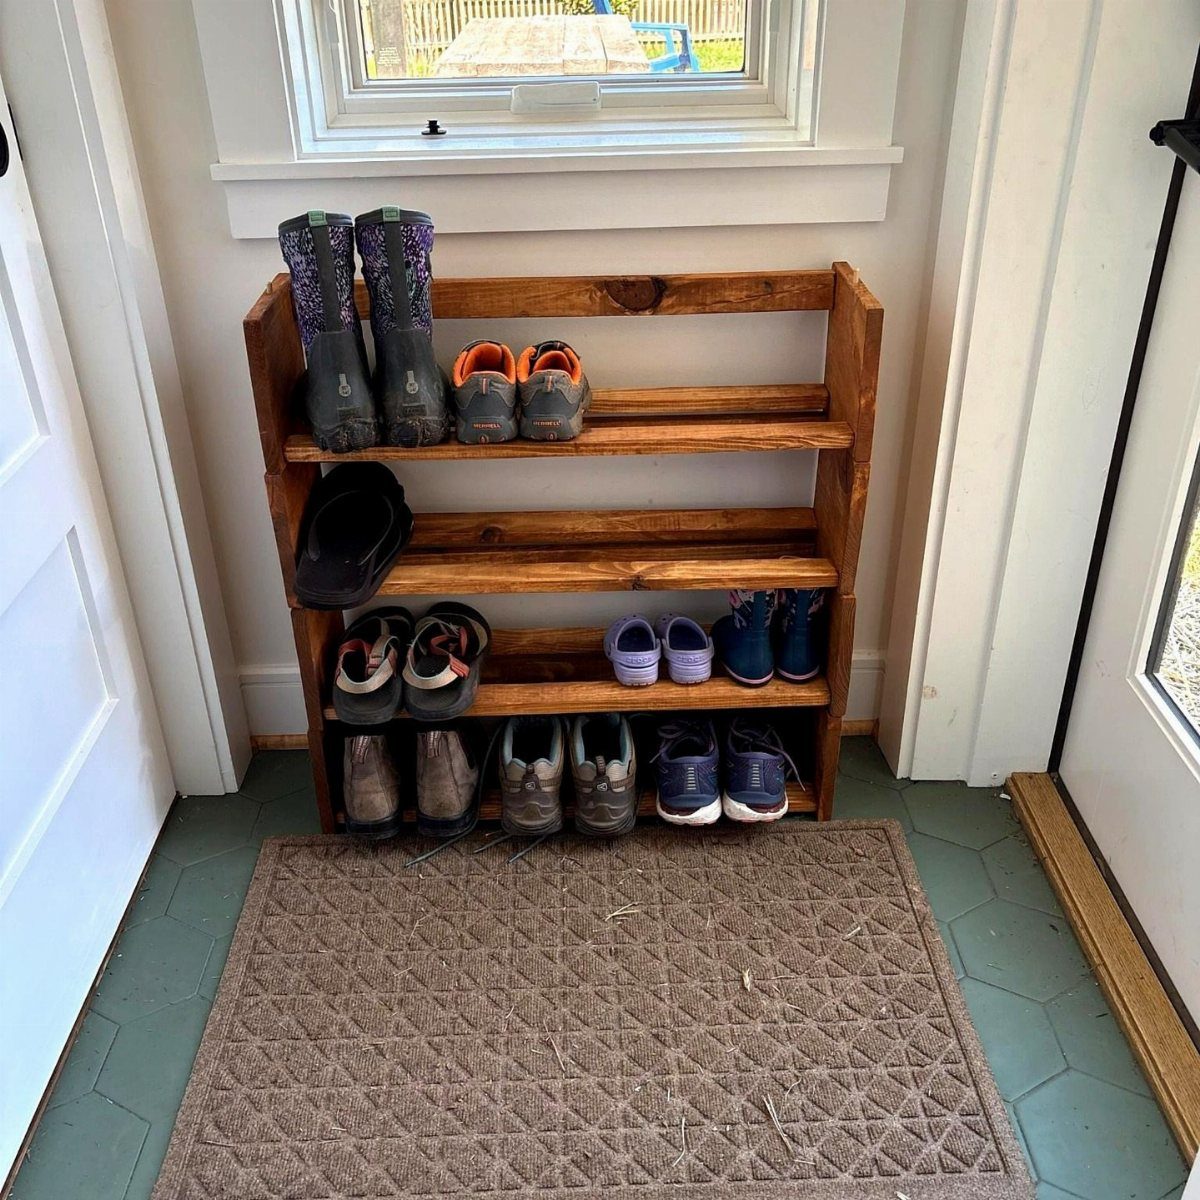
Muddy boots end up in a heap by the door unless they have a home, and a tiered rack gives each pair its own shelf. Stacking the tiers like this one keeps the footprint small on a mat.
Build the shelves sturdy, since boots are heavy. Space the tiers tall enough for your tallest pair, and measure those first.
Slatted shelves let dirt and water drop through, which I prefer over a solid board. Sand every edge so nothing snags laces.
9. Kitchen Utensil Drawer Organizer
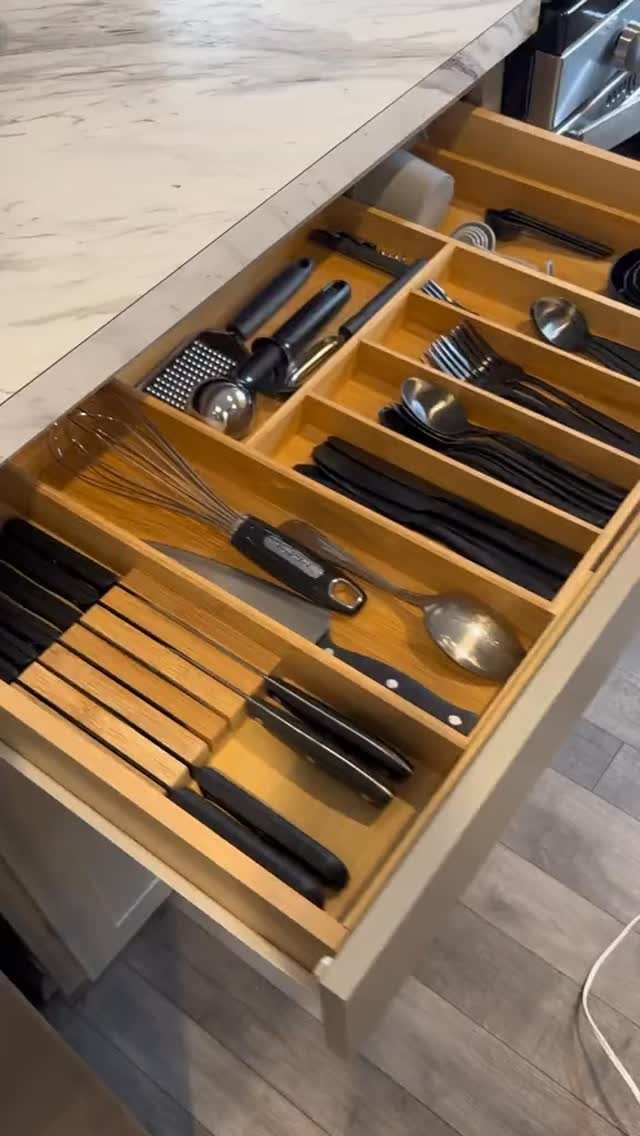
A drawer organizer only works if it fits, so measure the inside of your drawer before you cut anything. A snug box with dividers keeps whisks, spoons and a grater from sliding into one tangle.
Cut the outer frame to the drawer’s exact width and length, then fit the dividers around your own tools. Lay the utensils out first and mark where each one sits.
Leave a hair of clearance so the box slides in without wedging. A light finish keeps the inside bright.
10. DIY Wood Coasters
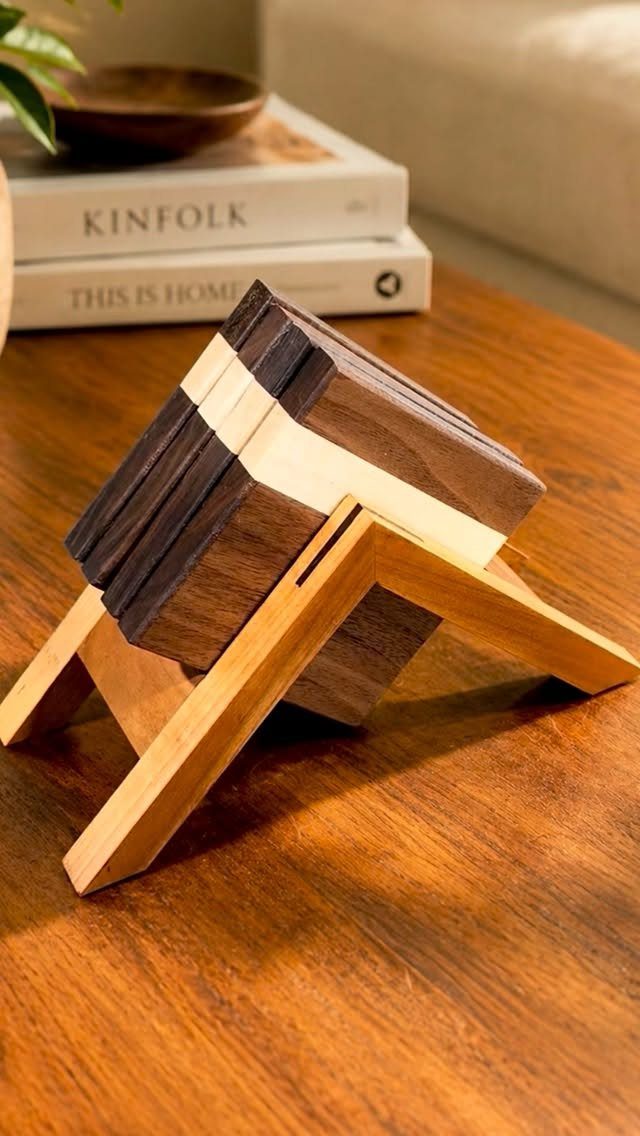
Coasters are about as forgiving as a project gets, since a mistake costs you one scrap piece. Mixing wood tones, as this set does, makes simple squares look planned.
Cut every piece to the same size so they stack neatly, and ease the corners and rims with a slight round-over.
Seal the tops, since a wet glass will mark bare wood. A small holder is an optional extra, and it keeps the set together on the table.
11. DIY Vegetable Storage Bin
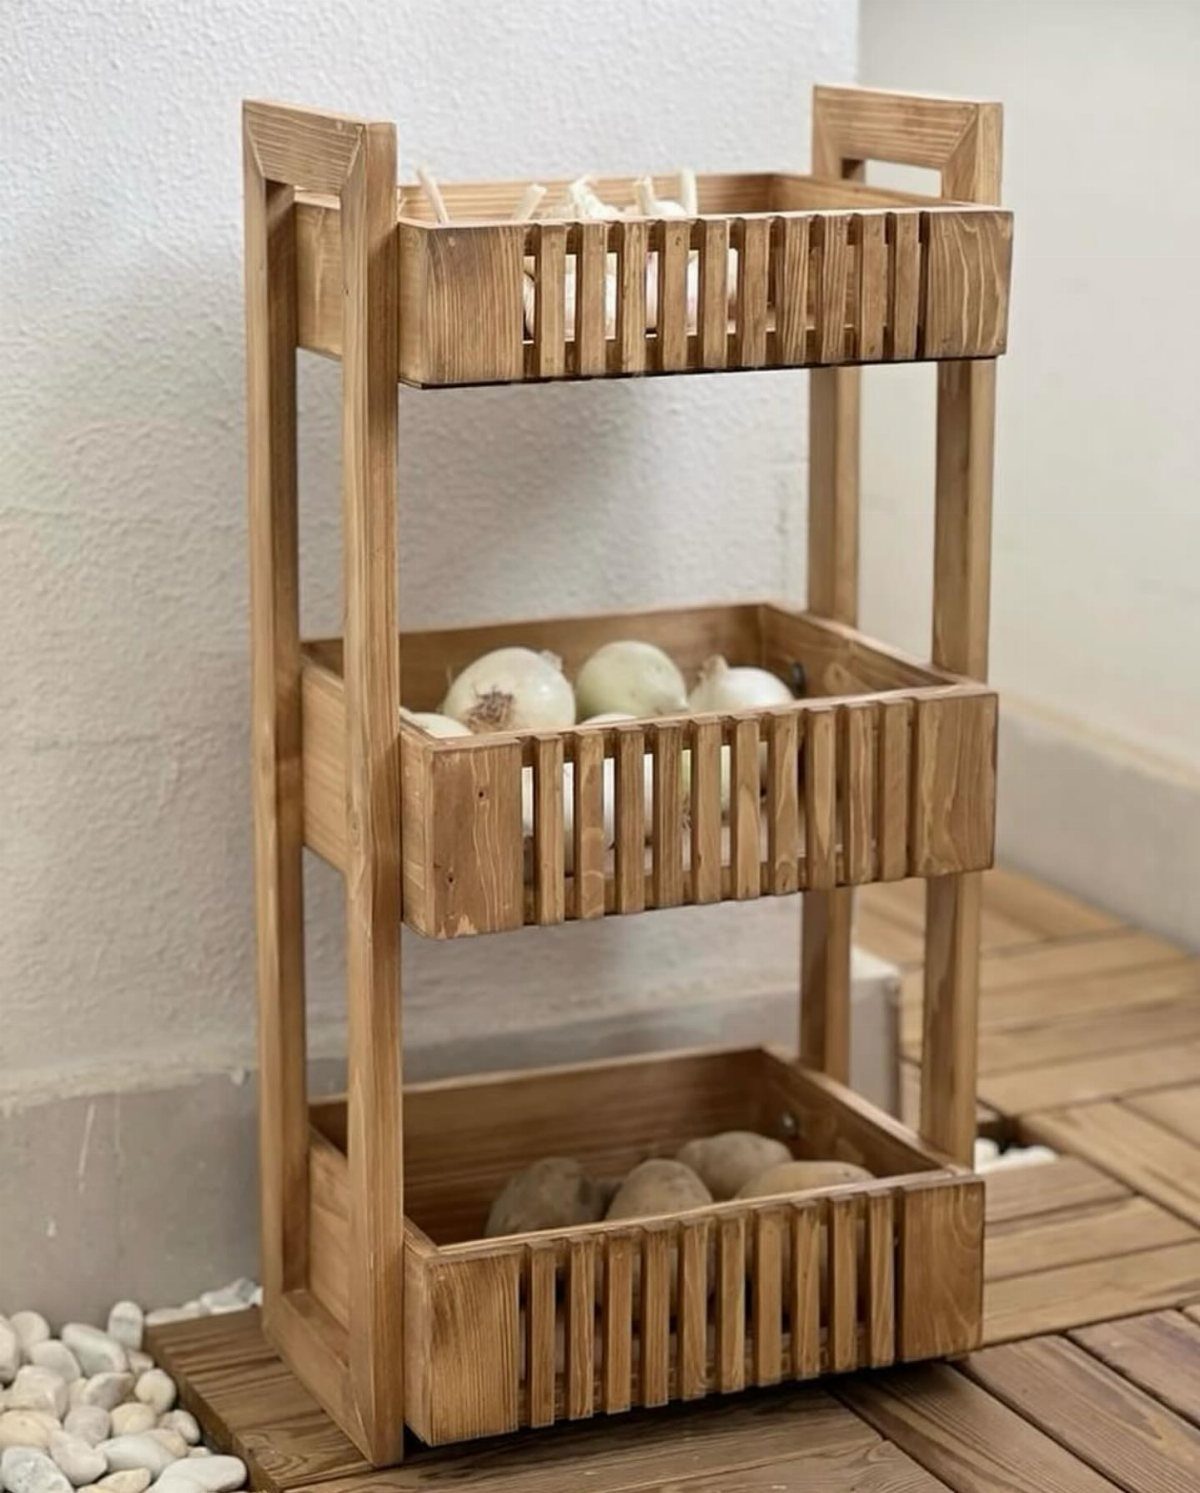
Onions, garlic and potatoes keep better out of a closed cupboard, so an open tiered rack suits them. Each level holds one kind of produce, and you can see at a glance what’s running low.
Leave gaps between slats so air moves through.
Keep the tiers deep enough for a full load of potatoes. Skip glossy paint and use a plain, light finish, which is easy to wipe clean when dirt falls off the skins.
12. DIY Stuffed Animal Zoo
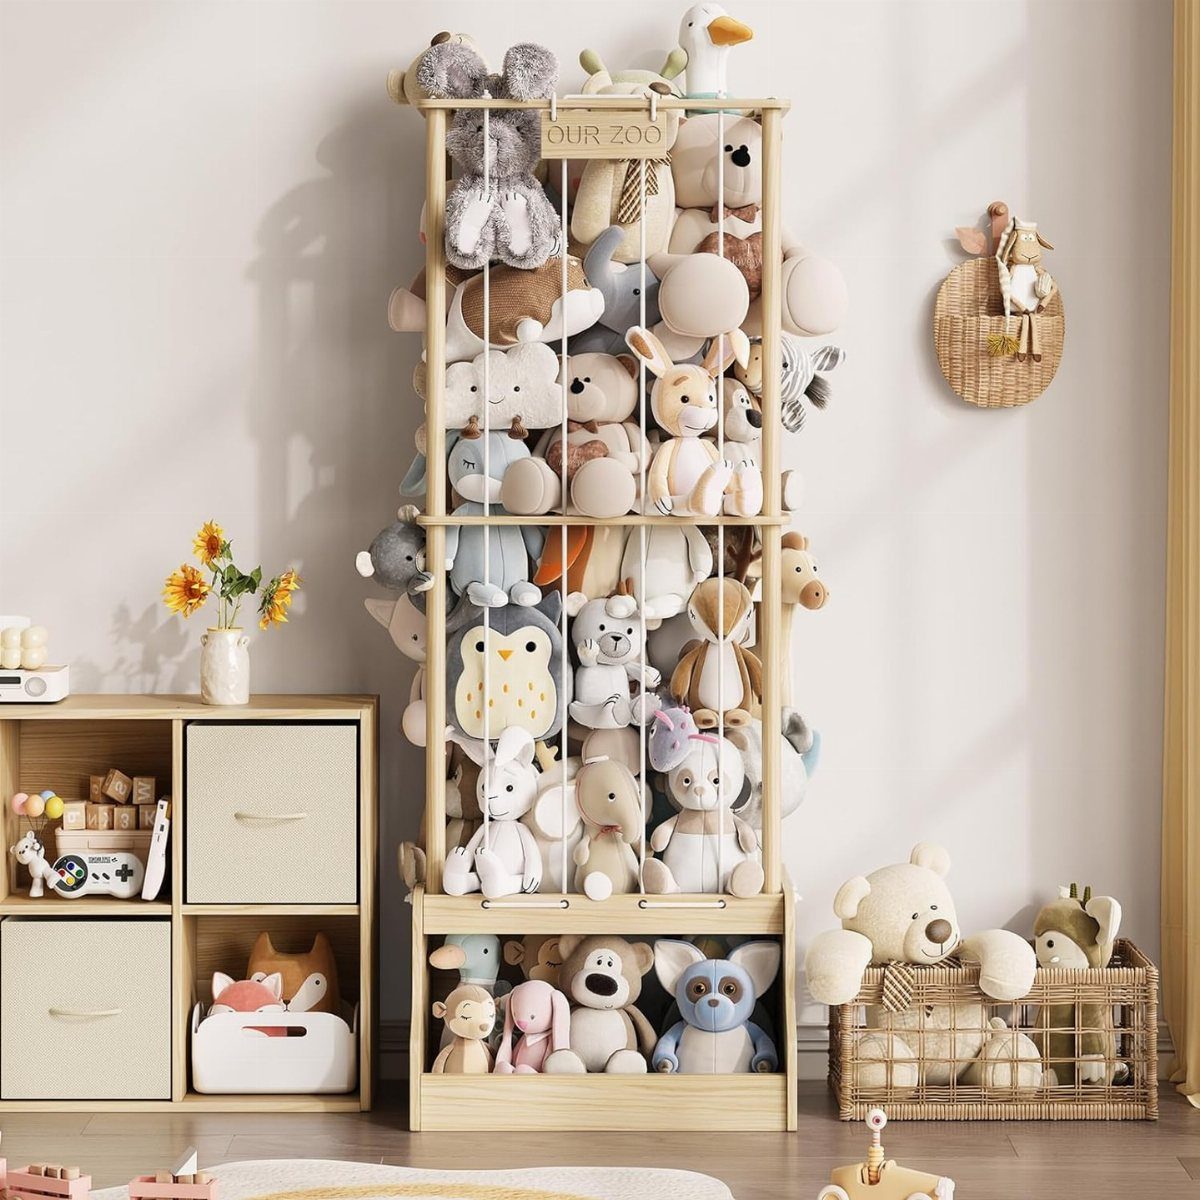
Stuffed animals pile up fast, and a rack with a painted sign gives them a place to sit instead of the floor. A lettered label, like the "OUR ZOO" here, makes tidying feel like part of the game.
Build it low so a child can reach every shelf.
Round or sand all edges well, since small hands will use it daily. Paint the sign last, and let your kid pick the lettering color.
Choosing the Right Wood
Wood choice matters more than most beginners expect, especially on the very first thing they build.
Pine is cheap and everywhere, but it is usually milled for construction lumber, where grade barely matters, and it is often rushed through seasoning. That can cause headaches at the saw and the planer.
A hardwood costs a bit more per board foot, and I think that extra money is worth spending.
Cherry, soft maple, walnut and oak all work. If you go with maple, pick soft maple over hard; hard maple is tougher to work.
Hardwood also shows you how real furniture wood behaves under a blade or chisel. Pine can make learning to sharpen tools harder, too.
Plywood is a fair second choice if budget is tight, since it is stable and resists warping.
Cheaper softwoods like cedar and fir are easy to cut and sand, so they suit a rough practice piece, but I wouldn’t build anything you plan to keep from them.
Importance of Moisture Content
Checking moisture content (MC) before you cut is the single step that most often saves a finished piece.
A moisture meter gives you a number instead of a guess. Press it to a few boards, not just one, since stock from the same stack can vary.
If the readings look off, let the boards sit indoors, in the space where the piece will end up, until they settle.
Stack them with small spacers so air reaches every face. Then check again before you start cutting.
Learning Through Mistakes
A split board, a crooked cut or a joint with a gap is part of learning the craft, not a sign you picked the wrong hobby.
Each one teaches you something a plan can’t: how a blade wanders, how glue grabs, how wood moves.
Pick projects you will actually use. A piece that earns a spot in your home gives you a reason to finish it and to fix what went wrong.
Keep the flawed pieces for a while. Looking at a bad corner a week later shows you what to change on the next cut.
Finished work is what builds confidence, so pick a build you can wrap up in a single afternoon, then make another.
Frequently Asked Questions
What can I build out of wood?
Start with small, useful pieces: a bench, a stool, a boot rack, a picture frame, coasters, a key holder, a serving tray or a bowl.
Most of these take basic tools and one afternoon, and they cover furniture, organizers and decorative pieces.
Where can I buy wood for craft projects?
Hardwoods such as cherry, soft maple, walnut and oak cost a bit more per board foot, but I think they are worth it for a first build.
Pine is cheap and easy to find, though it is usually milled as construction lumber, so the quality is less predictable.
On a tight budget, plywood works as a backup: it stays flat, and it shrugs off the warping that cheap boards can pick up. Whatever you buy, press a moisture meter to several boards before cutting.
What are easy woodworking projects for beginners?
Coasters, a picture frame, a wood stool, a wall-mounted key holder and a small serving tray are all good first builds.
A frame teaches 45-degree miter cuts, and a key holder is just a backer board with hooks. Save drawers and rolling carts until you have a few simple boxes behind you.






