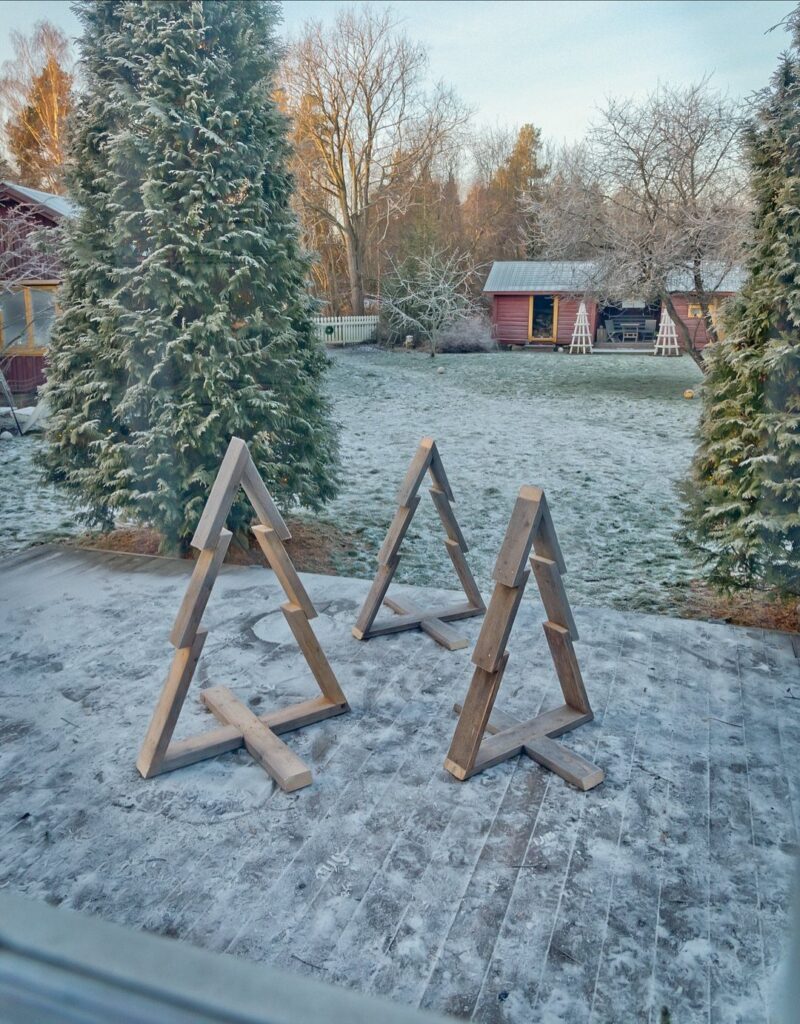
A yard full of fallen limbs or a stack of boards decides which of these trees is yours: twig and branch trees cost almost nothing if you can gather the material, while the painted, lit and flat silhouette builds, along with the trees in multiple sizes, need a saw and some lumber.
The range runs from a painted tree you can finish in an afternoon to a lit tree that wants an outlet nearby, so the power and lumber you already have narrow the list fast.
Every one of them can live outside, whether the wood is painted, stained, or left bare, as long as the finish suits the weather.
1. Painted Outdoor Wooden Christmas Tree
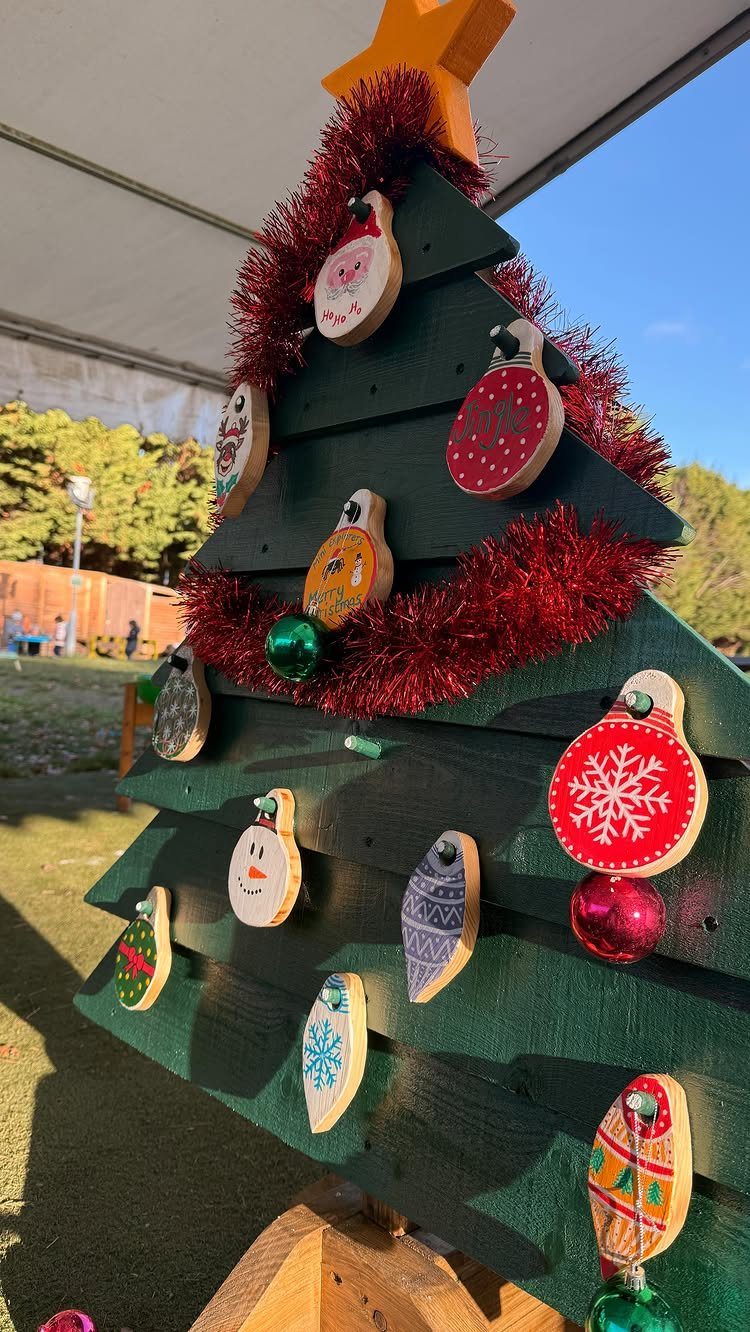
Paint is the cheapest way to make a plain wooden tree match your porch.
Choose your colors to fit the house: classic green, white for a cleaner look, or a deep red. Whatever you pick, use an exterior paint so the tree can stay outside all season.
2. Outdoor Wooden Christmas Tree with Lights
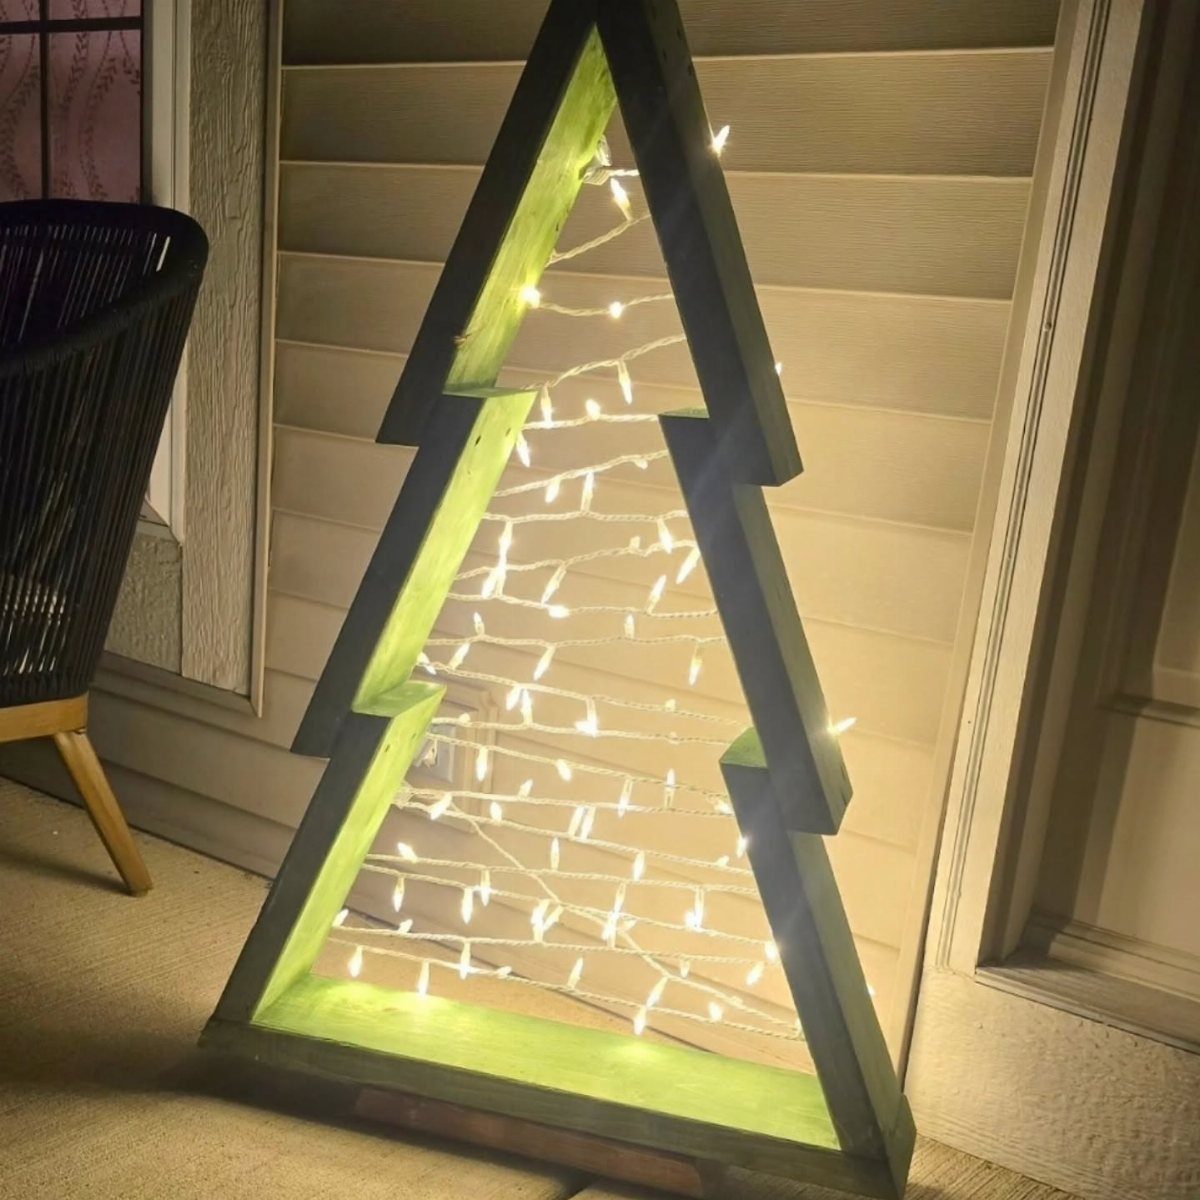
A tree frame with lights inside works because the wood does the shaping and the bulbs only have to fill the gap.
Run the strand back and forth in even rows so the glow looks full. Pick lights rated for outdoor use, and lean the frame against a wall near an outlet so the cord stays short.
3. DIY Wooden Christmas Trees
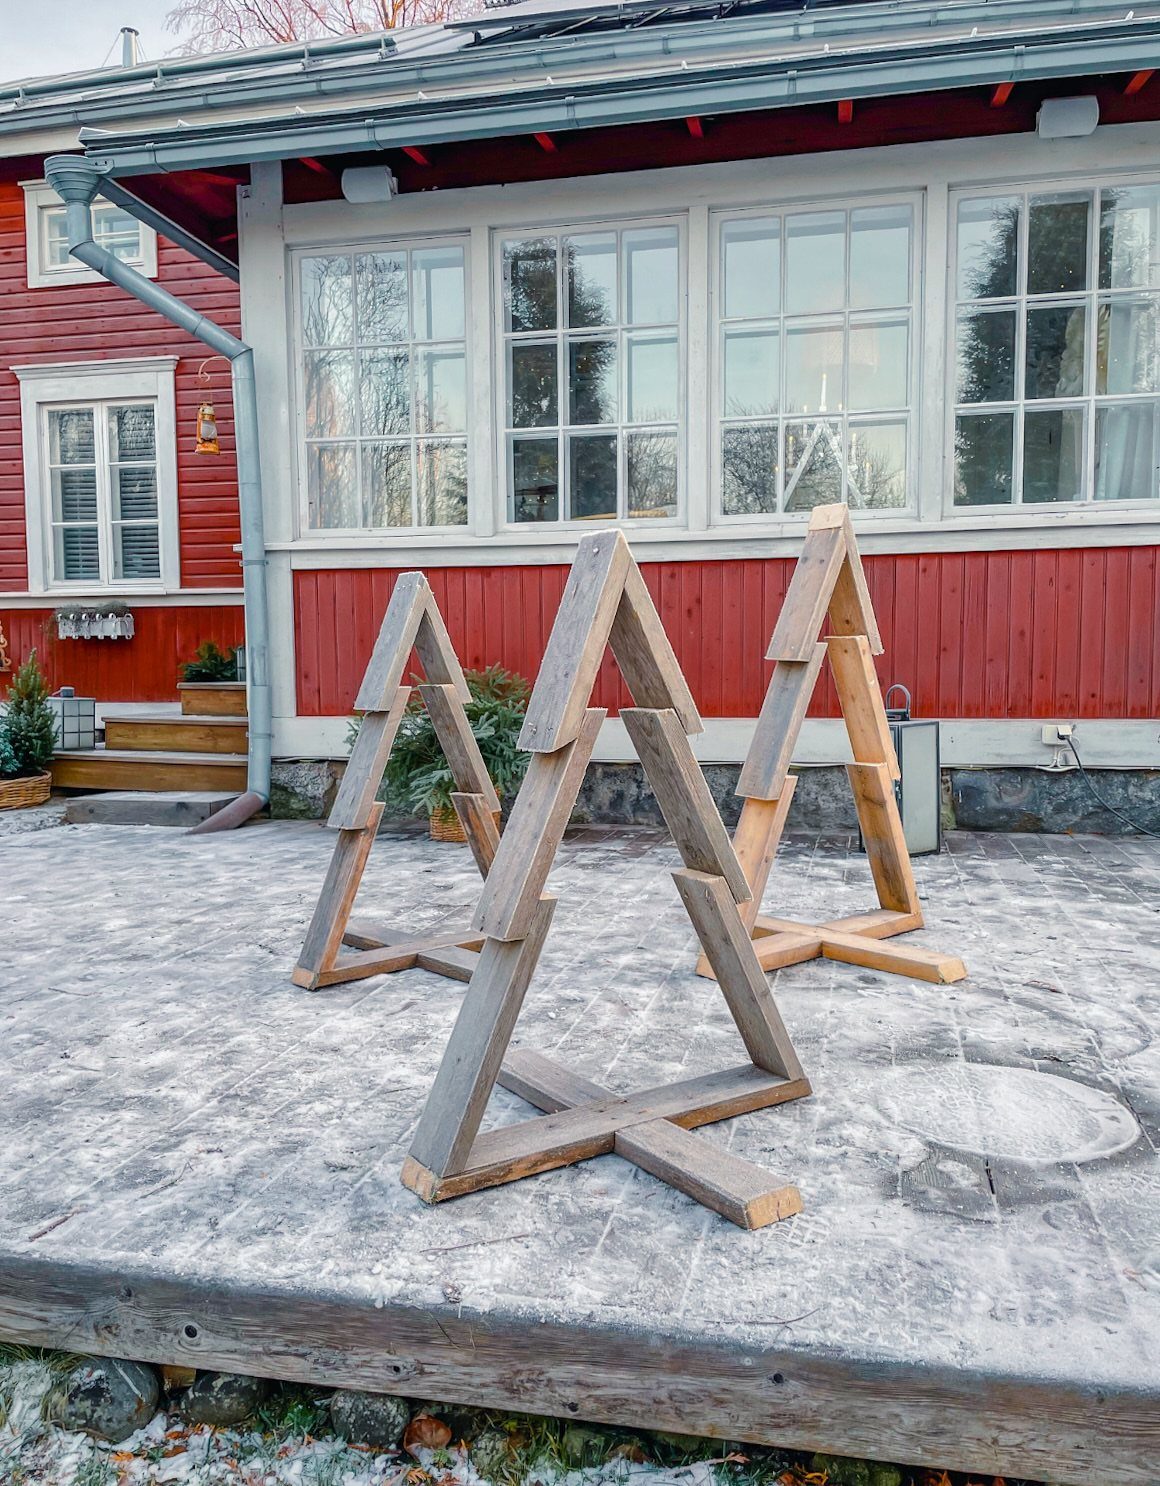
Three simple A-frame trees in different heights make a good afternoon build, and the wood bill stays low. The shape is just 2 angled sides, so basic tools handle it.
Cut the sides from the same board length family, then trim each pair shorter for the next tree.
Leave the wood bare, as in a minimalist set, or stain it. I like a grouped set of three more than one lone tree, since it fills a porch corner and costs very little extra.
4. Multiple Sizes Outdoor Wooden Christmas Trees
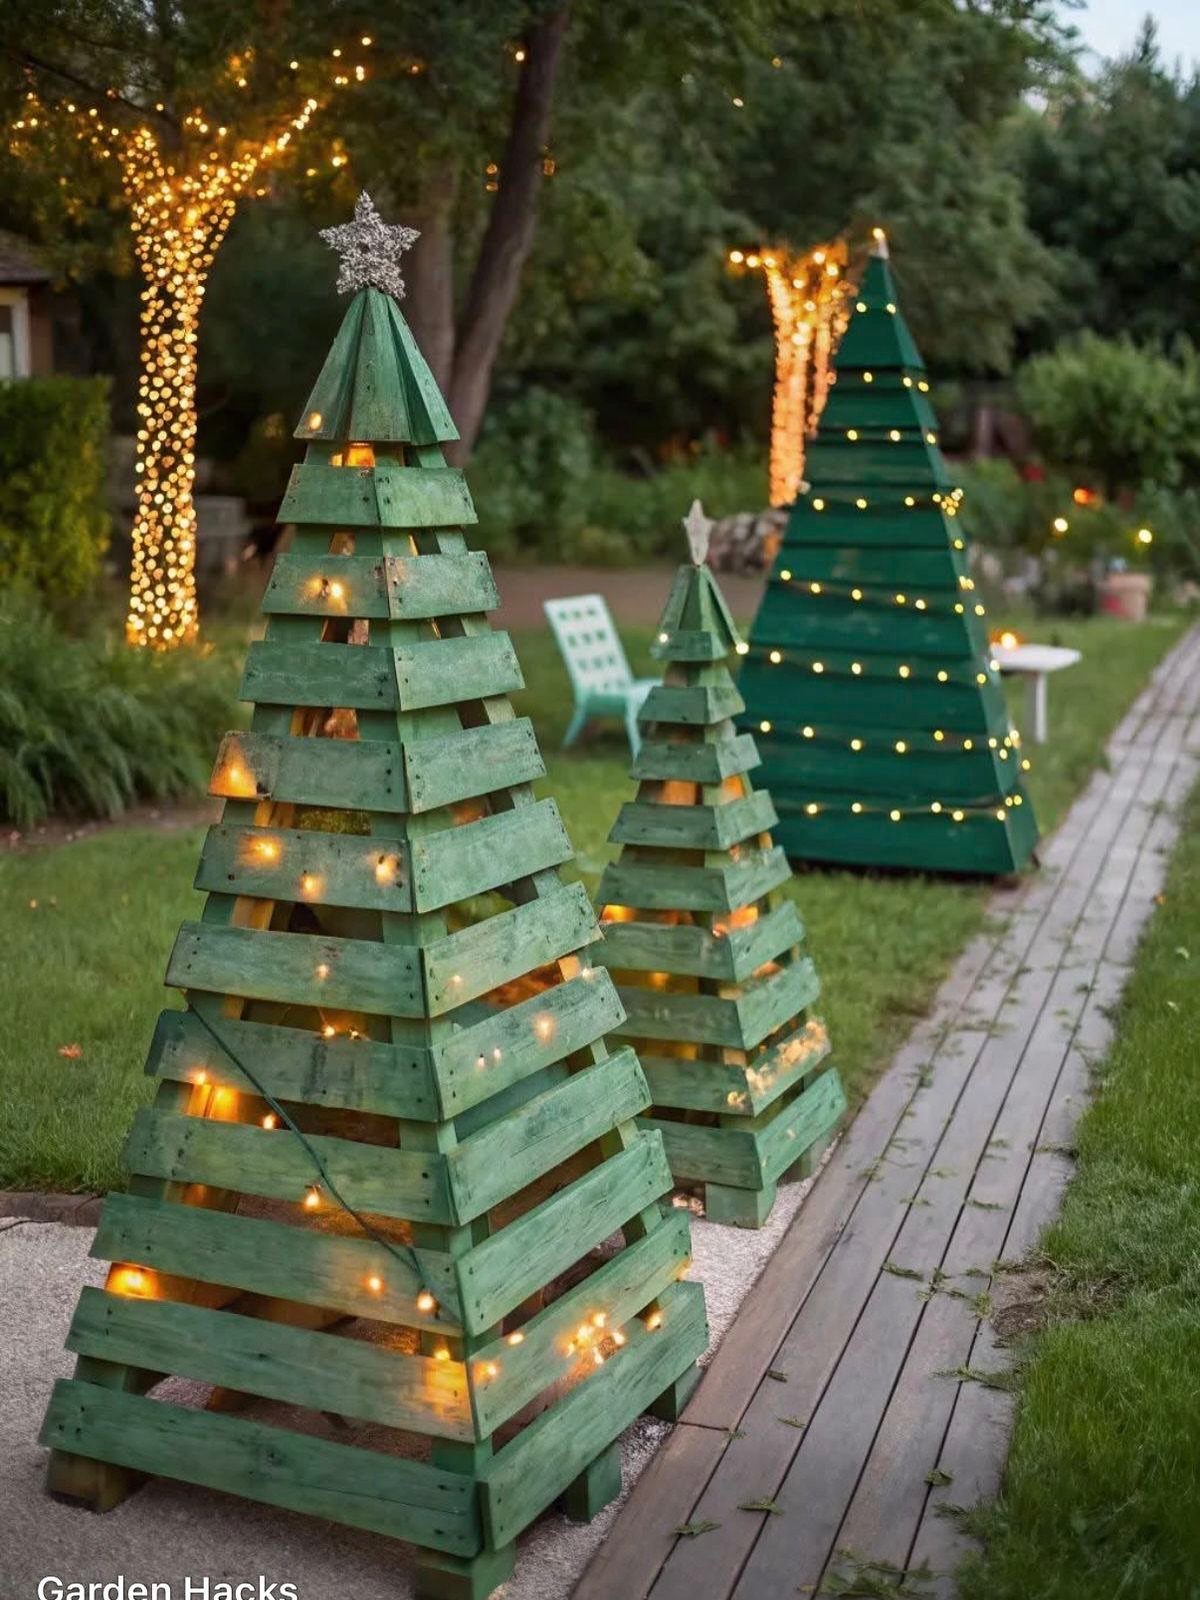
Trees in 3 sizes look like a small forest instead of a single prop.
Build all three from one pattern and scale it down.
Keep the slat spacing the same on each, so the set looks related. Set the tallest at the back and the smallest in front, and keep the lights on one cord if you can.
5. Twig and Branch Christmas Trees
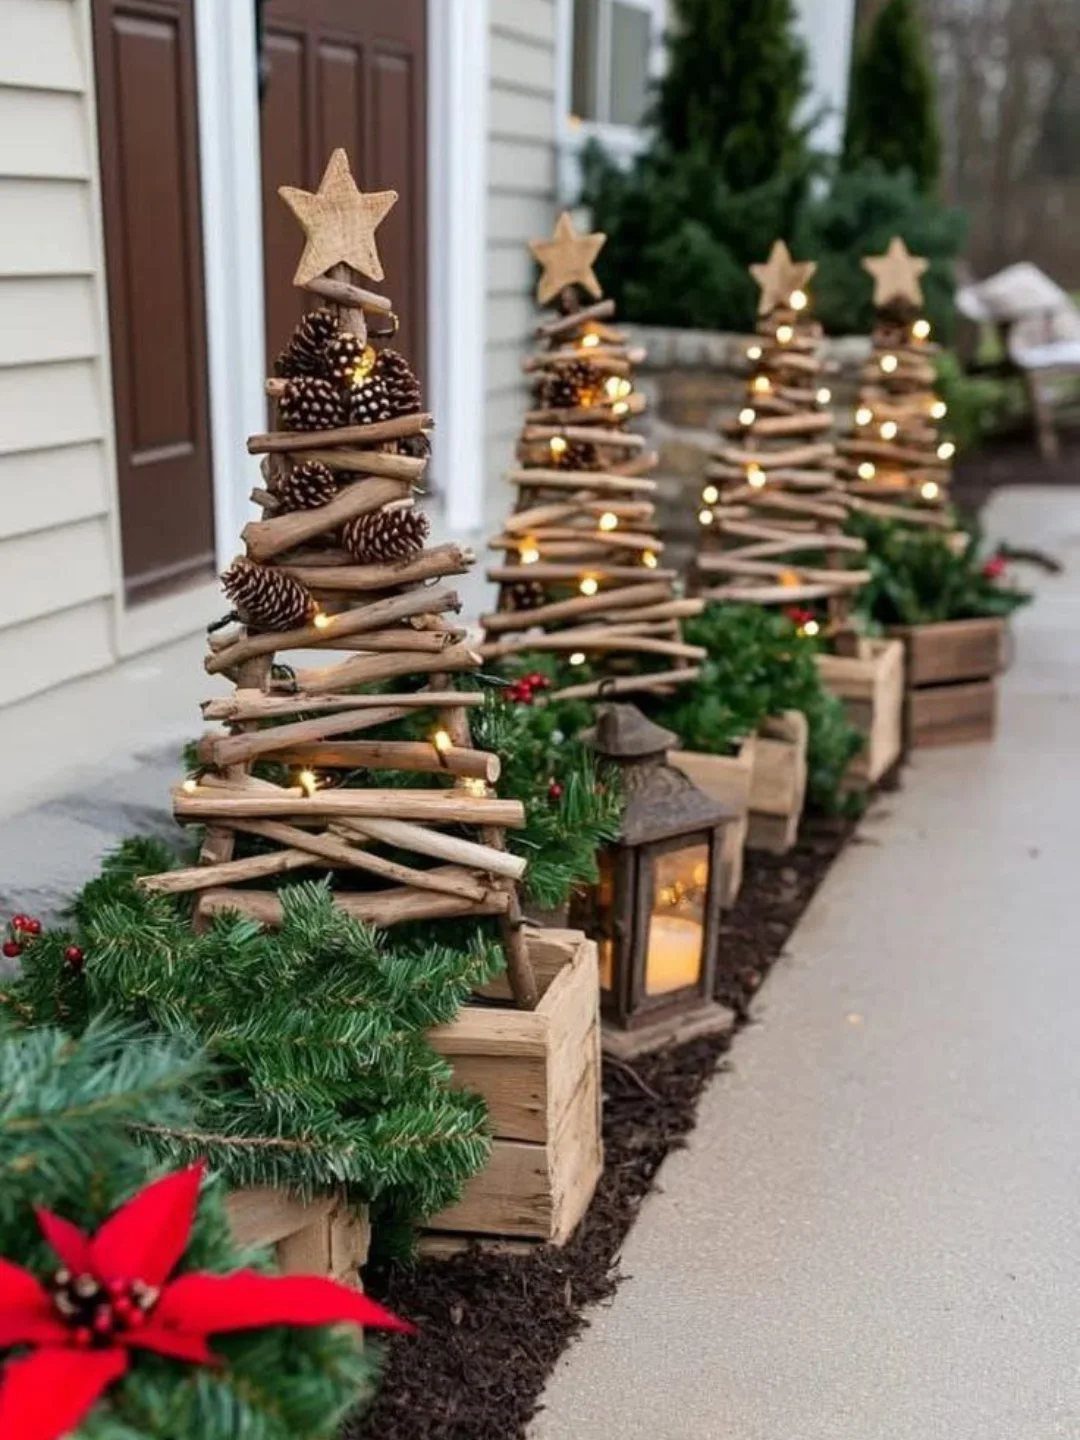
Stacked branches make a tree that costs almost nothing if you have a yard to gather from. Cut the limbs in graduated lengths, longest at the bottom, and stack them so they step in toward the top.
Set the stack in a planter and fill the gaps with greenery.
Pinecones, fairy lights and a wooden star on top finish it. Branches vary, so expect a rustic look rather than a crisp one, which I think is the appeal.
6. Flat Wooden Tree Silhouette Cutouts
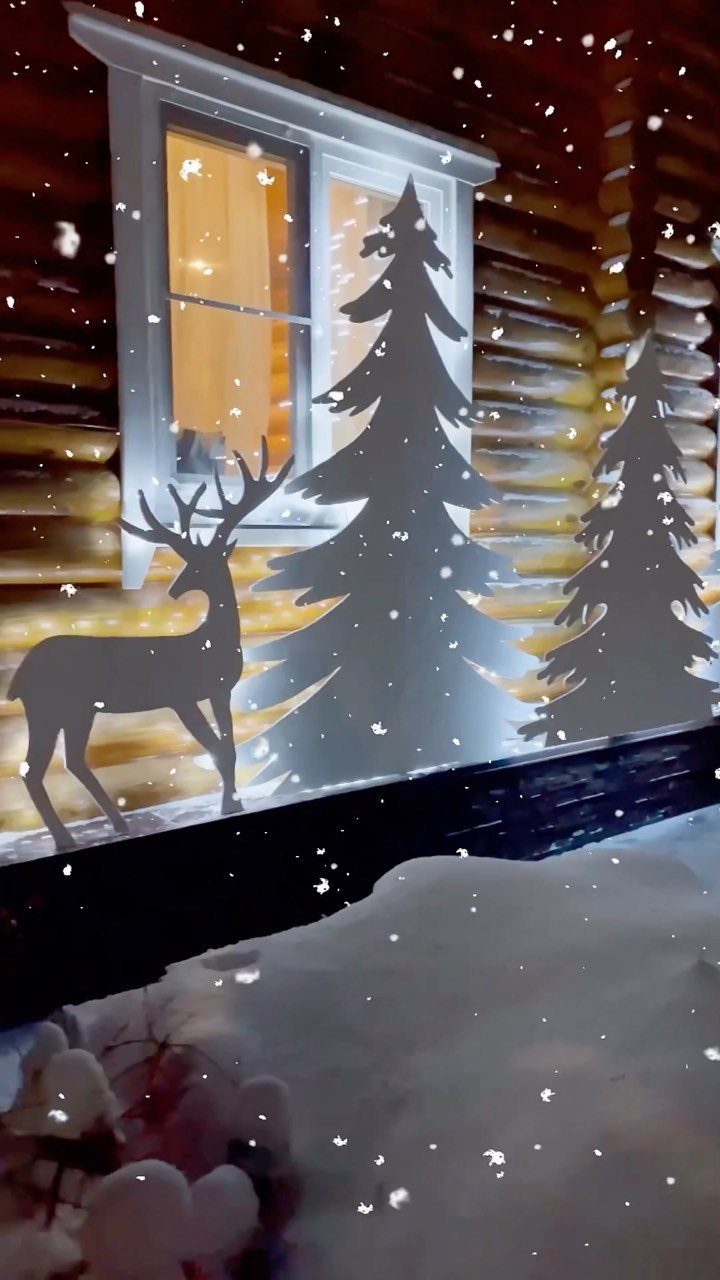
Flat pine and deer silhouettes are the simplest option here: trace a shape onto plywood, cut it out and paint it white. White shows up well against snow and a dark window at night.
Cut a few trees in different sizes, plus one deer, and stake them into the ground.
A flat cutout has no depth, so group several pieces to make a scene. Use exterior paint so snow and damp do not ruin the edges.
Tools Needed for Assembly
Wood glue, brad nails and a saw cover the basics. A drill with 2″ wood screws is a sturdy alternative to nails if you’d rather fasten than glue.
For lumber, 8′ lengths of 1×4 or 2×4 boards are the standard pick. A compact cordless circular saw handles the cuts, and a square keeps your angles honest.
Clamps and a sander are optional, but I’d call them worth owning. Bar clamps hold joints tight while the glue sets, and a small electric detail sander softens rough edges and splinters.
A shop vac is also optional, though very handy, since cutting and sanding leave a lot of dust to clear off the bench.
Time to Complete Project
Hands-on time comes to roughly 4 hours, counting cutting, sanding, and assembly. That covers cutting, assembly and any sanding.
Stretch the whole build across 2 days if you can, since glued joints need to cure before you lift, haul, or stand the tree upright outside. Most of that is waiting, not working.
Cut and glue on day one, then leave the clamped pieces overnight. Finishing and setting it up can wait for day two.
If you want it outside by a certain weekend, start early enough to let the glue cure fully.
Frequently Asked Questions
How do I make a wooden Christmas tree?
Cut two angled sides from 1×4 or 2×4 boards, glue and clamp them, then reinforce with brad nails or 2″ wood screws.
A simple A-frame needs only basic tools, and a square keeps the angles true. Build a few in different heights by trimming each pair shorter, and plan on about 4 hours of hands-on time.
What paint should I use on an outdoor wooden Christmas tree?
Choose a paint labeled for exterior use, since interior formulas peel and chalk after a few weeks in the cold.
Green is the classic choice, white gives a cleaner look, and deep red also works. A good exterior coat also seals the cut edges and end grain, which is where snowmelt and damp soak in first.






