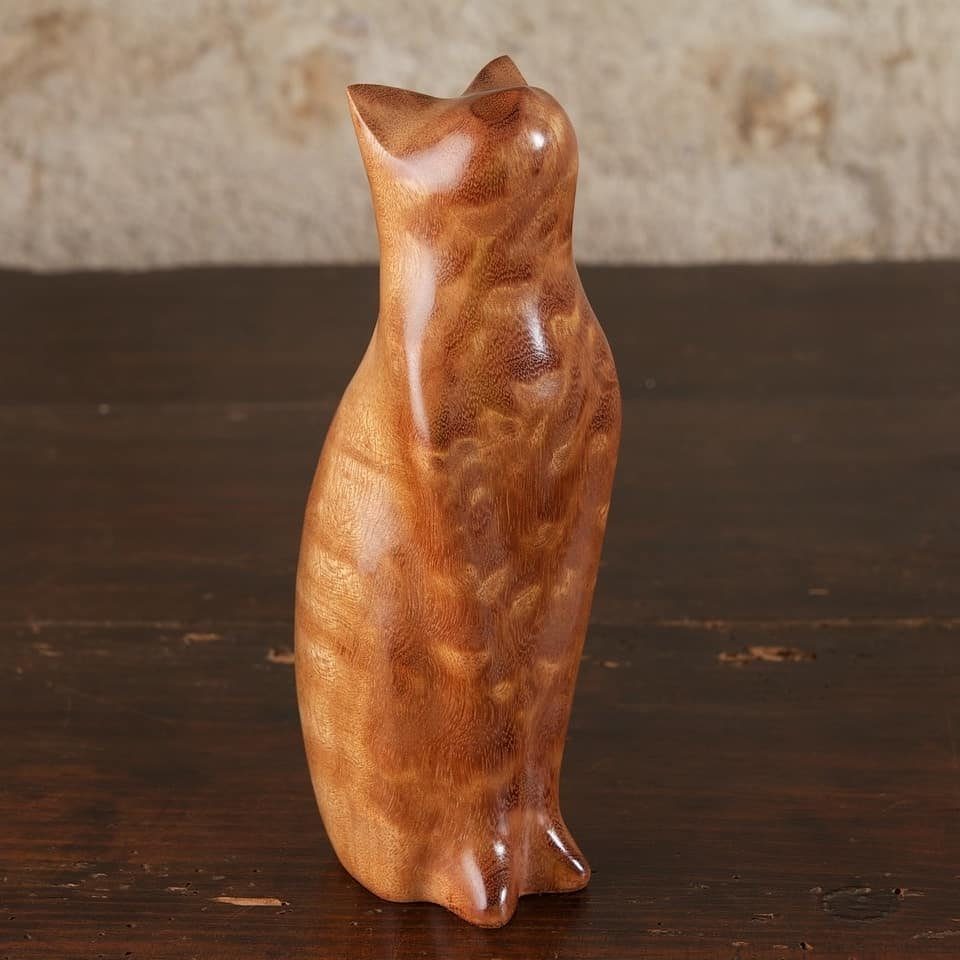
The list covers 5 cats, from a lathe-turned body to a hand-carved figure, and the tools already in your shop decide which one to build first.
With a spindle or bowl lathe, the smooth, rotational curves of the turned cat are the obvious pick.
With only a knife, chisel, rasp or sandpaper, the carved cats fit best: the tabby takes paint, while the standing cat keeps its chisel marks.
1. Lathe Turned Cat
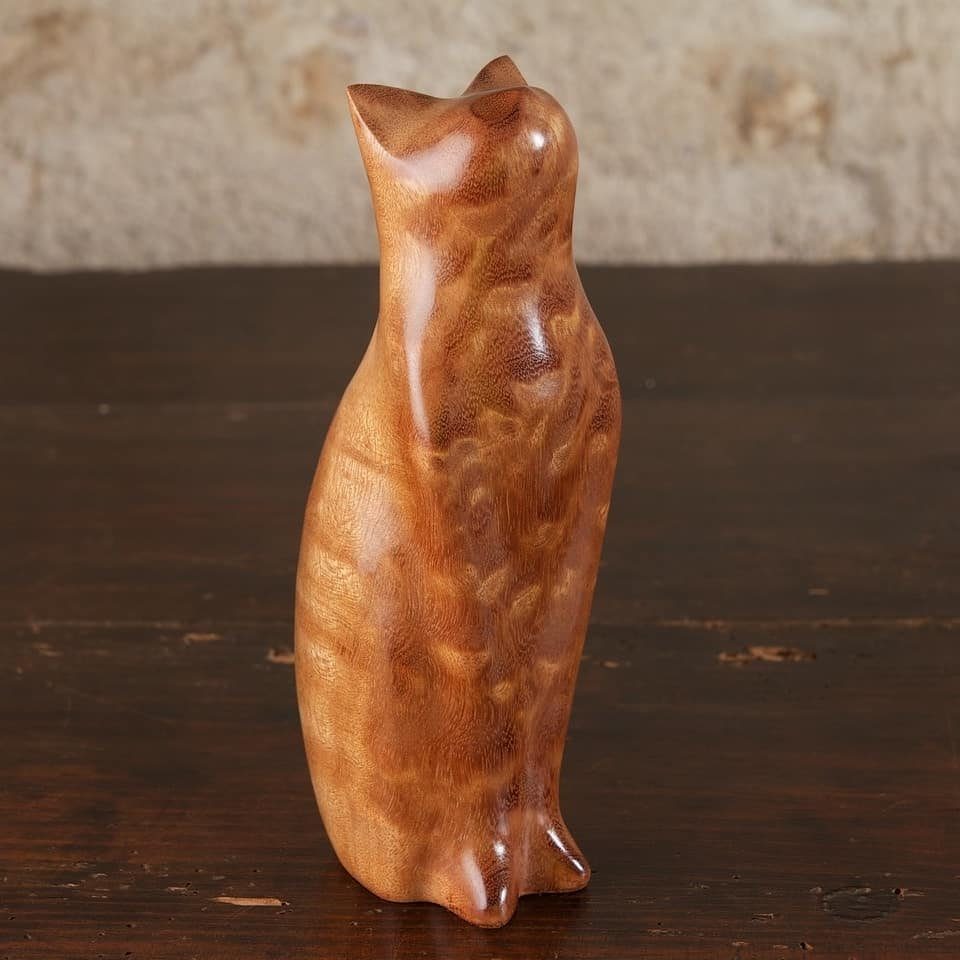
A lathe turns the body of the cat in one pass, which is why the curves on this one run so smooth and even.
Rounded forms like this suit a spindle or bowl lathe far better than a knife, and the minimalist shape hides nothing, so sanding matters more than detail.
I would pick a close-grained wood and finish it with a clear coat, since the polished brown surface is the whole appeal.
Skip the lathe? A rasp and sandpaper can get you a similar softness, though the rotational symmetry is harder to fake.
2. Stylized Wooden Cat
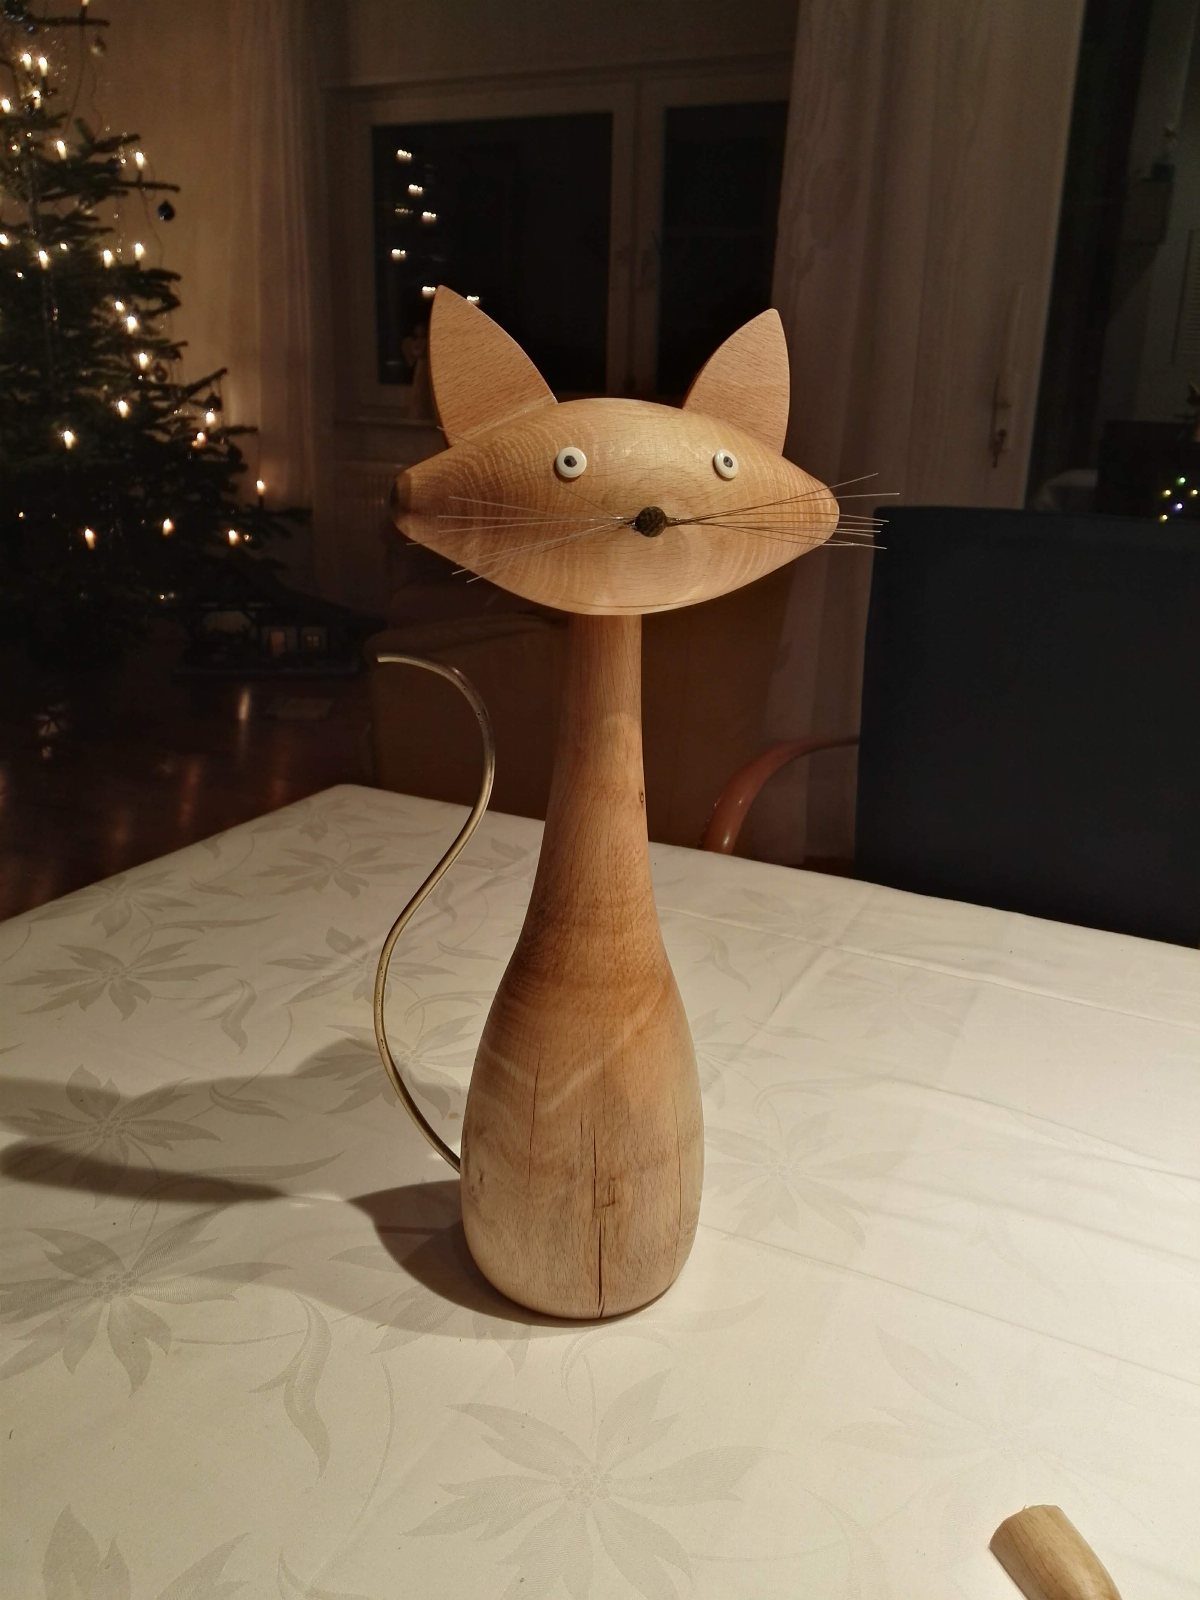
Long necks and exaggerated proportions give this wooden cat its personality, and a thin metal tail adds a line that wood alone could not hold without snapping.
Stylizing also forgives a beginner: nobody checks a simplified cat against a real one.
I would sketch the profile on paper first, then cut it out and trace it onto the blank.
Keep the neck thicker than looks right, because slender wood breaks along the grain. Fit the metal tail last, into a small drilled hole, so it never gets bumped while you shape.
3. Natural Wood Cats with Wire Whiskers
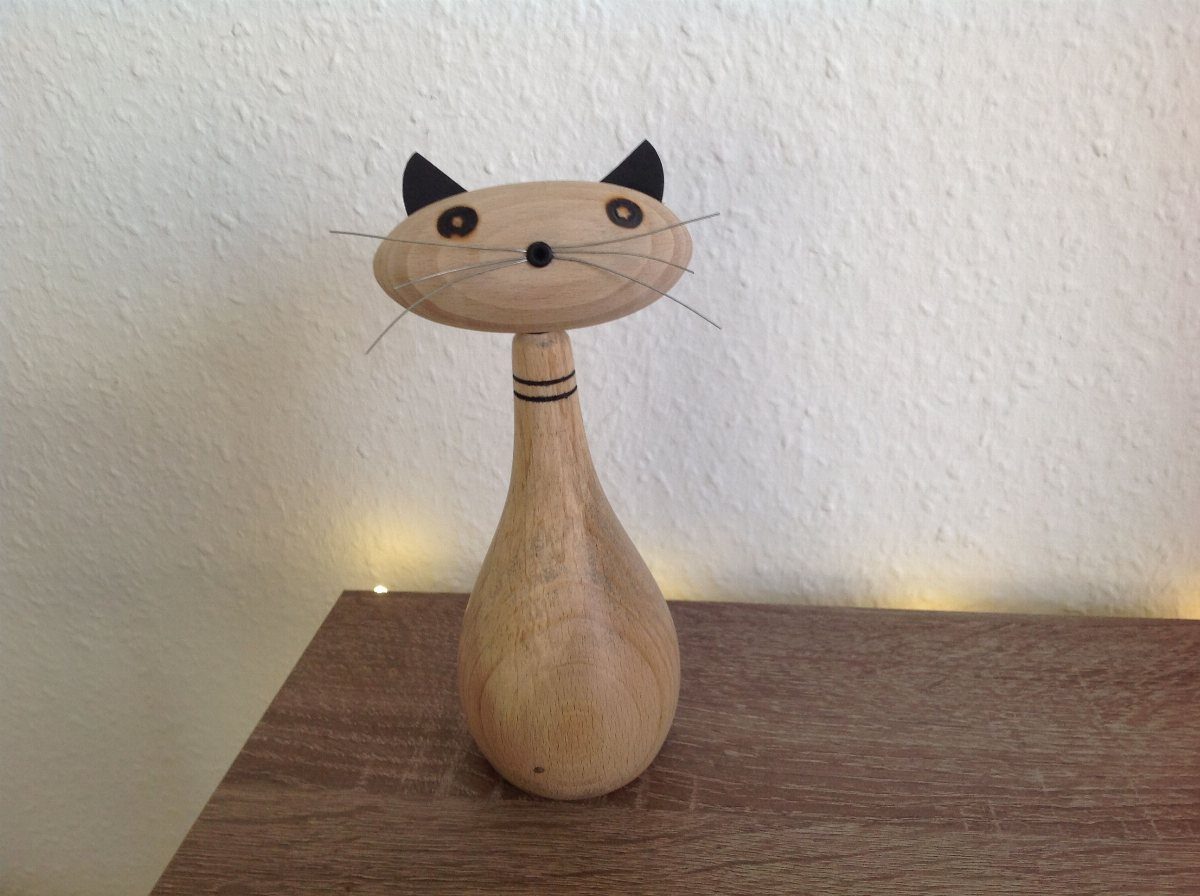
Leaving the wood bare lets the grain do the work, and black ears, eyes, and wire whiskers are all the detail this little cat needs. Small black accents against pale wood read clearly from across a shelf.
Paint the ears and eyes before you add whiskers, then drill tiny holes in the muzzle and glue the wire in.
A dab of glue is enough. I would cut the whiskers a little long and trim them after they set, since you can always shorten wire but never extend it.
4. Carved Tabby Cat Figurine
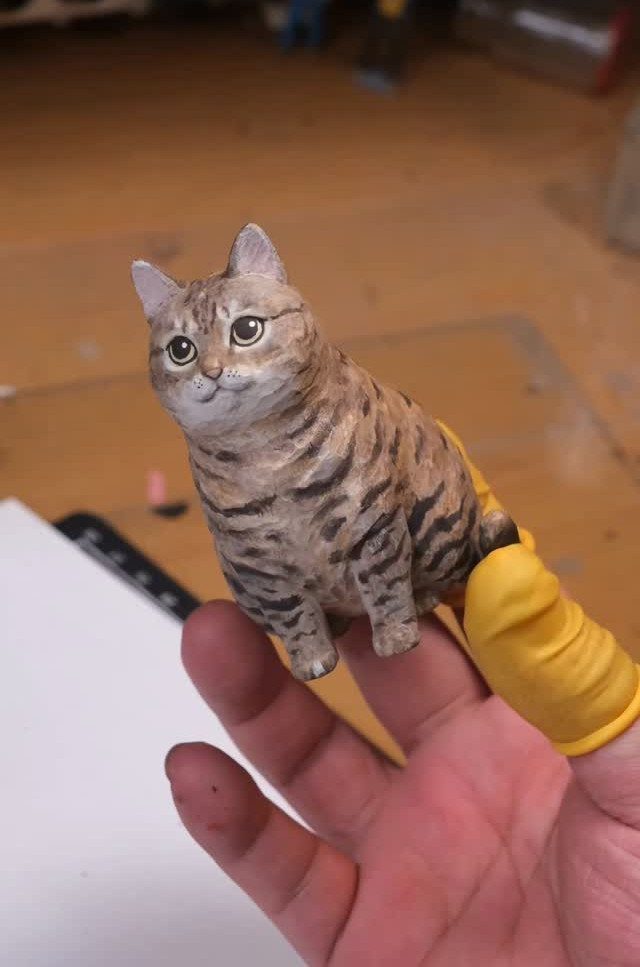
Brown and black stripes painted over hand-carved wood turn a simple cat shape into a tabby. Carving the form first and painting second keeps this job manageable in an afternoon, and the finished tabby fits in one hand.
Paint the brown base coat and let it dry fully before adding the black stripes, otherwise the colors smear. I like stripes that taper at the ends, since uneven, hand-drawn lines look more like fur than ruler-straight ones.
5. Standing Cat with Paws Together
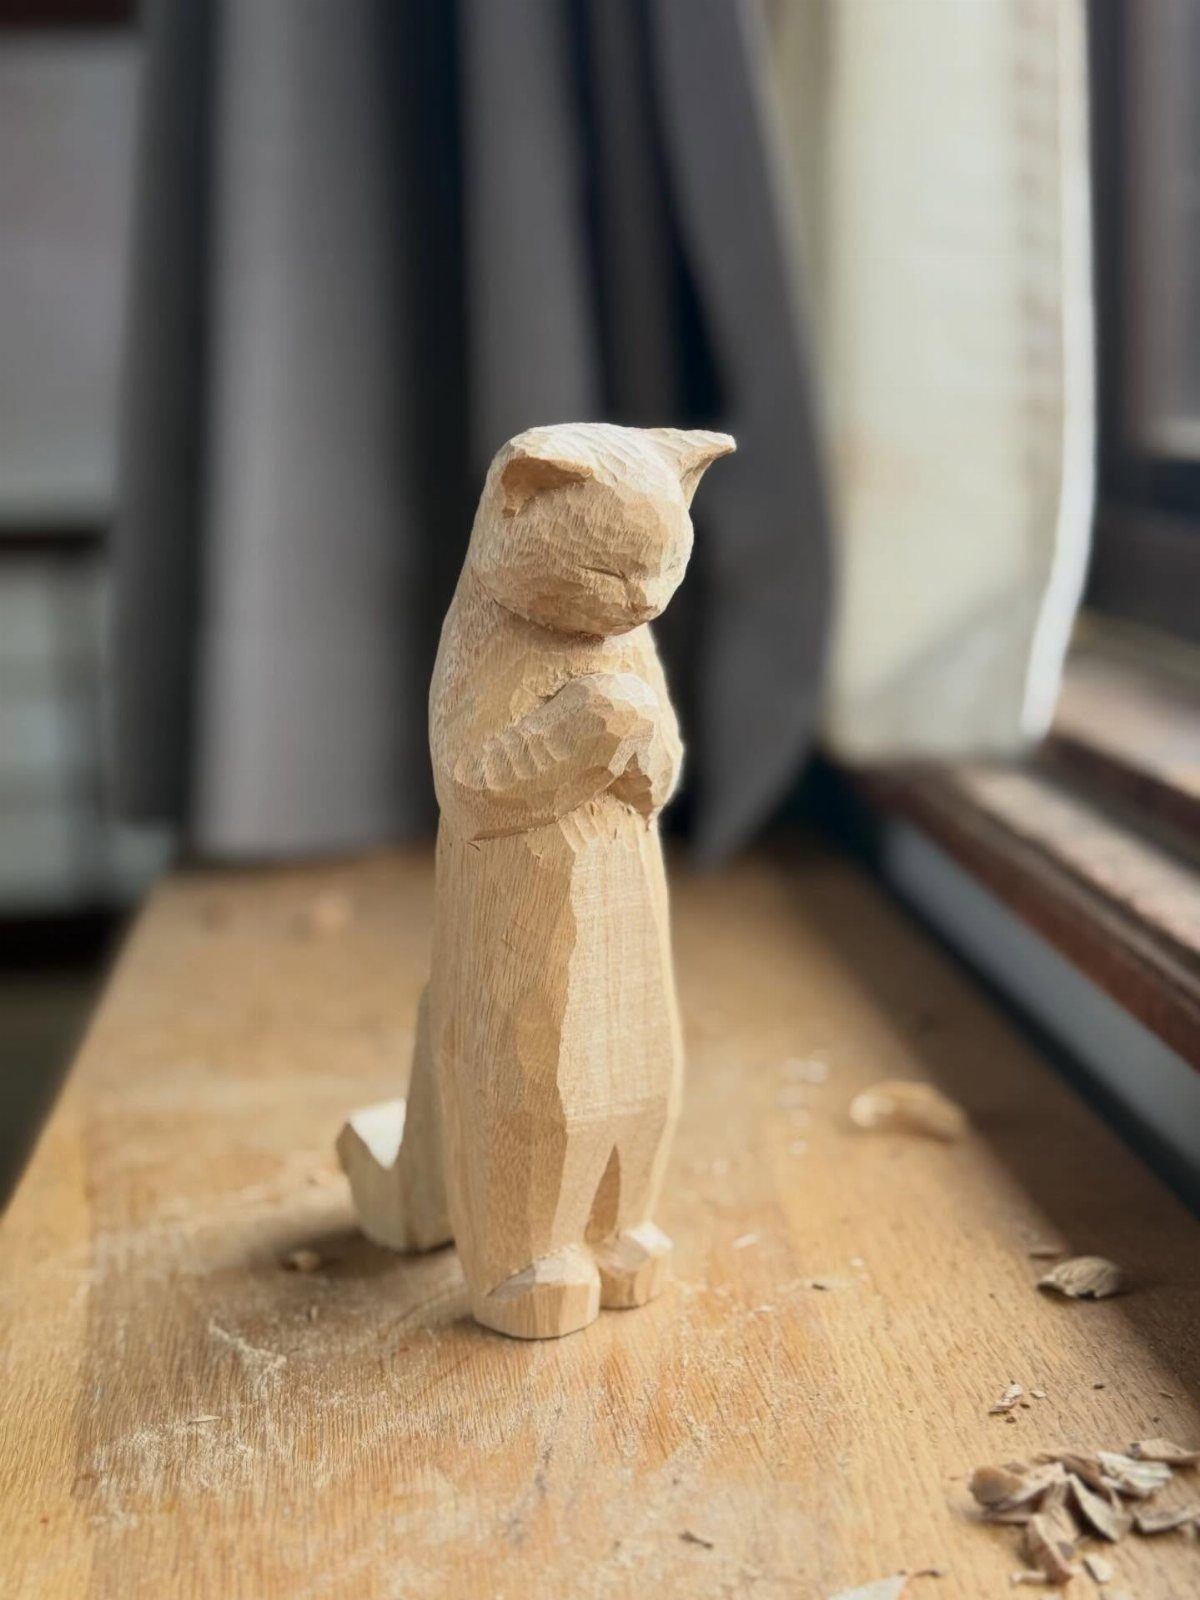
Paws pressed together give this standing cat a polite, upright posture, and the visible chisel marks are left on purpose. Faceted cuts catch light and show the piece was made by hand.
Carve the front first, leaving the arms attached to the chest, then separate the paws with a small, shallow cut.
I would stop before sanding. Smoothing the marks away loses the charm, so just knock off any sharp edges and call it finished.






