Projects here run from a plain white snowman block to a three-bulb pendant light, and the cutting they ask for runs just as wide: some need only paint, others a saw or a jigsaw.
A saw, a drill, or only a brush and some paint will point you to the project in this list that fits what you already own.
With a saw and sandpaper you can make the riser blocks, photo holders and slotted sign bases, and a jigsaw adds the cutout BABY letters.
The Geometric Wood Block Pendant Light is the one project here that involves wiring, and that part I would leave to a licensed electrician.
1. Wood Block Pumpkin
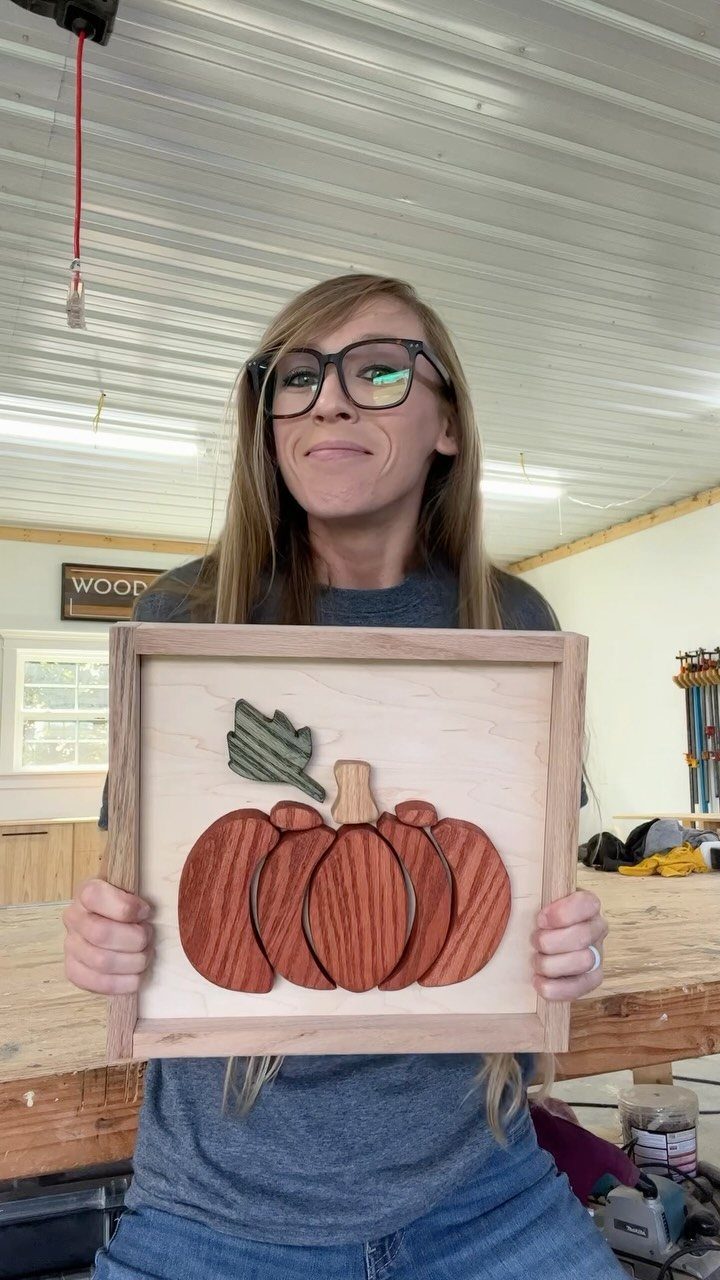
Layered pumpkin shapes cut from solid board and glued onto a plywood backer make a piece that looks carved but takes an afternoon.
Oak is a smart pick because it shows plenty of grain, which gives the pumpkin character without any paint.
Cut a small piece of plywood for the backer, then frame it with 1×2 so the layers sit inside a clean border. Stain two or three of the shapes a shade darker if you want the layers to separate more.
2. Painted Blocks for Halloween
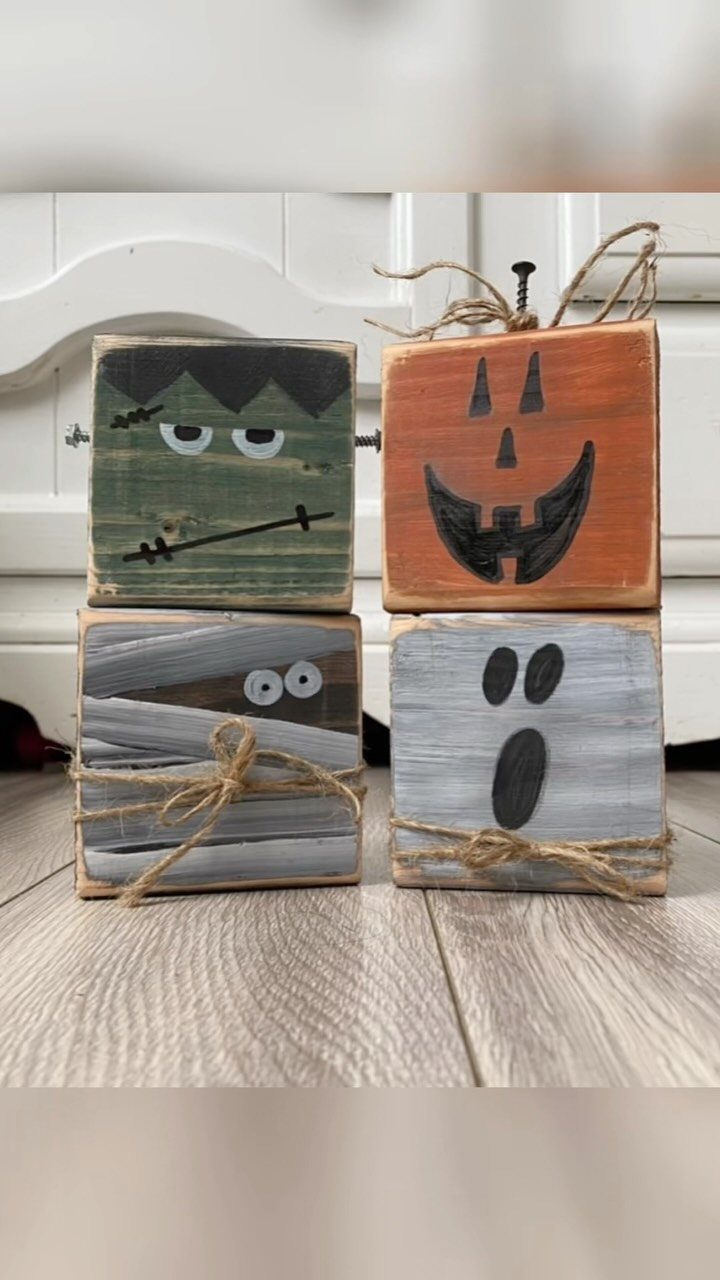
Four small painted blocks, a monster, a pumpkin, a mummy and a ghost, give you a whole Halloween cast that fits on a shelf or a mantel. Each block is a flat face to paint, so no carving is needed.
Paint the base colors first and let them dry before adding faces or bandage lines. Stacked two by two they read as a set, and you can line them up on a ledge instead.
3. Wood Block Snowman
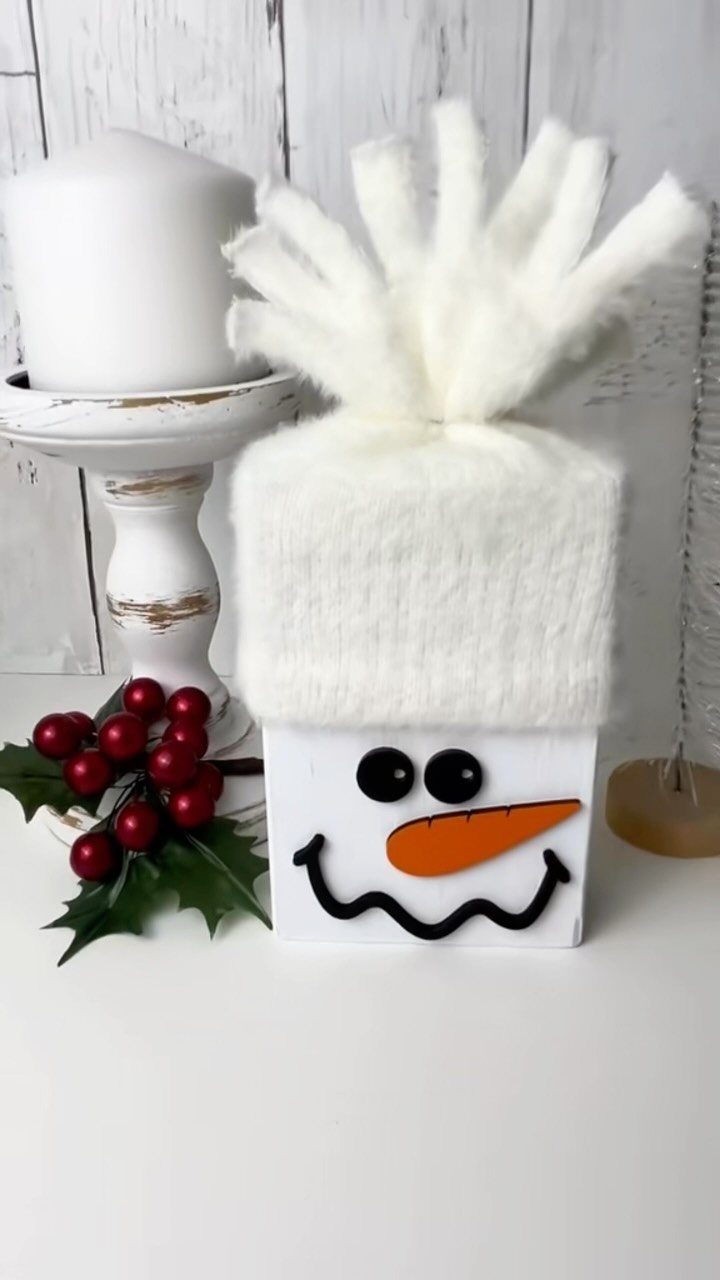
A snowman face on a plain white block is about as simple as winter decor gets.
Paint the block white, add the face with a small brush, and glue on a hat made from a scrap of knit fabric.
Set it beside a candle holder on a shelf for a quiet, rustic look that stays up all season.
4. Wood Block Photo Holder
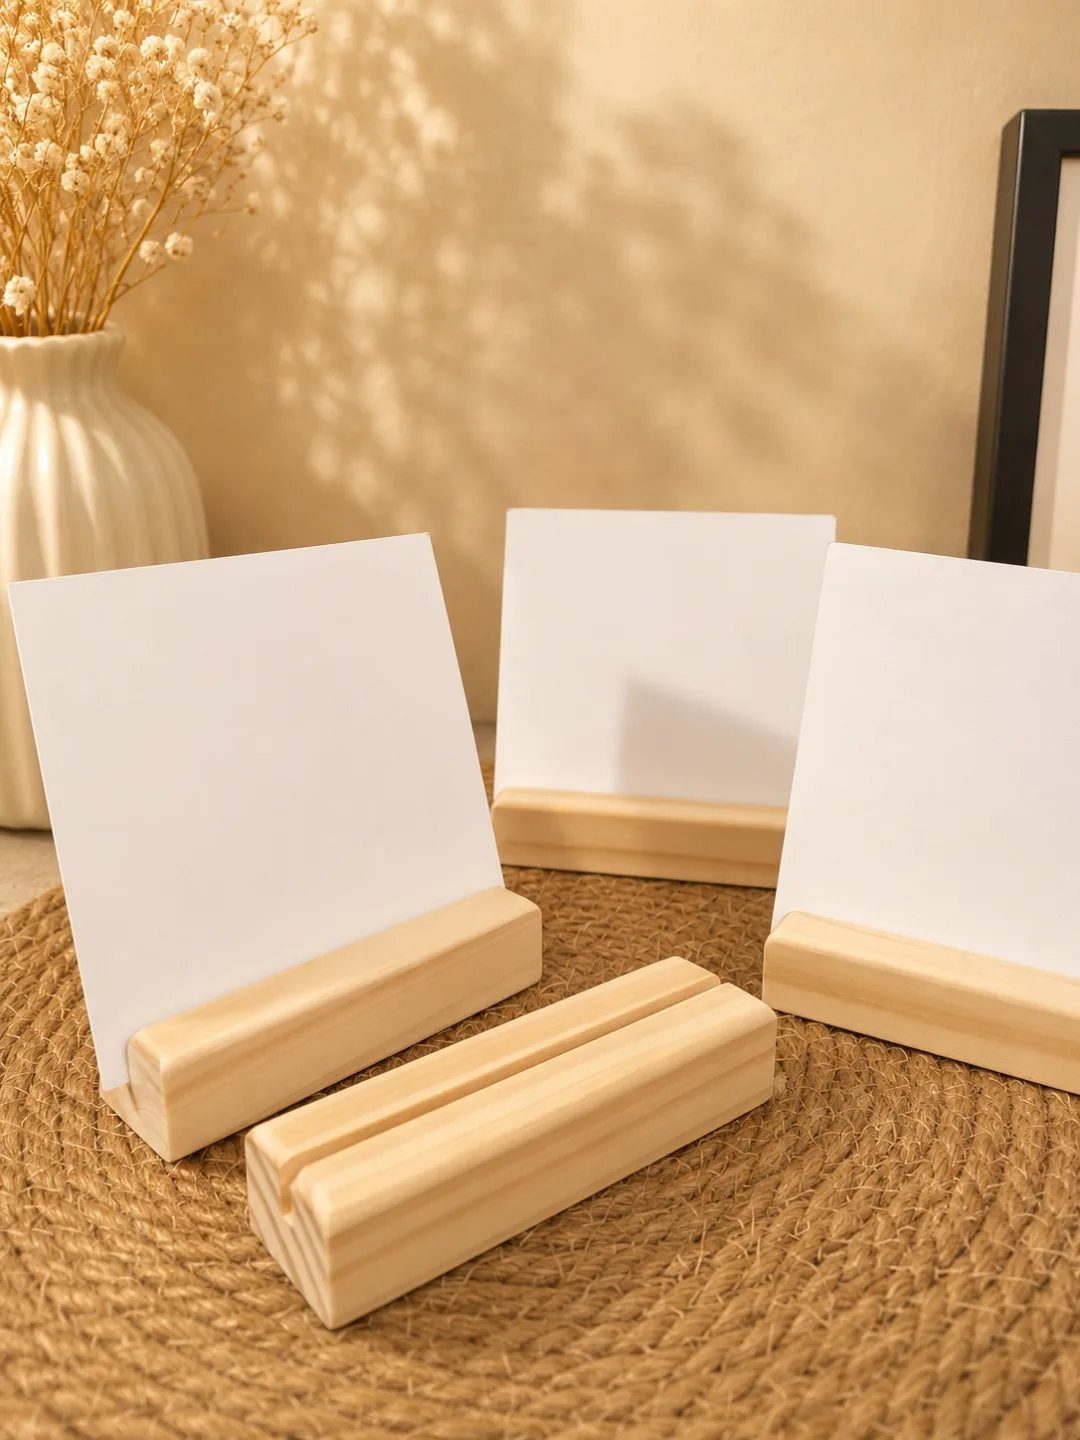
Cut a slot across the top of a block and you have a photo holder that stands up on its own.
4 light blocks in a row, each holding a card, look tidy on a woven mat or a console table.
A saw cut is all it takes, and a scrap of 2×4 works fine. Sand the slot edges so cards slide in without catching, and keep the blocks matching in height for a clean line.
5. Wood Block Wall Art
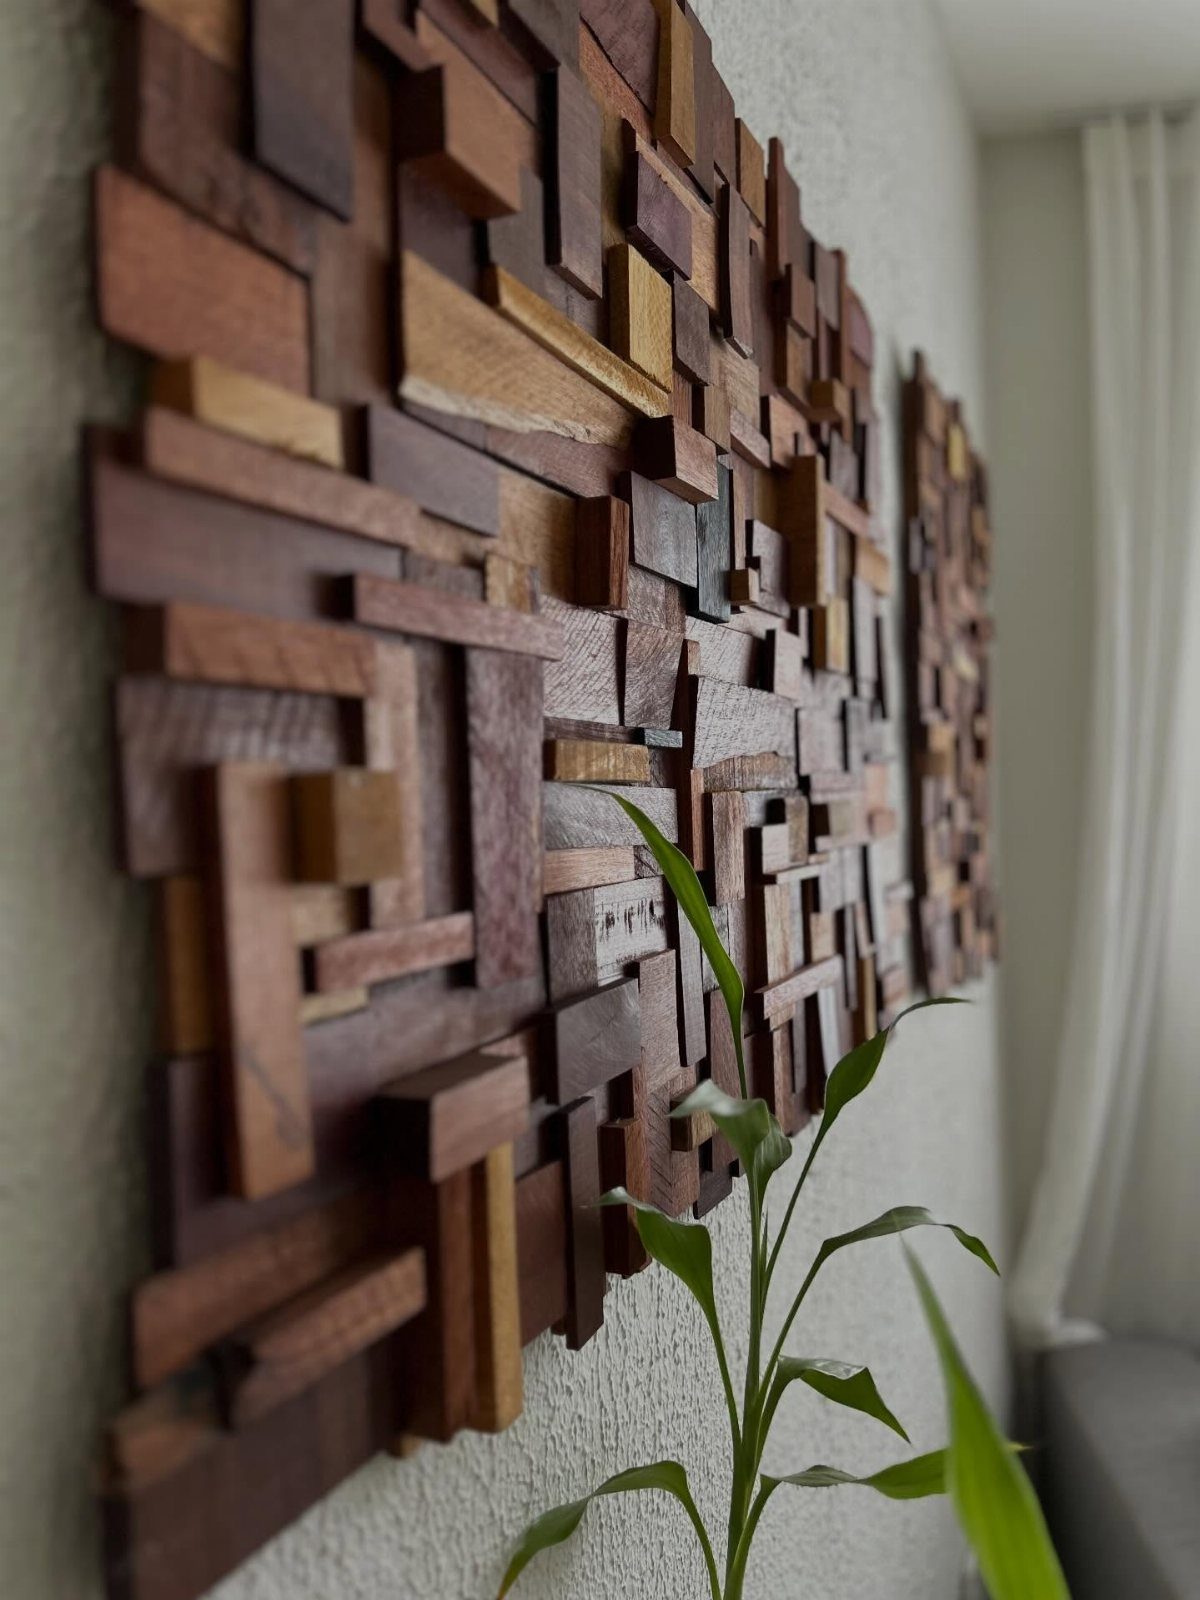
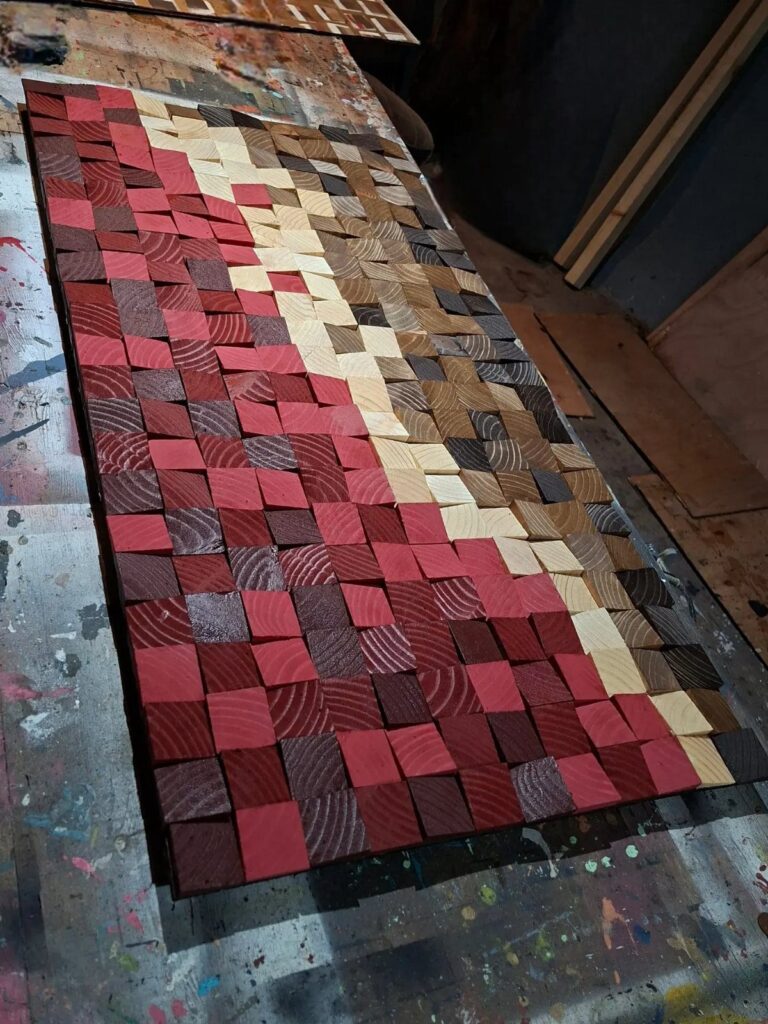
Mounted on a wall, wood blocks of mixed sizes and shapes become an abstract sculpture with real depth. Because the blocks stand out at different heights, shadows do much of the design for you.
Gather offcuts in a range of browns, then lay the whole arrangement on the floor before gluing anything.
Move pieces around until the sizes feel balanced, then attach them to a backer and hang it. One plant nearby softens all those hard edges.
6. DIY Holiday Wood Block Set
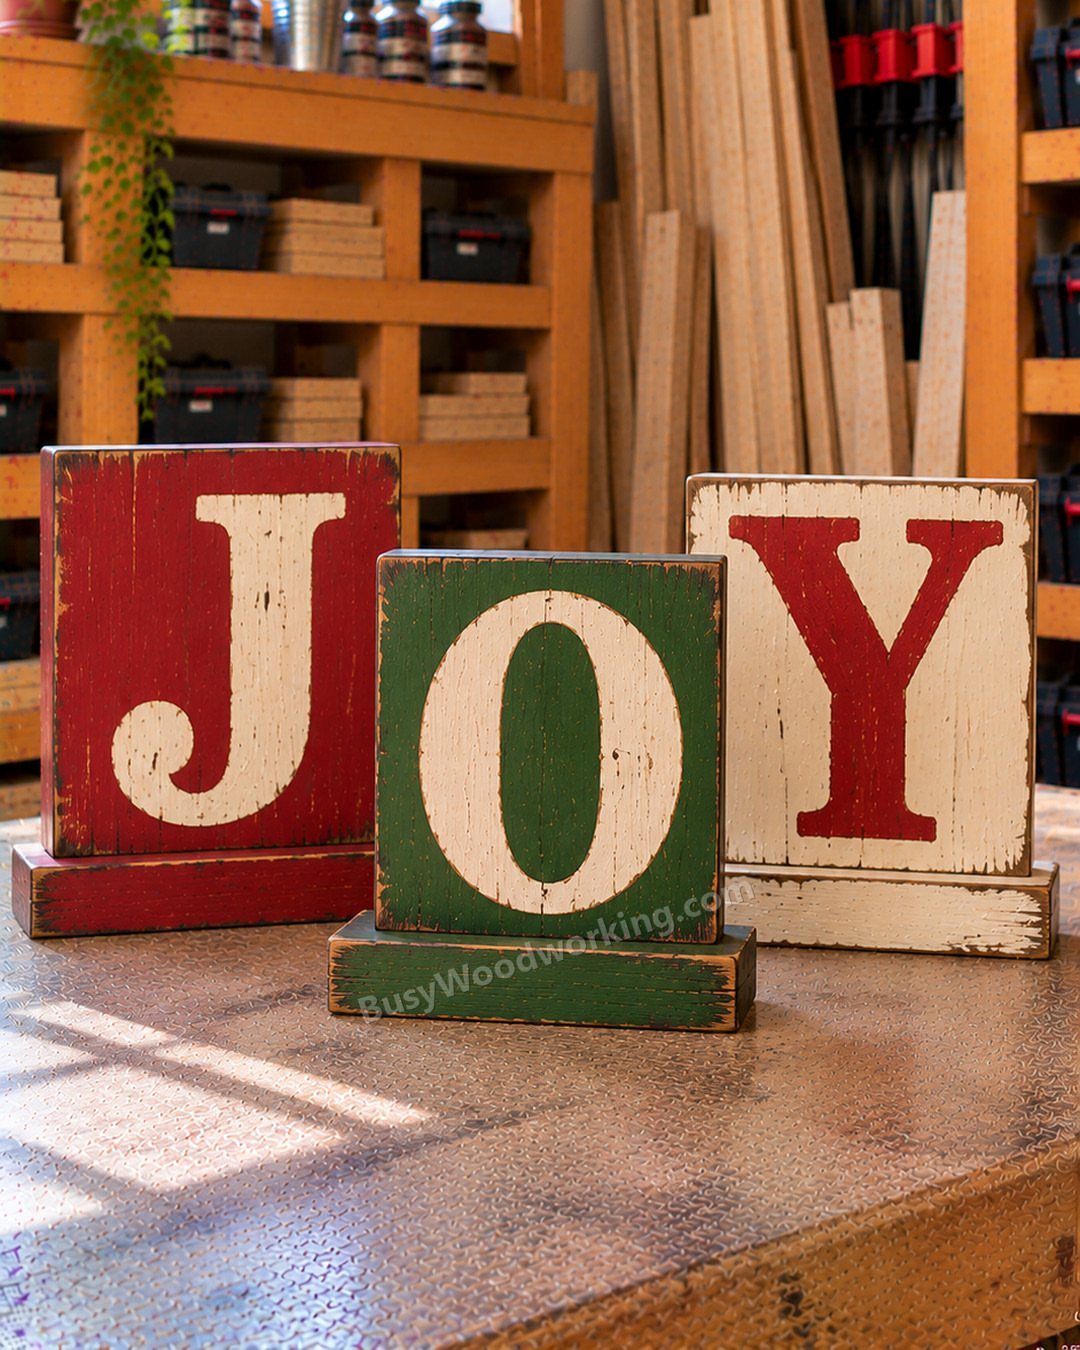
3 blocks spelling JOY in red, green and white make a holiday piece that is easy to swap out. The same blocks can spell other words later, so one set can cover several seasons.
Paint each block a solid color, then add the letter in a contrasting shade.
Hand-lettering gives a rustic feel; stencils give cleaner lines if your hand is shaky. I would sand lightly between coats so the paint stays smooth.
7. DIY Perpetual Calendar
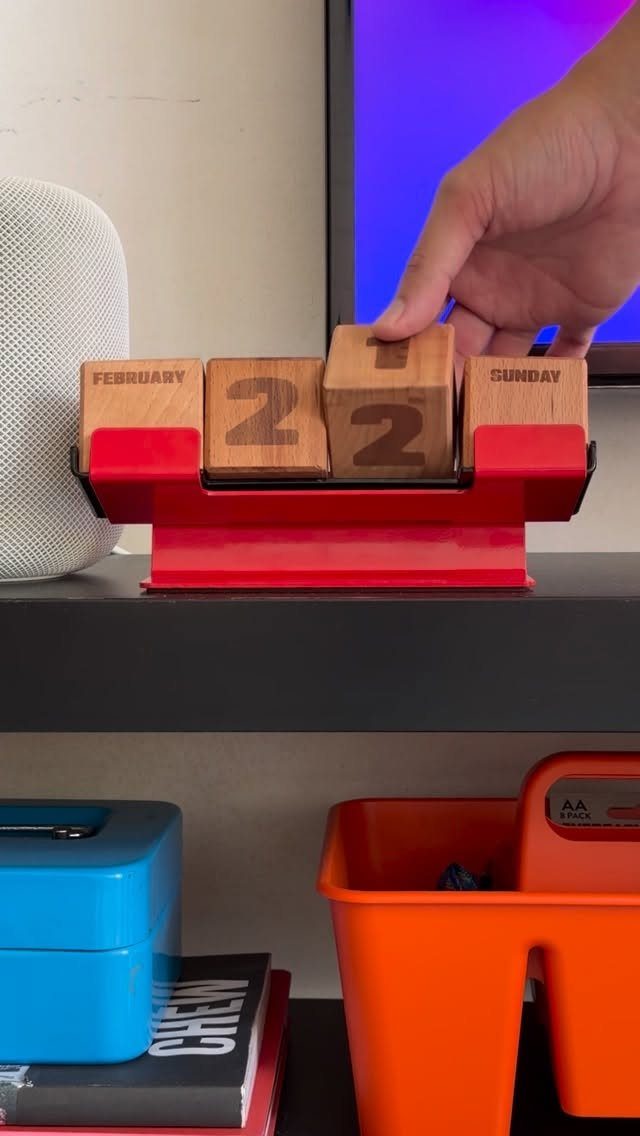
Three sets of blocks, one for the month, one for the date and one for the weekday, turn into a calendar you reset by hand each morning. Nothing needs batteries or printing, so the same blocks last all year.
Month names are long, so give that block the widest faces. Keep the blocks matching in height, and sand the edges so they turn easily on a stand.
I would set it on a shelf where you pass it every day, since the habit of flipping it keeps it accurate.
8. Wood Block Decor for Baby Showers
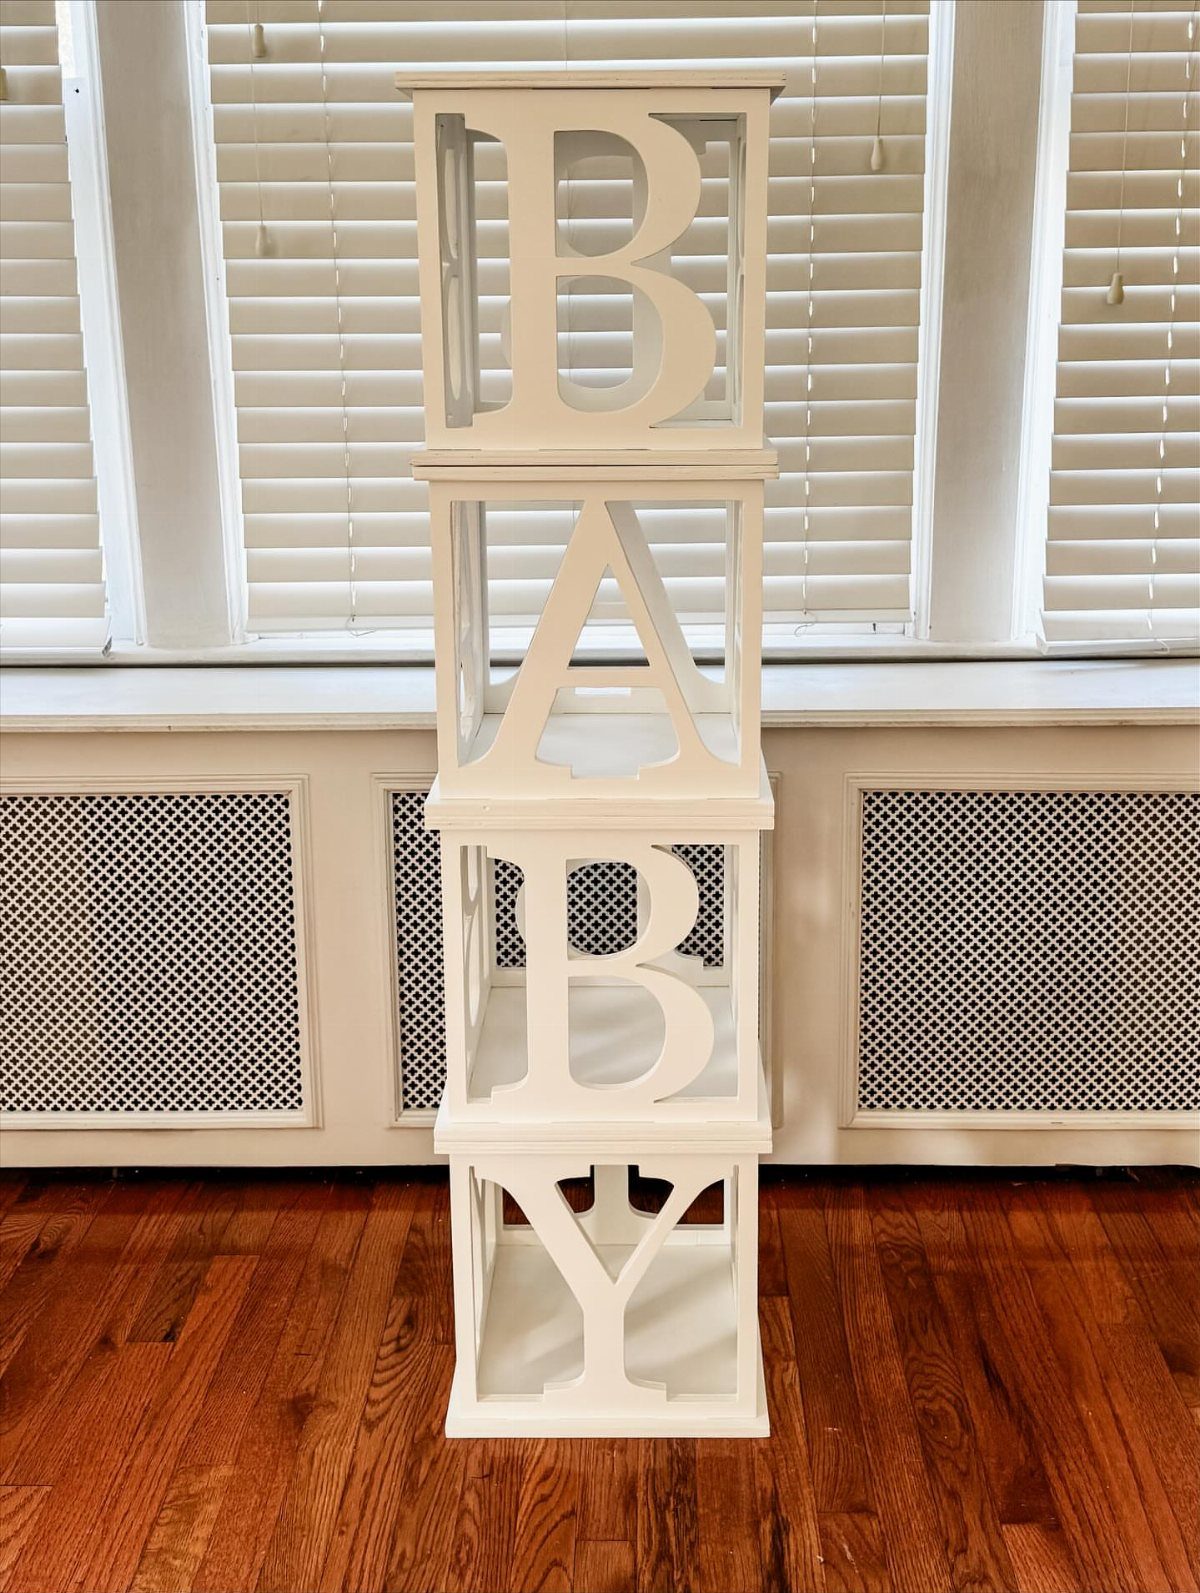
Big cutout letters on stacked white blocks spell BABY and can stand right on the floor beside a door or a gift table. White keeps the look soft and neutral, so it suits any shower color scheme.
Paint a plain stack white, then trace the letters with a stencil and cut them out with a jigsaw. Sand the cut edges well so the paint doesn’t catch.
After the party, the blocks can move to a nursery shelf, which makes them worth the afternoon.
9. Wood Block Candle Holders
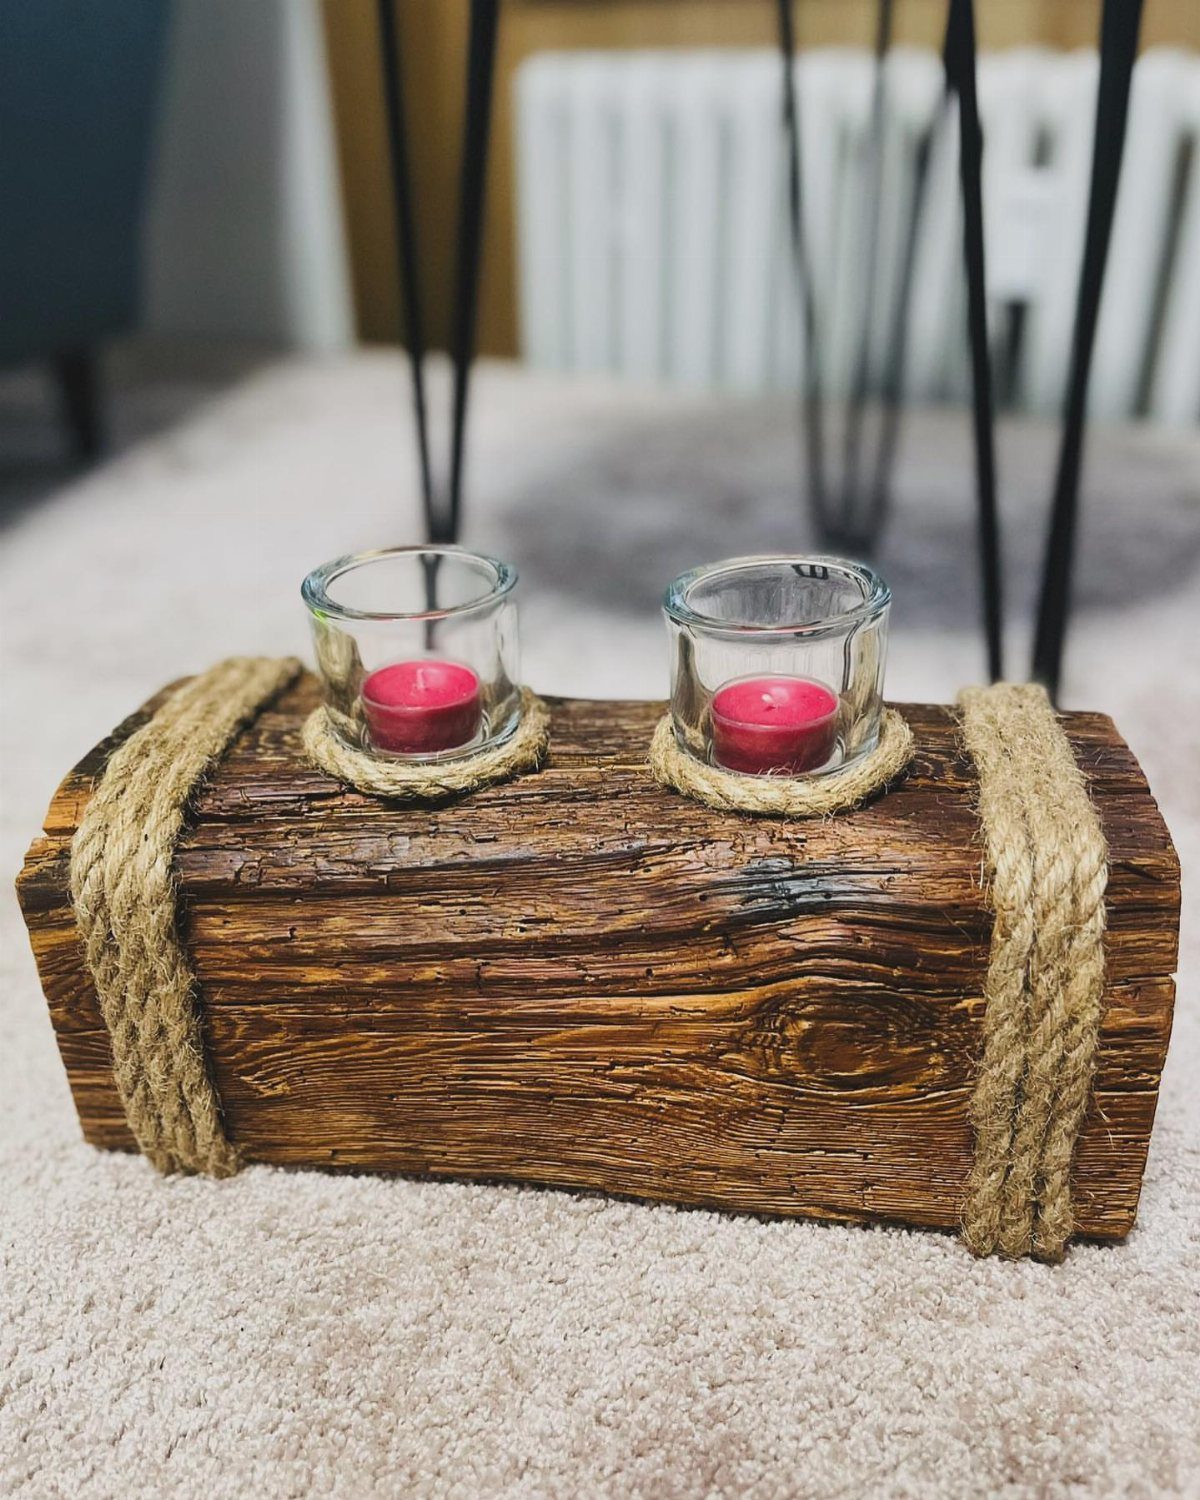
A single block of rough wood can hold two glass candle holders, with jute rope wrapped around each one to keep it in place. The rope doubles as decoration, so the piece needs no paint.
Pick a block thick enough to sit steady on a table. Wrap the rope snugly, and glue the ends so they don’t loosen.
Tea lights are the right fit for a wood block holder, since the small flame stays low and the cup is shallow.
Red ones look good against pale wood, but any color works. Skip open flame near the rope; battery tea lights are the easier call.
10. Wooden Block Decor for Christmas
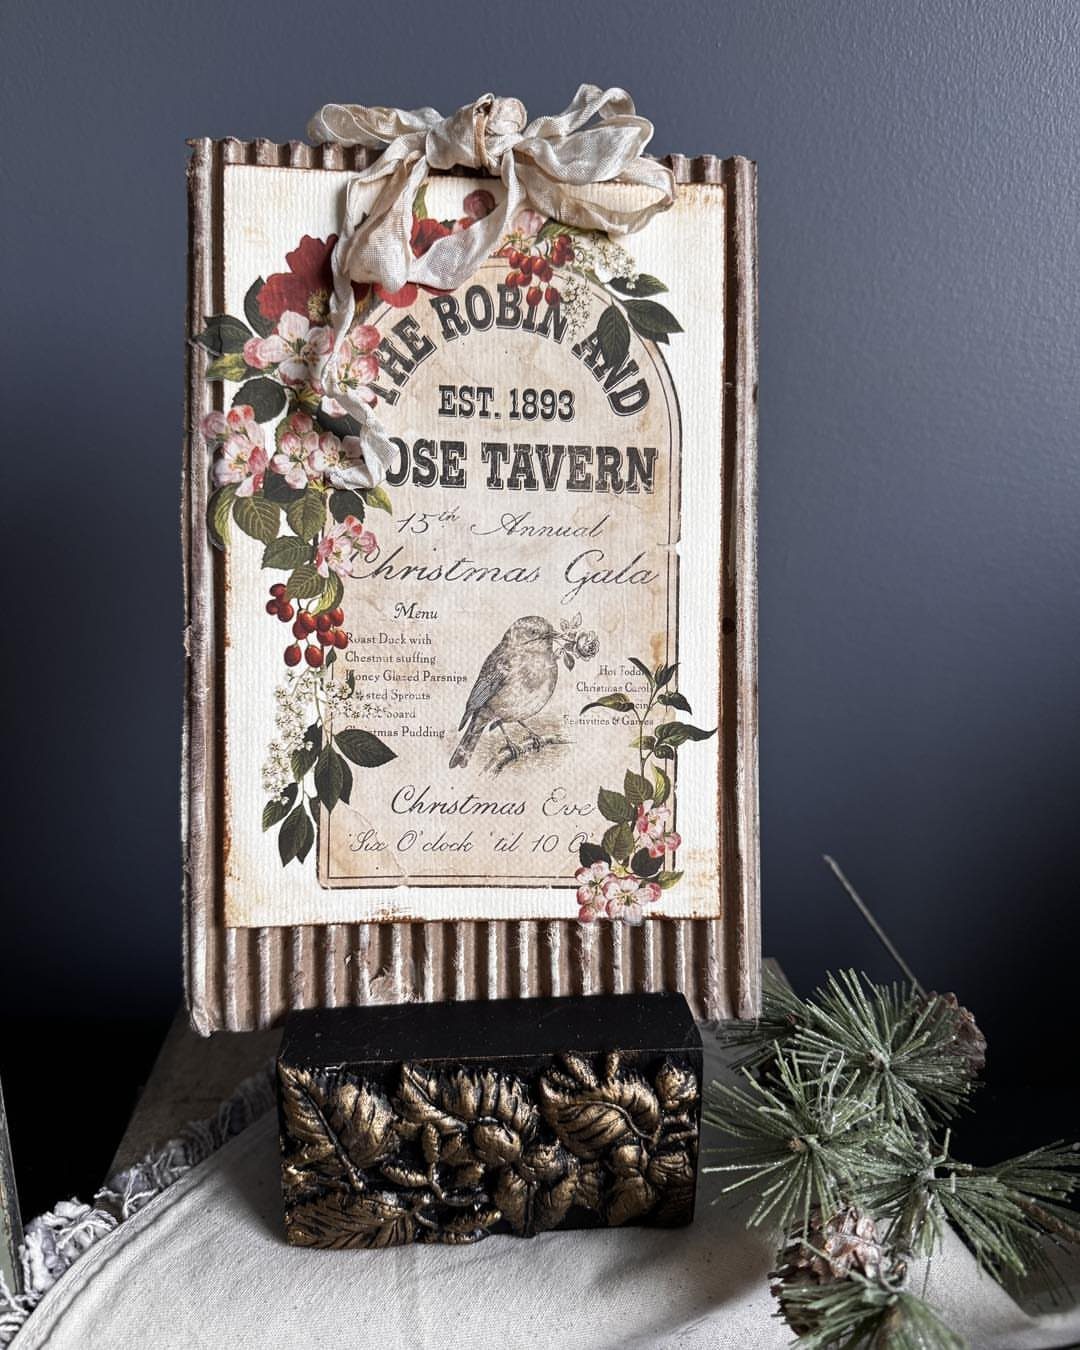
A weathered Christmas sign mounted on a carved block gives the whole piece a vintage tavern feel. The block lifts the sign so it can stand on a mantel or a table without wall hanging.
Corrugated metal and wood make a good pairing because the rough textures read as old. Finish a Christmas block with a bow and a few floral accents, and attach them with hot glue.
A dark base gives strong contrast against a white cloth. If carving feels like too much, a plain block stained dark does the same job.
11. Painted Animal Wooden Blocks
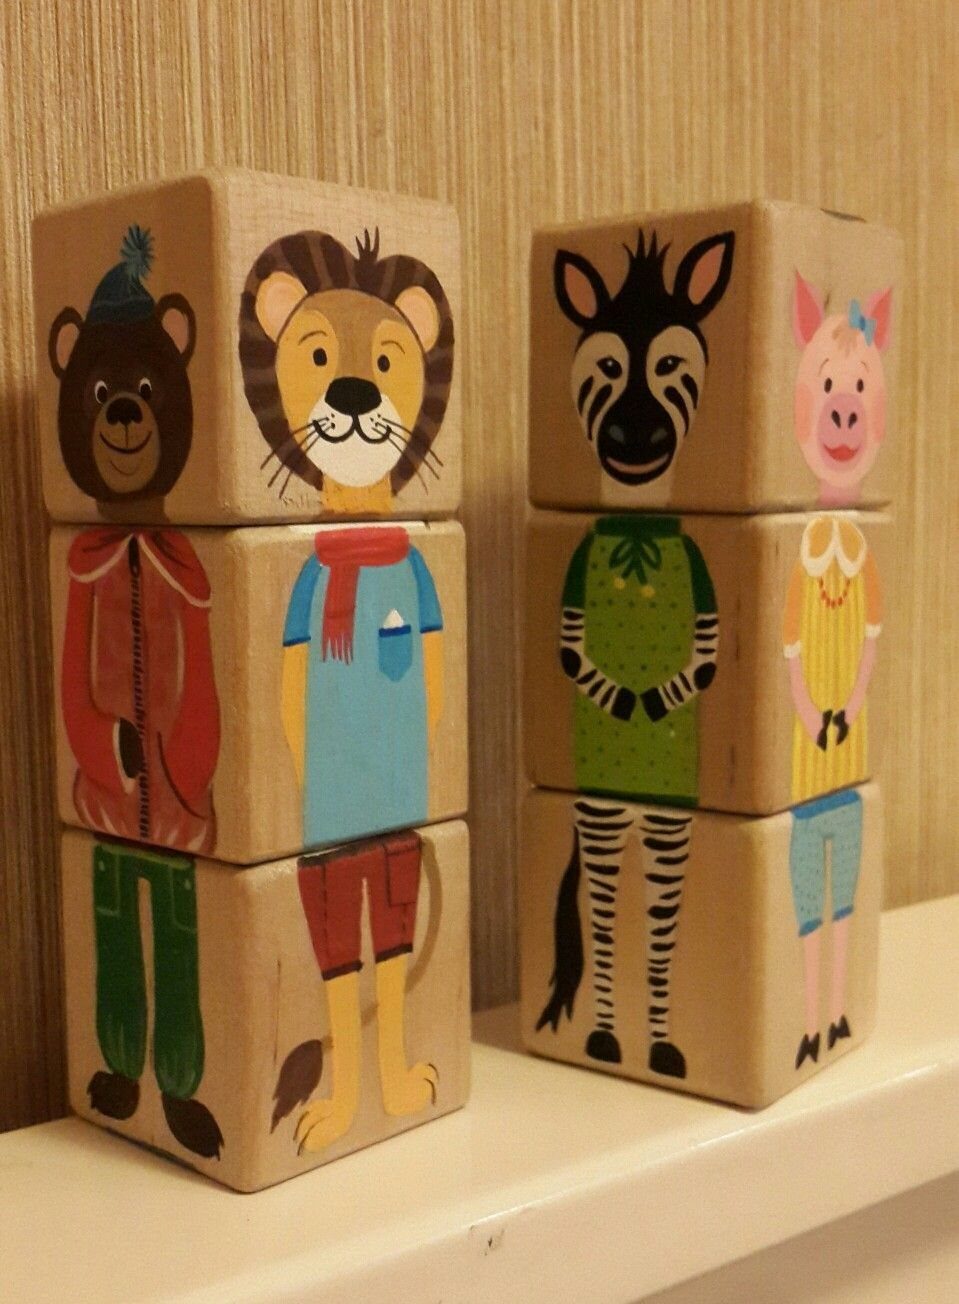
Whimsical animals in little outfits make these blocks feel like a storybook on a shelf. A bear, a lion, a zebra and a pig stack into tidy towers, and each face of a block carries its own character.
Start with light wood so the colors stay bright. Sketch each animal in pencil, then paint in thin coats so the lines stay crisp.
I would keep the clothing simple, a bow tie or a hat, since small details are easy to crowd. A fine brush matters more than any other tool here.
12. Wood Block Sign Bases
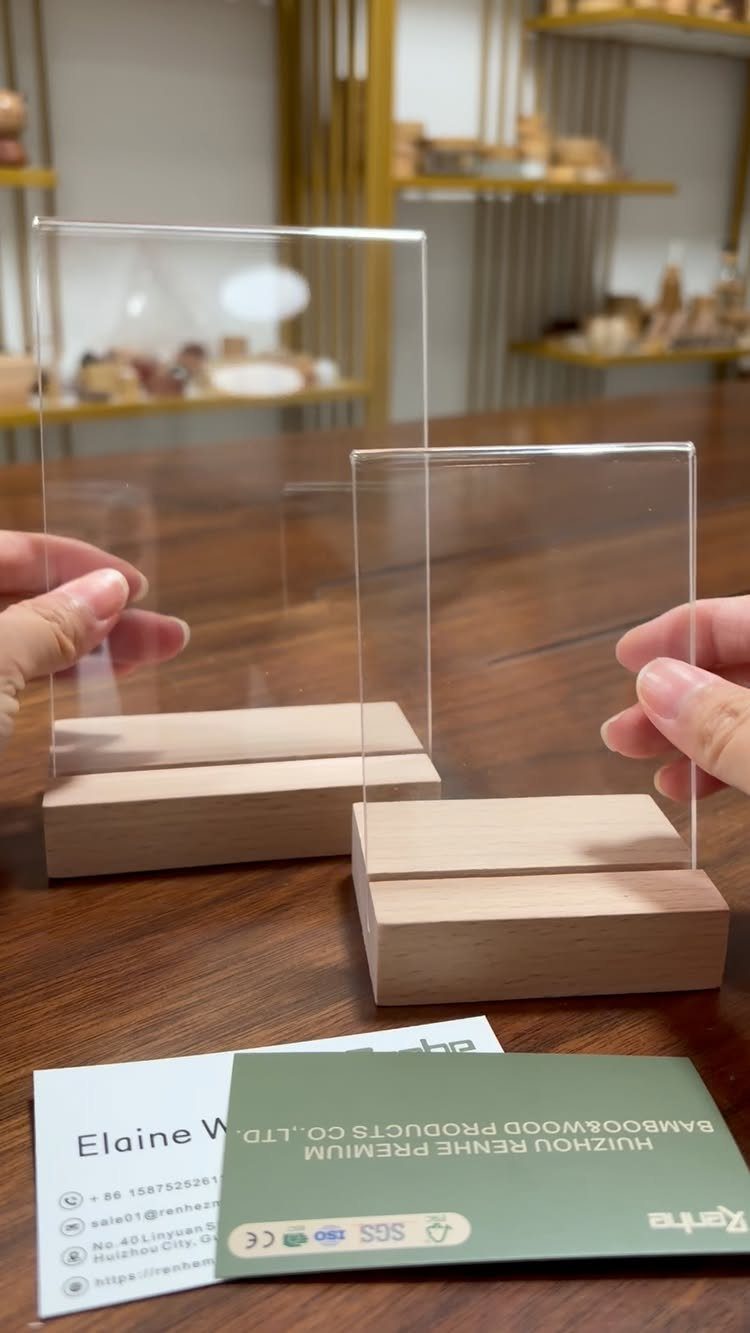
A rectangular block with a slot cut along the top makes a base for a clear acrylic sign, which then looks like it floats above the table. Light wood keeps the focus on the message.
Cut the slot to match the thickness of the acrylic so it holds without wobbling. Test the fit on a scrap first, because a slot cut too wide can’t be fixed.
Sand the block smooth and finish it with clear oil or wax. A small block with a slot cut in the top makes a base for table numbers, name cards or small displays.
13. Geometric Wood Block Pendant Light
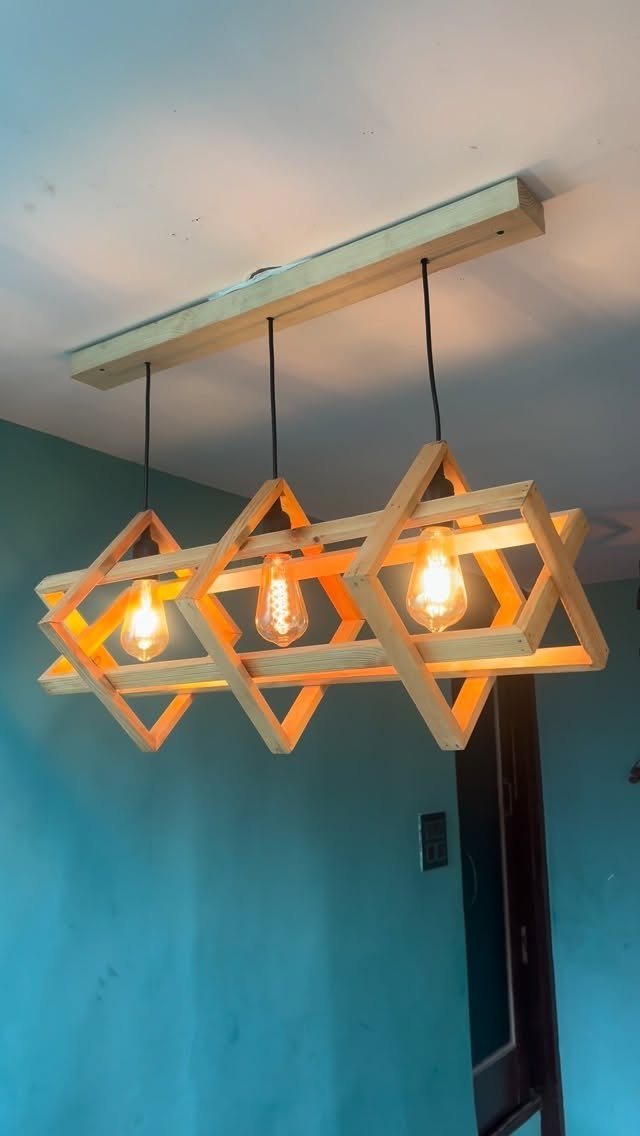
Three bare Edison bulbs sit inside a cage of light wood slats, and the glow comes through the gaps as stripes of warm light. The geometric frame does the decorating, so the fixture needs no shade or paint.
Cut slats to matching lengths and glue them into a clean angular shape. Plan the spacing before you glue, since wide gaps show more bulb and narrow ones soften the light.
Hung from a ceiling beam, it suits a kitchen island or a dining table. Wiring a fixture is the one step I would hand to a licensed electrician.
14. Rustic Natural Wood Riser Blocks
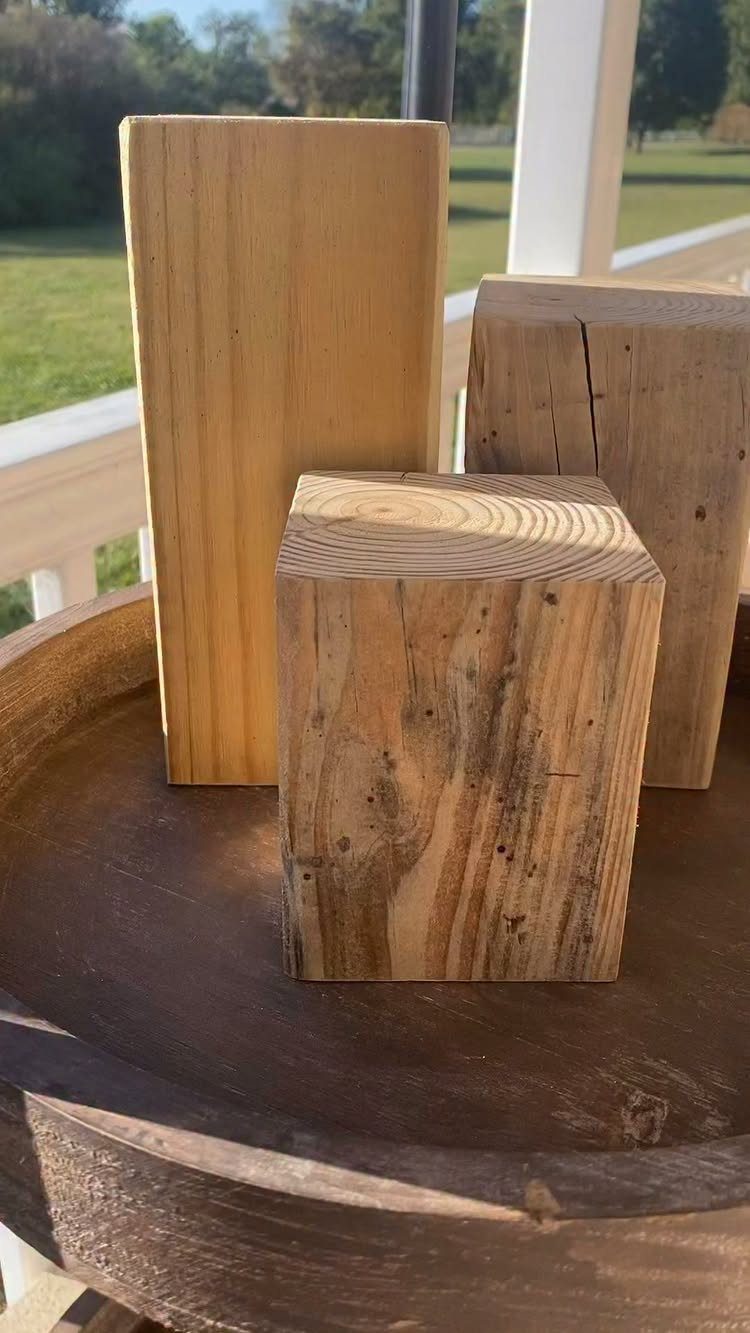
3 solid blocks in different heights turn a flat tabletop into a small display with levels. Raw wood with visible grain and texture needs nothing added, and a rustic look comes from leaving the surface alone.
Cut the blocks from thick scrap, keep the heights clearly apart, and sand the faces and edges so nothing snags. A coat of clear wax or oil brings out the grain without hiding it.
Set a plant, a lantern or a bowl on top. Odd numbers read best, so 3 is where I would stop.
Materials for Wood Block Crafts
Scrap wood is the cheapest starting point, and a pile of offcuts from a garage shelf is often enough to finish a whole project.
A single common 1×8 board, with the end chopped off to make a square, can become a piece of wall art for less than $2.
Paint, Mod Podge and decorative papers cover most of the finishing. Papers are the fastest way to get a pattern without painting by hand, and Mod Podge seals them flat to the face of the block.
Most of these crafts need only a saw and some sandpaper, so a basic tool kit will do.
Start with the frame color, let it dry, and tape along its inner edge before you roll on the artboard color; the design goes on last, so a slip never touches the layers underneath.
A simple piece like that takes about 20 minutes.
Seasonal Decoration Ideas
Blocks are easy to repaint, so one set can follow the calendar through the year.
Pick colors that contrast hard for each holiday, like black on white for Halloween or red against green for Christmas, and the lettering reads clearly from across the room.
Decorative papers are a good alternative to paint. Thousands of patterns are sold, so you can match a block to your own taste instead of settling for a standard holiday look.
A reversible set saves shelf space.
Put one holiday on one side and a second on the other, then flip the blocks when the season changes. Hand-painted sets like this sell for around $35.00 in shops, so making your own is the cheaper route.
Family Involvement in Projects
Holiday blocks suit a group project because the steps divide easily. One person sands, another paints the base color, and someone with a steady hand adds the letters or papers.
Let younger helpers choose from the decorative papers, since gluing and smoothing a pattern onto a block is simple work. Keep the saw for an adult.
Because the blocks can be customized for any holiday, each person can make their own. They also make good gifts.
Frequently Asked Questions
What to use to decorate wooden baby blocks?
Decorative paper sealed under a coat of Mod Podge gets a pattern onto a block faster than any brush, though paint pens, stencils and plain markers will do the job too.
For a baby shower, I like a plain stack painted white with letters traced from a stencil, since white suits any color scheme.
Round the corners with a sanding block first, since sharp edges chip paint and small hands find every rough spot.
What are some creative wood decor ideas?
Wood blocks cover a lot of ground: a photo holder made by cutting a slot across the top of a block, a perpetual calendar with blocks for month, date and weekday, and a candle holder block wrapped in jute rope.
Painted JOY blocks in red, green and white also work, and the letters can be changed for other seasons.
Does Home Depot have wooden blocks?
I can’t confirm what any one store stocks, but you may not need to buy blocks at all.
A 1×8 from the lumber aisle, cut square at the end, yields a lot of blocks for under $2, and a bin of scrap often covers an entire project. A saw and some sandpaper handle most of the work.






