Which of these ideas fits depends on the surface: a flat board takes a wood graining tool or a faux grain sponge technique, while a sponge, brush or cloth handles smaller or trickier spots, and a floor applicator lets you stain a whole floor without crawling on your knees.
The list runs from basic wood stain and color matching to how stains differ from finishes and how long a stain lasts, with each application method in between.
Stain colors the wood, but it gives little protection alone, so interior pieces still need varnish on top.
1. Wood Stain
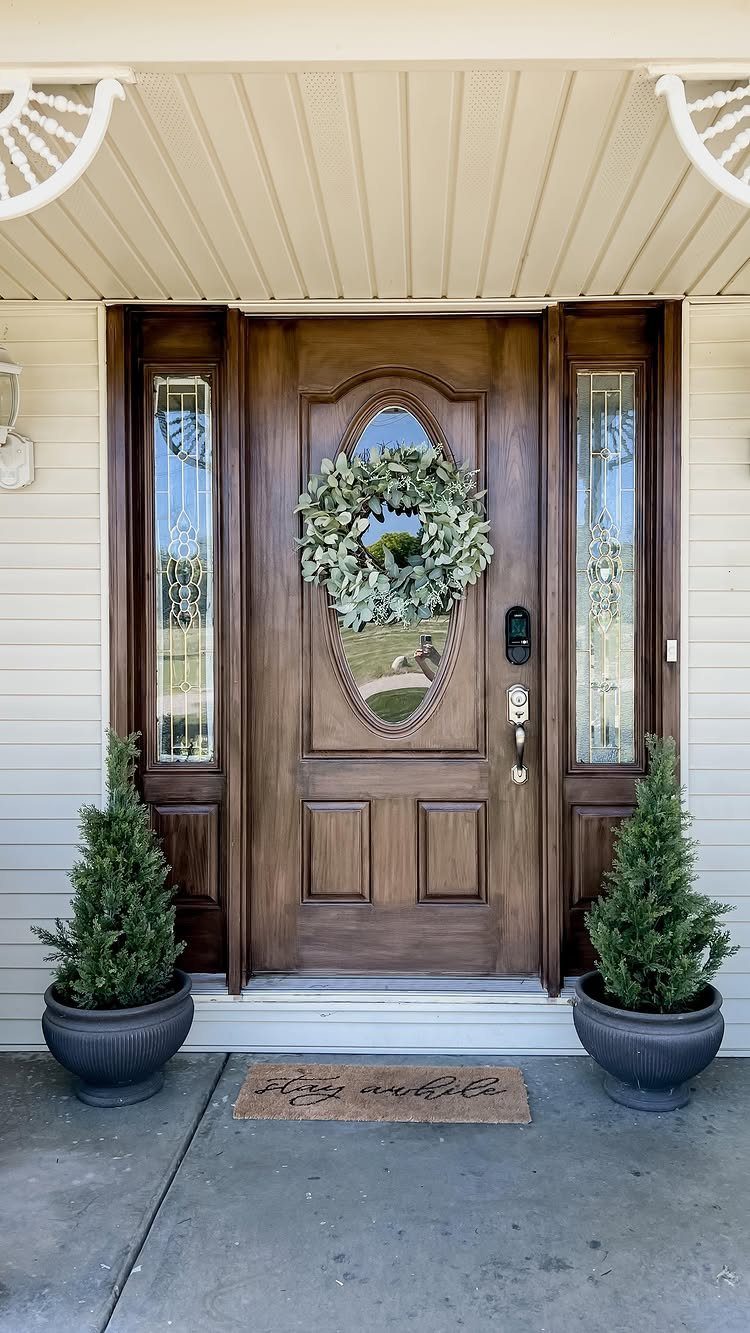
Stain colors the wood without hiding it, which is why a door like this still shows its grain through the dark brown.
Paint sits on top of the surface; stain soaks in and lets the lines of the board read through.
A front door is a good afternoon project for a maker with basic tools.
Wipe on the stain, let the color settle, then wipe off with the same pressure from the top rail to the bottom so the tone stays even.
Dark colors show every missed spot, so I would work one section at a time.
Test the color on a scrap or a hidden edge first.
Wood stain is used in woodworking, construction, and architectural finishing to modify the color and appearance of wood while allowing the grain pattern to remain visible.
2. Color Matching
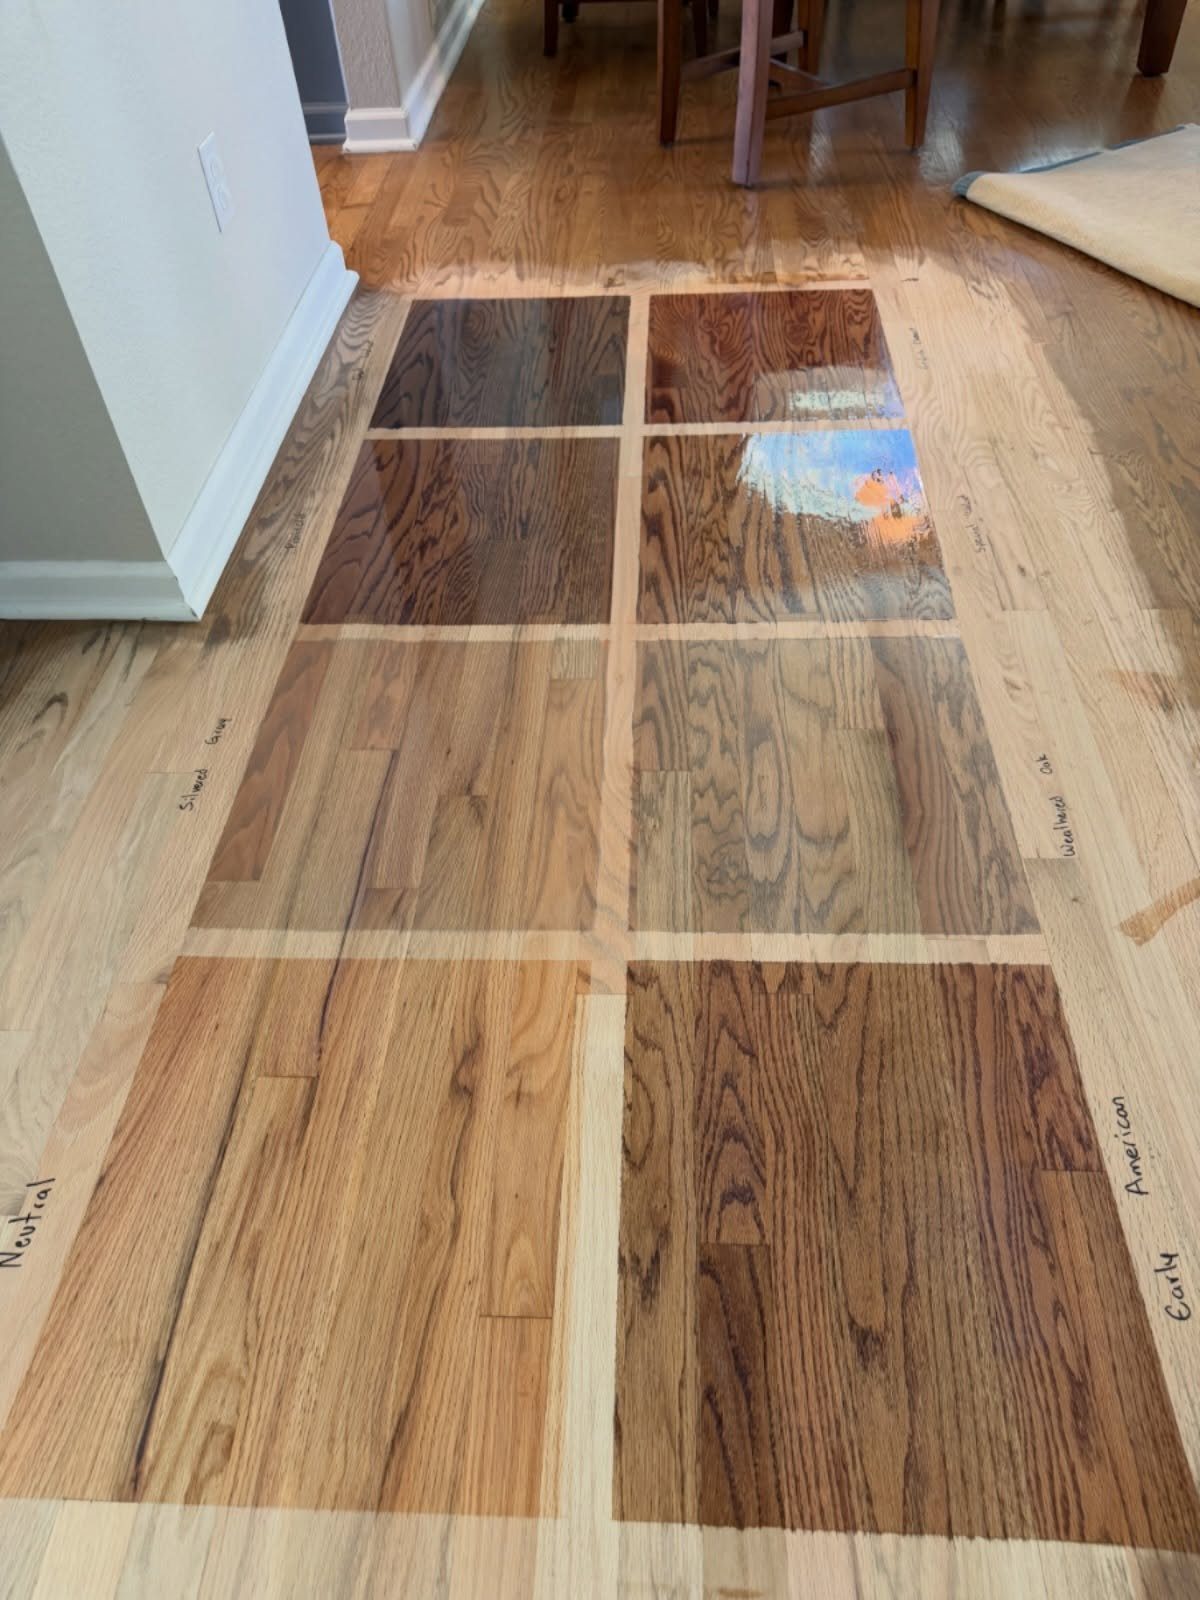
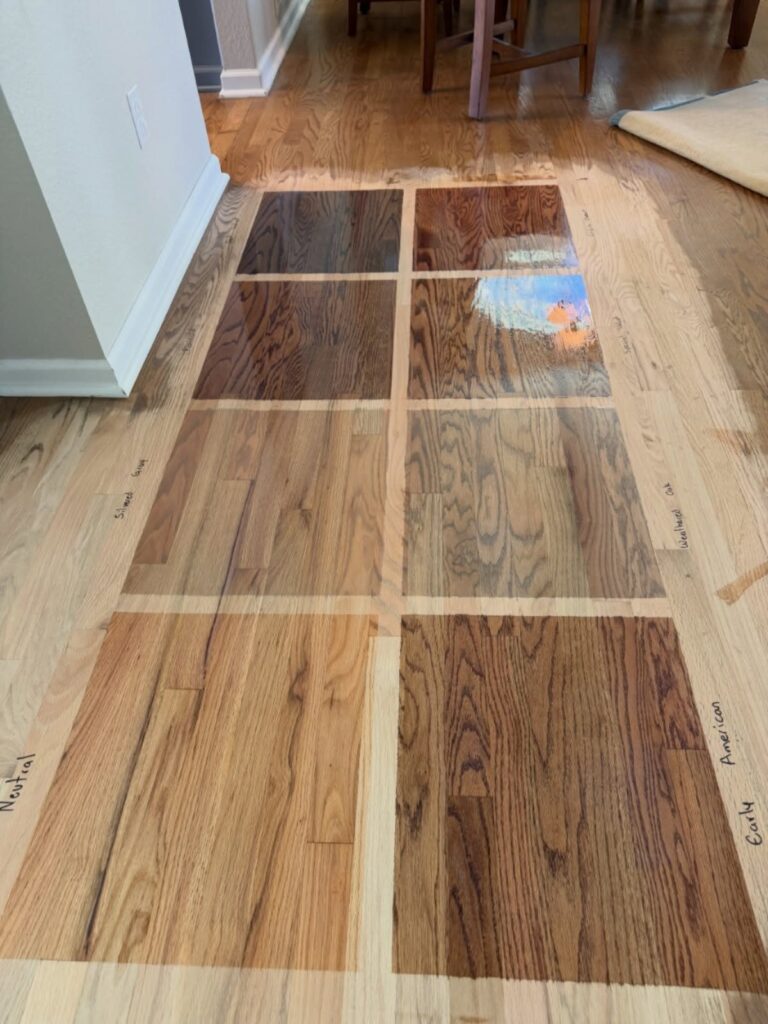
Never pick a stain from the lid of the can.
Labeled sections like "Neutral," "Early American" and "Weathered Oak" make the comparison easy, since each name stays next to its patch.
Custom colors can be matched too, so if no can on the shelf lands right, a mixed match is an option.
I would stain samples on the actual wood you plan to finish, in a spot you can see in your room’s normal light. Write the name beside each patch before you move on, or you will forget which is which.
3. Wood Graining Tool
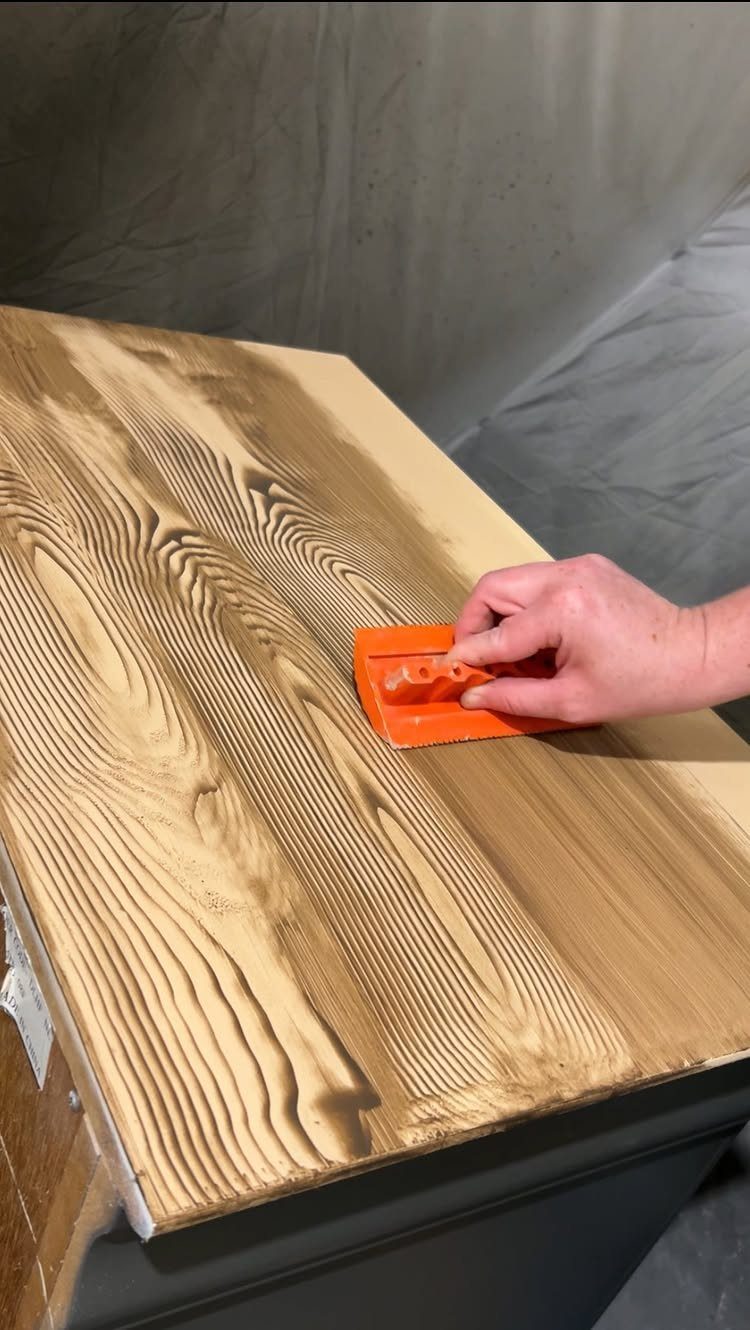
A rubber graining tool drags a grain pattern through wet stain on a light board. Plain wood can pick up a faux grain this way.
Pull the tool through the stain in one steady stroke, and rock it slightly for a pattern that looks less uniform. Wipe the tool between passes so old stain does not smear the next line.
Practice on scrap first. I like it best on flat boards, where a long, even pull is easy to manage.
4. Brush for Stain Application
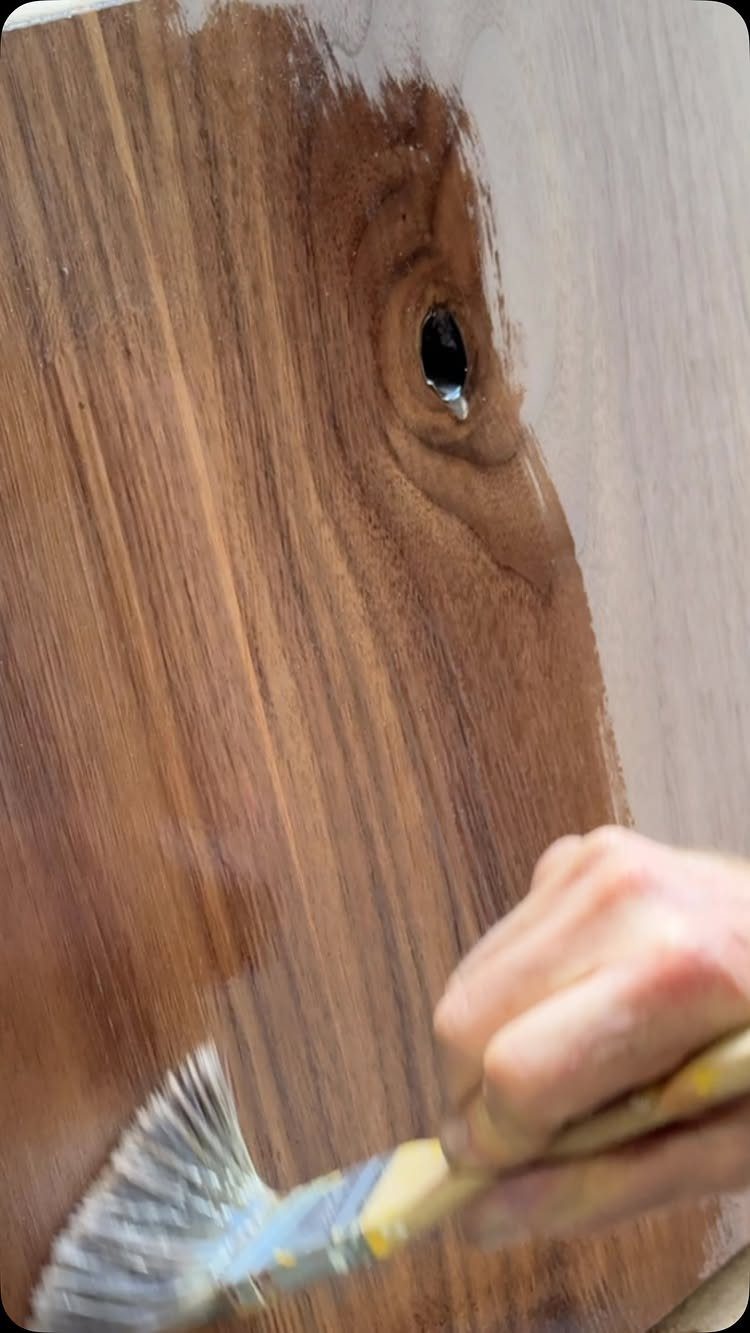
A brush gives you the most control of any applicator, and that matters around a knot like the one in this board. Stain pools in rough spots, and a brush lets you work it in and back out again.
Load the bristles lightly and brush with the grain, keeping a wet edge so laps do not show. Dark stain like this brown darkens fast, so watch for drips and catch them right away.
For an afternoon project, a brush is my default. It reaches corners and edges that other tools skip.
5. Sponge Stain Application
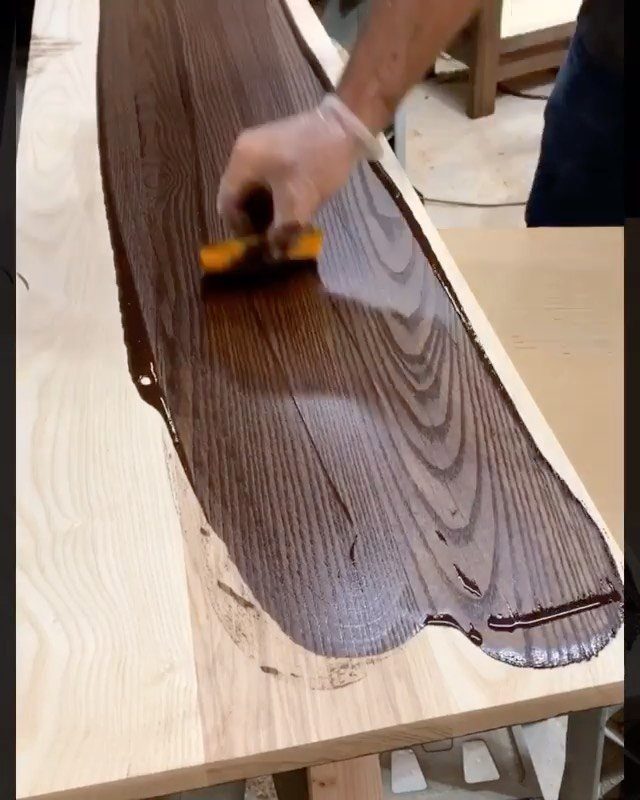
Sponges are cheap and forgiving, which makes them a good pick for wiping stain straight onto the board and watching the grain come up.
Wear gloves, wet the sponge with stain, and wipe along the grain in even passes. Squeeze out the extra so you do not leave puddles in the low spots.
A sponge holds more stain than a cloth, so it covers faster. Sponges can lay stain on heavy, so I check each pass before adding another.
6. Cloth Stain Application
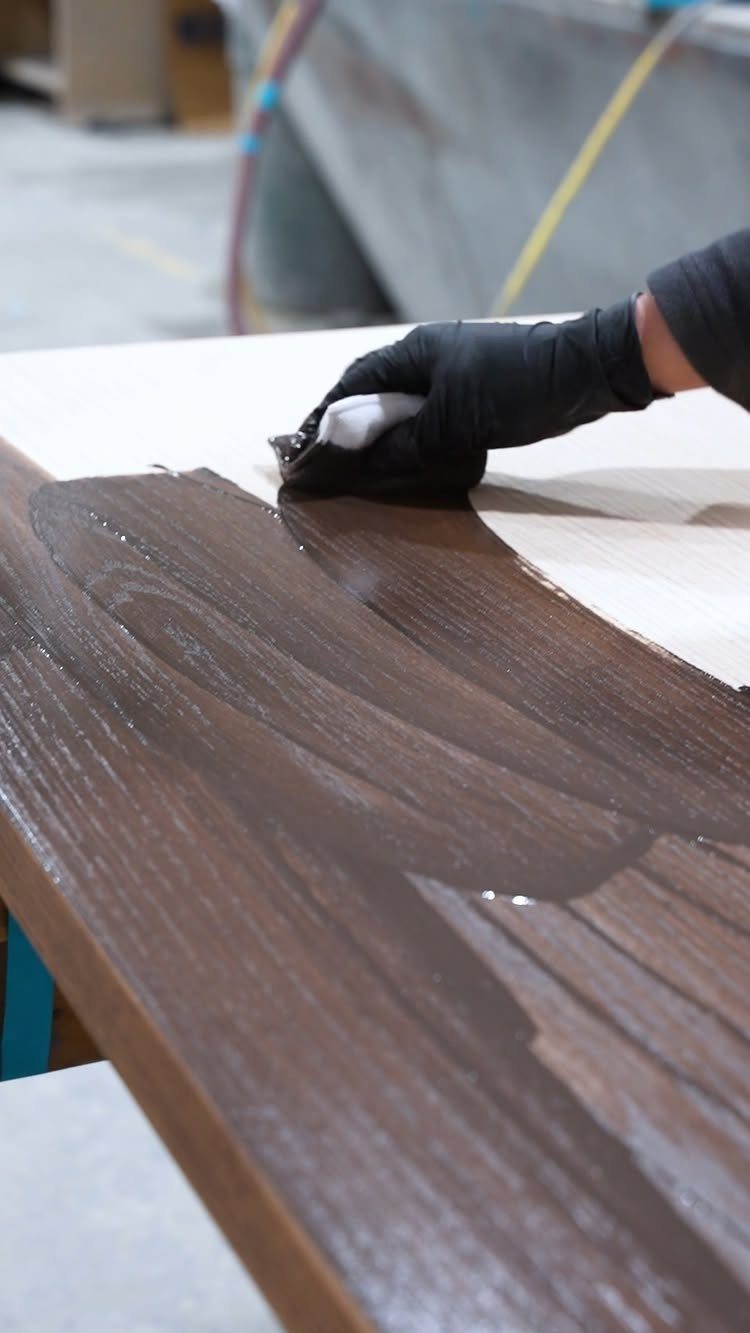
Rubbing stain in with a cloth gives the most hands-on feel of the 3 applicators. Pressure matters here: press harder and you push stain deep into the grain, press lightly and you leave a softer tone.
Wear gloves and fold the cloth into a pad so it stays manageable. Work with the grain, and use a clean section of cloth as it loads up with stain.
For highlighting natural grain, a cloth is my first choice. It also wipes off extra stain as you go, so the finish looks even.
7. Floor Applicator Staining
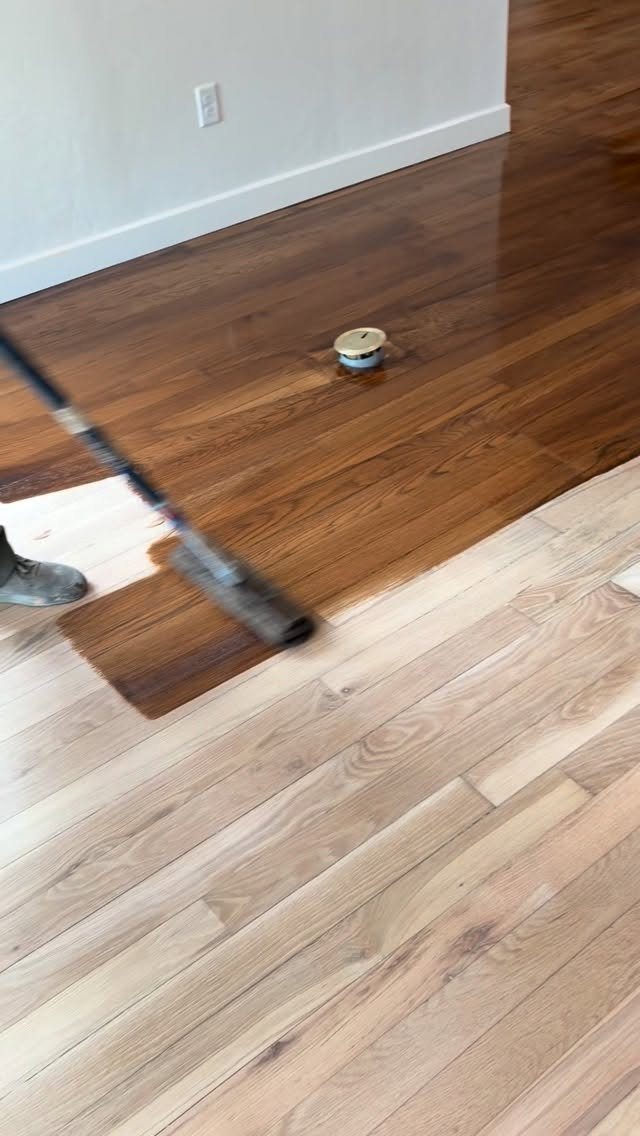
A long-handled applicator lets you stain a hardwood floor standing up, which saves your knees and your back. Dark brown on pale planks is a big color change, so every stroke shows.
Work in the direction the planks run, one or two boards wide, and keep a wet edge as you move so overlaps do not stripe.
Pour a small amount into a can like the one on the floor instead of carrying the full gallon around the room.
Plan your exit before you start, since you cannot walk back across wet stain. I would begin in the far corner and finish at the door.
8. Faux Grain Sponge Technique
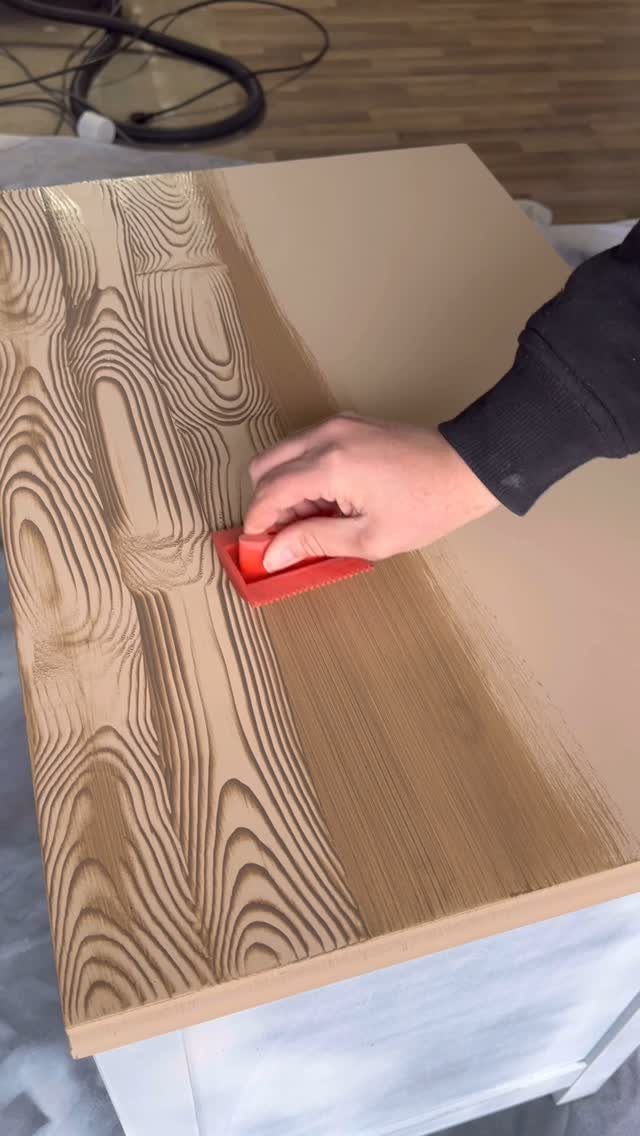
A textured sponge can fake wood grain on a smooth, flat surface. Drag it through brown stain in a long pull, and the sponge’s ridges leave thin, uneven lines that read as grain.
Load the sponge lightly, since too much stain fills the texture and blurs the lines. Pull in one direction, then lift off at the end of the board instead of twisting.
Lifting the sponge off at the end of the board, rather than twisting it, keeps the pattern from looking regular and stamped.
Compared with a rubber graining tool, a sponge is looser and less predictable. I like that for a rustic look, though it will not give you a crisp, repeating pattern.
Differences Between Stains and Finishes
Stain and finish do different jobs, so most projects need both. A stain carries pigment and a little binder into the wood, and the color ends up near the surface while the binder sits mostly below it.
That is why the grain stays visible, and also why a stain alone gives little protection.
Stain alone won’t protect a tabletop or a floor, so I top interior pieces with varnish or another clear finish once the color has dried.
It protects the wood for the long term, and it lets you choose a matte or gloss look.
Varnish adds almost no color of its own; it cures into a hard, clear film that sits over the wood and takes the wear.
Some products combine the two. I would still use them with care, since a single product has to do both jobs.
Stains built on metallic pigments like iron oxide look more opaque, since those particles sit in the grain and hide some of it. Their particles are larger and do not soak in as well.
Durability of Wood Stains
Stain type affects how long the job lasts.
Oil-based stains use mineral spirits or a similar solvent as the carrier. They soak in slowly, which gives you more working time on porous wood, and they are common outdoors because they weather gradually instead of peeling or cracking.
Water-based stains dry faster, smell less, and clean up with water. Newer formulas may include acrylic or urethane binders for better durability and color retention.
For anything outdoors, check the label for UV absorbers, water repellents and mildewcides. Those additives matter as much as the carrier.
Results also shift with wood species, moisture content, climate and surface prep.
A penetrating stain that fades can usually be cleaned and recoated, with no need to strip the whole surface. Check your local VOC limits before buying, since they can decide which type you can sell or use in your area.
Frequently Asked Questions
What’s the difference between a wood stain and a wood finish?
Stain colors the wood, while a finish protects it. Pigment is what a stain mostly delivers, plus a thin film of binder near the surface; the grain shows clearly, but the wood gets little protection from it.
A clear finish like varnish cures into a hard film over the wood, takes the wear, and lets you pick a matte or gloss look, so most projects need both.
What are the different ways to finish wood?
You can color it with stain, cover it with paint, or protect it with a clear finish such as varnish.
Stain soaks in and lets the grain show, while paint sits on top and hides it. For tabletops and floors, I put a clear finish over the dried stain, since stain alone gives little protection.
How can I create a wood grain look when painting?
Start with a base coat, add a glaze, then pull a graining tool through the wet layer to mimic wood grain.
On a flat board, pull a rubber graining tool through the wet glaze in one steady stroke, and add a slight rock of the wrist when you want the lines to look less even.
What does “stain grade wood” mean?
Stain grade wood is lumber or trim meant to be colored with stain, so its grain shows through the finish.
Stain is a coloring product with pigment suspended in a vehicle such as water, alcohol or a petroleum distillate, and it either soaks into the fibers or stays near the surface.
Because stain does not hide the surface, the wood underneath should look good bare.






