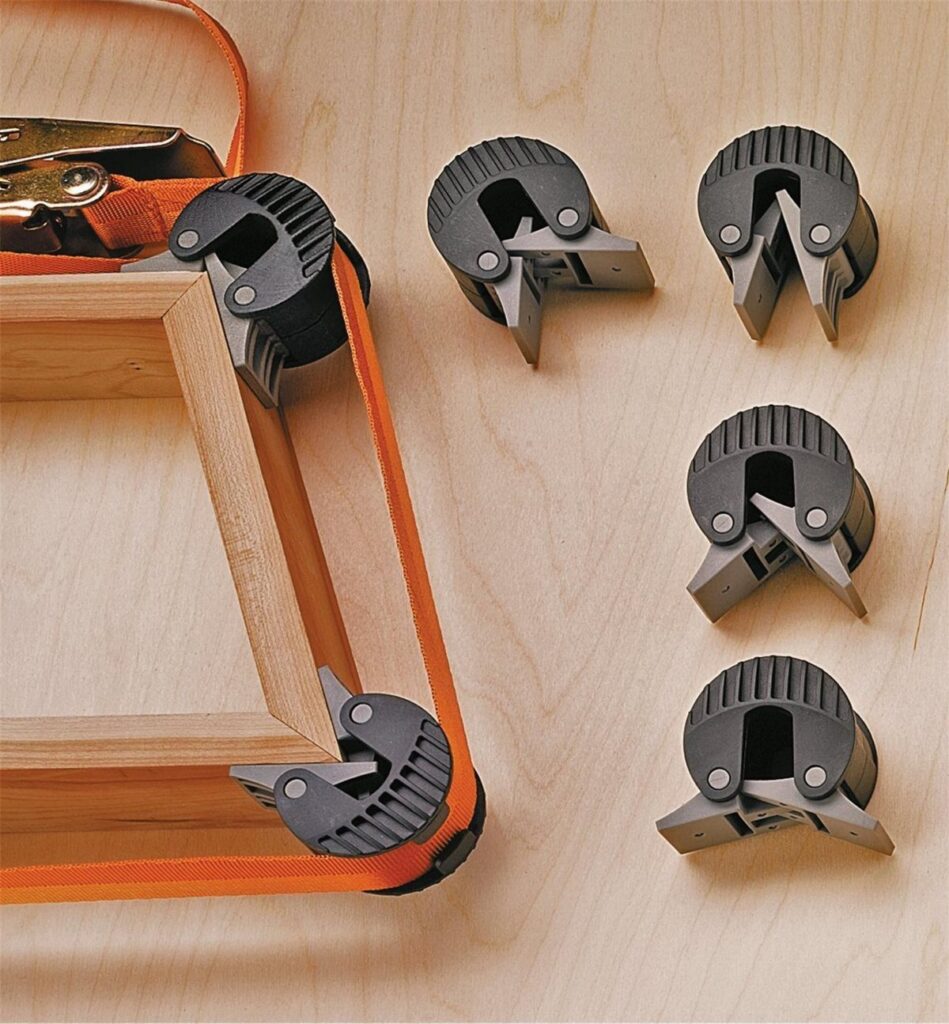
Every item below assumes a corner you can square on the bench, like a picture frame or a box, where 45-degree cuts add up to a true 90 degrees.
The ideas run from a saw set to 45 degrees and a pencil mark on the inside of the joint, to right-angle clamps and biscuit slots for strength, plus a test fit, the common mistakes, safety tips and how your material changes the cut.
Cut every piece on scrap first, because a saw that is off will repeat the error at every joint.
1. Right-angle Clamps
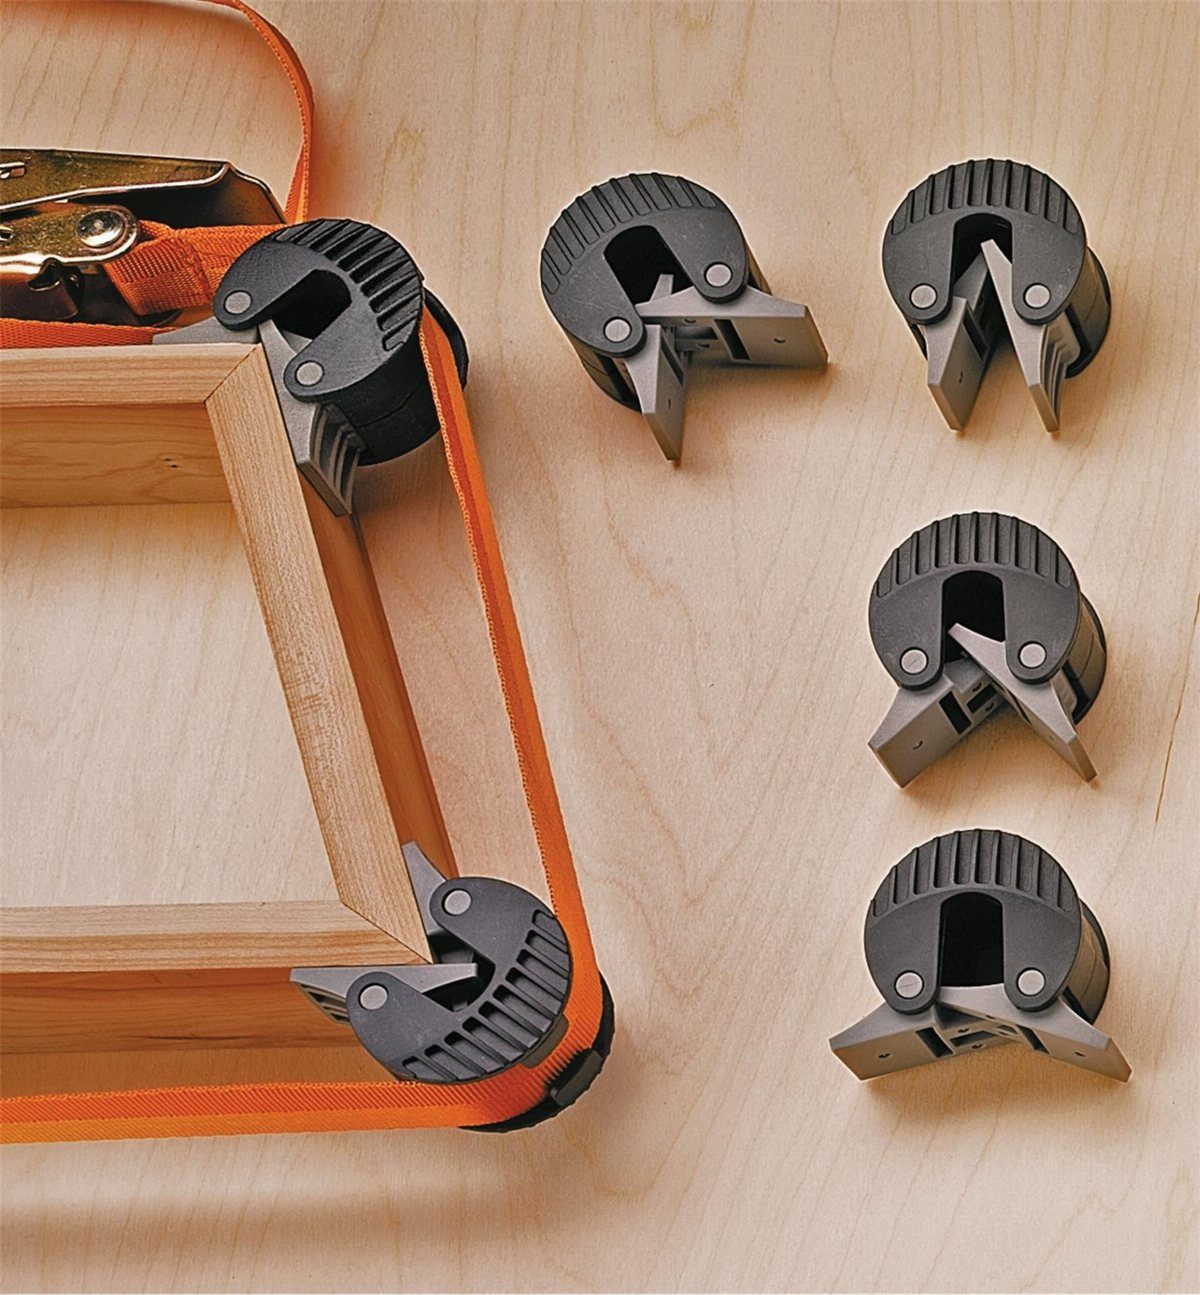
A miter joint wants to slide the moment glue hits it, and right-angle clamps stop that. Each clamp grips 2 pieces at a true right angle, so the corner stays square while the glue sets.
On a picture frame like this one, I like a clamp at every corner plus a strap around the outside.
The clamps hold the angle, and the strap pulls every joint in at once. Check each corner with a square before the glue grabs, because a frame that dries out of square is hard to fix.
Wipe squeeze-out right away, and pad the jaws if the wood is soft.
2. Reinforcing Miter Joints with Biscuits
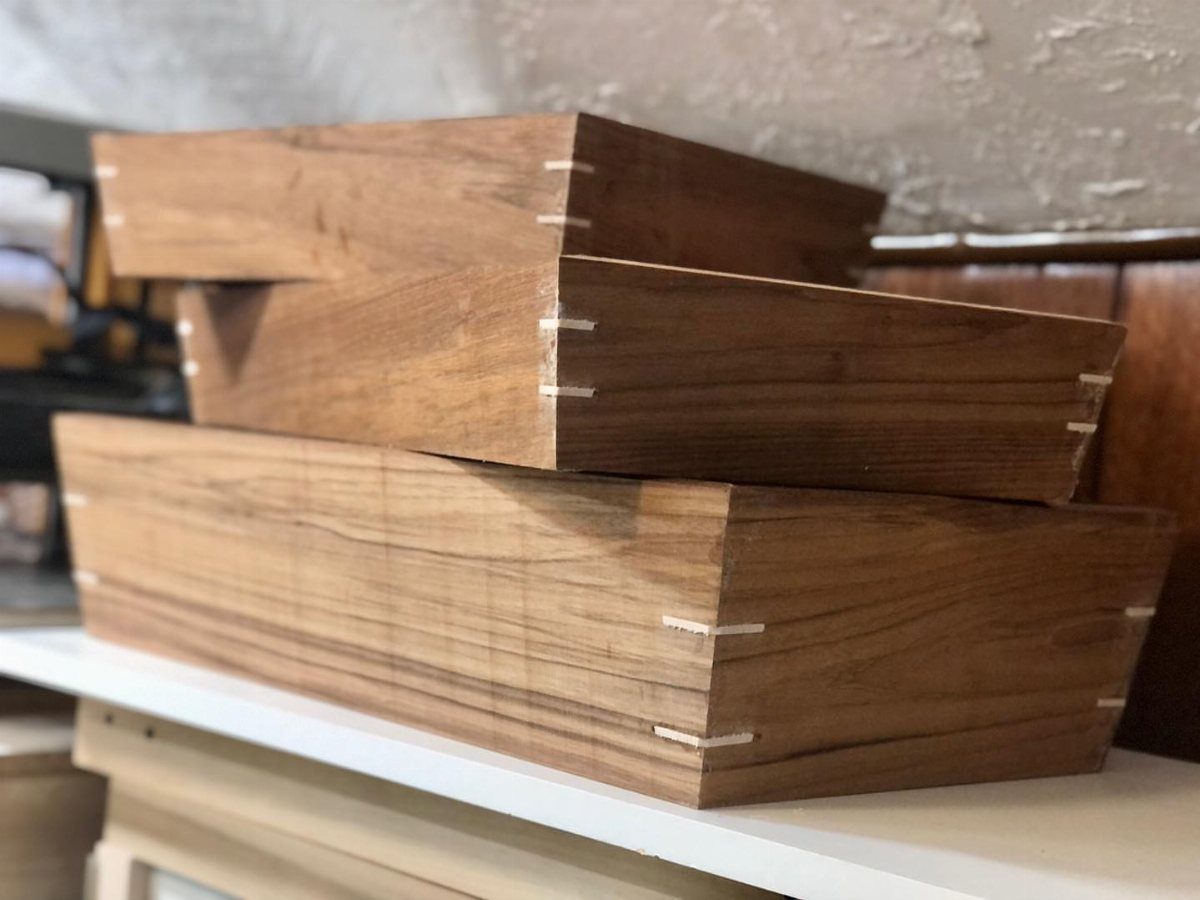
Biscuits add strength to a miter joint, which is otherwise end grain meeting end grain, a weak glue surface.
A biscuit slot cut across the joint puts a piece of wood inside the corner, so the glue has more to hold.
Boxes like these stacked ones are a good fit, since the corners take handling.
Cut the slot in both mating pieces, and dry fit before any glue goes on. Biscuits sit hidden inside the joint, cut into the mating faces where nobody sees them.
Slot cutting takes a biscuit joiner, so budget for that if your shop doesn’t have one.
3. Test Fitting Mitered Pieces
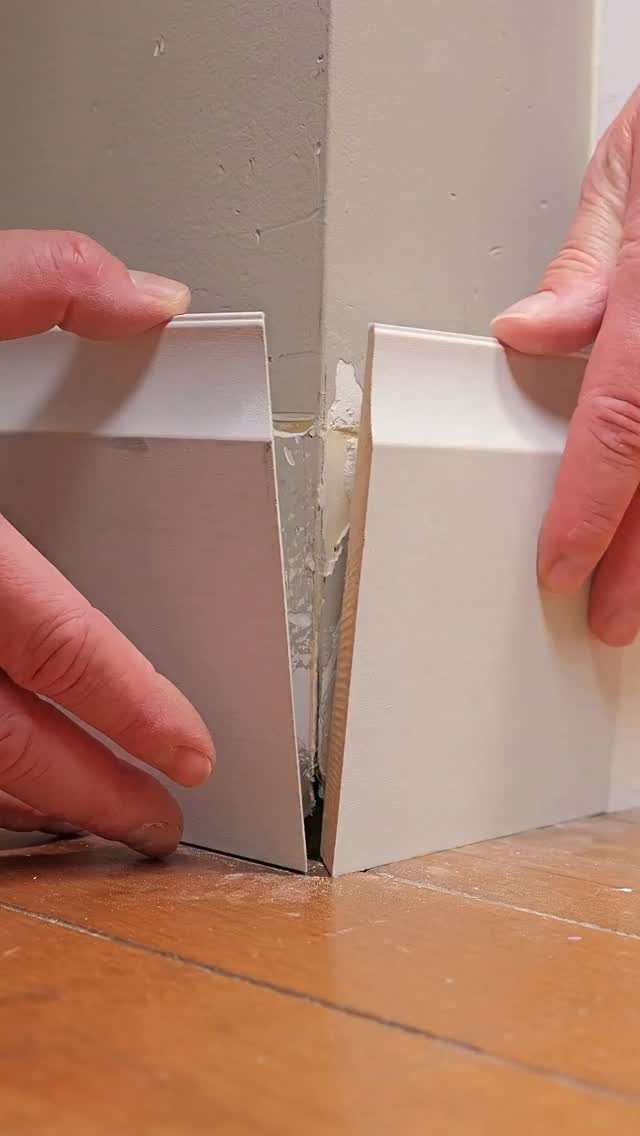
Baseboard shows every gap, so a dry fit in the corner is worth the minute it takes. Hold the 2 mitered pieces against the wall and look at the seam before you nail anything.
Walls are rarely a perfect 90 degrees, so a cut set to 45 may need a small adjustment. Trim a little, then test again.
I would rather waste one offcut than pull a nailed piece off the wall. Cut long, fit, then trim.
4. Cutting 45-degree Angles
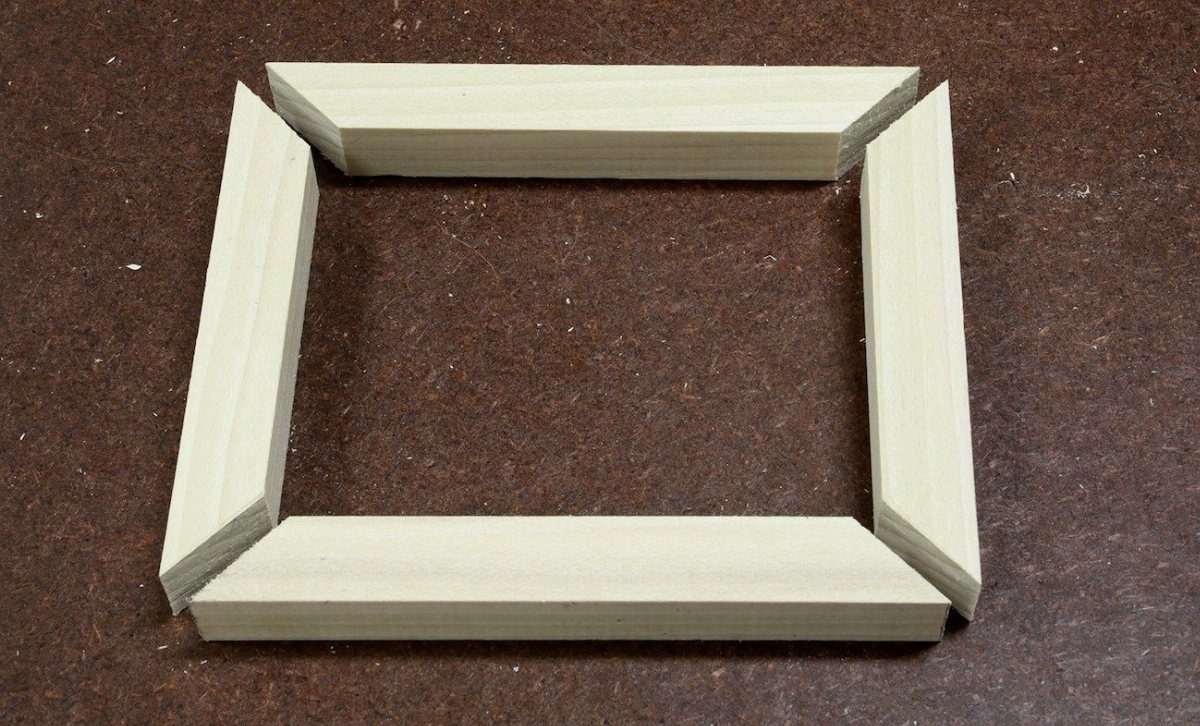
The whole idea of a mitered corner is that two pieces, each cut at 45 degrees, meet to form a 90-degree corner, and the angle has to be right on every cut.
Set the saw to 45 degrees and make a test cut on scrap.
Join 2 scrap ends and check them with a square. If the corner is off, the saw setting is off, and every joint will repeat the error.
Cut opposite pieces to the same length, and mirror the angles so the long points face outward. Matching lengths keep the frame closed and square.
5. Marking the Inside of the Joint
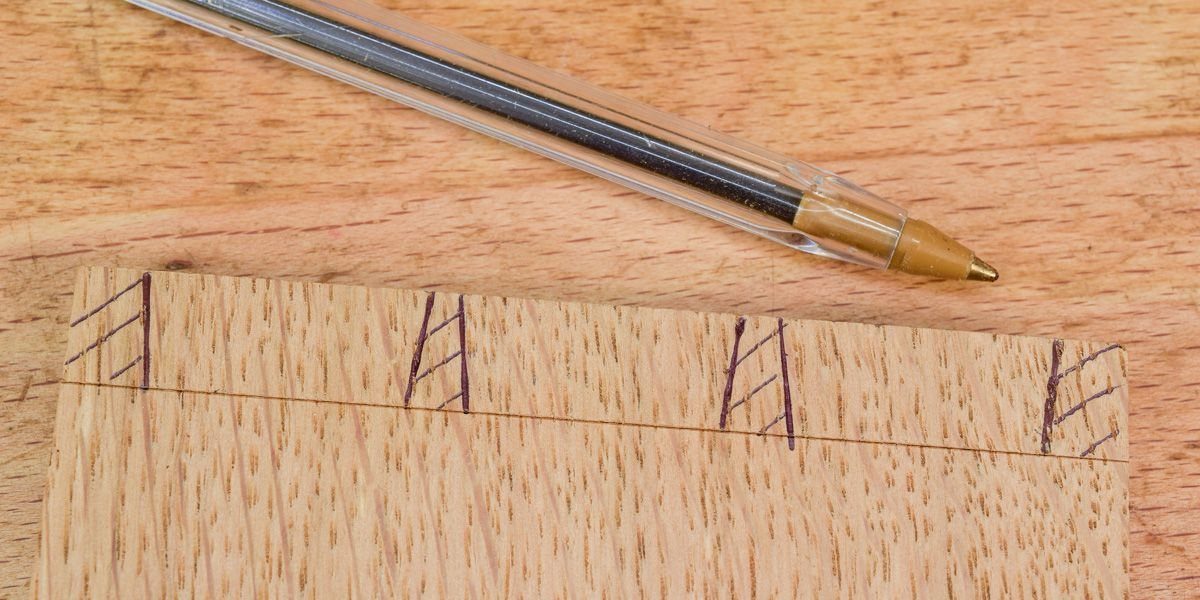
Mark the inside of the joint, the short point of the miter, because that is the measurement that decides whether the frame fits its contents.
Use a sharp pencil and a fine line. A pen can work for visibility, but ink won’t erase and can bleed into light wood, so I stick with pencil for anything I plan to finish.
Mark each piece, then cut just outside the line and sneak up on it. Label the pieces too, so each one meets its matching corner during assembly.
Common Mistakes
Gaps usually come from one of two places: a room corner that isn’t a true 90 degrees, or a saw that isn’t cutting accurately. Check the saw first with scrap, and if it’s fine, blame the wall.
For out-of-square corners, use offcuts of the same trim to find the angle the corner needs by trial and error. Then transfer that angle to your good pieces.
Check how you cut, too. Pivoting the saw to the left or right will usually drop into a 45-degree detent, and that stop tends to cut truer than tilting the blade for a compound angle.
A board too wide to stand against the fence has to go flat on the table, and then the blade does the tilting.
On inside corners of trim, skip the miter and cope the joint instead. From the front it reads as a miter, but it hides small gaps better and is less likely to pull apart as the wood moves.
Safety Tips
Wear eye protection every time the saw runs, and keep your work area clear so nothing catches your hands or the cord.
Clamp or hold the workpiece firmly against the fence before you start the cut. Keep your hands well away from the blade path, and let the blade stop spinning before you lift the cut piece.
Small mitered offcuts are easy to launch, so don’t reach in to clear them while the saw is running.
Material Considerations
Miter joints are mostly decorative.
They let a detailed molding wrap a corner without breaking the pattern, which is why you see them on window and door trim and on picture frames. They add little strength, so match the joint to the job.
For large, ornate molding or rooms with out-of-square corners, a coped joint gives a more professional result. One piece is cut square and sits in the corner, and the other is shaped to fit its profile.
For frames, I cut both pieces from the same board when I can, so the grain runs on around the corner without a break.
A 45° miter joint is the perfect means for joining two pieces of molding in a 90° corner (such as case molding around a window). Unfortunately not all such corners are exactly 90 degrees, so the miter joint has to be adapted to fit tightly.
Frequently Asked Questions
How do I cut baseboard trim using a miter saw?
Before the real trim comes out, I set the saw to 45 degrees, cut two scrap ends, and hold them together against a square to see whether the corner closes at a true 90.
Then hold the two pieces in the corner before nailing, since walls are rarely a true 90 degrees and a small angle adjustment may be needed.
How do I cut nice mitered corners?
Start by finding out which part is off: the saw or the room. Check the saw on scrap with a square first; if it cuts true, the wall corner is probably not 90 degrees.
If the corner is out of square, I fit offcuts of the same trim into it, adjust until the joint closes, and copy that angle onto the good pieces.
What tools do I need for miter joints?
A miter saw, wood glue, a pencil, and clamps cover the basics.
Right-angle clamps work well for frames, and a strap around the outside pulls every corner in at once. A biscuit joiner adds strength, and a plain miter needs it, because end grain meets end grain and holds glue poorly.
Should I miter or cope inside corners of trim?
Cope them. A coped joint looks like a miter from the front but hides small gaps better and is less likely to pull apart as the wood moves.
The first board runs square into the corner, and the second gets its end cut to follow the profile of the first.






