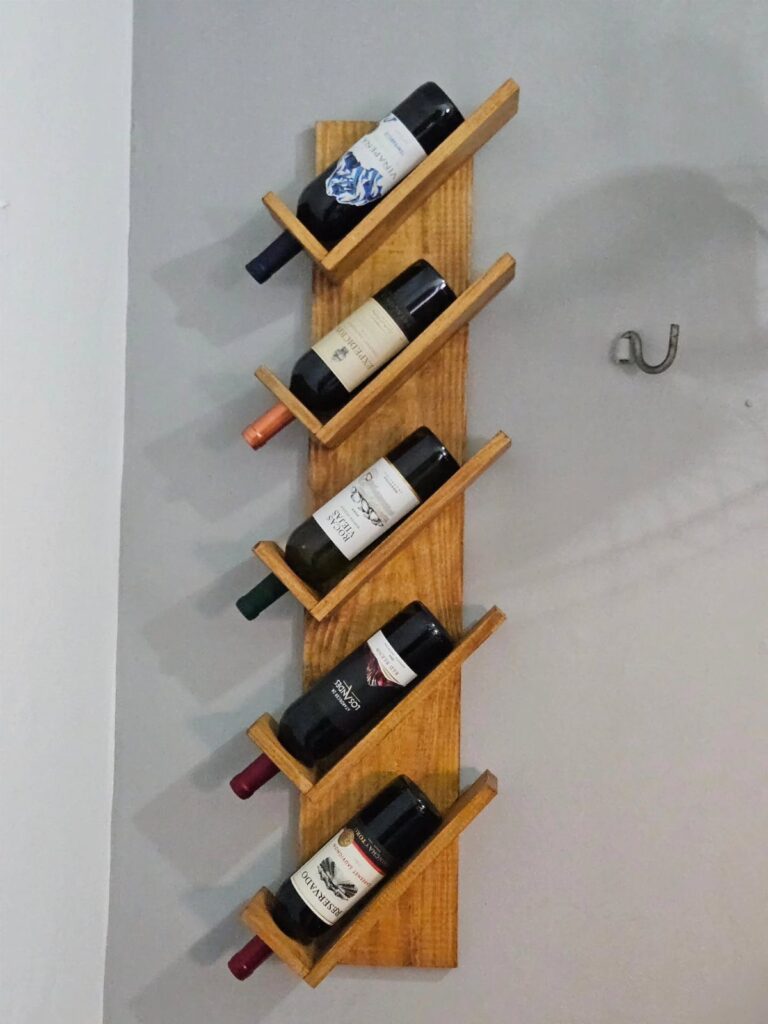
Most of these useful wood projects fit one afternoon with a saw, a drill and sandpaper, and the range runs from a five-bottle wine rack built from leftover boards to a coffee table that wants a full weekend.
The rule that picks yours is how much time you have before you start: a short stretch points to something cut from a single board, like the key holder or step stool, and a free weekend opens up the glued-up top and the bench with a backrest.
Pine keeps a first build cheap, though the last sections cover why a hardwood teaches more.
1. Wine Rack
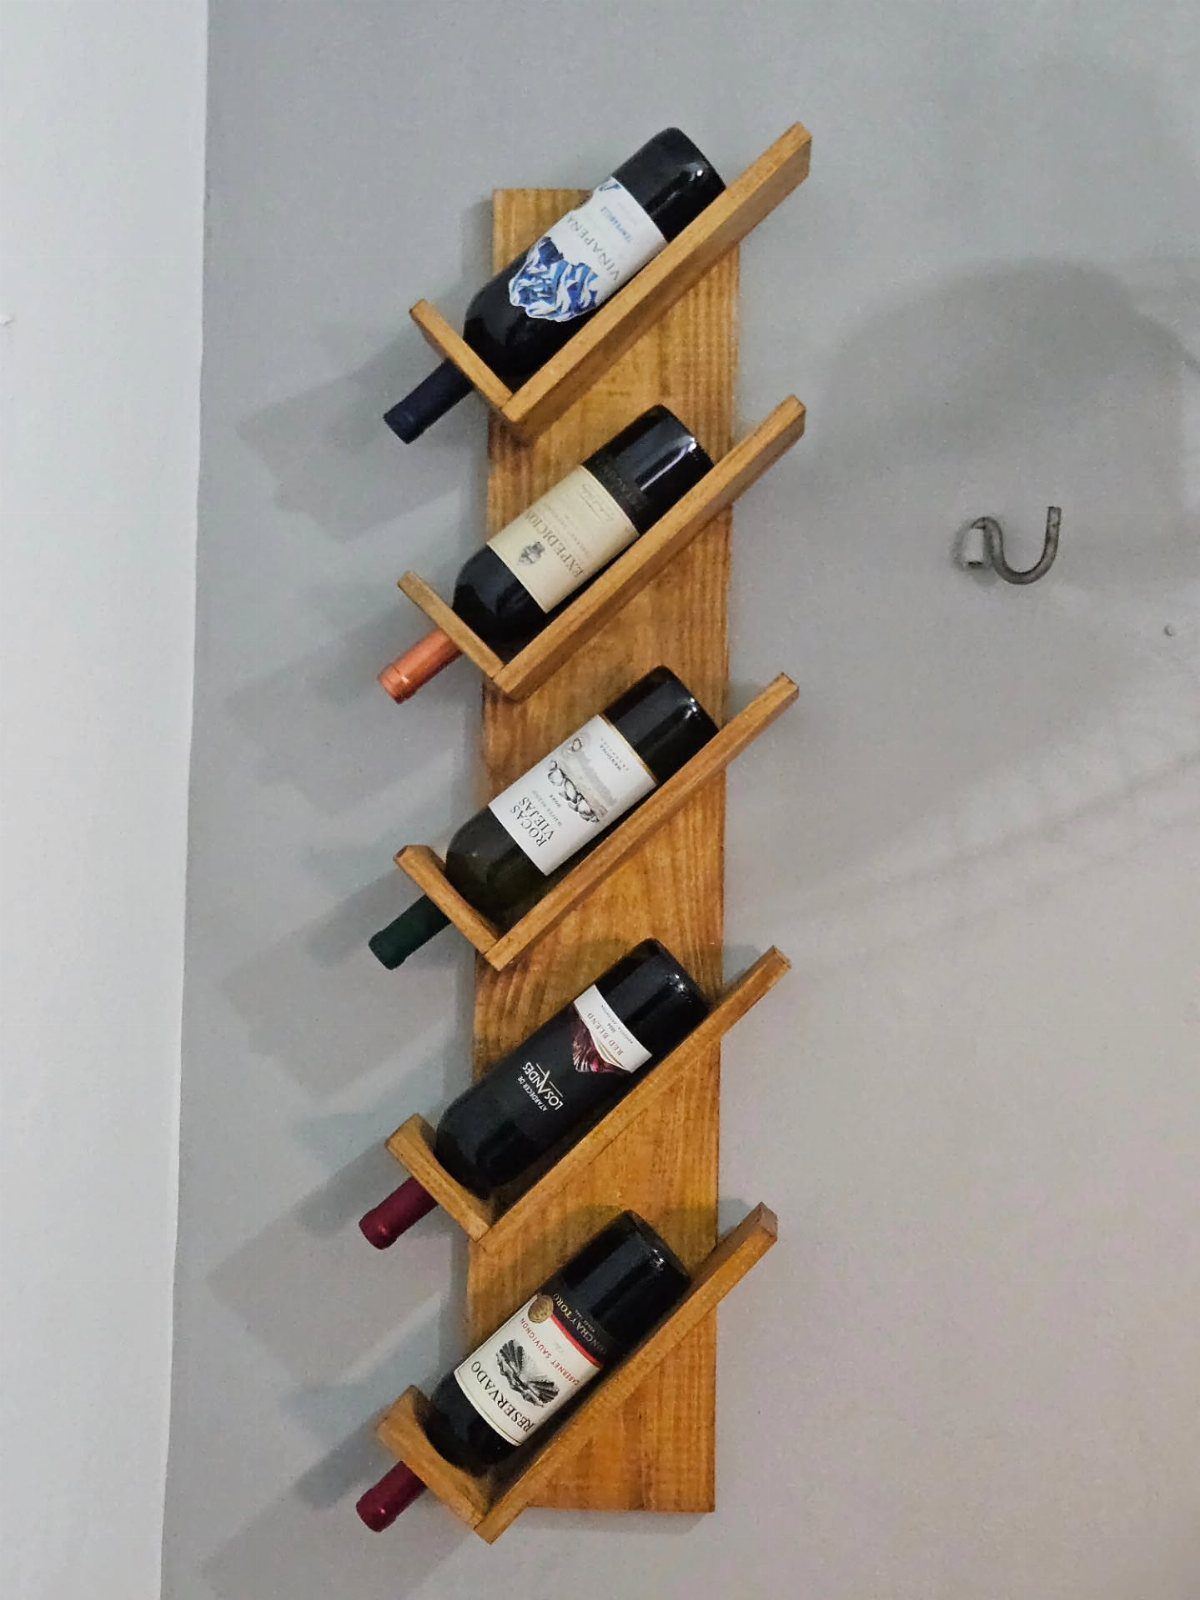
Diagonal slots keep bottles angled, so the wine stays against the cork and the rack reads as a small piece of wall art.
The five-bottle size works because it asks for little lumber and one short afternoon with a saw, a drill and sandpaper.
Cut the slots carefully and sand the edges smooth before you hang it. Leftover boards from other projects are enough here.
A single hook mounted beside the rack is an easy add-on, and it holds a corkscrew or a small towel right where you need it.
2. Floating Shelves
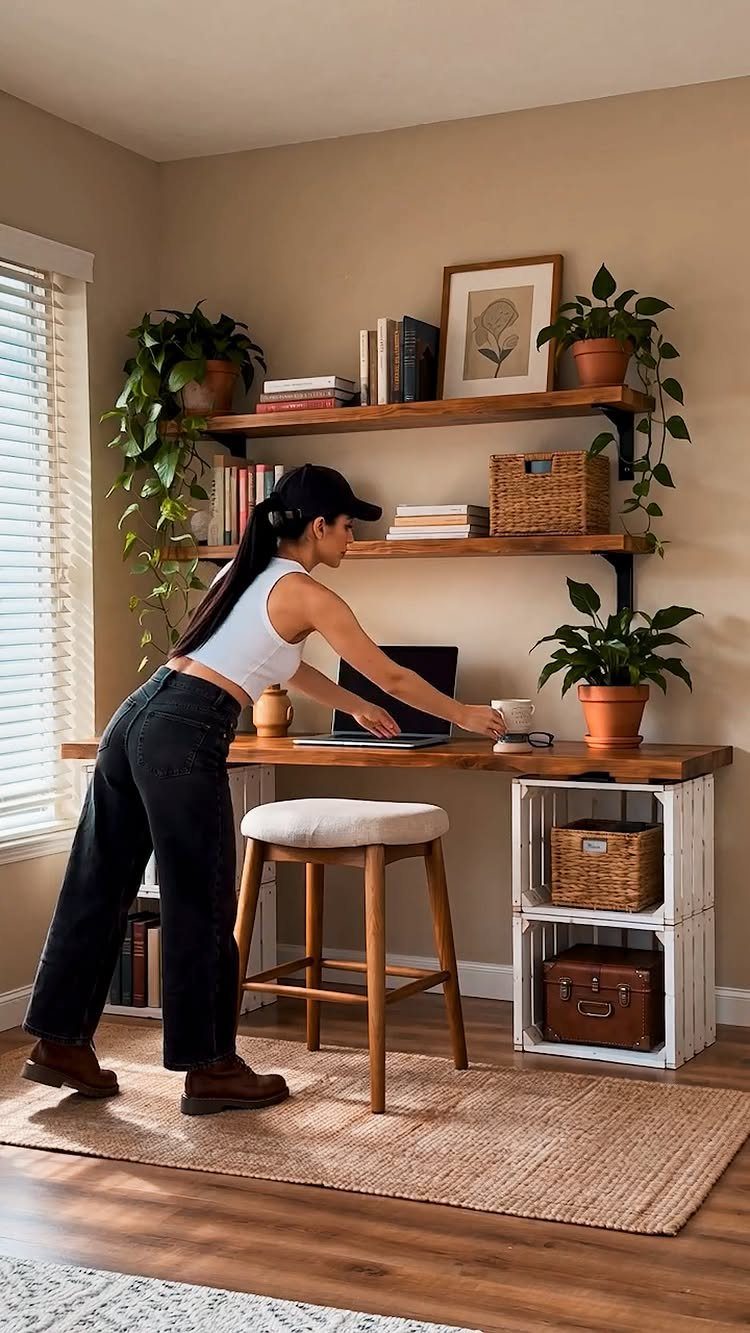
Floating shelves are the quickest way to add storage above a desk without eating floor space. A plain board and hidden brackets make an afternoon project with tools most people already own.
Pick a hardwood or plywood with a good face, sand it through the grits, and finish it to match the desk below. Matching the wood tones makes the whole corner look planned.
Hit a wall stud with the mounting hardware whenever you can, since books are heavier than they look.
3. Desk Organizer
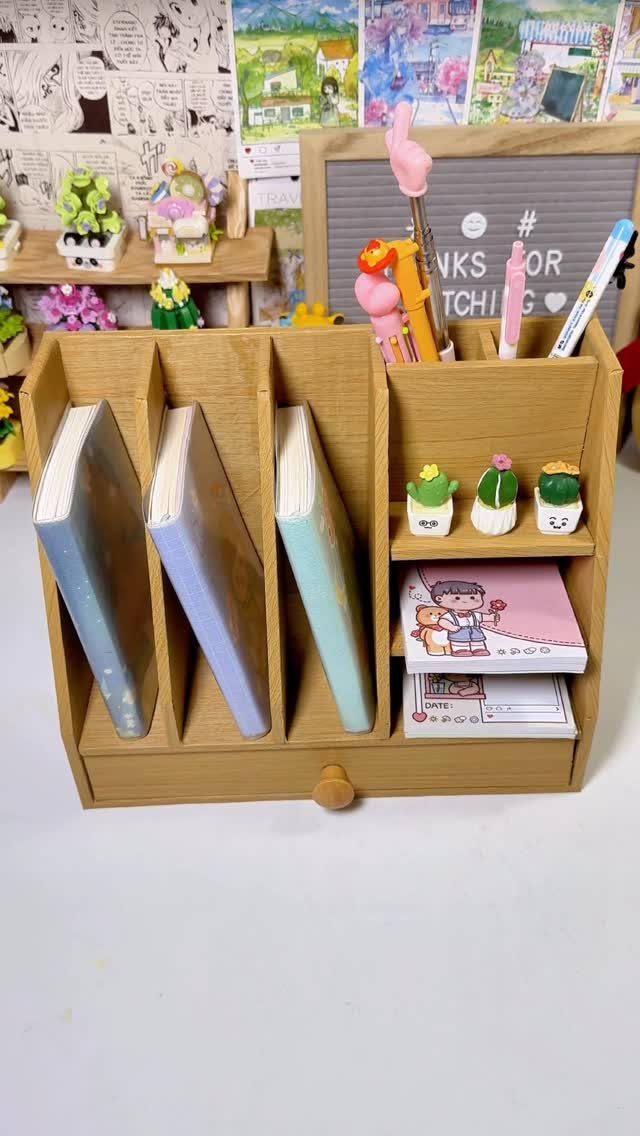
Pens, notebooks and a few small desk toys need one spot, and a wooden organizer gives them a home that doesn’t look like office plastic. Mine would have open compartments of different sizes: tall for pens, wide for notebooks.
Rip a few scraps, glue them into a grid or box, and clamp until dry. Sand the inside edges well, because pens and paper catch on rough grain.
It sells easily at craft fairs too, since the materials cost so little.
4. Storage Bin
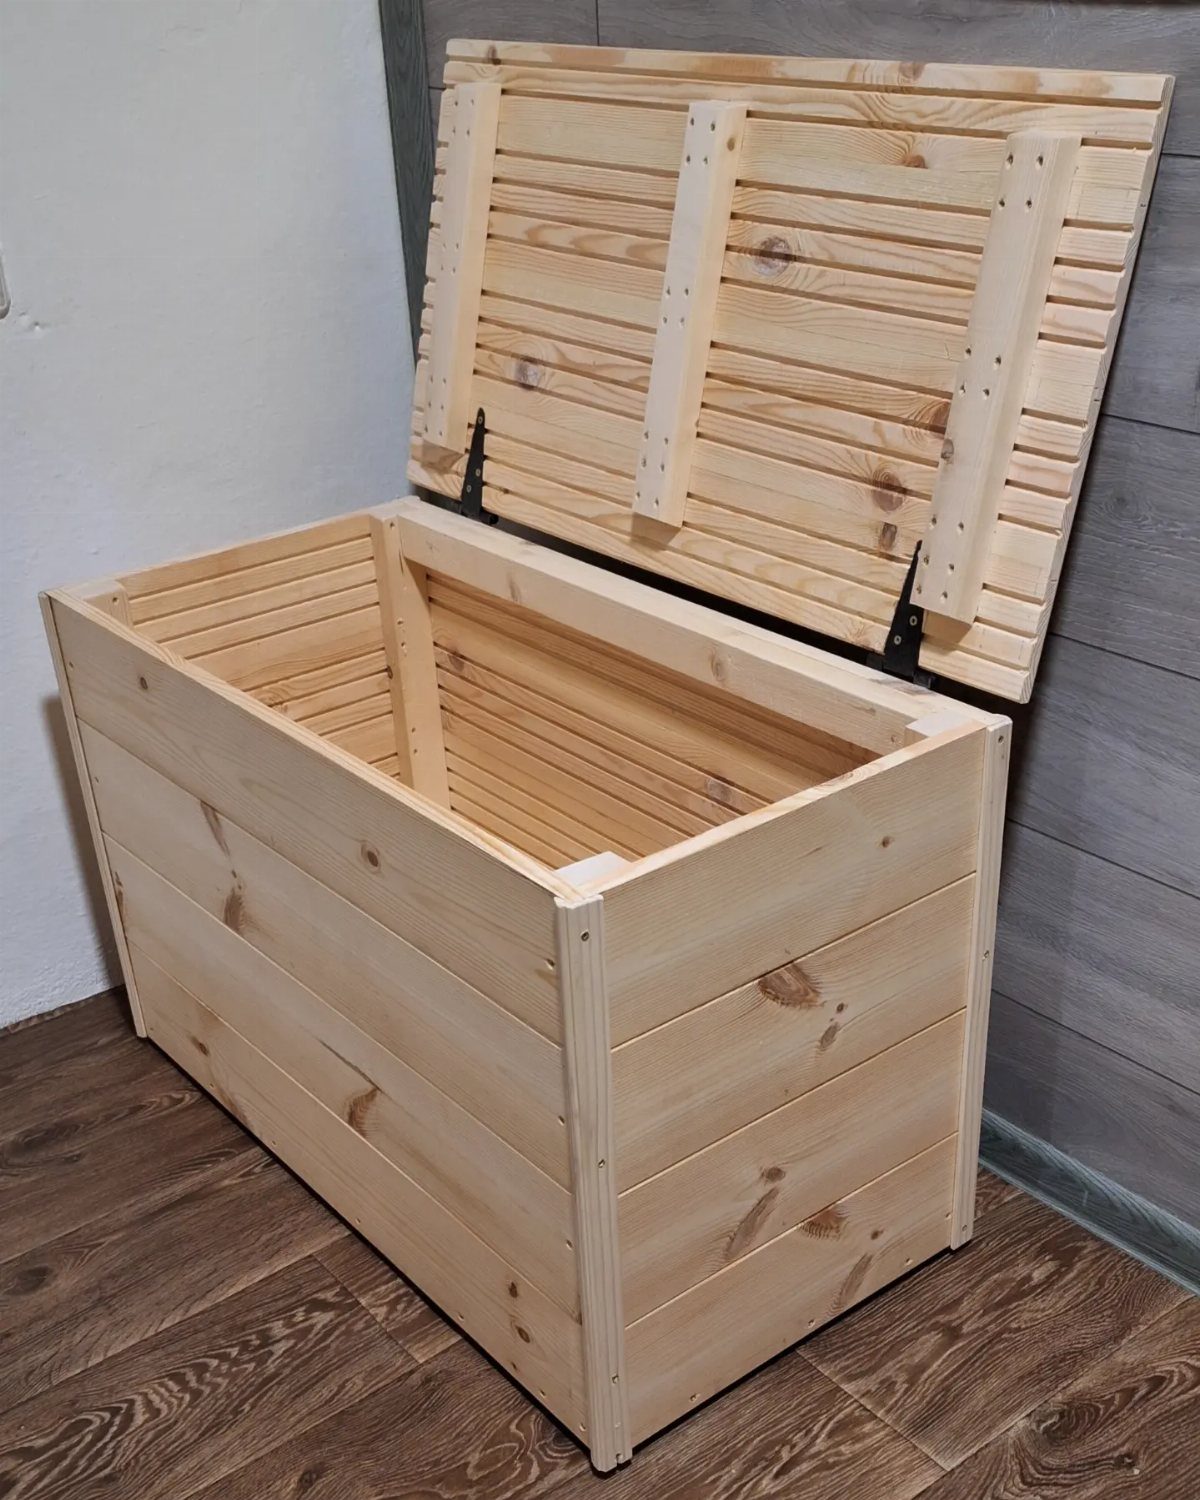
Light pine planks and a hinged lid make a storage chest that suits toys, blankets or shop gear. Pine is cheap, cuts easily and takes stain well, which is why I’d choose it for a first chest.
Leave the finish natural if the chest will sit in a plain room, or stain it for a warmer look. Either way, sand every edge before you fit the hinges.
The lid is where this build goes wrong: set the hinges square, or it will sit crooked.
5. Step Stool
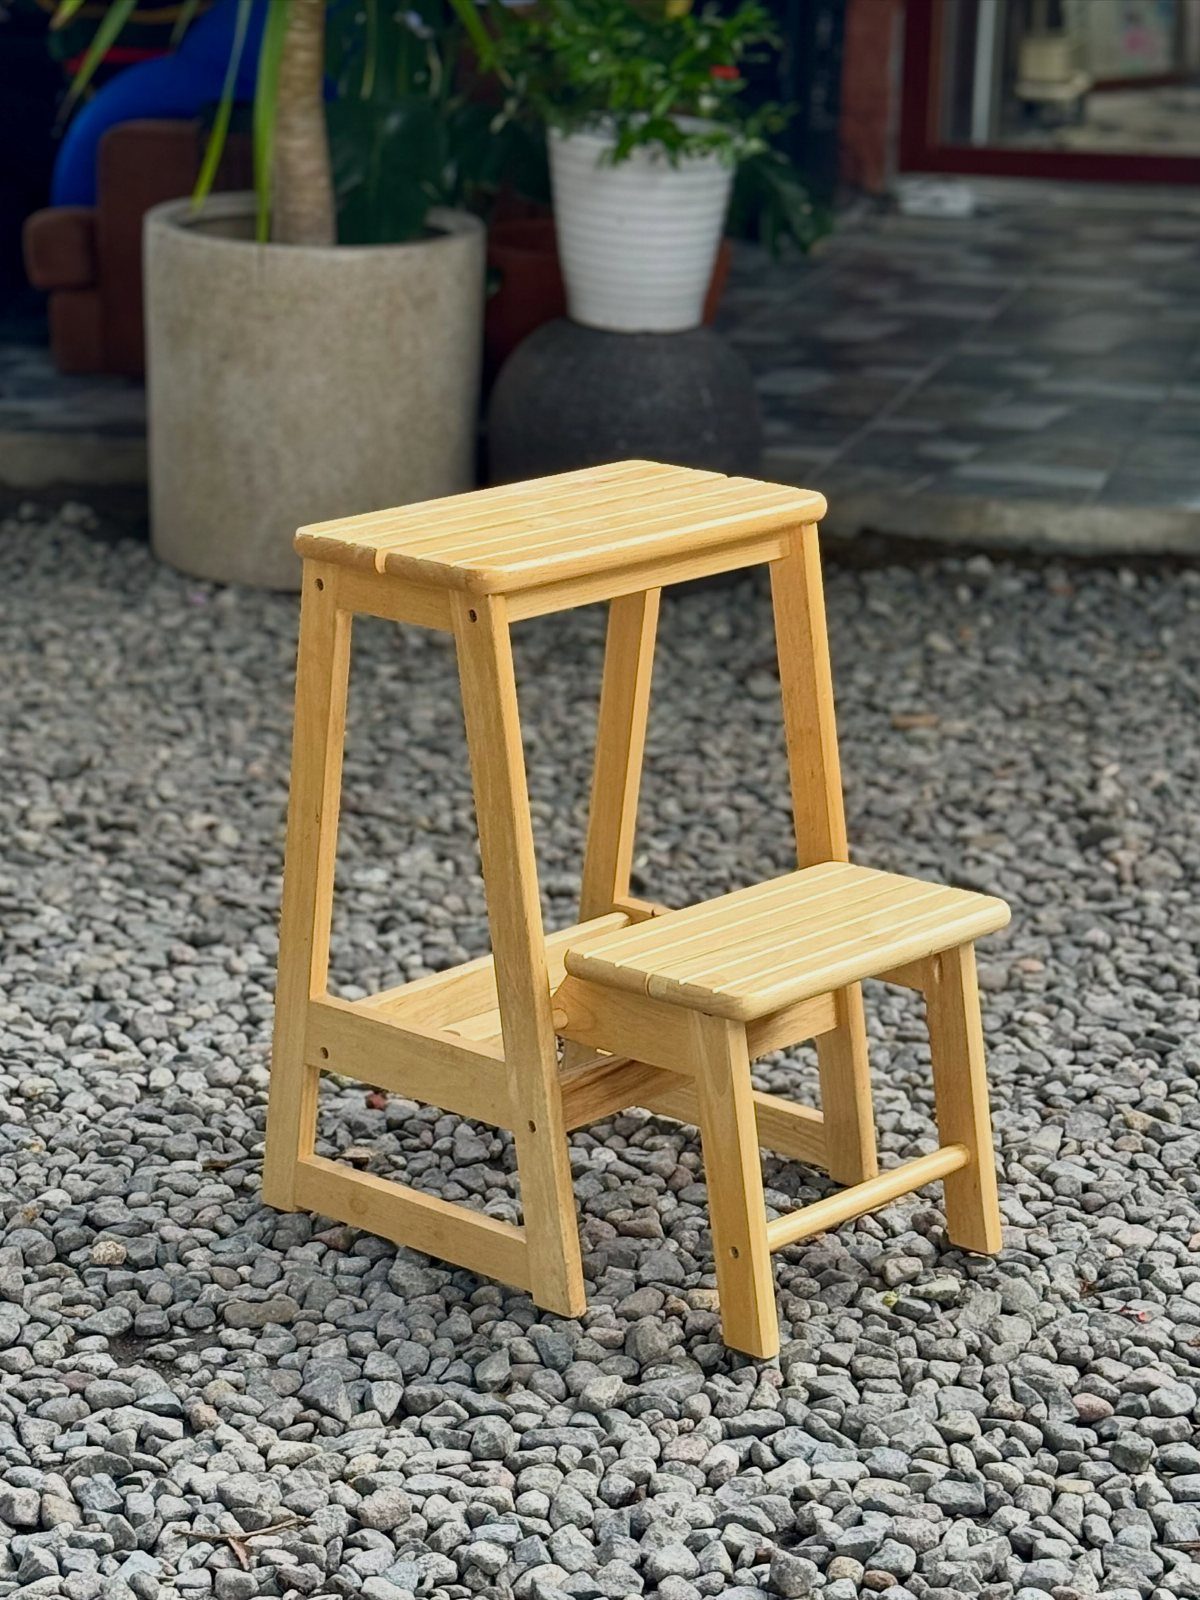
Two steps is all most kitchens and closets ever need, and a two-step stool is small enough to build from one or two boards. Short on time, this is a solid choice.
A natural finish like clear oil or wax keeps the grain visible, and it makes the stool easy to touch up later with a quick rub of fresh coat.
Glue and screw each joint, since a step takes weight right on the joints.
Round over the edges with sandpaper so nothing bites your legs when you carry it.
6. Three-Legged Stool
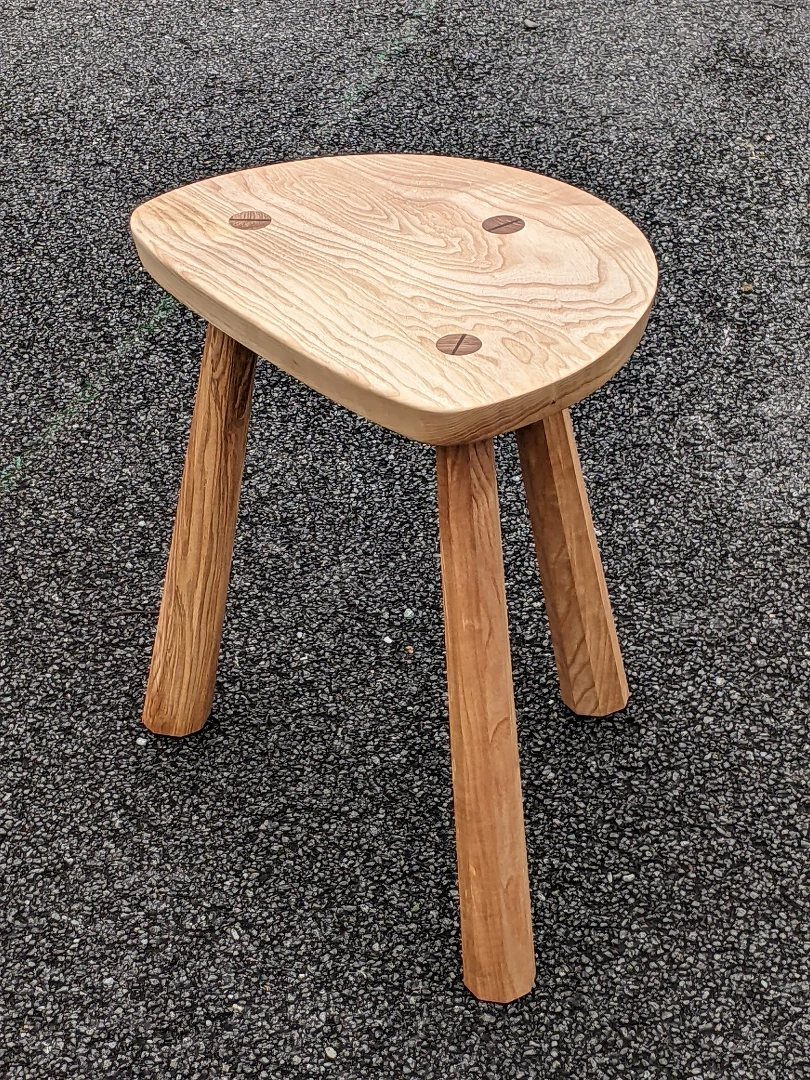
A rounded oval seat on three legs is about as simple as seating gets, and three legs never rock on an uneven floor. That alone makes it forgiving for a beginner.
Cut the seat from one solid board, and sand the top smooth. Drill the leg holes at a slight angle so the legs splay outward and the stool feels steady.
A drill, a jigsaw and sandpaper cover most of the build, which fits an afternoon.
7. Shop Workbench
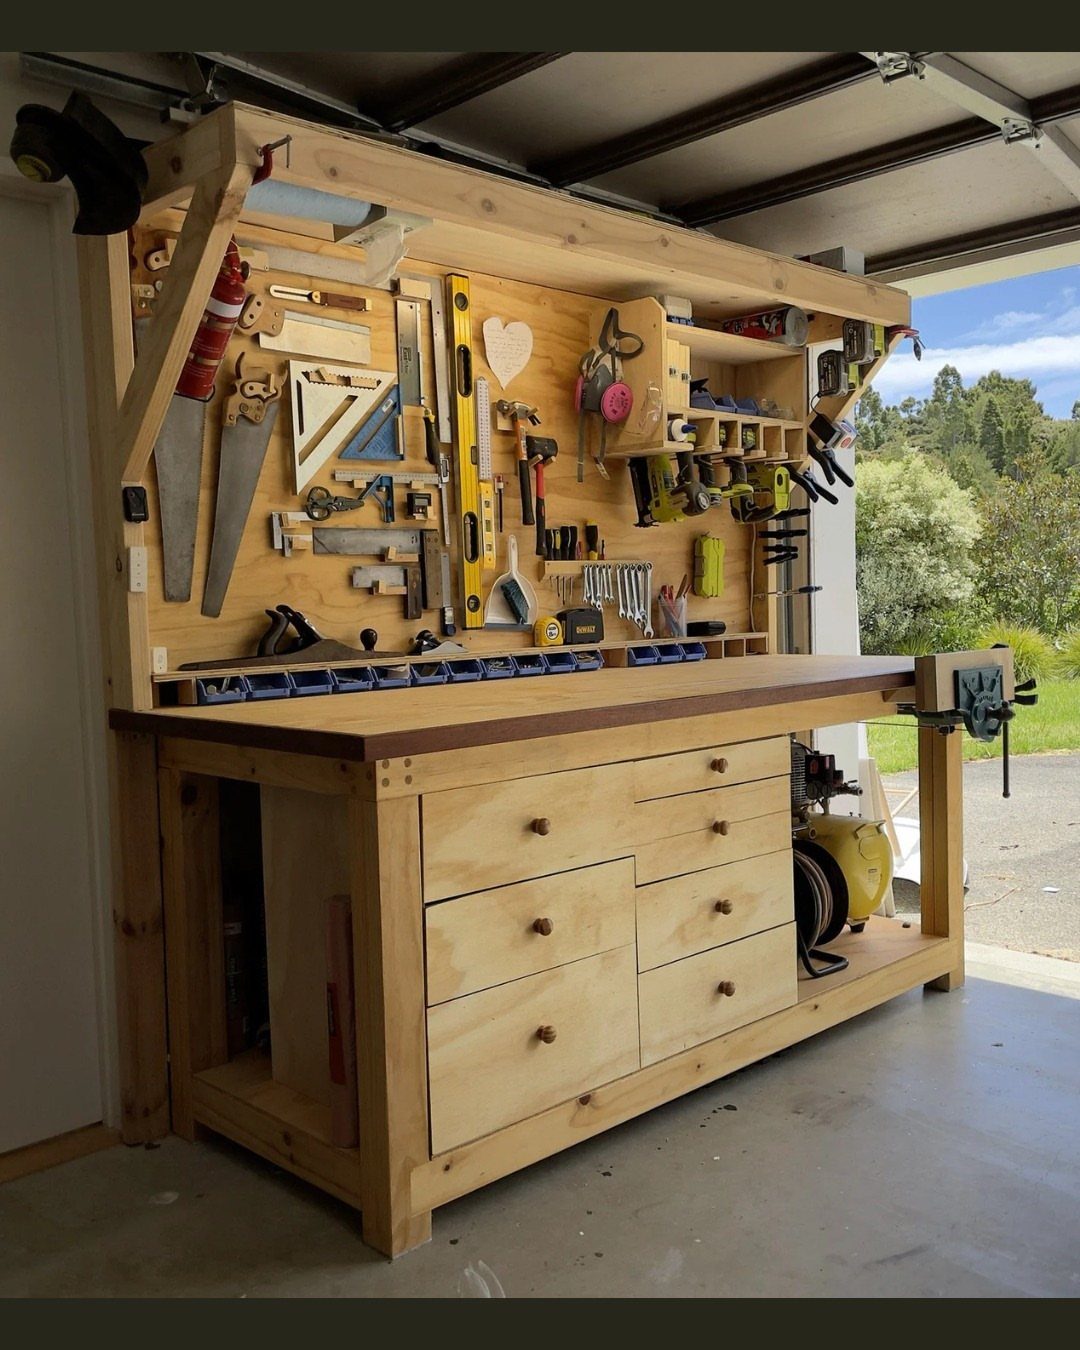
A workbench with a tool rack on the backboard and drawers below keeps every chisel and square within one arm’s reach, which is why many woodworkers call the bench the core of the shop.
The vise on the right side is the part I’d build around.
Bolt the vise to a thick top and keep the drawers shallow enough to stay light. Hang the most-used tools on the backboard first, then fill in the rest.
8. Birdhouses
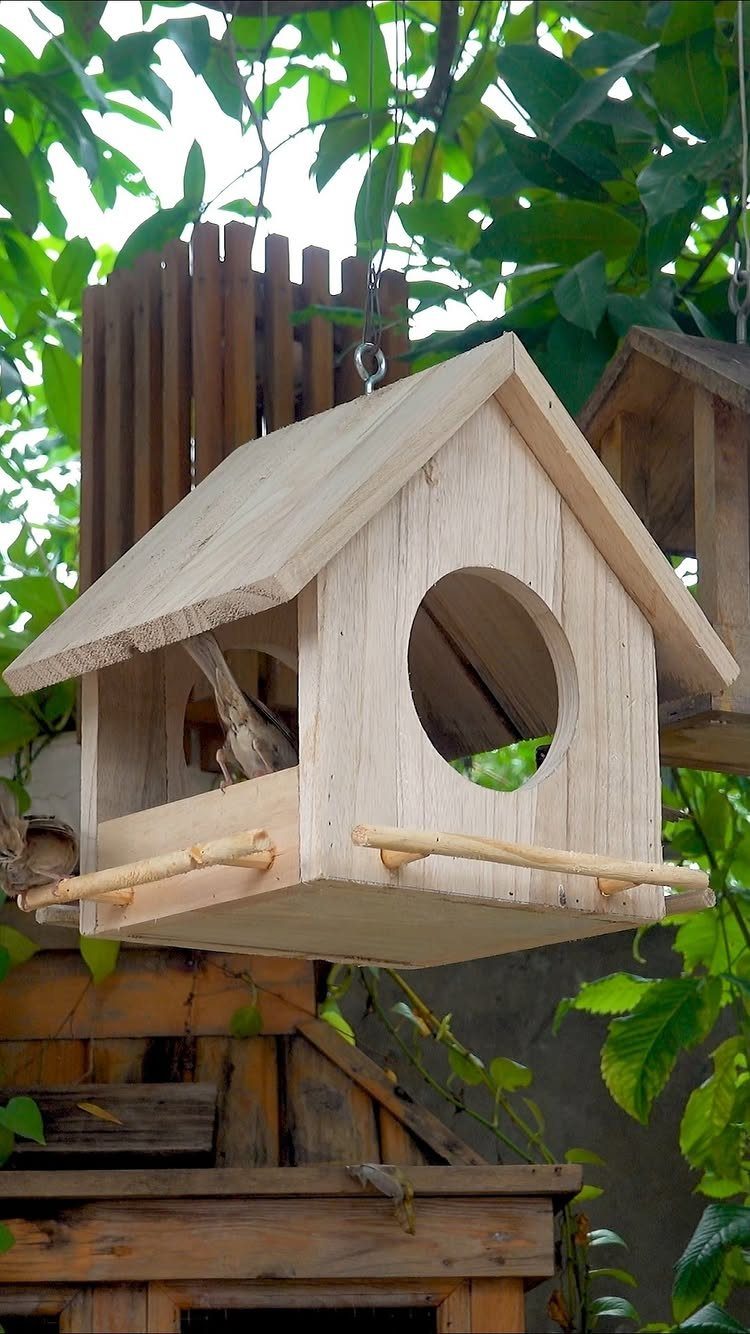
A peaked roof, a round opening and a small perch below it make a birdhouse that reads as a garden ornament even before a bird moves in.
Simple cuts and a handful of screws or nails keep it an afternoon job.
Light, unpainted wood looks right among green leaves, so I’d skip heavy color. Sand the edges of the opening smooth, and hang it where branches shade it.
Scrap boards are plenty, so a few in a row cost almost nothing.
9. Keepsake Box
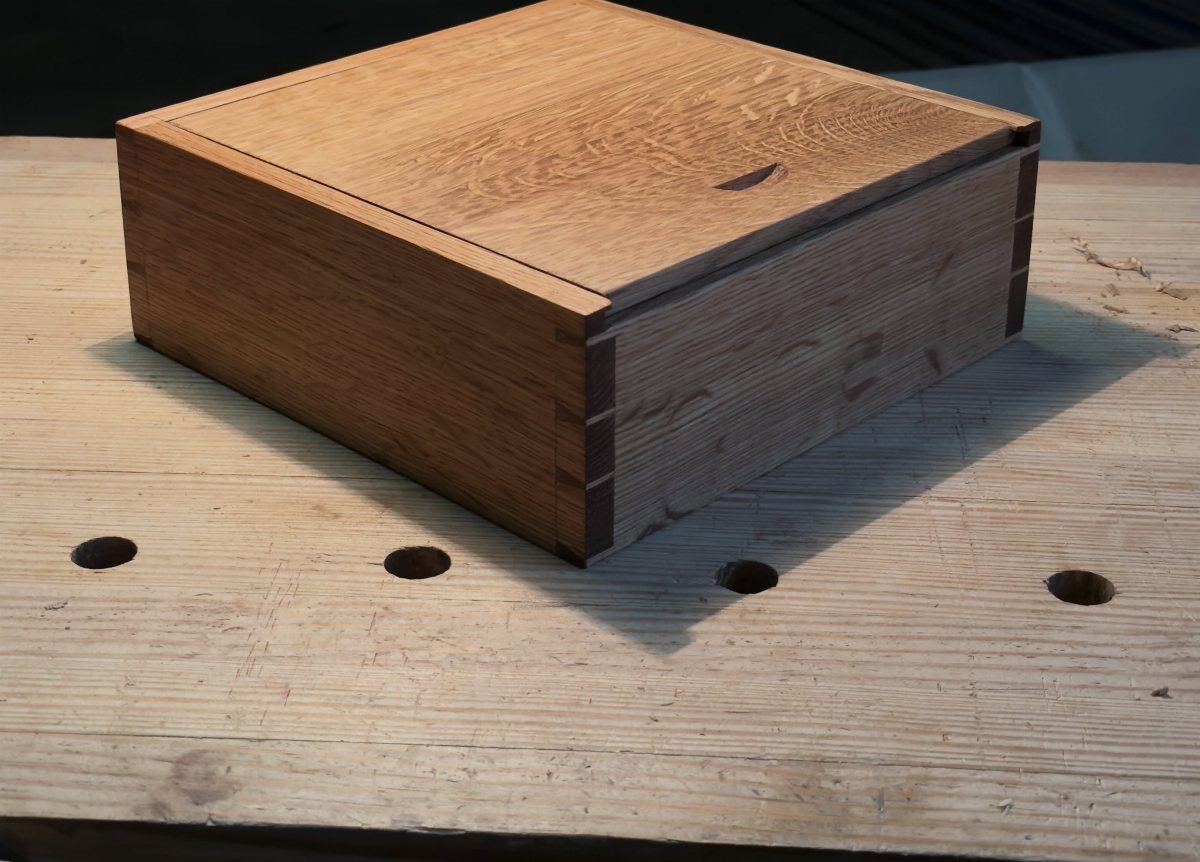
Small wooden boxes with a fitted lid give treasured items a place to sit in plain view, and the size suits scrap boards left from bigger builds.
Take your time on the lid, since a loose or crooked fit is what people notice first. Sand all the inside corners well before gluing up.
A natural finish suits a box like this, and a coat of wax gives it a soft feel in the hand. It also makes a gift that looks far more costly than it was.
10. Coffee Table
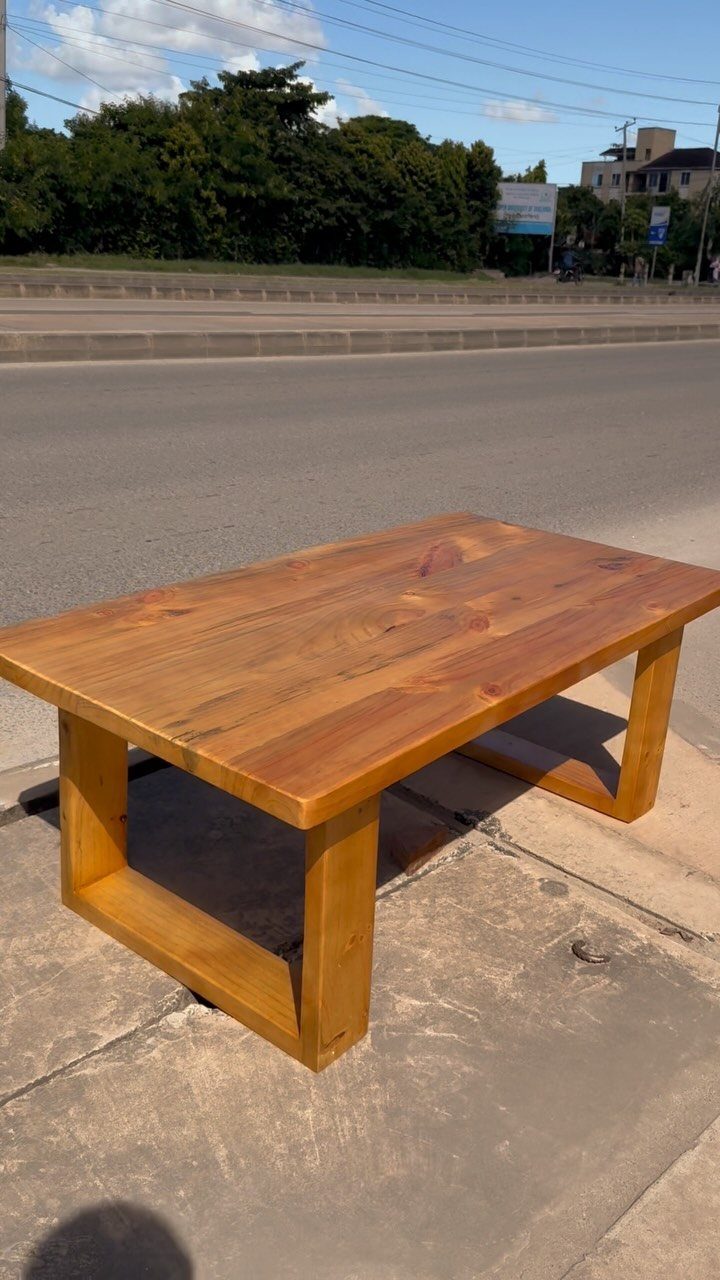
A rectangular top with a natural finish is the classic coffee table, and it works as the center of a living room because everything else gathers around it.
Wide boards cost more than narrow ones, so I’d glue up a top from several boards and sand the seams flush. Plan the legs carefully: a wobbly table gets noticed every time a mug goes down.
Pick a clear oil or wax to keep the grain visible. It is the biggest project in this stretch of the list, so give it a full weekend.
11. Shoe Cubby
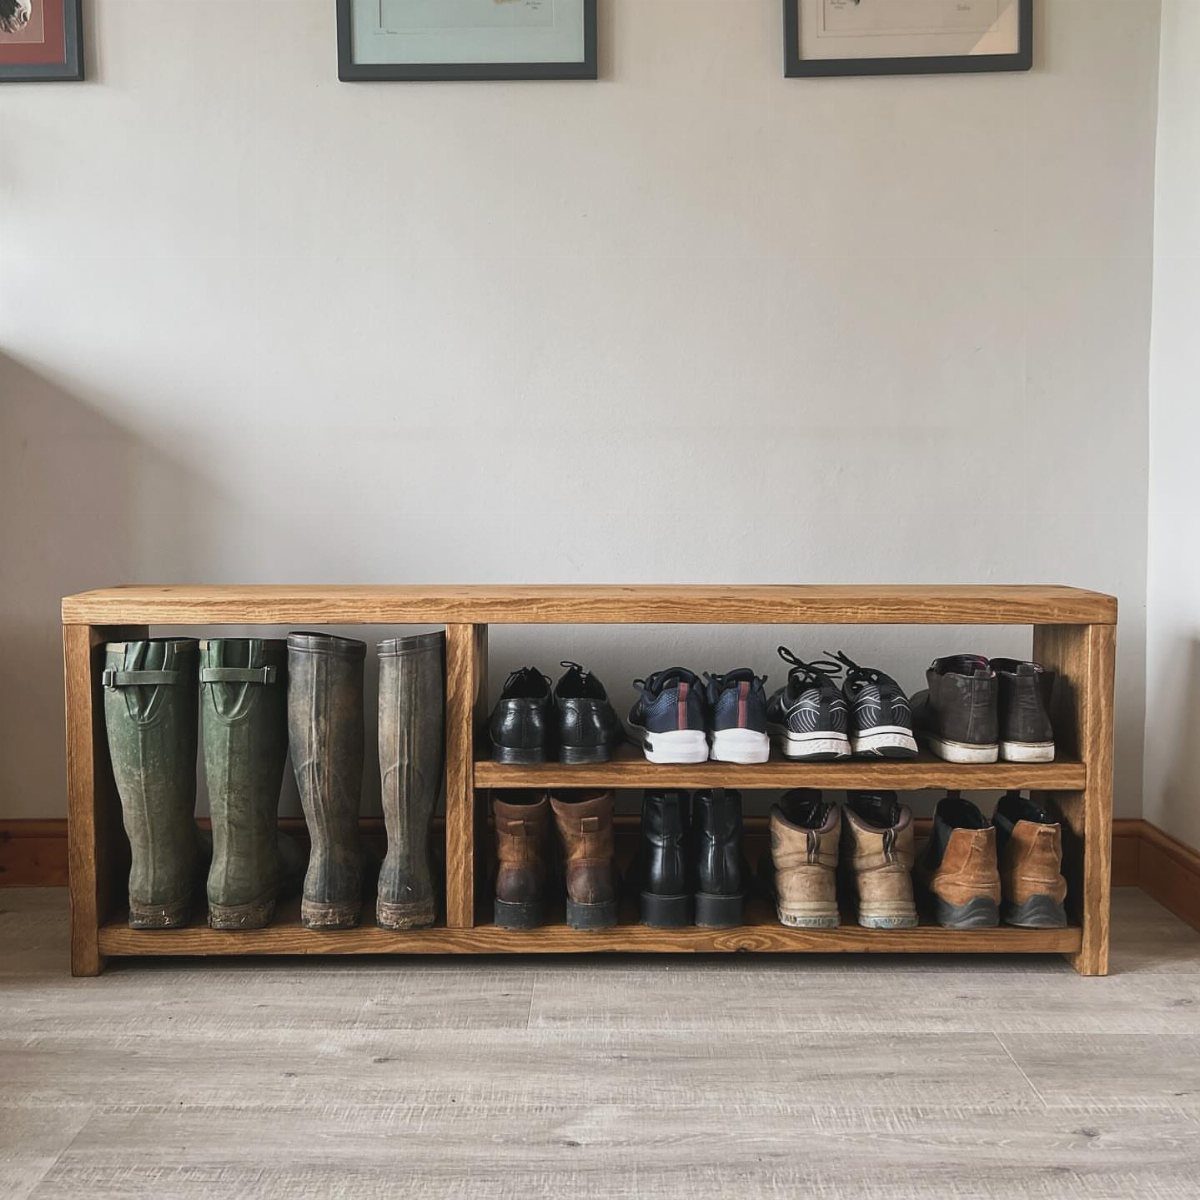
Two open shelves in a bench-height frame hold boots on one level and sneakers on the other, and the top doubles as a seat for pulling shoes on.
Make the shelves deep enough for your biggest boots before you cut anything.
Slats or solid boards both work, but solid boards catch less grit. Sand the top well, because it sees sitting.
I’d leave the front open. Doors only slow you down on the way out the door.
12. Quilt-Pattern Cutting Board
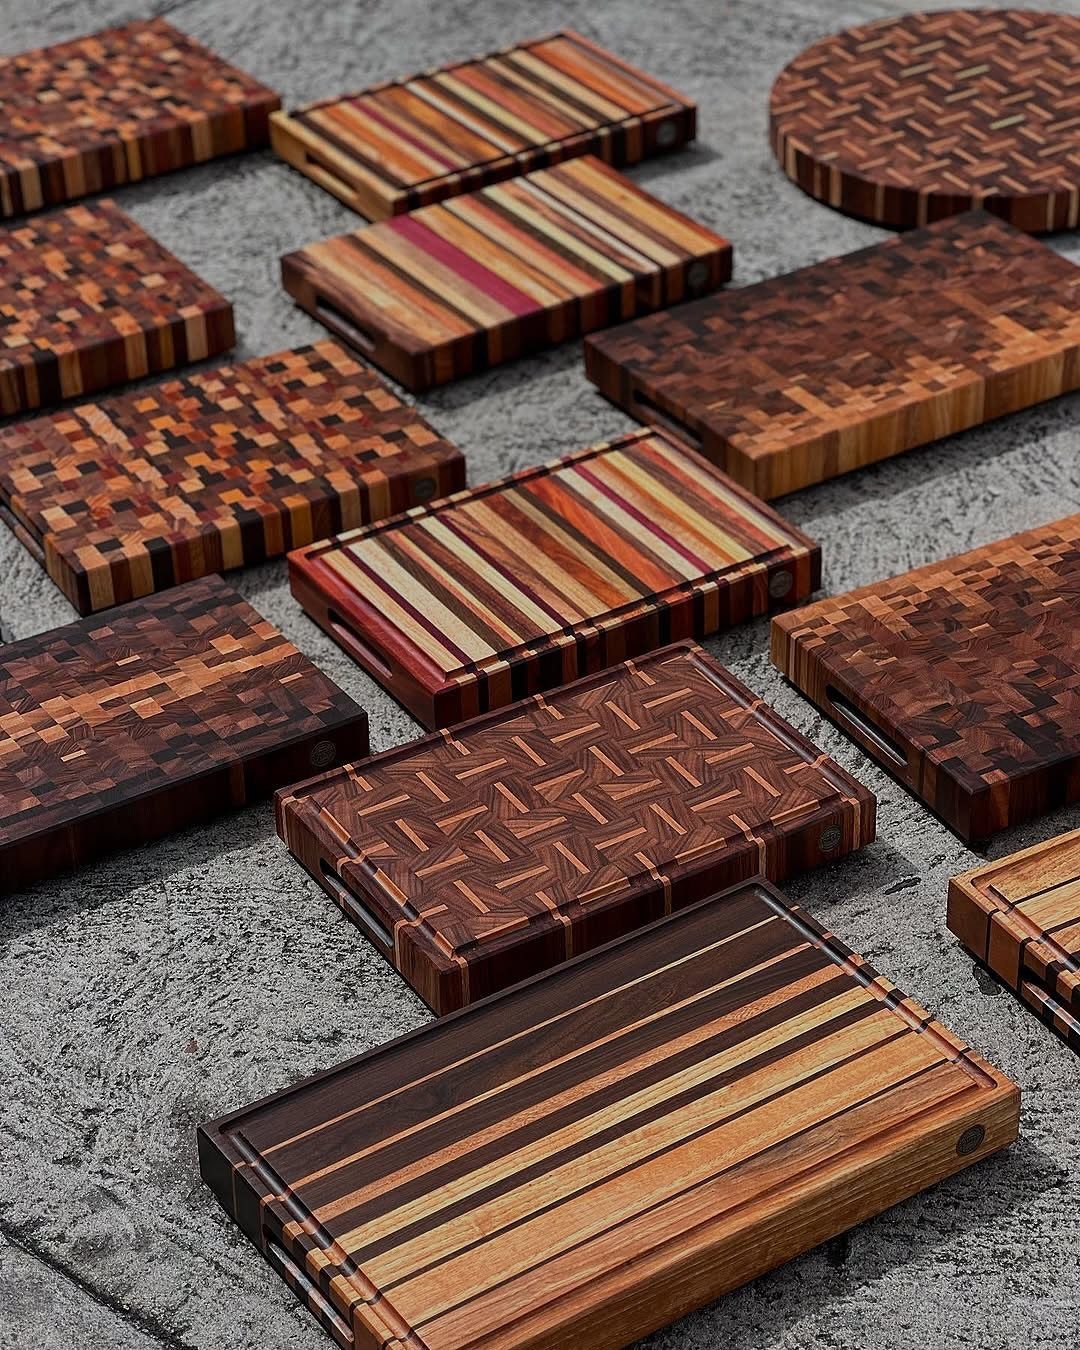
Strips of different woods glued into stripes, then cut and reglued, give a cutting board its quilt-style pattern, and the mosaic look comes from careful cuts rather than fancy tools.
Accurate, same-width strips matter most, because small errors add up across the glue-up. Sand the finished board flat through the grits.
Dark and light woods side by side make the pattern stand out. Simple stripes are the easiest place to start, and a mosaic is the next step up.
13. Simple Knife Block
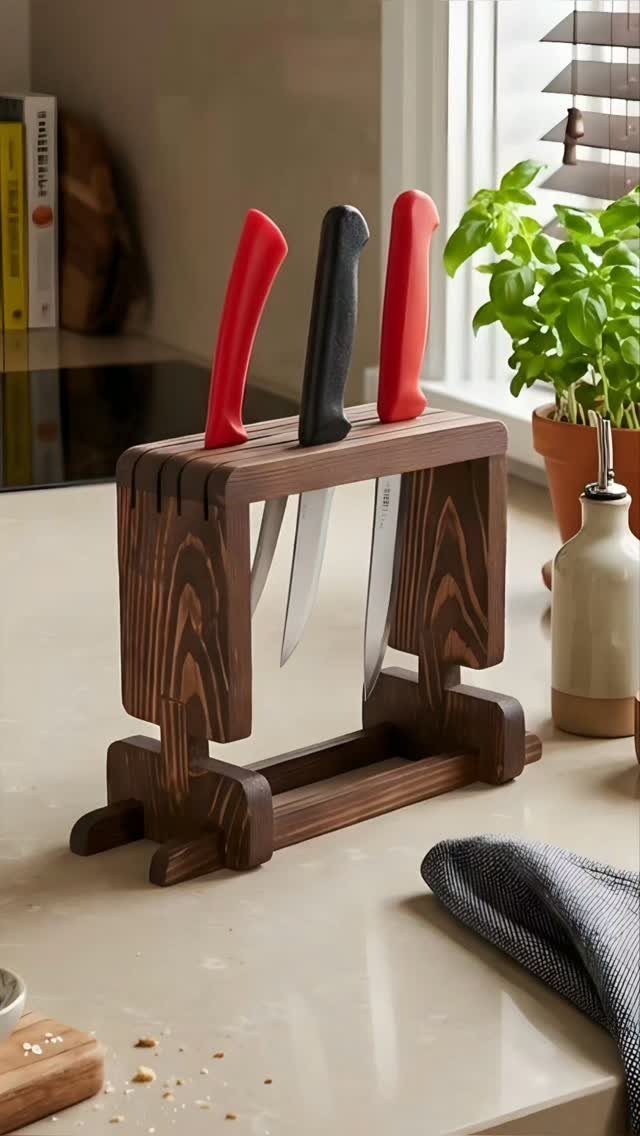
A dark stain gives a block of wood a cleaner look on a kitchen counter, and it hides the knife marks and splashes that a bare pine block would show.
Size the slots to the knives you already own, and cut each one a little deeper than the blade is long so the handles sit snug against the wood.
Cut the slots before you stain, then sand the slot edges so blades slide in without catching. Wipe off the excess stain, since a sticky slot grabs the steel.
Keep it small enough to sit beside a plant and a bottle without crowding the counter.
14. Bench Seat
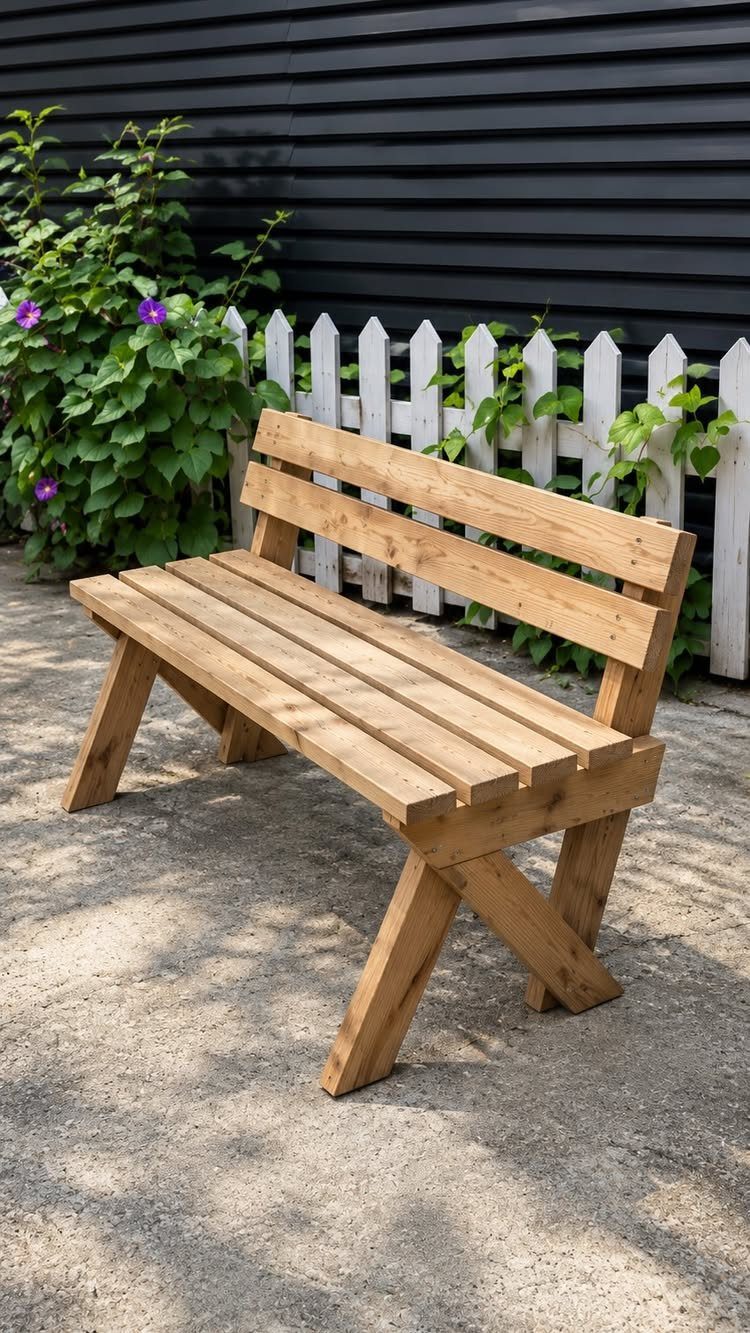
A bench with a backrest asks for more cuts than a plain bench, but a few boards, screws and glue are still enough for a weekend.
The backrest is what makes it a place to sit for a while, so I’d build it first and size the seat to match.
A light wood and a simple frame suit a dining table, an entryway or a mudroom alike. Sand the seat well, because it takes the most rubbing.
Round over the top edges of the backrest so nobody’s shoulders catch on a sharp corner.
15. Christmas Village
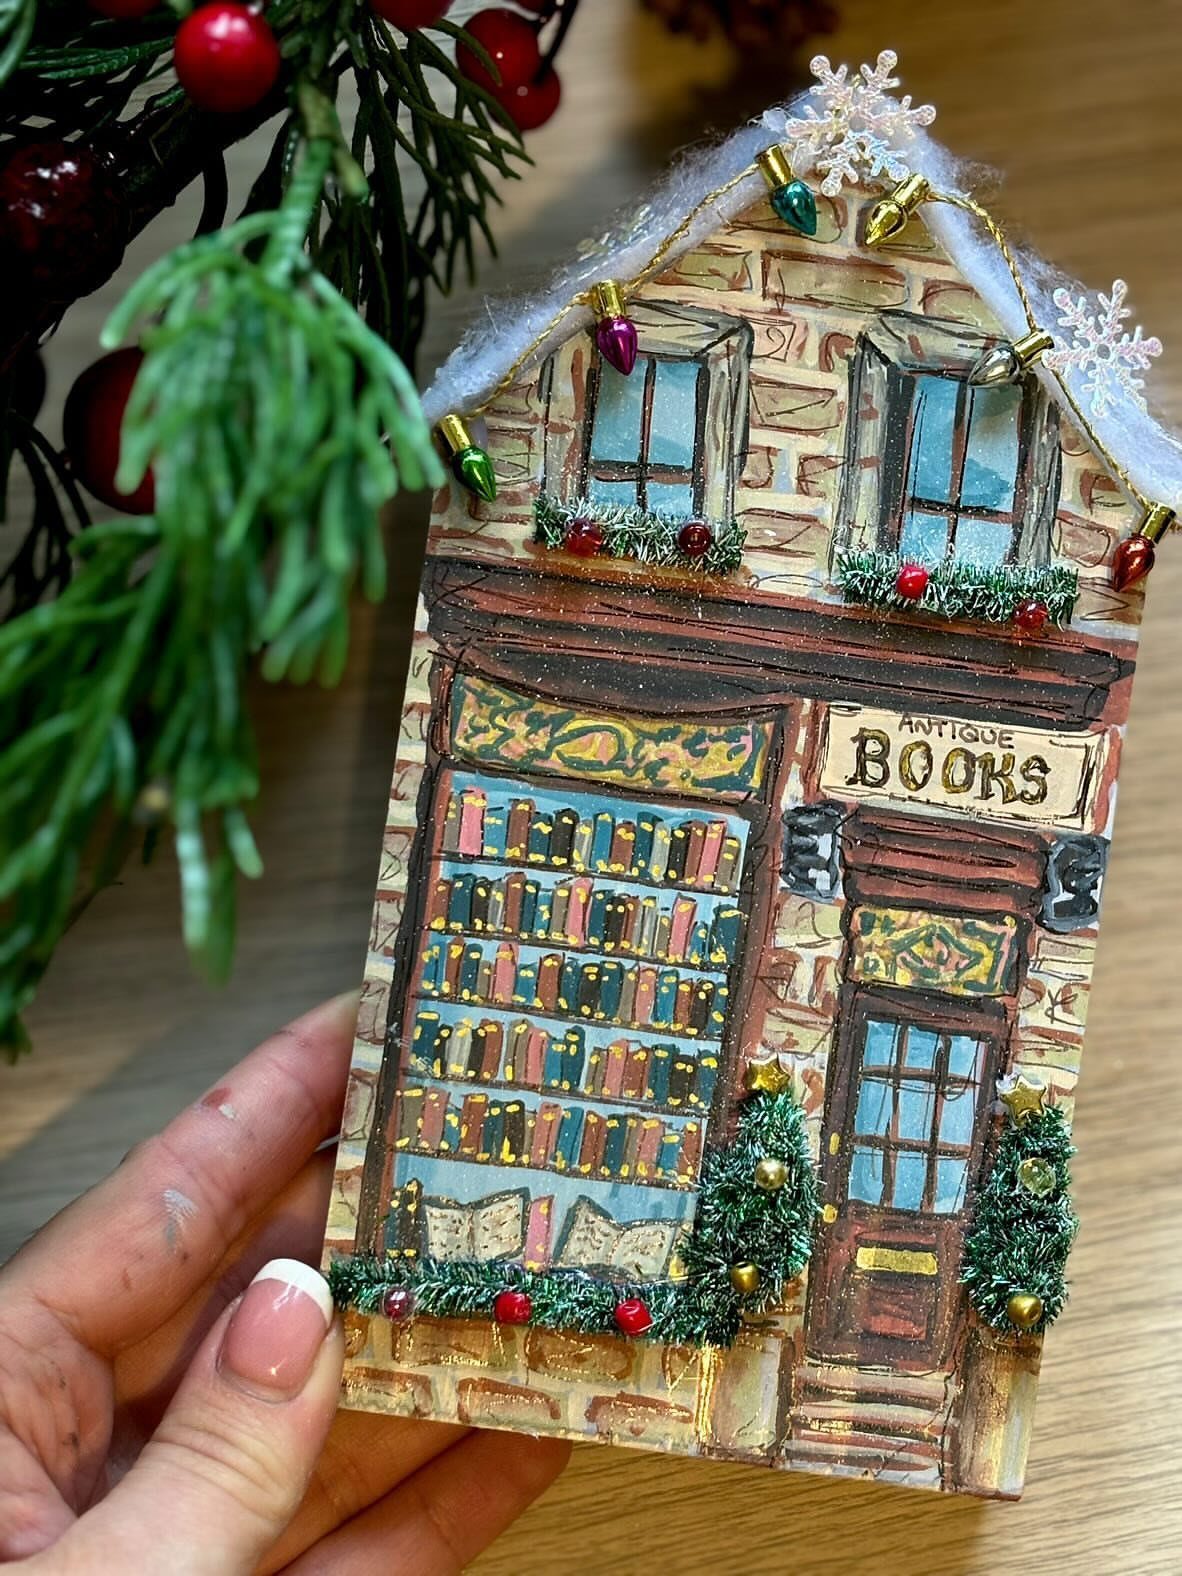
A tiny shop with a sign across the front is the best way into a wooden Christmas village, because one painted house is a finished project on its own. Add more buildings each year and the set grows slowly.
Cut the walls and roof from scrap, paint the lettering last, and glue on small lights and greenery once the paint is dry. Pine branches behind the house make a good backdrop on a shelf.
Keep the pieces small, since scraps are enough.
16. Wall-Mounted Bottle Opener
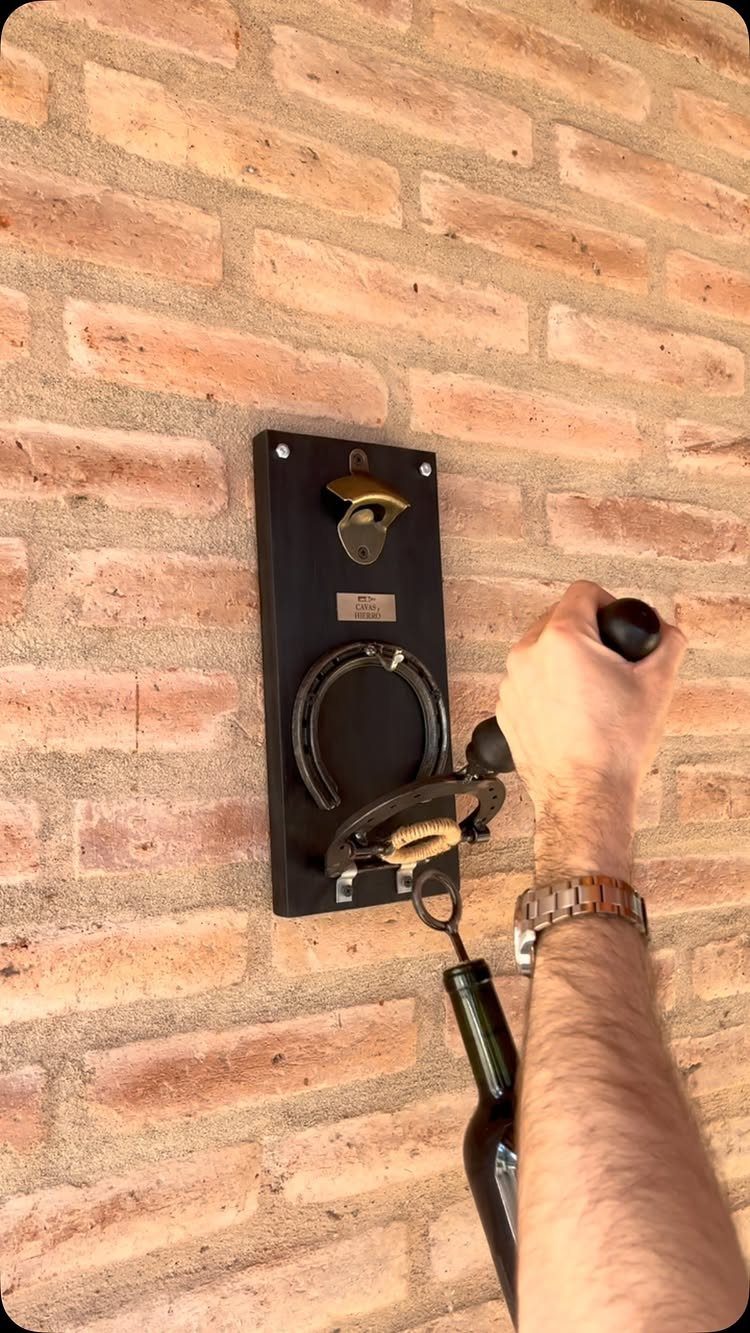
A dark board, a horseshoe and a metal opener make a bottle opener that looks at home on a brick wall. Wood handles the mounting; the hardware does the work.
Pick a thick board so the opener has something solid to bite into, and drill pilot holes before you drive screws.
On brick, I’d use masonry anchors rather than trusting a plain screw. Sand and paint the board before the hardware goes on.
A small plaque is a simple add-on if you want to give it a gift-ready finish.
17. Quilt Rack
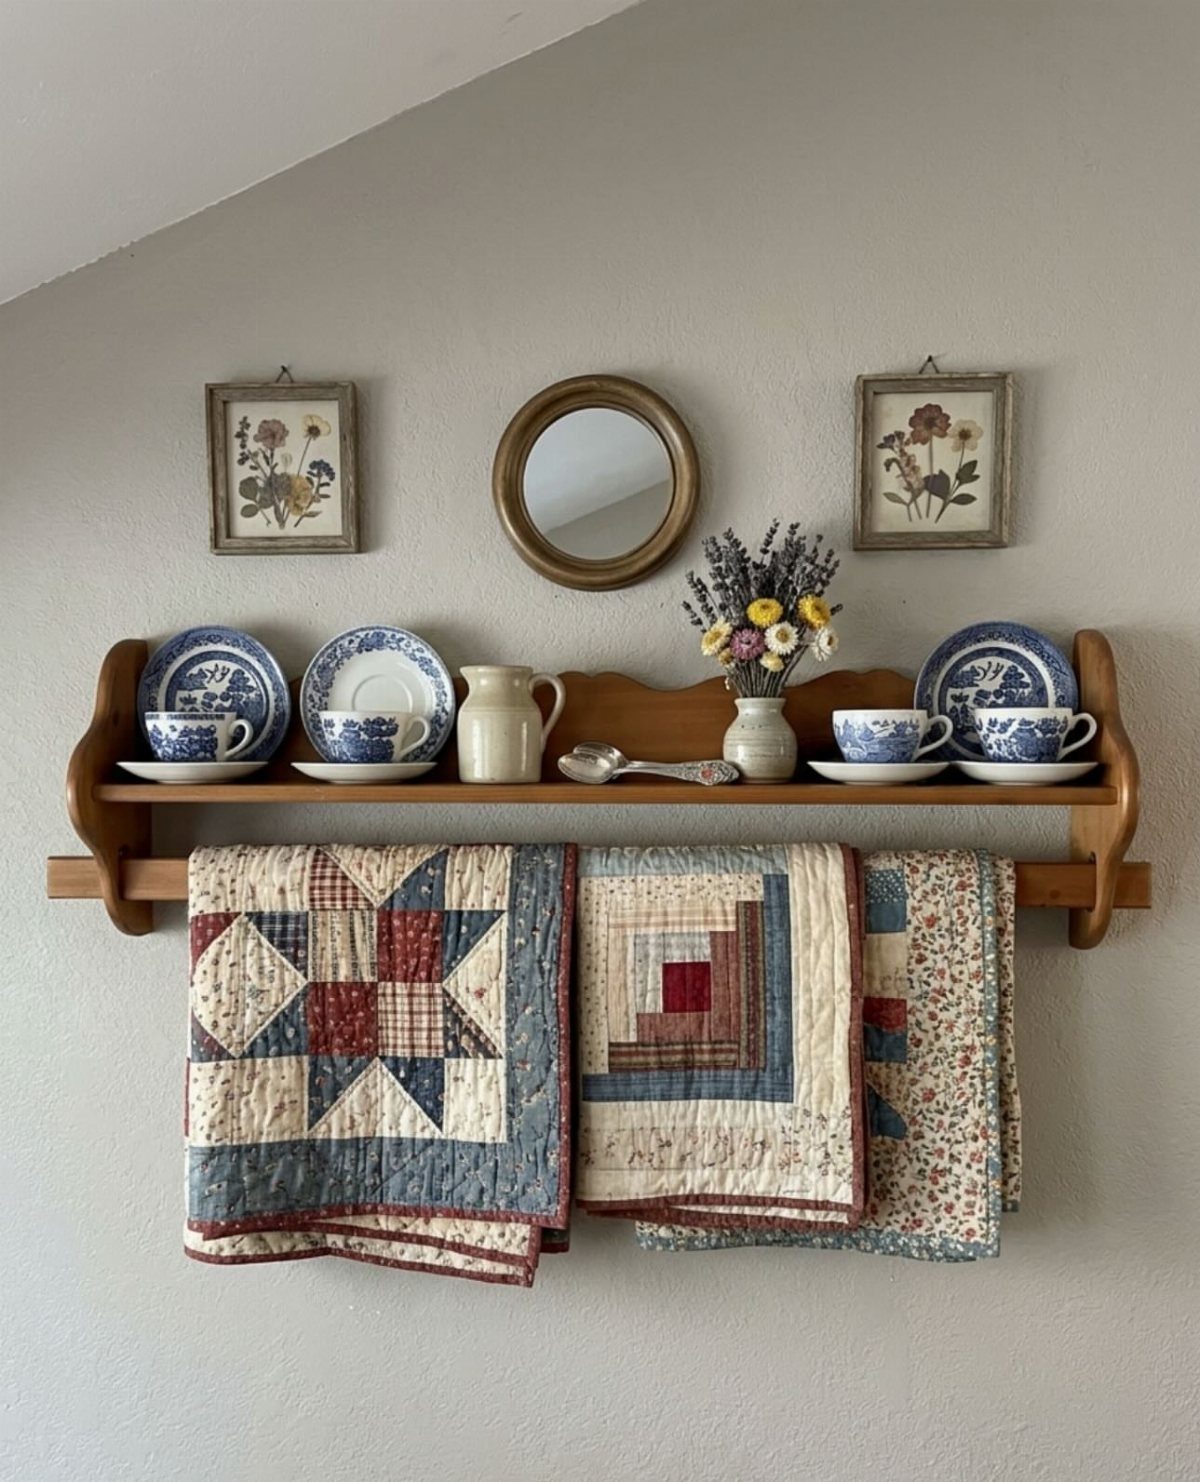
Folded quilts show their patterns better than a stack in a closet.
Make the rail long enough that each quilt hangs without bunching. Sand it smooth so fabric doesn’t snag, and screw the rack into wall studs, since quilts and ceramics add real weight.
A plain wood finish lets the quilt colors do the talking.
18. Entryway Key Holder
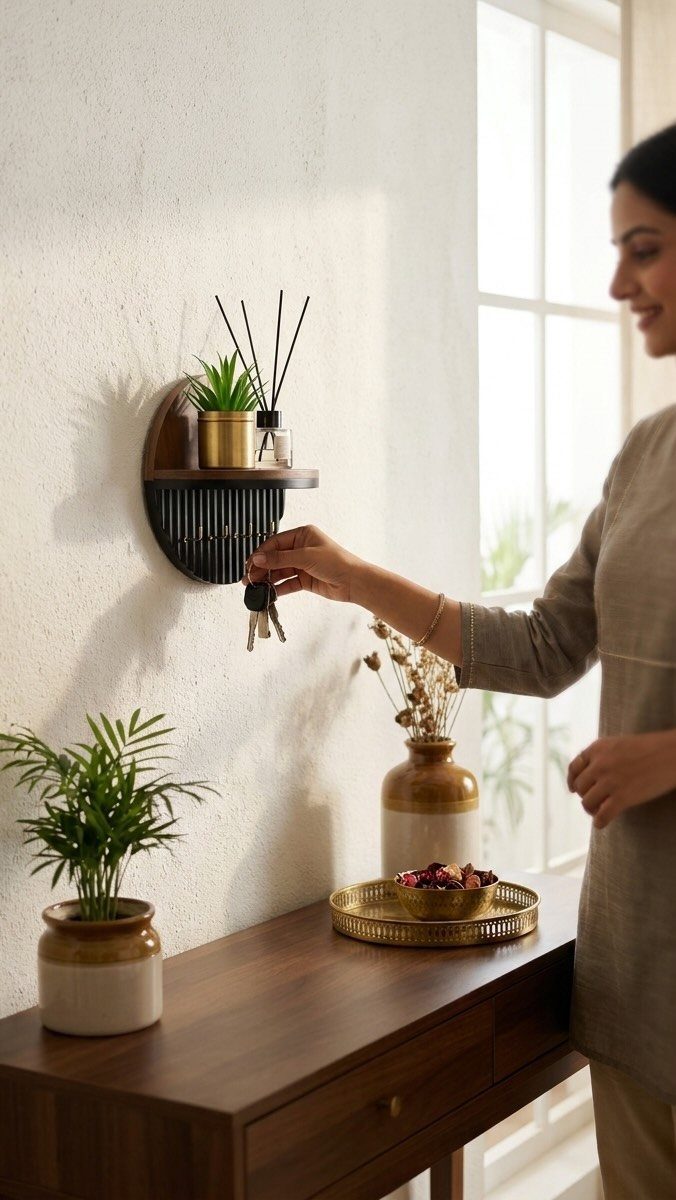
A small shelf with hooks beneath it puts keys where your hand lands as you walk in, and the shelf holds a phone or a wallet too. It is a quick build from a single board.
Mount it at a comfortable reach by the door, and pick a finish that matches a nearby console table. Sand the shelf edges, and screw the hooks in straight so keys hang evenly.
I’d keep it narrow. A deeper shelf just collects clutter.
Choosing the Right Wood
Pine is fine for a quick build, but a hardwood teaches you more.
Cherry, soft maple, walnut and oak all work, and they show you how a plane or chisel behaves in dense grain, which is where most woodworkers end up anyway.
Skip hard maple for now; soft maple is the easier cousin. Pine also asks for a sharper edge than you might expect, so sharpening mistakes show up fast on it.
Lumber sold as construction pine is often rushed through drying, and that makes it harder to mill cleanly. Spending a little more on hardwood usually saves frustration.
Save reclaimed and pallet wood for a later project. Odd boards add a variable you can avoid while you are still learning.
Moisture Content Importance
Check moisture content before you cut anything. Lumber that doesn’t match the humidity of its final room will move after you build: boards cup, joints open, and panels crack or swell tight against their frames.
A moisture meter takes the guessing out. Let the boards sit in the space where the finished piece will go, then test them before you start.
If the reading looks off, wait. A few extra days beat a split top on a finished project.
Project Complexity
Start small and keep the first build plain. A simple project limits what you can make, and I think that is a good thing: fewer parts mean fewer places to go wrong.
A plain design still leaves plenty of room to make it your own. Save the added complexity for the second or third build, once the basic cuts and joints feel steady.
Each finished piece sharpens your skills for the next one, and that works better than starting with a project that overwhelms you.
Frequently Asked Questions
What wood project sells the most?
Cutting boards sell better than almost anything else I see on craft show tables, and the reason is simple: people always need one.
They are fairly easy to make, and you can vary the wood species for grain and color or glue up a pattern to make them stand out. They can also be personalized, which helps them sell for a good price.
What can I make out of old wood?
Scrap and leftover boards suit small builds such as a wine rack, a desk organizer, a keepsake box, a birdhouse or a Christmas village.
These projects need only short pieces, so offcuts cover them and the materials cost almost nothing. Pallet boards and salvaged lumber can wait; their hidden nails, uneven thickness and unknown history make learning harder than it needs to be.
What are some advanced woodworking projects I can do?
A coffee table is a good step up, and so is a quilt-pattern cutting board with a mosaic of cut and reglued strips. The table needs a glued-up top from several boards, sanded flush, plus legs that don’t wobble.
For the mosaic board, rip every strip to exactly the same width, since a tiny error of 1/32 inch repeats with each strip and shows up as gaps once the glue-up is clamped.






