Whether a project fits your afternoon depends on the tools already in your house: the list runs from a craft-stick toy car that needs only glue and scissors to a wall shelf that wants a level, a drill and a stud or anchor to hold it.
If your saw is missing, pick the builds made from strips, sticks or scraps, and let the store cut anything else.
Finishes vary as much as the tools, from white paint that hides rough joints to a coat labeled food safe on anything that touches food.
1. DIY Phone Stand for Desk
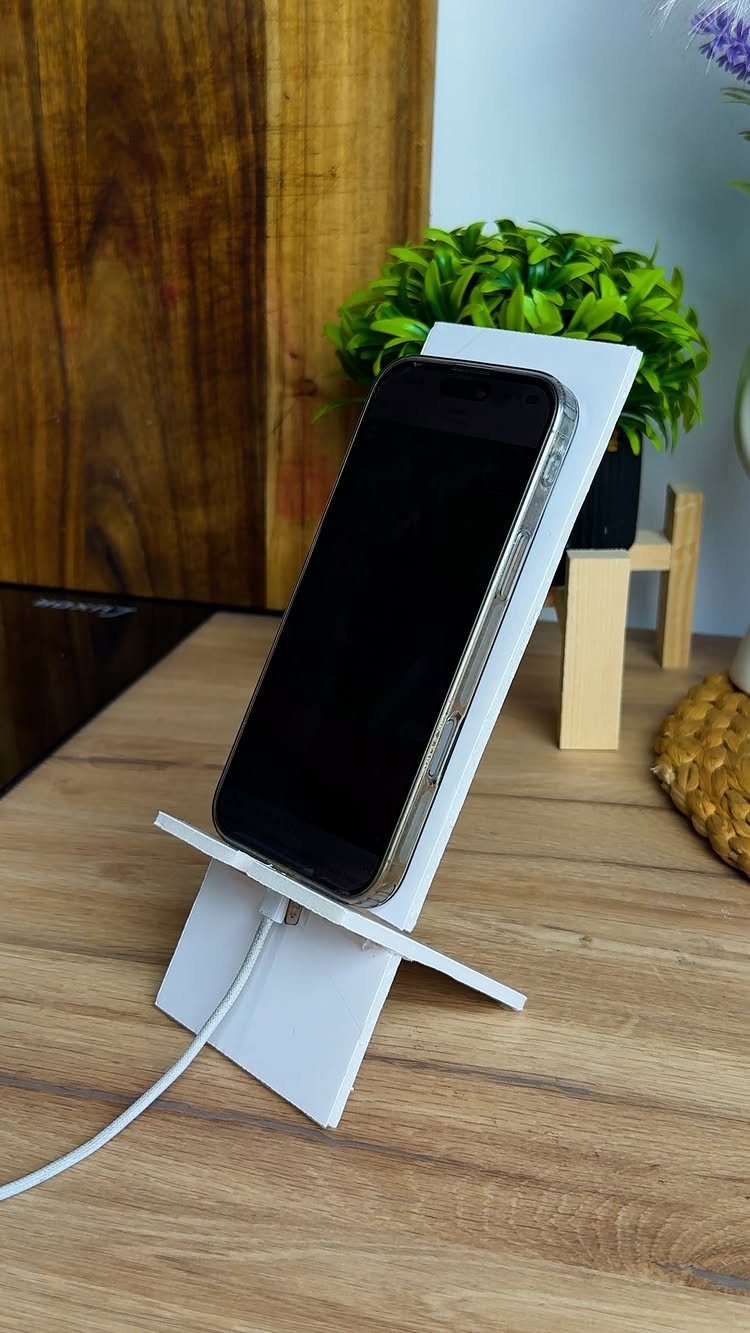
A phone stand is about the smallest woodworking job there is, which makes it a good first cut.
One short scrap of board and a few angled pieces will hold a phone upright, and the charging cable can stay plugged in.
White paint hides imperfect joints better than stain does, and it matches most desks. For grain that shows, skip the paint, leave the wood natural, and brush on a clear coat instead.
Test the angle with your own phone before you glue anything.
2. DIY Wooden Coasters
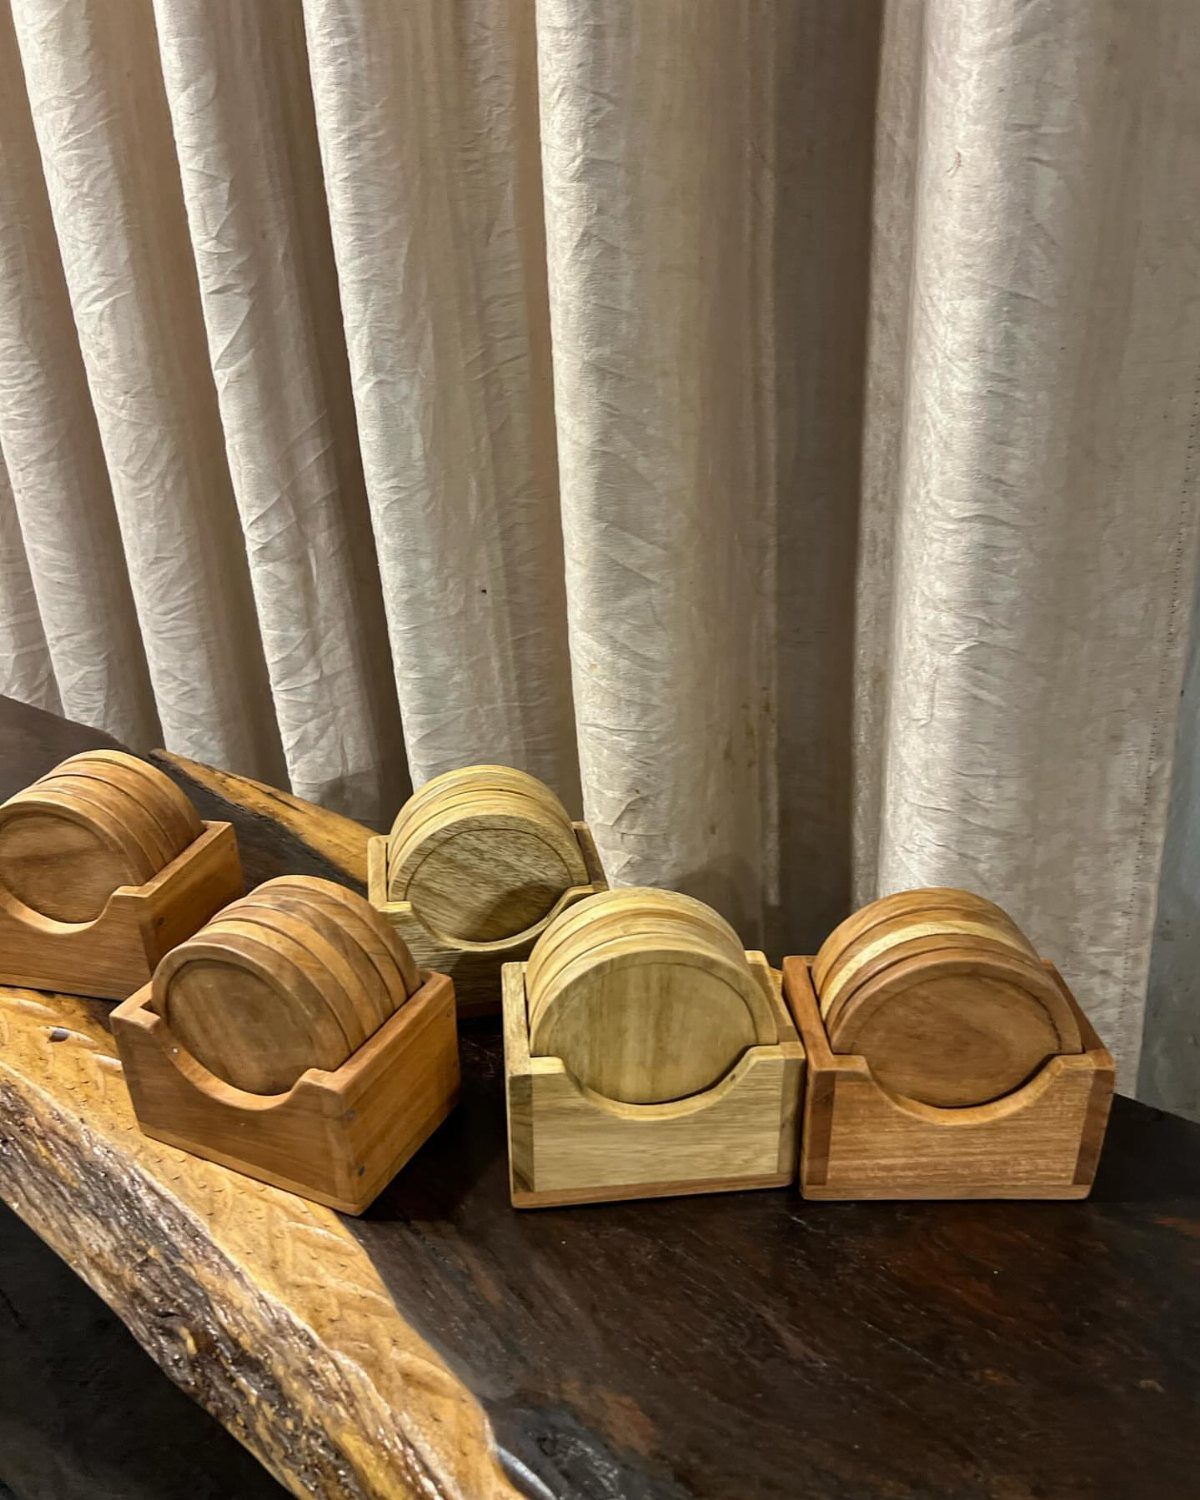
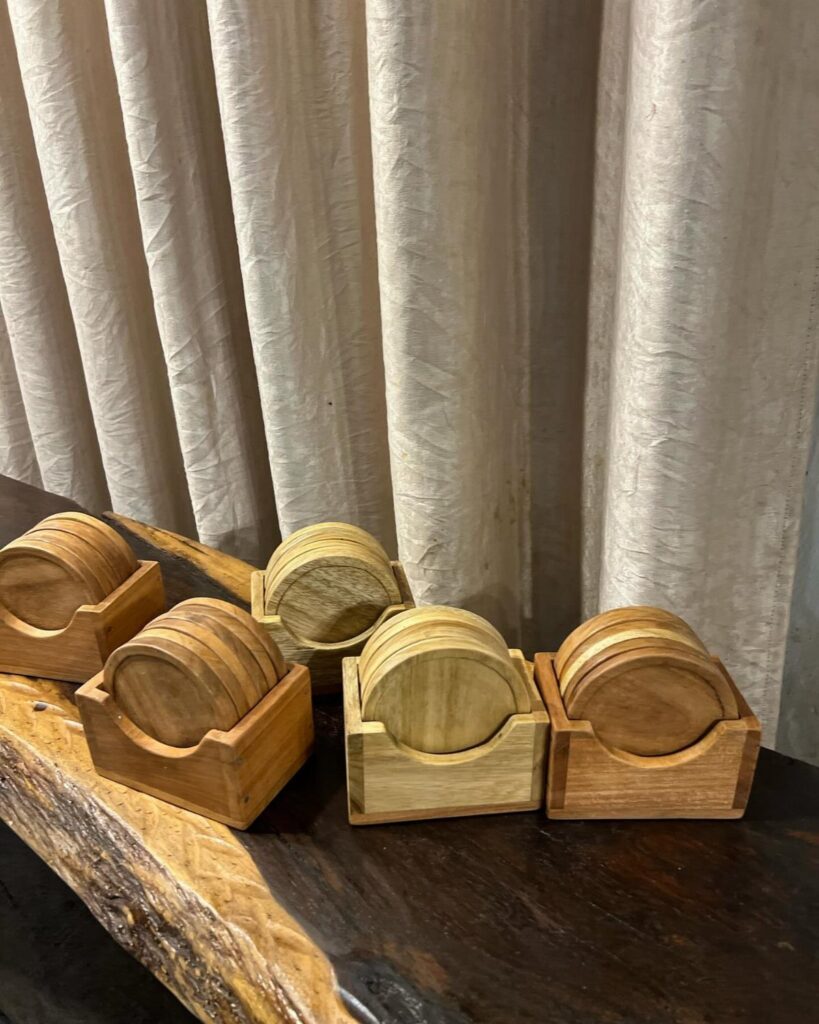
Coasters take almost no wood, so a single offcut can make a whole set. Round ones in a square holder, like these, also double as a tidy gift.
Sand every face and edge smooth, because a rough underside scratches the table it is meant to protect. A finish on the top is worth adding too, since a bare wood top soaks up whatever the glass sweats onto it.
I would make the holder first, then cut the rounds to fit it.
3. DIY Wooden Shelf

Each shelf is just a board, so the project mostly comes down to straight cuts and level mounting.
Mark the wall with a level before you drill. A shelf that tilts a quarter inch looks worse than one with a rough edge.
Start with a single shelf if three feels like too much for one afternoon.
4. Picture Frames

An L-shaped frame sits on a table without a stand, since the 2 arms lean against each other and hold the photo upright. That makes it a friendlier build than a hanging frame, with no hardware on the back.
Cut the arms at matching lengths and ease every cut edge with 120-grit paper so the photo does not catch. Choose a wood tone that sits quietly beside the picture rather than competing with it.
A personal photo makes this an easy gift.
5. DIY Wooden Sign
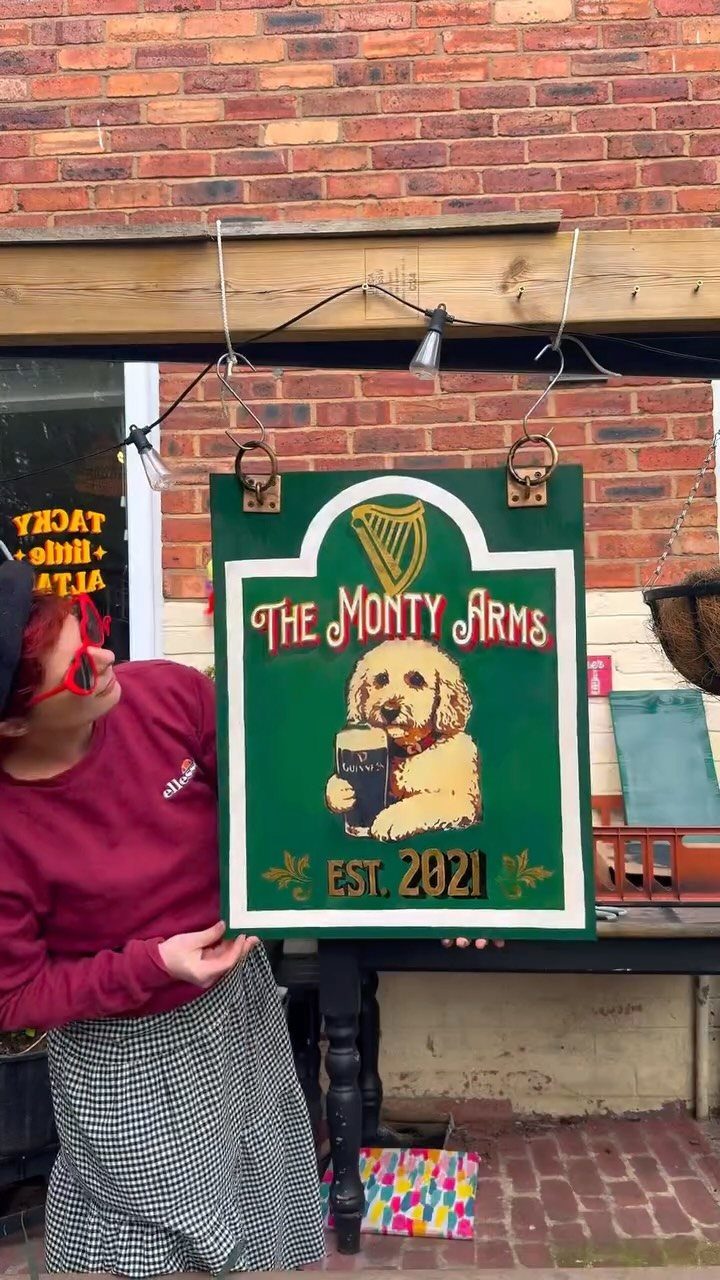
Paint does most of the work on a wooden sign. A bold green background with white lettering reads from across a yard, and a simple illustration adds personality without special skills.
Sand the board, paint the base color, and let it dry fully before adding any lettering. Trace or stencil the words so the spacing stays even; freehand lettering is where most first signs go wrong.
Pick a name or date that means something to the person receiving it.
6. DIY Wooden Serving Tray
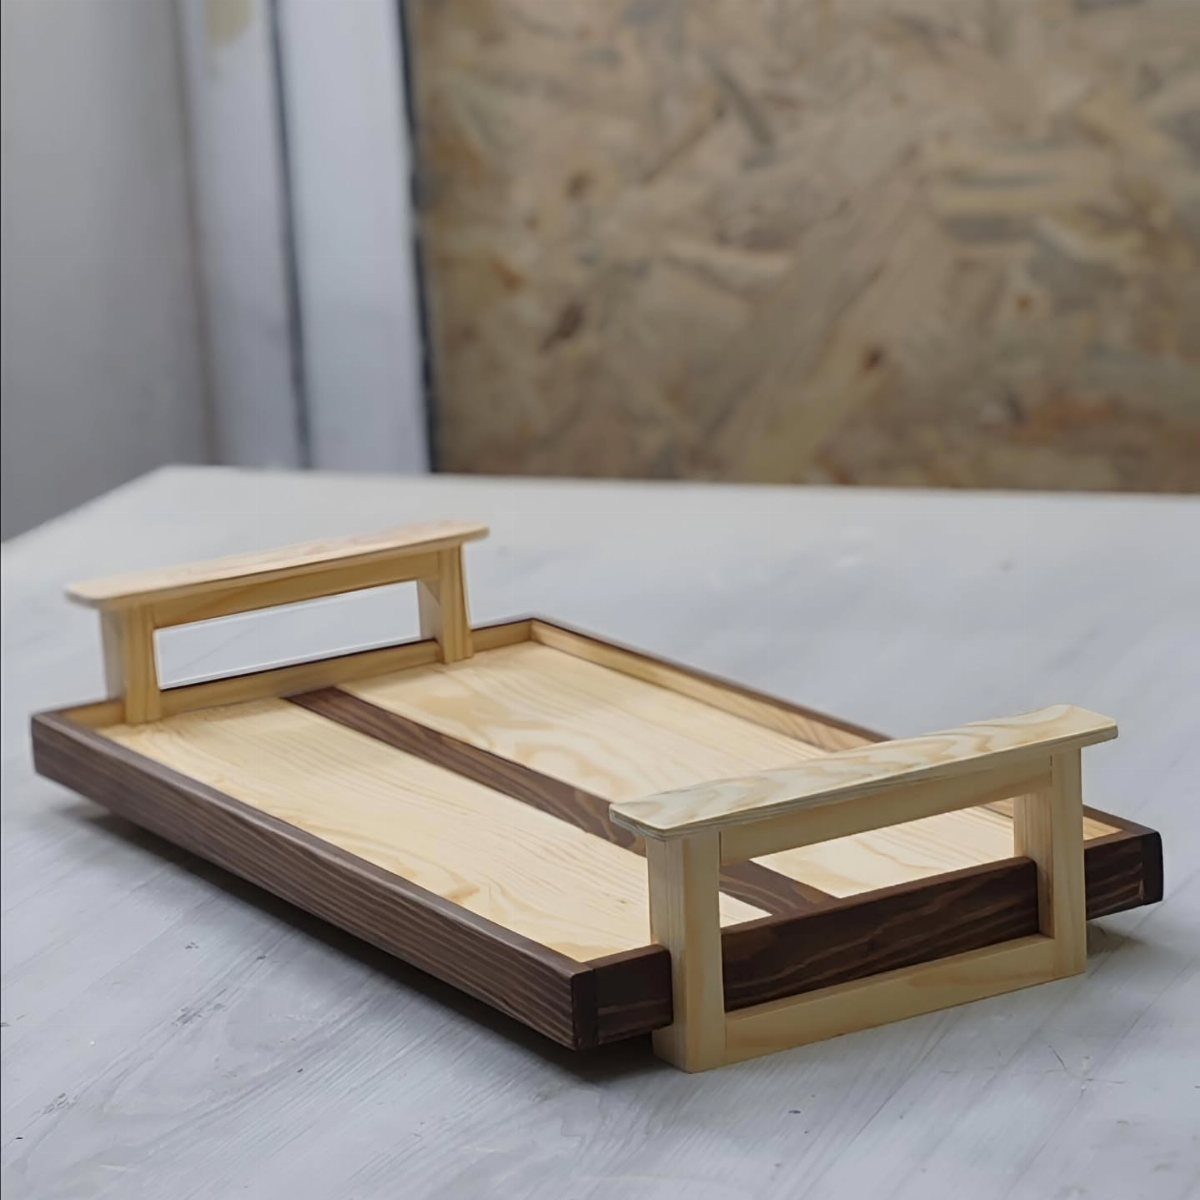
Pairing light and dark boards gives a serving tray its striped look, and it costs nothing extra because the contrast comes from the wood itself. 2 handles keep it easy to carry when it is loaded with food or drinks.
Glue the strips edge to edge, clamp them, and sand the surface flat once they dry. Handles can be screwed on from underneath so no fasteners show on top.
If the tray will carry food, I would finish it with something labeled food safe.
7. Drawer Dividers
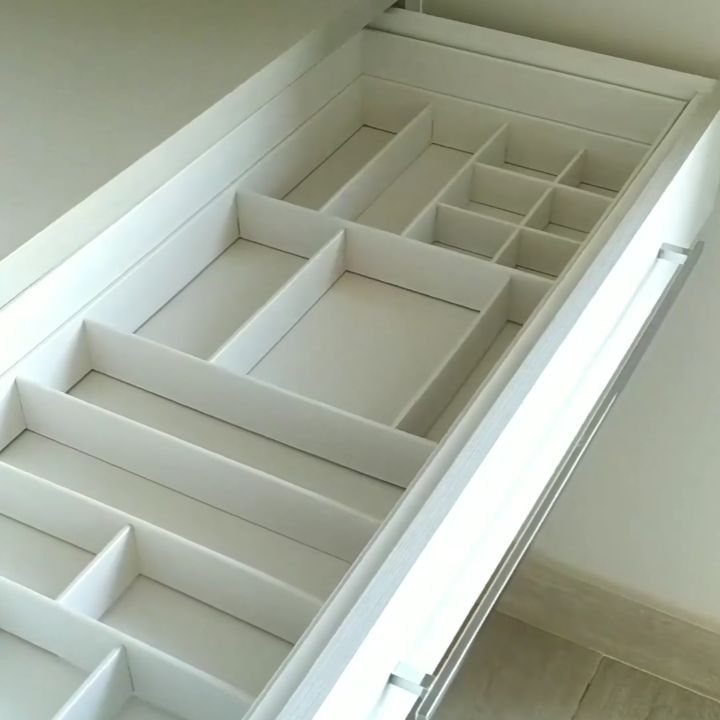
Dividers turn a jumbled drawer into fixed compartments, and thin strips of wood are all they take. Measure the inside width and depth, then cut each strip to fit snugly.
Cut the longest strips first. Shorter cross pieces go in after, so each compartment can be sized to what it will hold.
Test the layout dry, with no glue, before you commit to it.
8. DIY Wall Mail Organizer
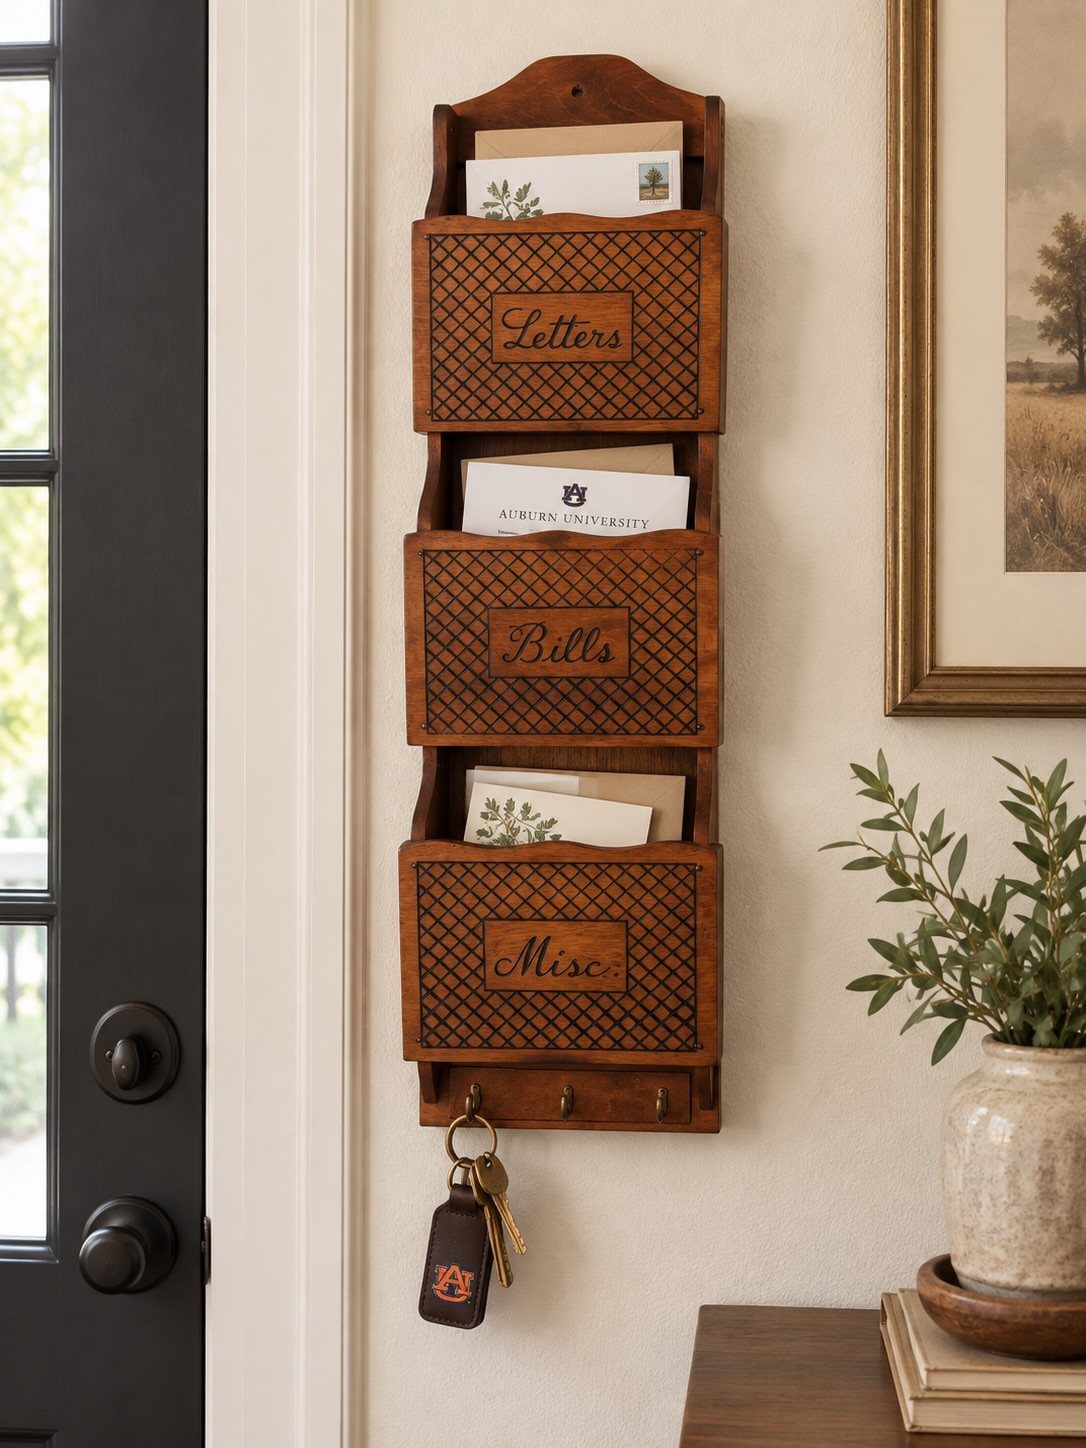
Wall-mounted, the organizer also stays off the surfaces you actually use.
Make the slots deep enough that envelopes stand upright without tipping. I like plain wood with handwritten labels; they cost nothing and can be redone when the sorting changes.
Hang it by the door, where the mail comes in.
9. DIY Blanket Ladder

A blanket ladder leans on a wall and keeps throws hanging in plain view instead of stuffed in a basket. Black paint suits it well, since it reads as decor and hides small flaws in the wood.
2 rails and a few rungs make the whole build. Sand the rungs smooth, because blankets snag on rough edges.
Set the rung spacing wide enough for a thick throw to drape over.
10. DIY Wooden Planter

Sticks tied with rope make a rustic planter that looks like it took far more effort than it does. The maker says a plastic bottle forms the core, with wooden sticks wrapped around it.
Cut the bottle to a planter height, then glue sticks around it side by side, and wind rope over them to hide the seams. Poke a few drain holes in the bottom for the plant.
Pick sticks of similar thickness so the sides stay even.
11. DIY Wooden Key Holder
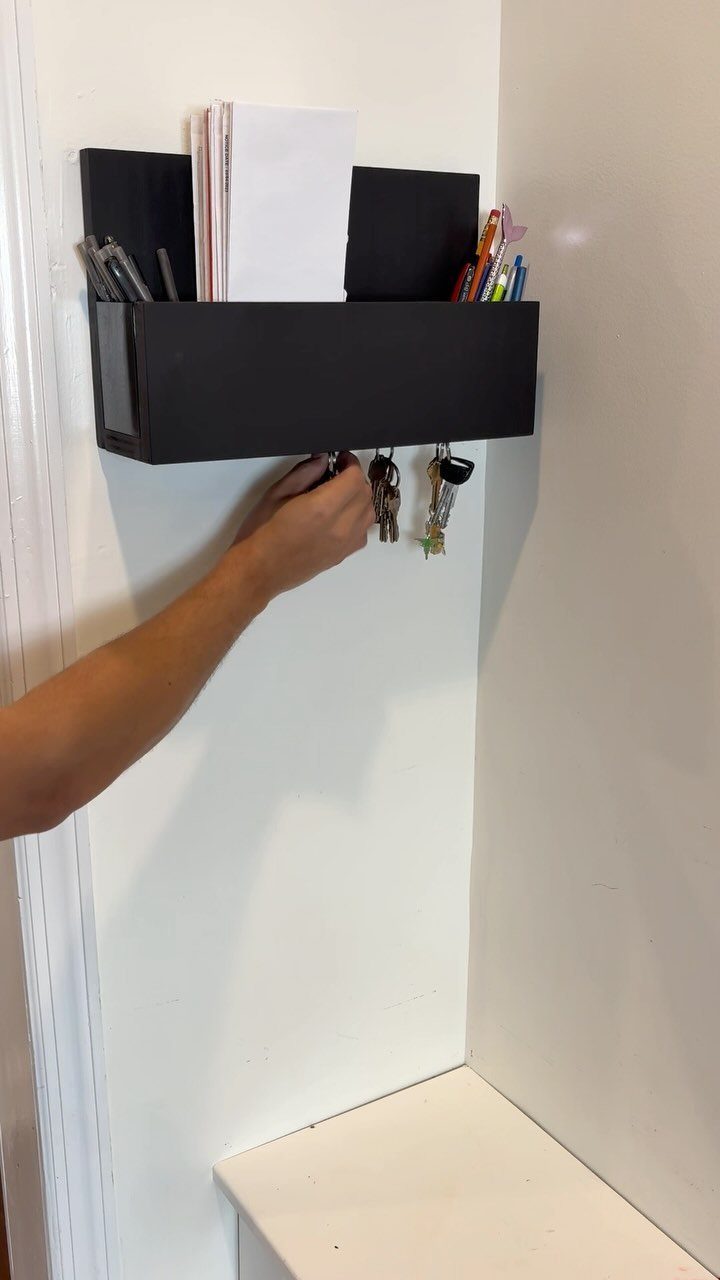
A key holder with a small shelf beside the hooks covers the whole entryway routine: keys on hooks, mail and pens on the shelf.
Mount it at a height you can reach without stretching. Screw the hooks in from the front, and drive the mounting screws into studs or use wall anchors.
It is small enough to finish in an afternoon.
12. DIY Wooden Toy Car
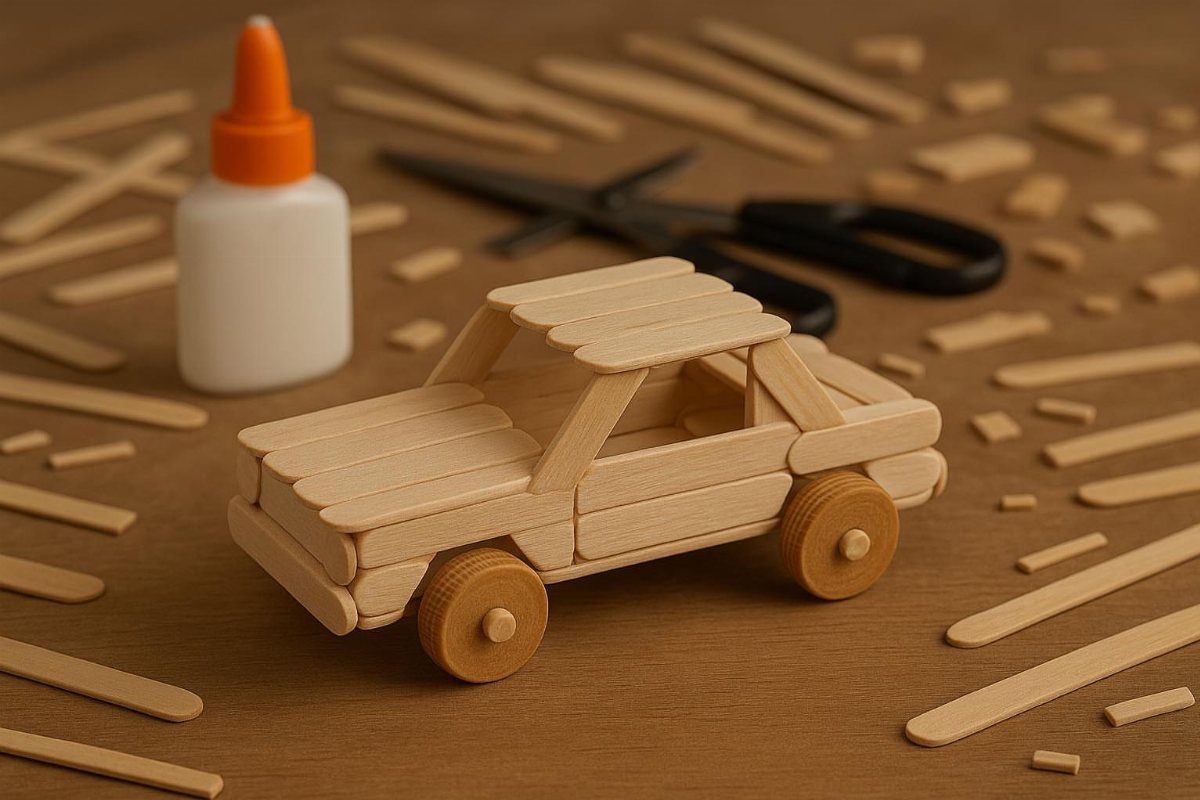
Craft sticks, white glue and scissors are all this toy car needs, so it costs almost nothing and uses no saw. Glue is the slow part, since each joint has to dry before it carries weight.
Build the body flat first, then add the wheels last. Press the sticks together firmly and wipe off extra glue before it sets.
Young kids can help with gluing, though I would do any cutting myself.
13. DIY Wooden Utensil Holder
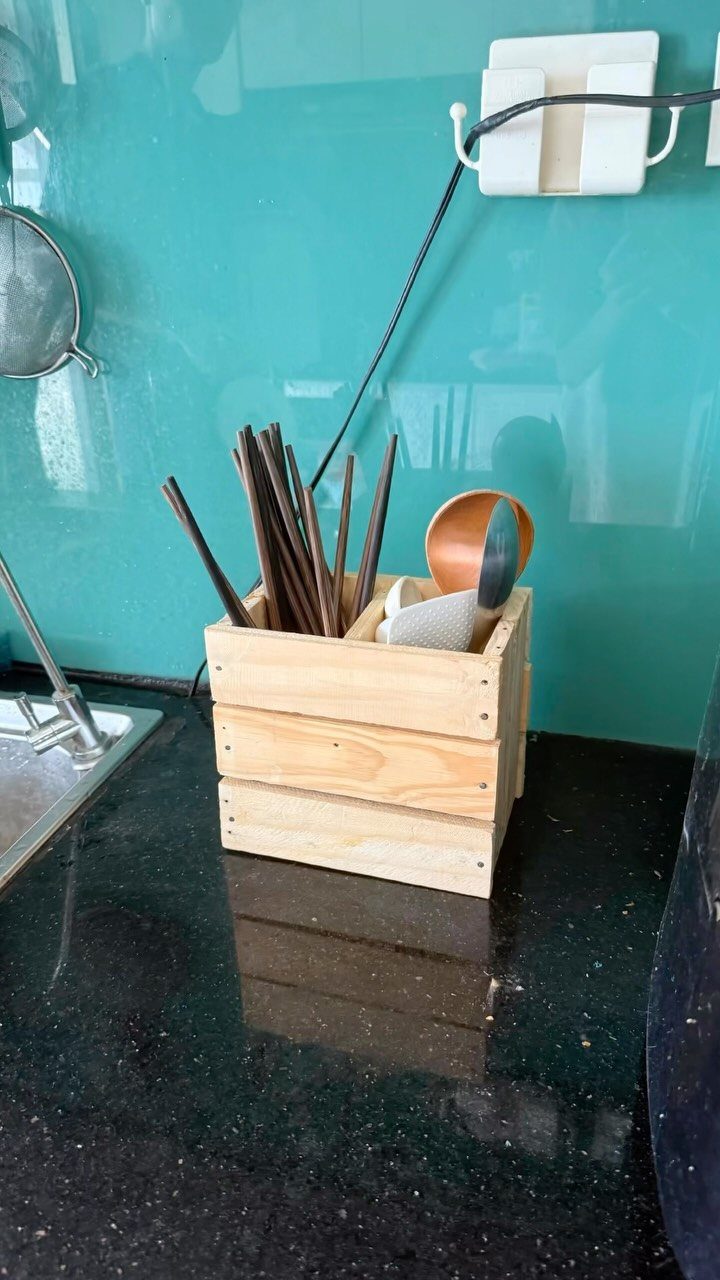
A small open crate makes a utensil holder with almost no joinery: sides, a bottom, and a countertop that stays clear.
Sand every inside face, since spoon handles and chopstick tips snag on rough grain. Because it sits near the stove and sink, I would seal it with a finish labeled food safe.
Cut the sides to fit your longest utensil before you glue.
14. DIY Wooden Game Board
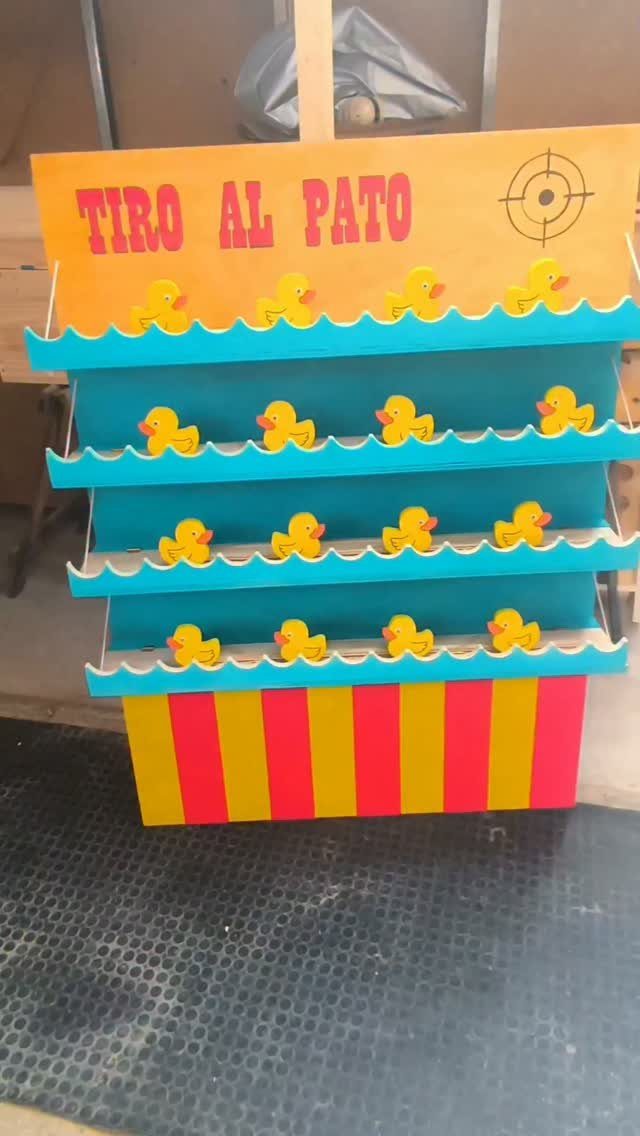
A carnival-style game board is mostly a painting job on a simple wooden frame.
Paint each color on its own and let it dry before taping next to it, so the stripes stay crisp. Trace or stencil the title instead of drawing it freehand.
Cut the ducks from thin scrap and paint them yellow. I would do a test round with beanbags or a soft ball before you commit to the final layout.
Beginner Woodworking Tools
A drill, a hammer, and a handsaw cover more projects than most people expect. Power tools can wait until you know which ones you would use every week.
A basic drill does the job.
The same inexpensive one that hangs curtains and picture frames will drive screws and drill pilot holes for a simple build, with no need for a heavy-duty model with dozens of settings or a huge bit set.
You can often skip the saw too.
Saws and other power tools are intimidating for good reason, so there is no shame in letting the store make the cuts.
Using Scrap Wood
Before you buy new lumber, check the pile of cutoffs in the garage. Scraps often go to the trash or sit in a corner for years, and many small builds can use them at no cost.
Sort the pile by thickness and species so you can match pieces quickly. A few boards of similar size usually make a better project than one odd mix.
Paint, stain, or a natural finish can unify mismatched pieces, so a scrap project can look planned. Keep any piece you cannot use yet, as long as it is big enough to be useful, and let the rest go.
Customization Options
Color is the easiest change. A coat of paint, a tinted stain, or a clear oil can make one build look like three different pieces, so match the finish to the room where it will sit.
Size is the next lever. Most projects scale up or down with a few new measurements, so cut to fit your space instead of copying someone else’s dimensions.
Designs are the last layer: lettering, a stenciled pattern, or a wood-burned detail makes a piece yours. Keep it simple on a first try, and test any design on scrap before it touches the final piece.






