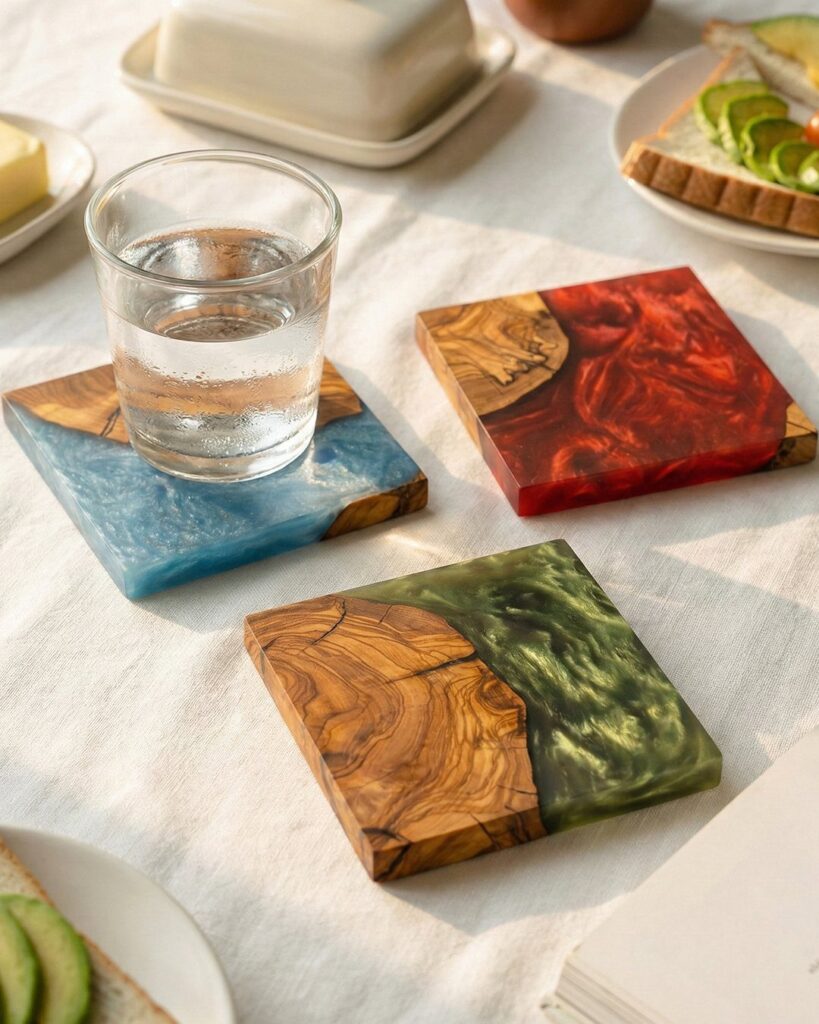
Size decides which of these epoxy resin wood projects belongs on your bench: a coaster set or a serving tray takes one small pour and a single sitting, while a live-edge dining table or the layered koi pond slab asks for staged pours and a lot of sanding.
Check every board before you mix anything.
1. Sanding Excess Epoxy
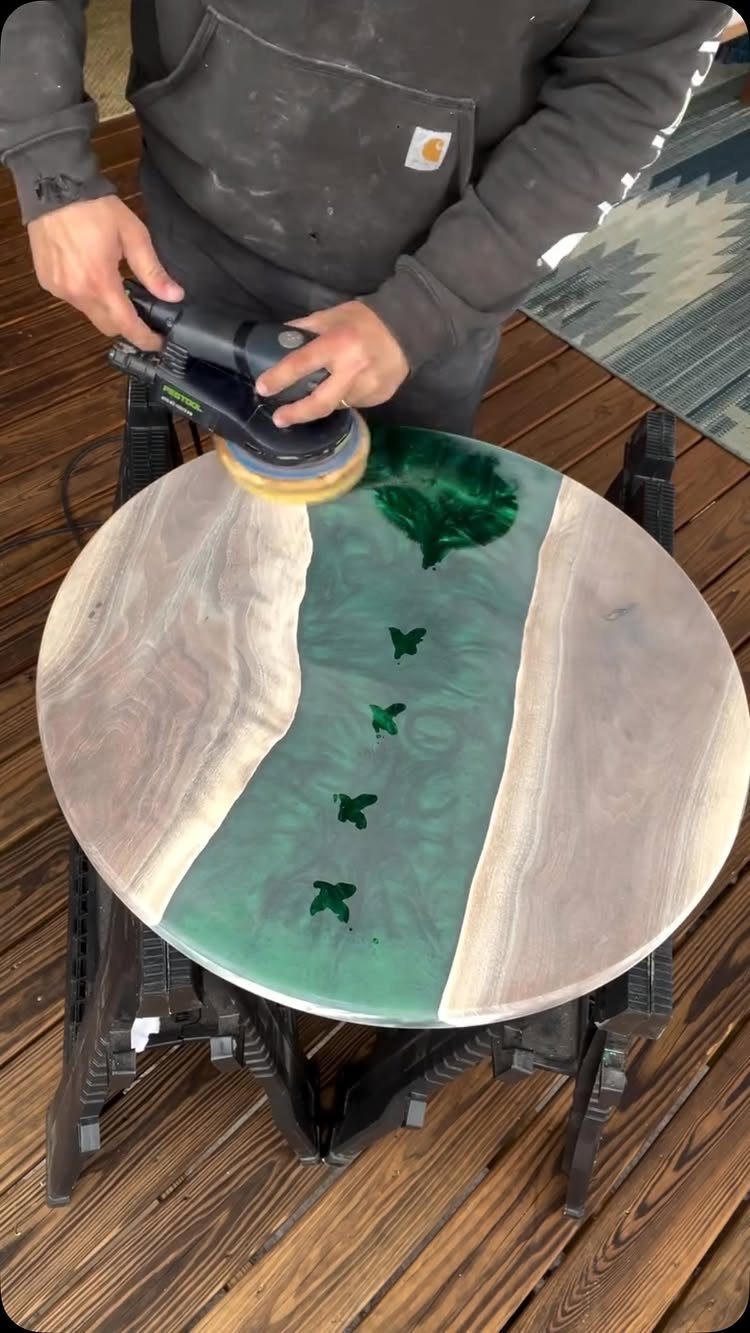
A river table straight off the pour looks cloudy and slightly raised, and sanding is what turns it into a flat, glassy surface.
Start with a coarse grit to level the cured resin with the wood, then step up through finer grits so each pass removes the scratches left by the last.
A random orbital sander keeps the work fast on a round top, since the circular motion won’t leave straight scratches that show against the curve.
Start at 80 grit to level the cured epoxy, then move through 120 and 220. Skipping a grit is the usual mistake, and it leaves swirls that show once you finish the surface.
2. Crystal Inlay Coffee Table
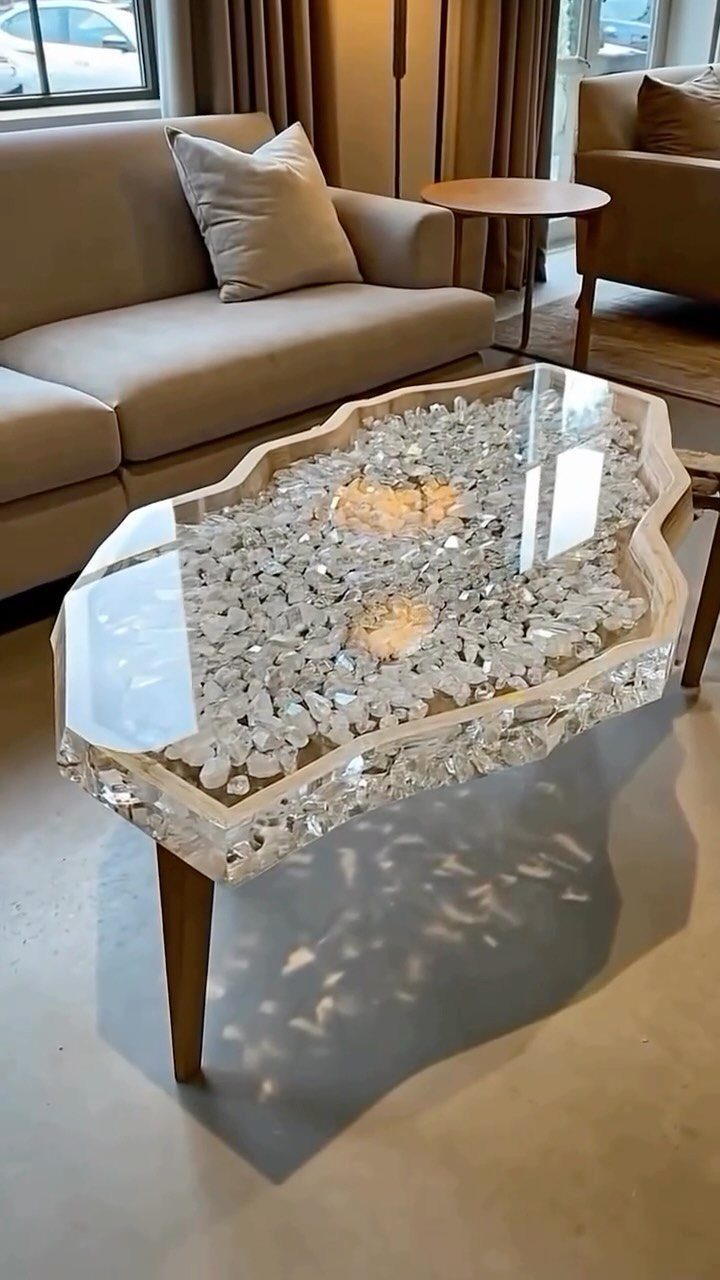
Clear resin over crystals gives a coffee table a center that catches light from every angle, while the natural wood edges keep it from feeling cold.
For afternoon-sized builds, this is a good one to plan carefully, since the crystals sit in the pour and cannot be moved once it cures.
Arrange them dry first, then pour in thin layers so they stay put instead of floating up. A rough, uneven crystal cluster looks better to me than a perfectly spaced one.
3. Wood and Resin Wall Clock
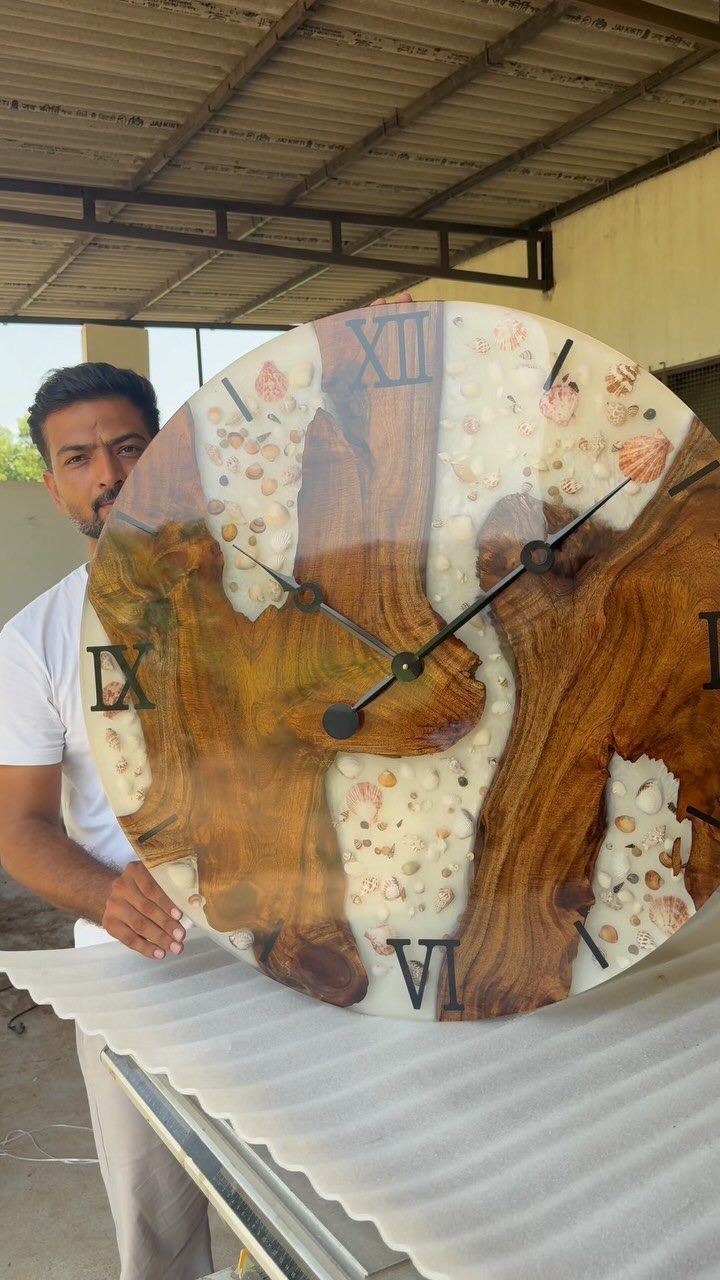
Wood slices set in white resin make a clock face that doubles as a small art piece, and a round mold keeps the project manageable for a home shop.
Seashells are an easy way to add texture without extra finishing work. Dry them fully first, and seal the porous ones with a thin coat of resin so they don’t release air bubbles into the pour.
Against the white resin, the natural wood edge and the seashells set into the pour give this clock its character.
Drill the center hole for the clock movement after the resin cures, and keep the bit sharp so the edge does not chip.
4. Resin River Serving Trays
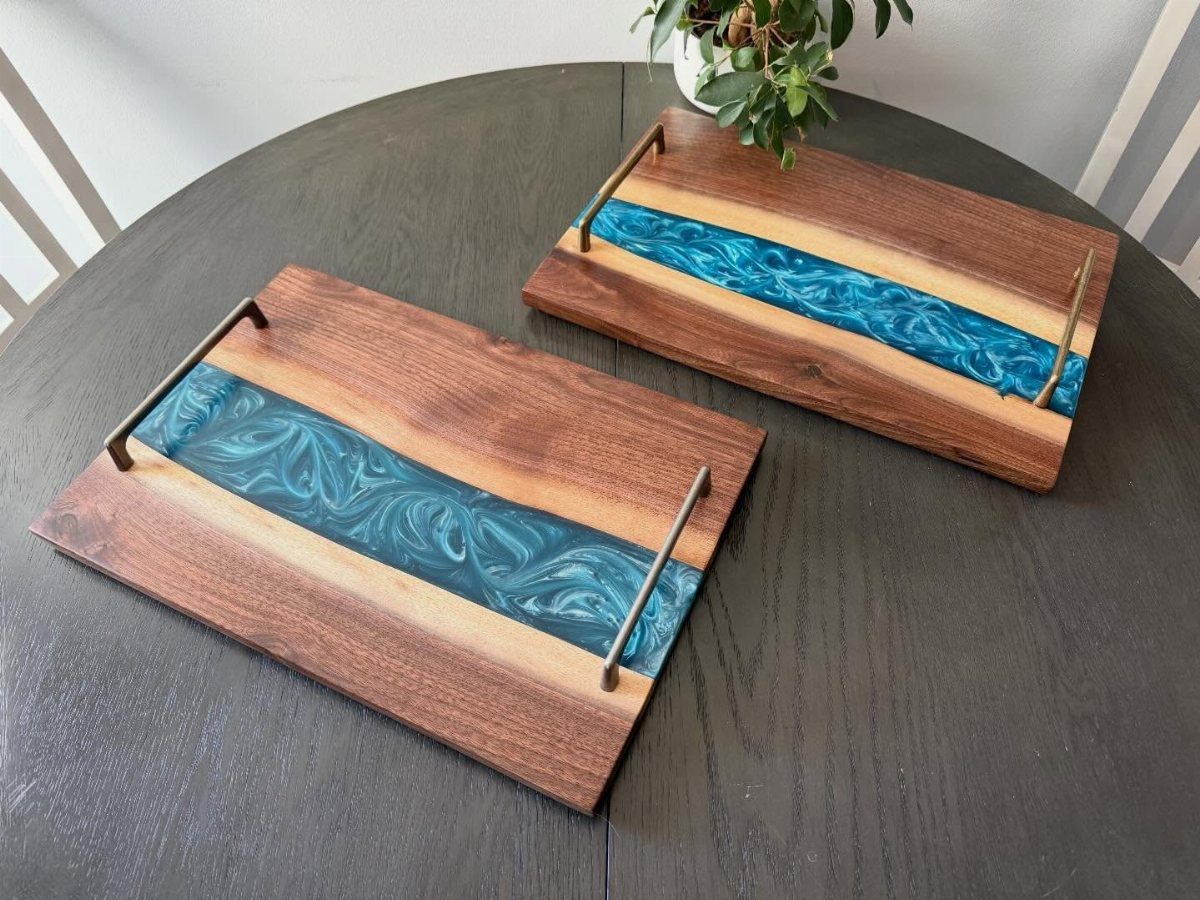
Swirled blue resin down the middle of a wooden board is the quickest way I know to get a river look in a size that fits on a workbench.
Serving trays are forgiving: a small pour means less resin to buy and less to go wrong.
Tint the resin lightly and stir the color in only partway, and the swirls will form on their own.
Gold-toned handles add a clean finishing touch, and you can mount them after the final sanding so the screws never touch uncured resin.
5. Wood and Resin Coasters
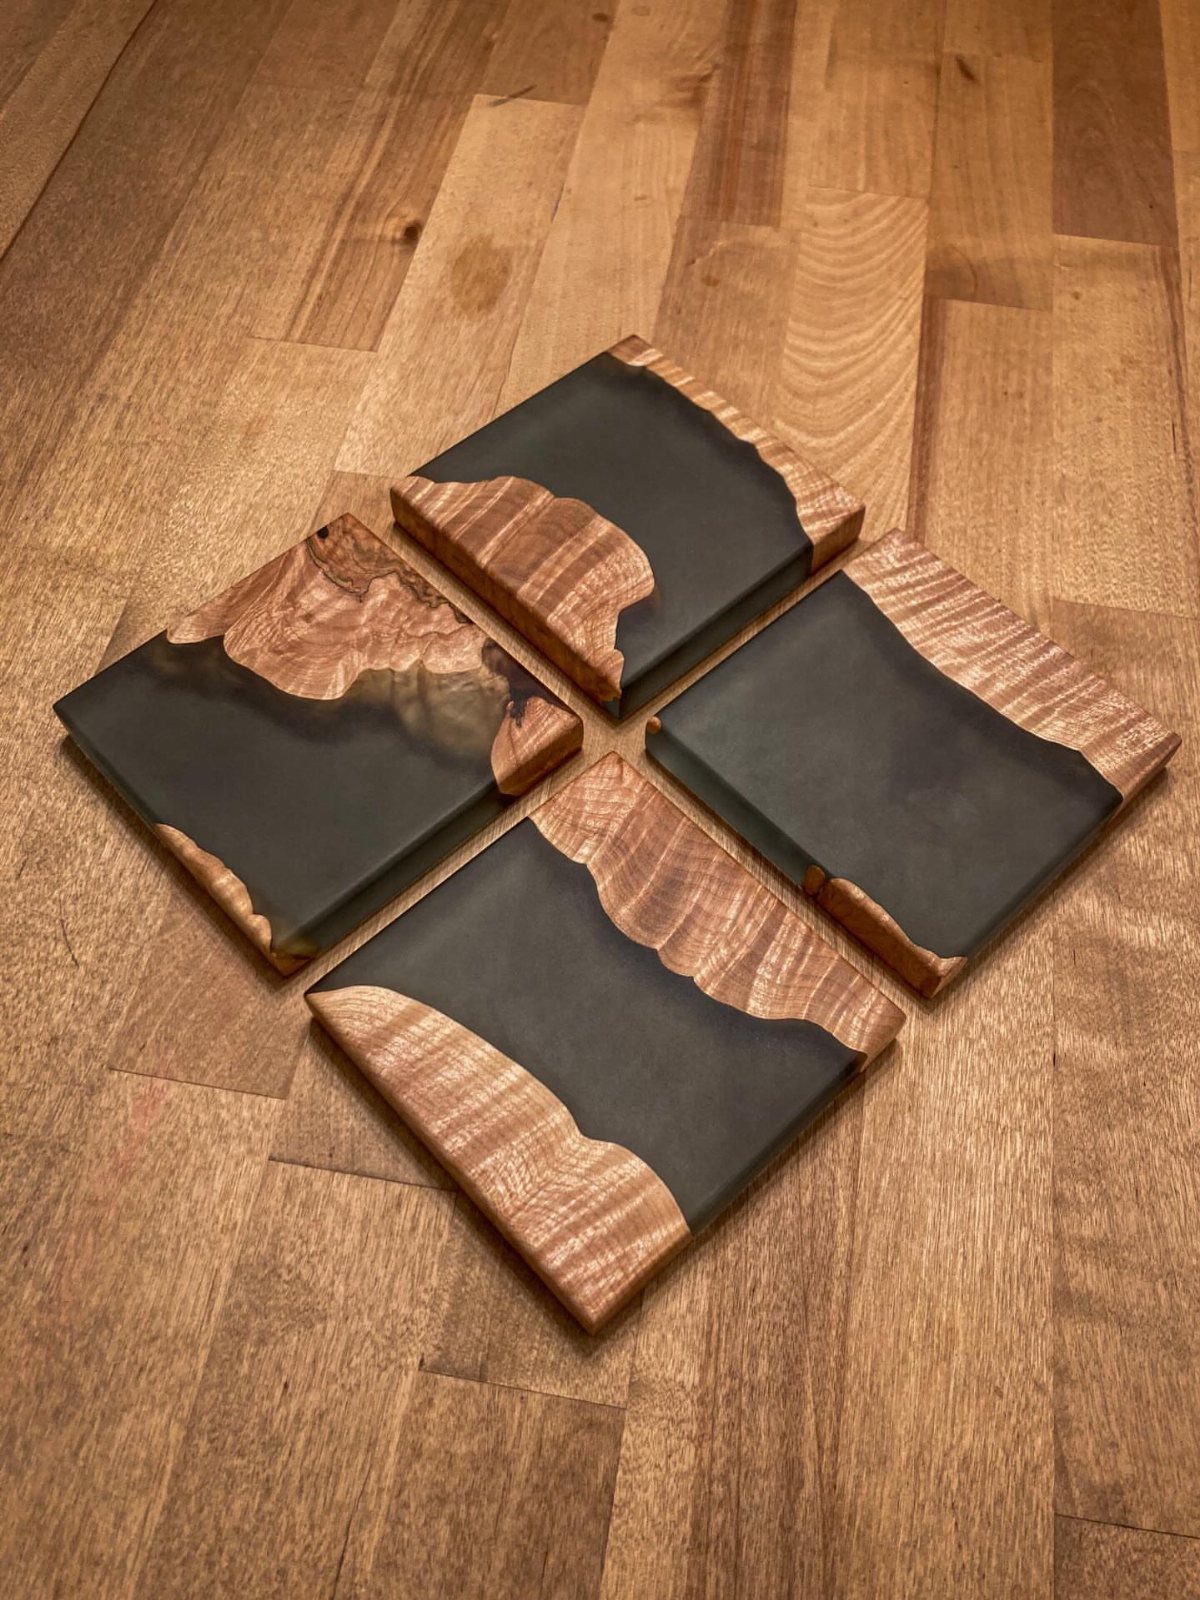
Four coasters from one small pour make a project you can finish in a sitting, and black resin against pale wood is a high-contrast pairing that hides small flaws well.
Square cuts are the easiest to match, so a set looks consistent.
Cut all four from the same board so the grain lines up across the set. Sand the faces flat, then ease the corners lightly so they do not snag on a hand or a tabletop.
6. Live-Edge Resin River Dining Table
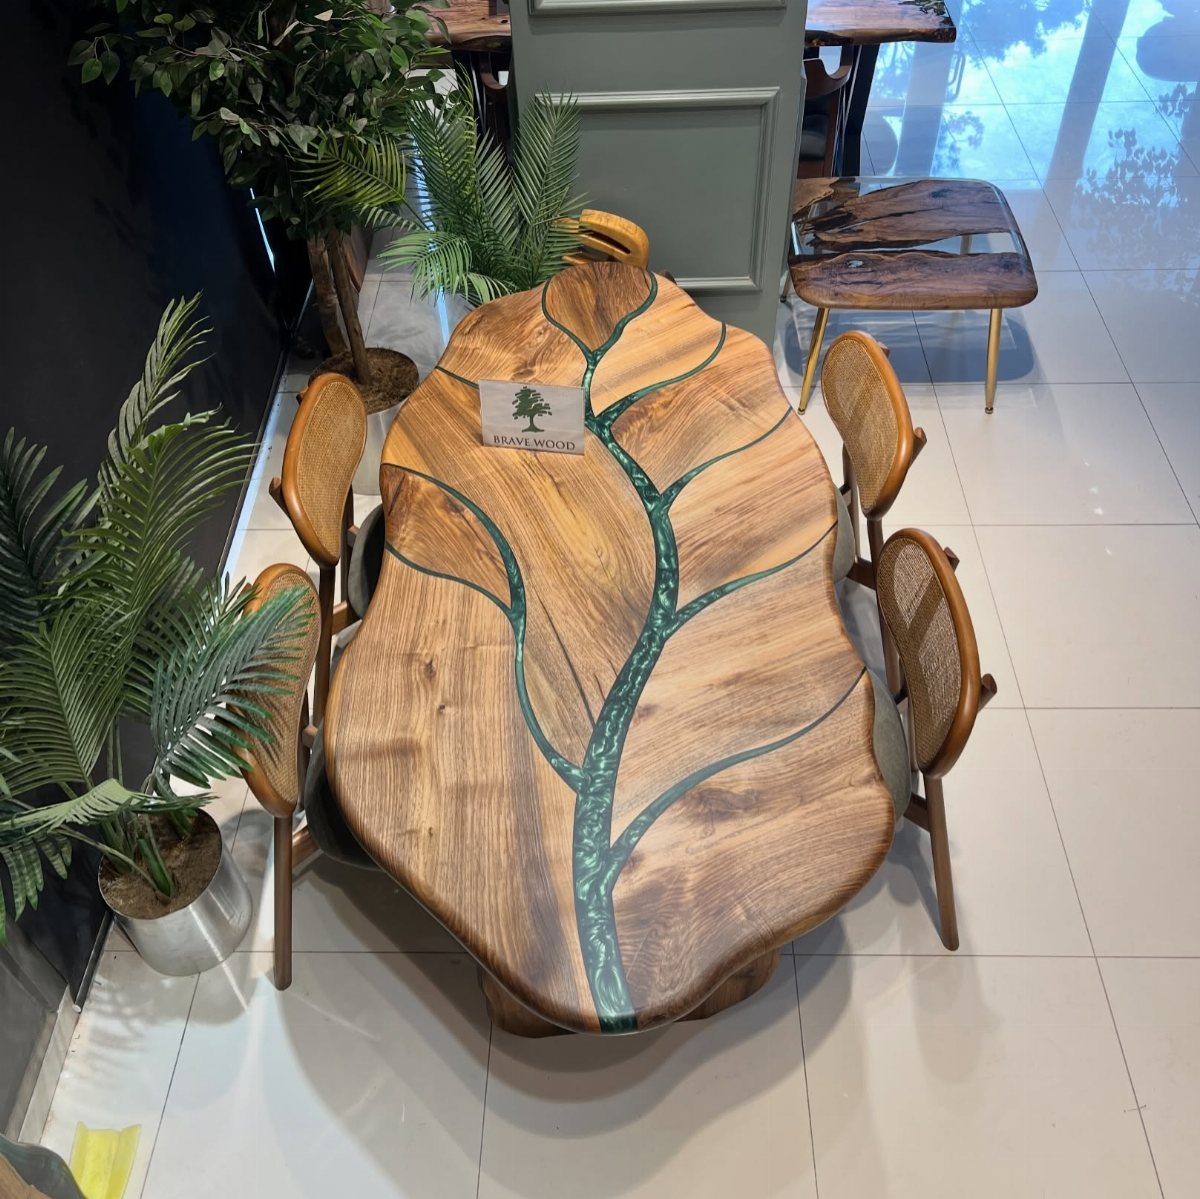
Teal resin poured into the splits and voids of a live-edge slab keeps the flaws that make the wood interesting and turns them into the feature.
This is the version I would pick for a first big table, since the wood already has the shape and the resin only has to fill it.
Seal any gaps along the underside before pouring, or the resin will leak straight through. Pour in stages for deep voids, and plan on a lot of sanding at the end.
7. Galaxy Inlay Coffee Table

Purple and blue swirled through a clear river, with LED strips glowing underneath, makes a coffee table that works as a night light.
Mica powders or alcohol inks give the cosmic look, and stirring the colors in only partway keeps the swirls from blending to mud.
Mount the LED strip before you flip the table upright, and keep the wiring out of the pour path.
Yellow light, as on this table, warms the purple. A cooler white would push it toward blue.
8. 3D Koi Pond Wood Slab
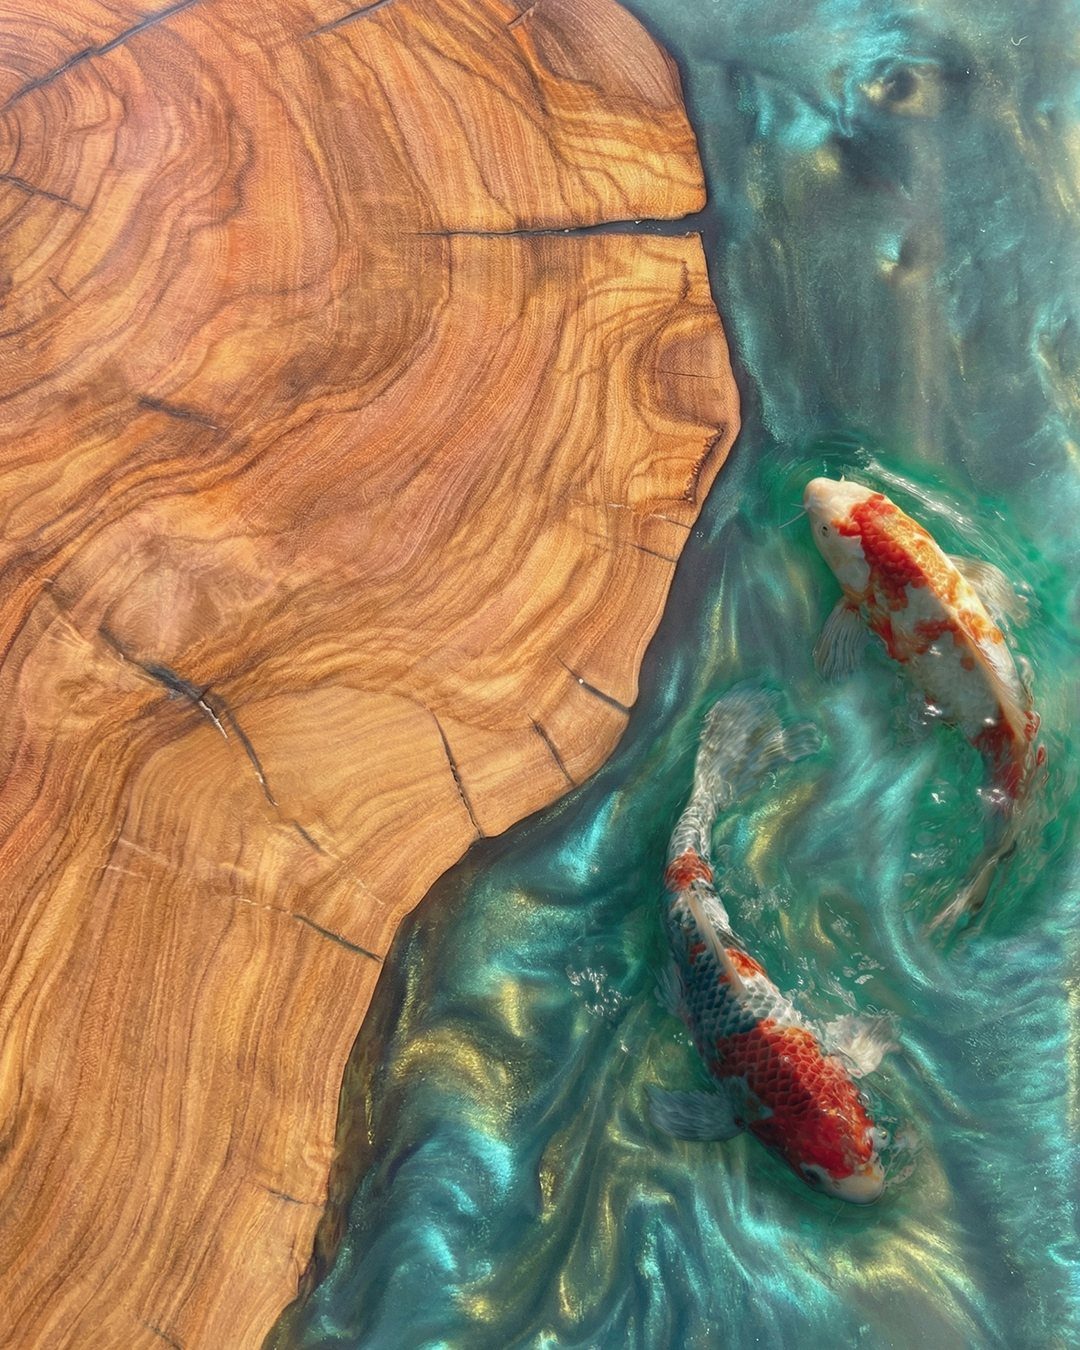
A koi pond set into a wood slab is the most detailed resin project there is, and I would only try it after a simple river pour.
The fish are painted and sit in the resin, so the water has to be built in layers.
Pour a thin base layer, let it cure, set the painted koi on it, then cover with another thin pour.
Sealing the paint first keeps it from clouding. Turquoise tint kept translucent lets the fish stay visible.
9. Clear Epoxy Embedded Wood Slab Table
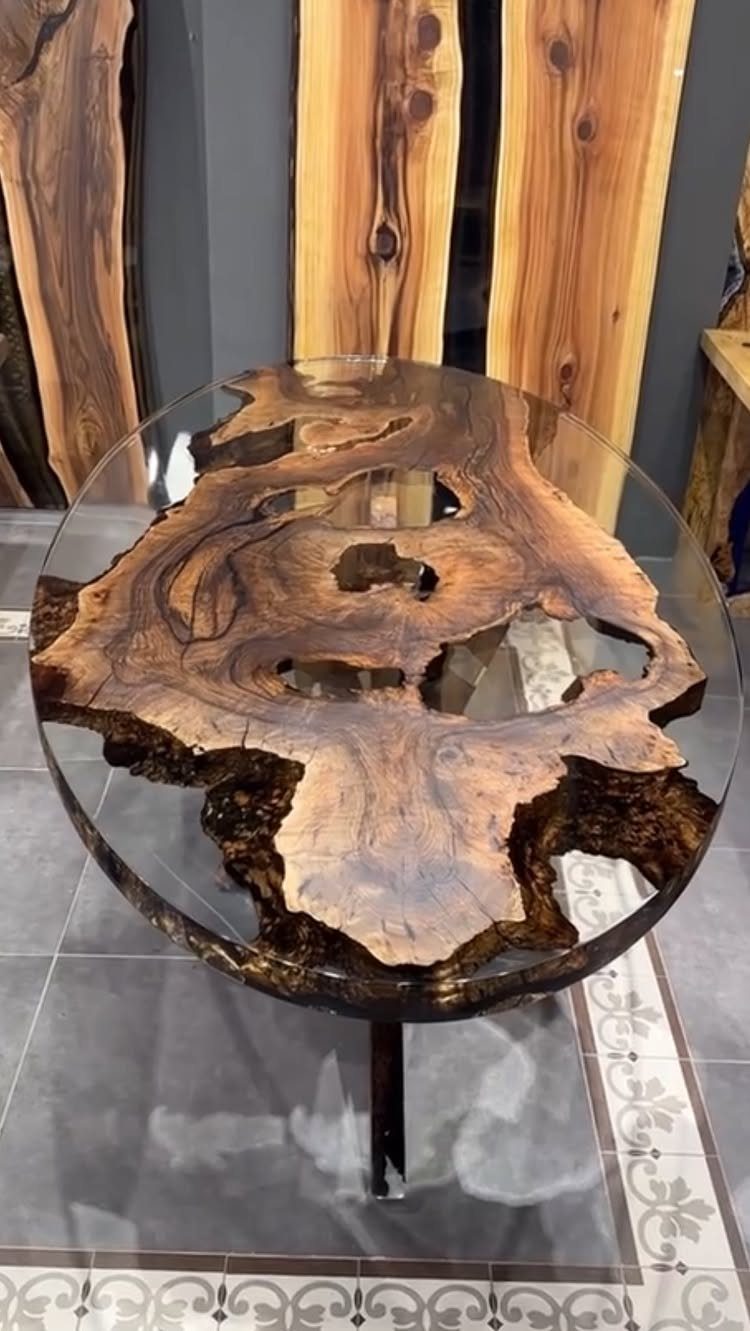
Crystal-clear resin around a live-edge slice lets the bark edge and the grain show from every side, which is why a round coffee table suits this idea so well.
Clear resin has no color to hide behind, so the wood has to look good on its own.
Pick a slice with an interesting edge, seal the wood so air does not seep out as bubbles, and pour in thin layers. Sand and polish the cured top until it is fully clear.
Moisture Control
Wood that is still damp will fight the resin. Moisture trapped in the boards escapes during the cure and shows up as cloudy patches, bubbles, or a bond that lets go at the edge.
Buy kiln-dried lumber and ask for a moisture reading under 10%. A pin-style moisture meter costs little and takes seconds to use, so check each board yourself before you commit to a pour.
Air-dried slabs and wood from a garage pile are the risky ones. If a board reads high, stack it with spacers in a dry room and let it sit until the number comes down, then test it again.
Wood also picks up moisture back from the air. Once a piece has been checked, keep it indoors and pour within a few days, rather than leaving it in an unheated shed or a humid basement.
Frequently Asked Questions
Does wood need to be dried before epoxy?
Yes. Wet wood pushes moisture out while the epoxy cures, and that shows up as cloudy spots, trapped bubbles, or an edge bond that peels away.
If a board reads high, stack it with spacers in a dry room and test it again once the number drops.
What is the best wood for epoxy tables?
Walnut, maple, oak, and elm get chosen most often, since each one is hard, has handsome grain, and holds its shape beside resin.
Whatever species you choose, it needs to be kiln-dried. For a first large table, I like a live-edge slab: the shape is already there, so the epoxy only has to fill the splits and voids.
Can I use cracked wood for epoxy?
Yes, cracked wood works if the board is still solid through its full thickness. Cracks and voids are where resin does its best work, since the epoxy fills them and turns the flaws into the feature.
Tape or seal every gap on the underside first, because thin resin finds any opening, and fill deep voids in several thinner layers instead of one big pour.






