These 5 projects run from a bookmark you can finish in an hour or two to a leaf relief with a full set of veins cut by knife or V-gouge, and the one that fits depends on how much cutting control you have right now.
If your hands are new to a blade, pick the shape that forgives wobbles, like the gnome or a mushroom cluster.
If you already cut cleanly, the faceted bird or the leaf will reward the practice. Whichever you choose, a $2-5 block of basswood keeps a ruined cut cheap.
1. Carved Leaf Relief Carving
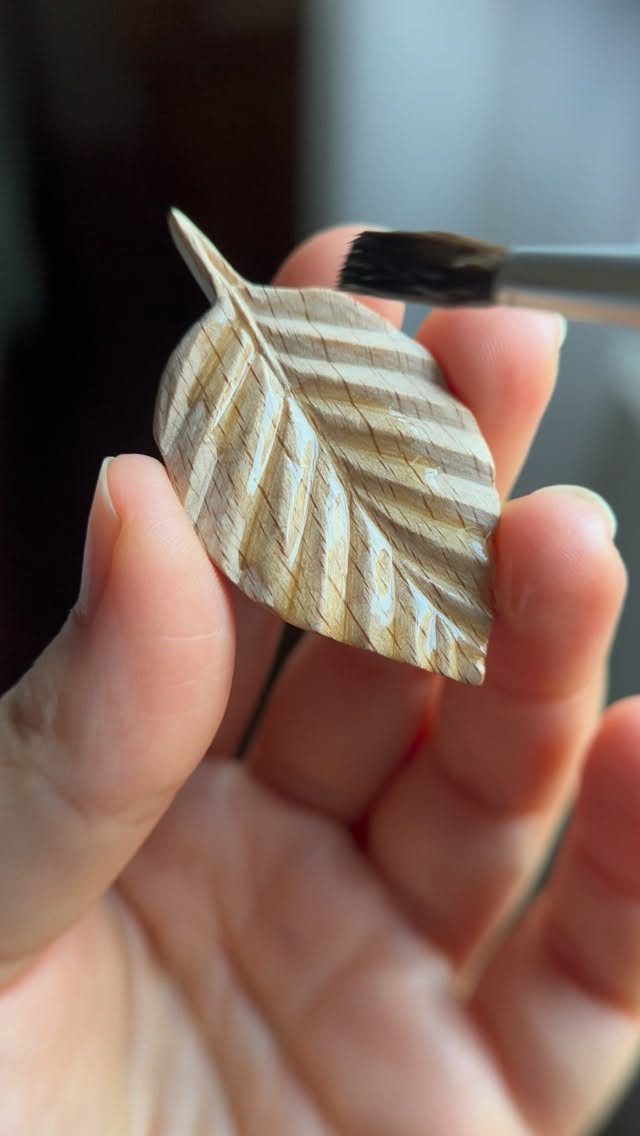
A leaf is the friendliest relief subject I know: one central vein, a few side veins, and a curved outline that hides small mistakes.
Sketch it in pencil, then cut along the lines with a knife or V-gouge, working with the grain.
Brush the finish on last, after all the cutting is done, so stain and oil don’t pool in the cut lines or get shaved off by a stray pass of the knife.
Hold the piece by its edge so your fingers stay out of the wet spots.
Pick a soft, fine-grained wood so the veins cut cleanly. Basswood is my choice.
2. Comfort Bird
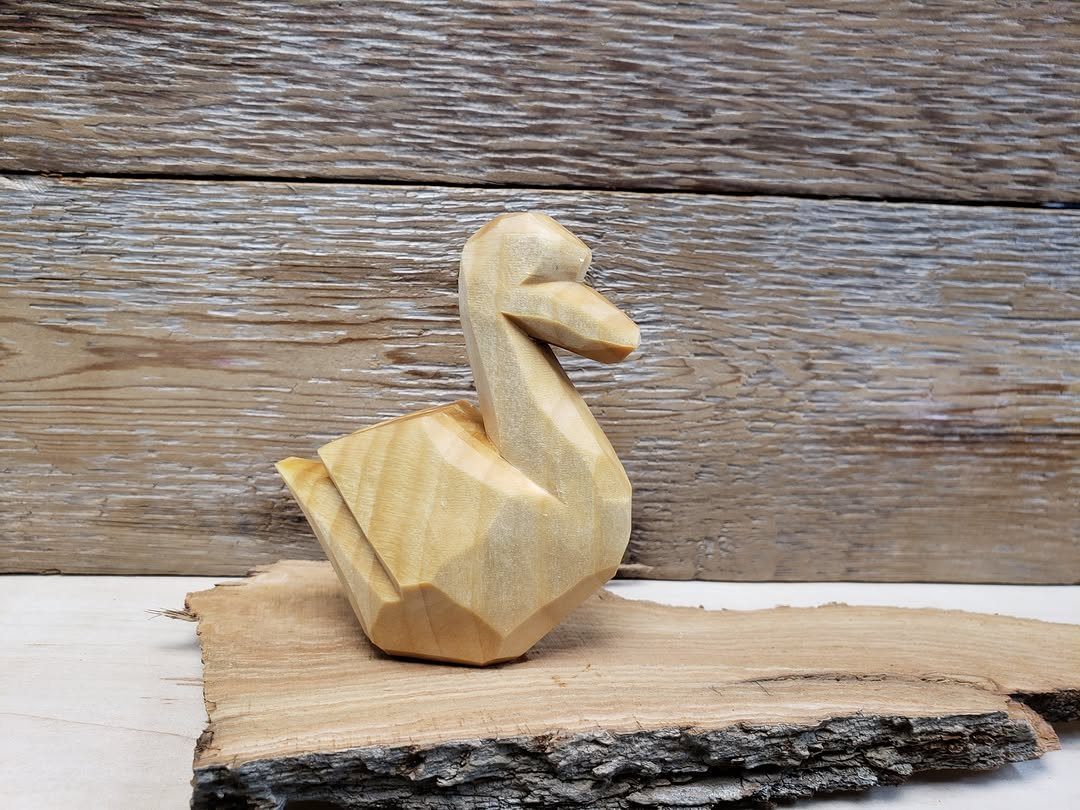
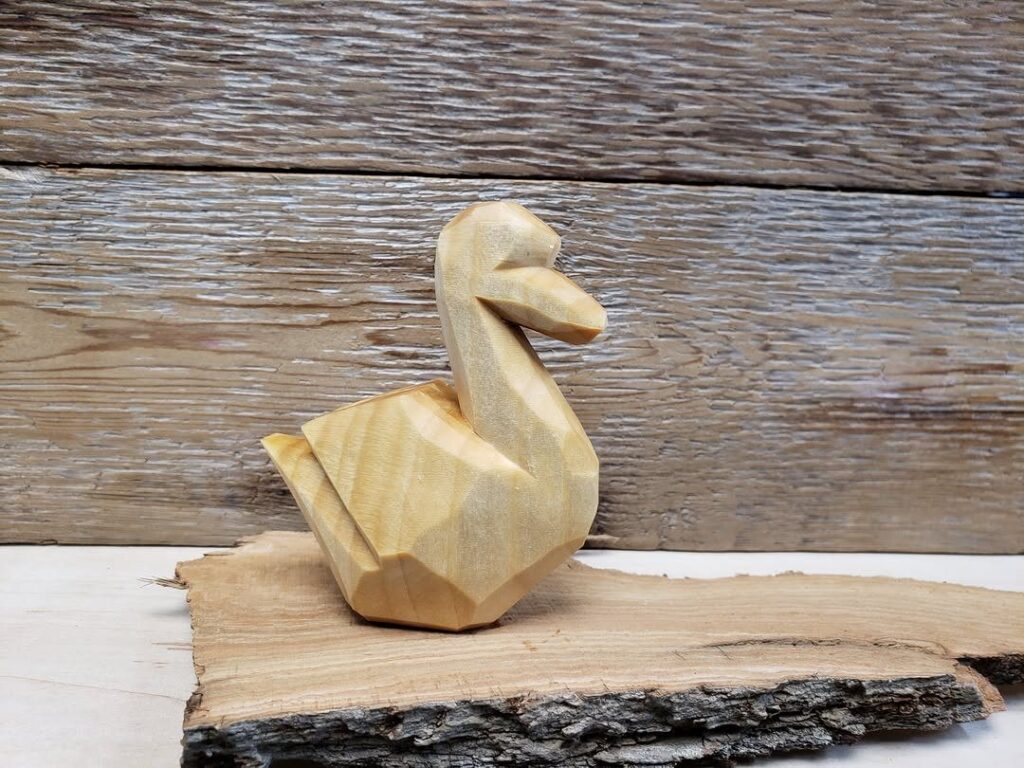
Small, round and faceted, a bird teaches you to control each cut. Every facet is a single slice, so you learn quickly how deep the blade wants to go.
Start from a rough bird outline and take off the corners first.
Then shave in short, shallow passes, always cutting away from your hand. A thumb guard is cheap insurance.
Leave the facets unsanded if you like the crisp, faceted look; the small flat planes left by the knife catch light and give a comfort bird its character.
Tool marks give the bird its character, and a wipe of finish is plenty.
3. Gnome
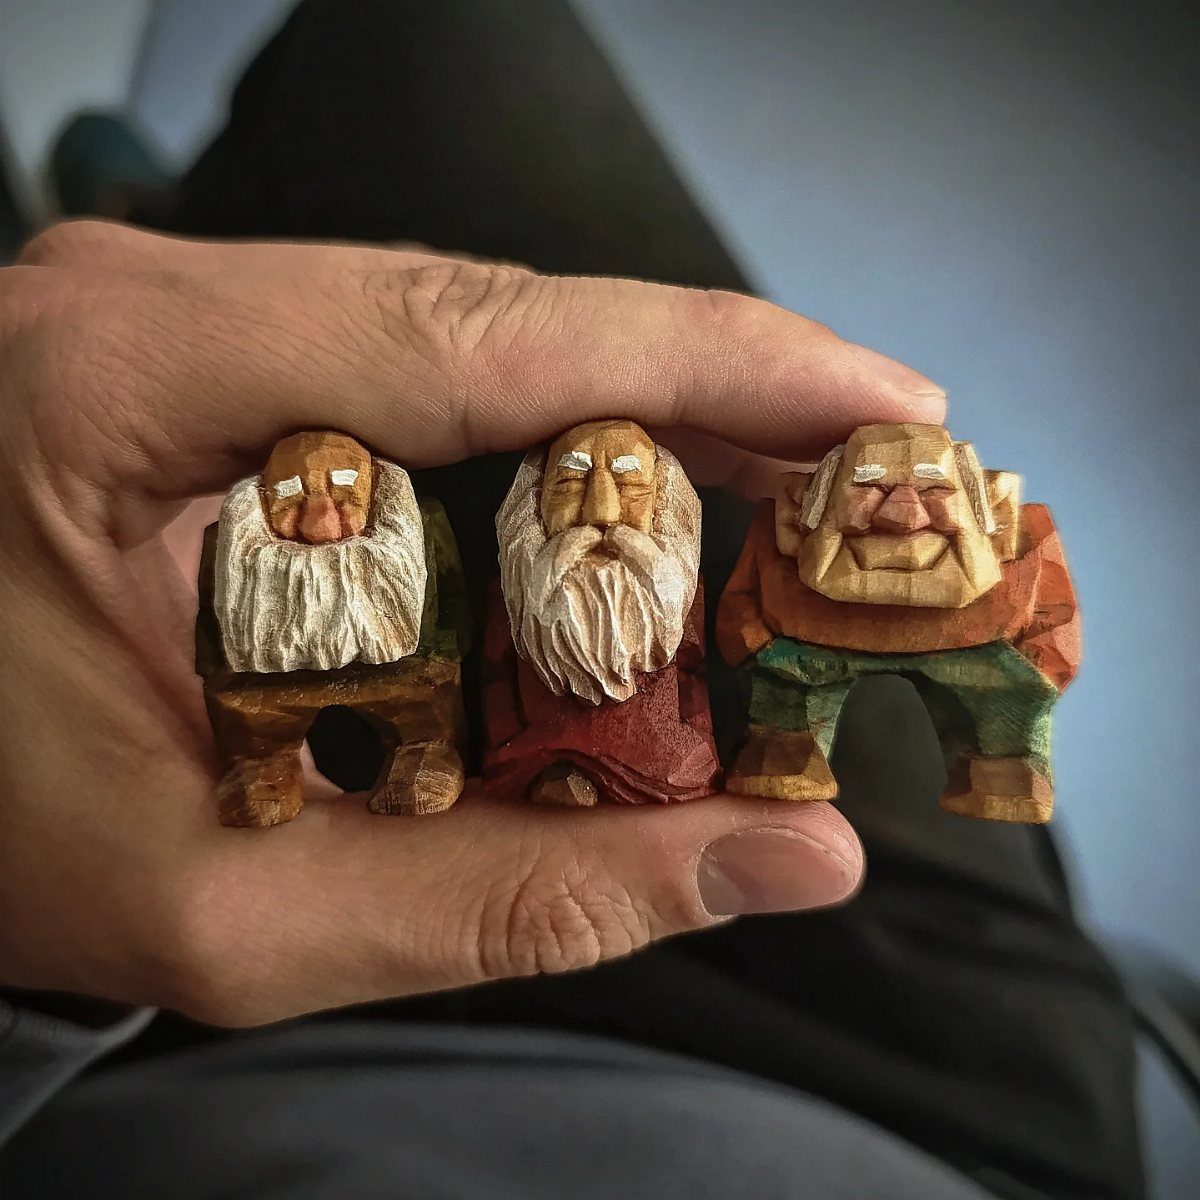
Gnomes forgive nearly every wobble. A pointed hat, a big nose and a beard that hides the lower half of the face leave you very little to get wrong.
Carve the gnome in a simple tapered shape, then paint only the hat and leave the beard as bare, white wood so the grain does the work.
Because the details are small, make a batch rather than a single figure. By the third one, your cuts will be cleaner.
Use acrylic paint for color, since it covers wood in a single coat or two.
4. Mushroom Cluster
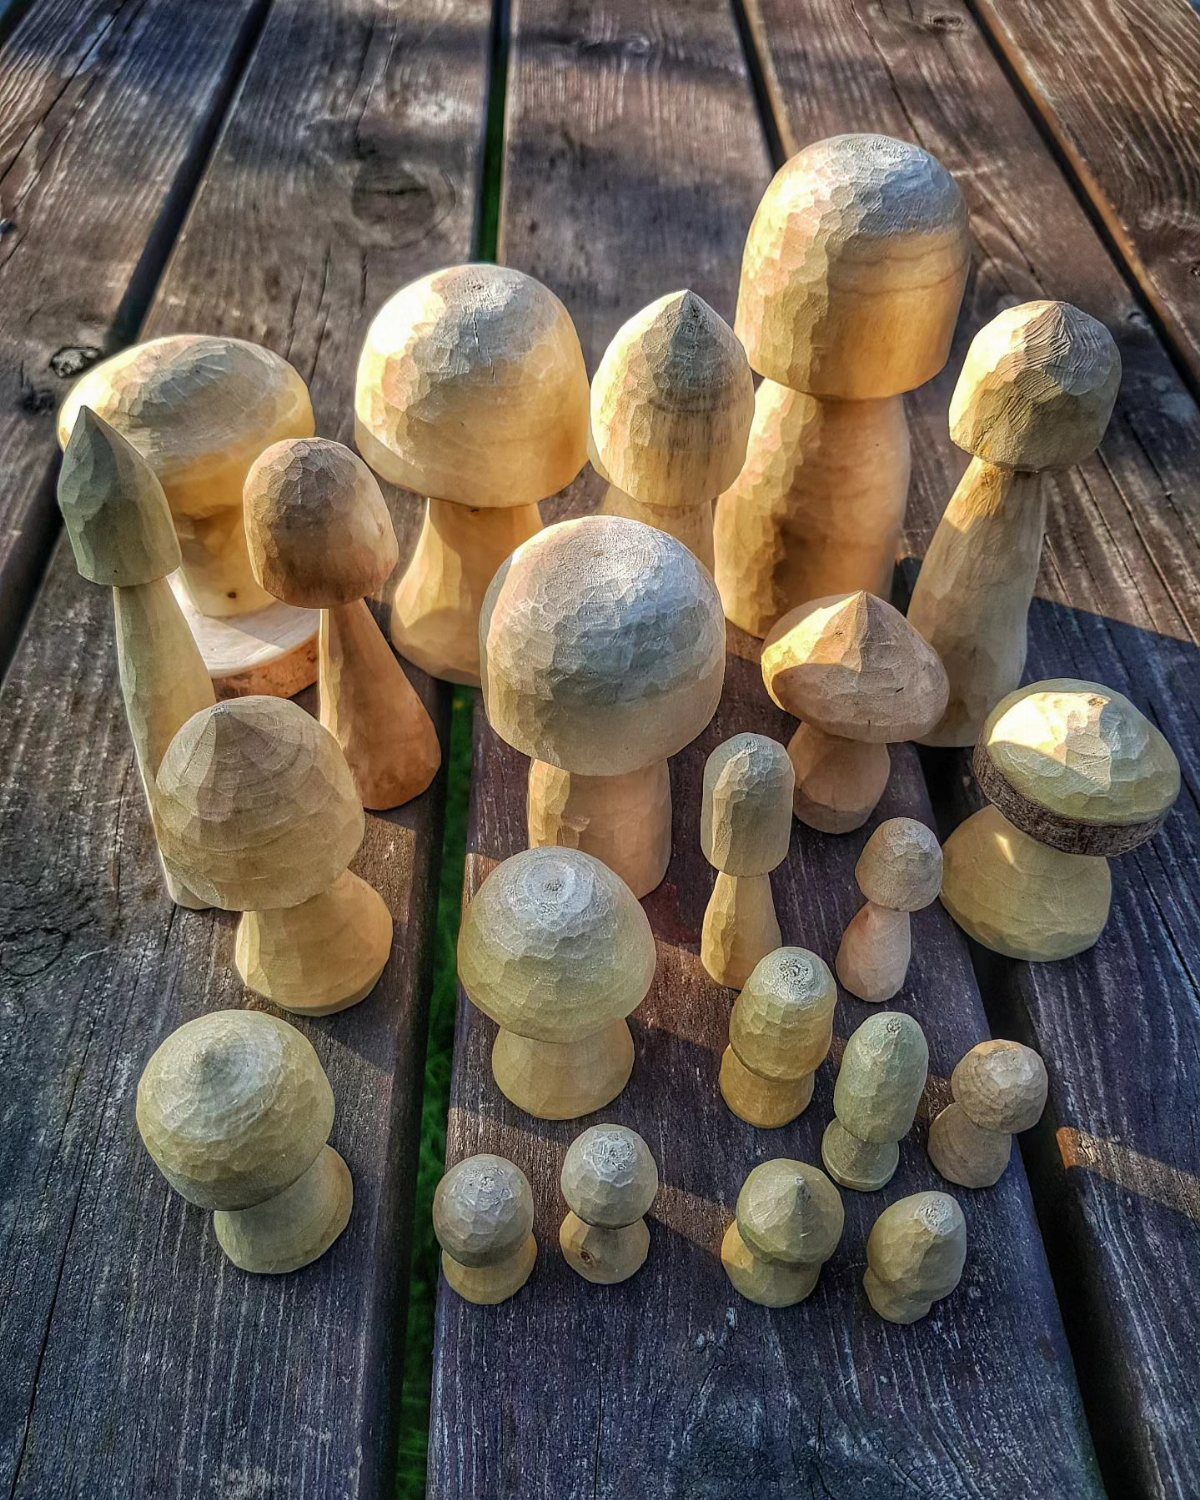
Mushrooms are my pick for a first carving set because no two need to match. A rounded cap on a short stem works in any size, and a lopsided one just looks natural.
Carve a few at different heights and group them. Round the cap first, then slim the stem beneath it.
Sand lightly and finish with clear oil or a bit of paint on the caps. The forgiving shapes make this a good afternoon project with a basic knife.
5. Wooden Bookmark
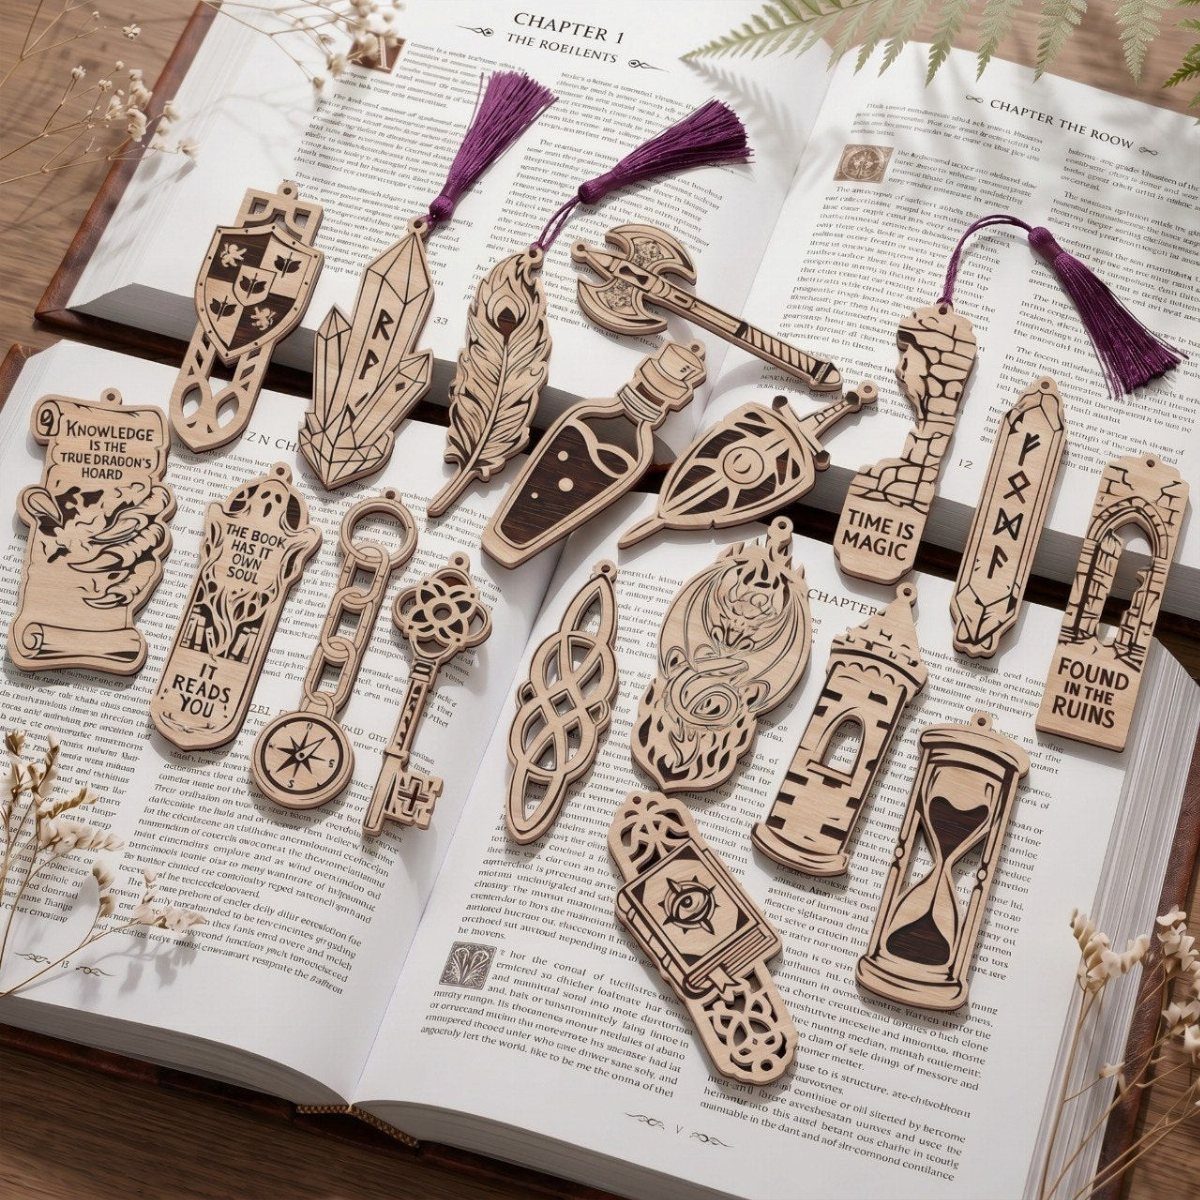
Flat, small and finished in an hour or two, a bookmark is the quickest project here. Laser cutting isn’t required: a thin strip of wood, a knife and a pencil will do.
Cut a strip about the width of your hand, then carve a simple border or a short quote into the surface. Round the corners and sand until it feels smooth against paper.
Add a tassel through a drilled hole if you want one. Any reader on your list will appreciate a handmade bookmark.
Best Wood for Beginners
For a first flat carving, basswood is the one I’d buy: soft, tight-grained and forgiving under a knife.
It’s soft, the grain is tight and even, and it resists splitting. A block runs about $2-5 at a craft store, so a cut that goes wrong costs you very little.
Butternut is a close second if you want a bit more grain character in the finished piece. Pine and aspen work fine too, since both are cheap and sit on the shelf at nearly any home center.
Skip oak and walnut for now. Oak, maple and other dense hardwoods dull a blade quickly and resist every cut, so save them until your hands have the strength and control to manage them.
Essential Tools for Carving
A sharp knife is the one tool I’d buy first. A small set of carving gouges comes next, and a handsaw helps you cut a block down to a workable size.
Sandpaper, a carving mallet and stain are useful extras, though none of them is needed to start.
Beginner carving sets at craft stores or online bundle several of these tools, which is an easy way to try the craft without buying piece by piece.
Practice on soft wood like basswood or pine, so the tools you have feel easy to control.
Carving Techniques for Beginners
For a first carving, I’d pick a flat board with shallow geometric cuts. Expect to finish it in about 2 evenings with a single knife.
Free patterns are easy to find on craft websites, forums and carving communities. Hearts, simple animal outlines and basic geometric shapes make good first designs.
Simple patterns let you practice control and depth without being buried in detail. Read the grain before every cut, and keep the cuts light and deliberate.
Frequently Asked Questions
What is the easiest thing to carve for a beginner?
Start with a flat board and shallow geometric cuts; a single knife and a couple of evenings will get you to a finished piece.
Shallow cuts mean a slip removes very little wood, so your hands can learn what the blade does without ruining the piece. Mushrooms and leaves are good next steps because their shapes forgive uneven cuts.
What wood should I use for small carving projects?
Basswood is the one I’d buy: it’s soft, tight-grained, resists splitting, and a block runs about $2-5 at a craft store.
Butternut works nearly as well and shows more grain in the finished piece. Pine and aspen are fine choices, but leave oak and walnut for later, once your hands can control the extra force dense hardwood demands.
What are some cool things I can carve in wood?
Good first carvings include a leaf in relief, a faceted comfort bird, a gnome with a painted hat and bare wood beard, a cluster of mushrooms, and a flat bookmark with a carved border.
Each one has simple shapes and few small details. That keeps them realistic to finish in an afternoon with a basic knife.
Do I need a workshop or a proper bench?
No, a kitchen table works for small carving. Light coming from one side rather than straight down helps you see the cuts.
What do you soak wood in before carving?
None of the projects I’d start with call for soaking, so you can carve basswood dry.
Choose soft, fine-grained wood like basswood and keep your knife sharp, and the cuts will come cleanly. Save any finish for after the cutting is done.






