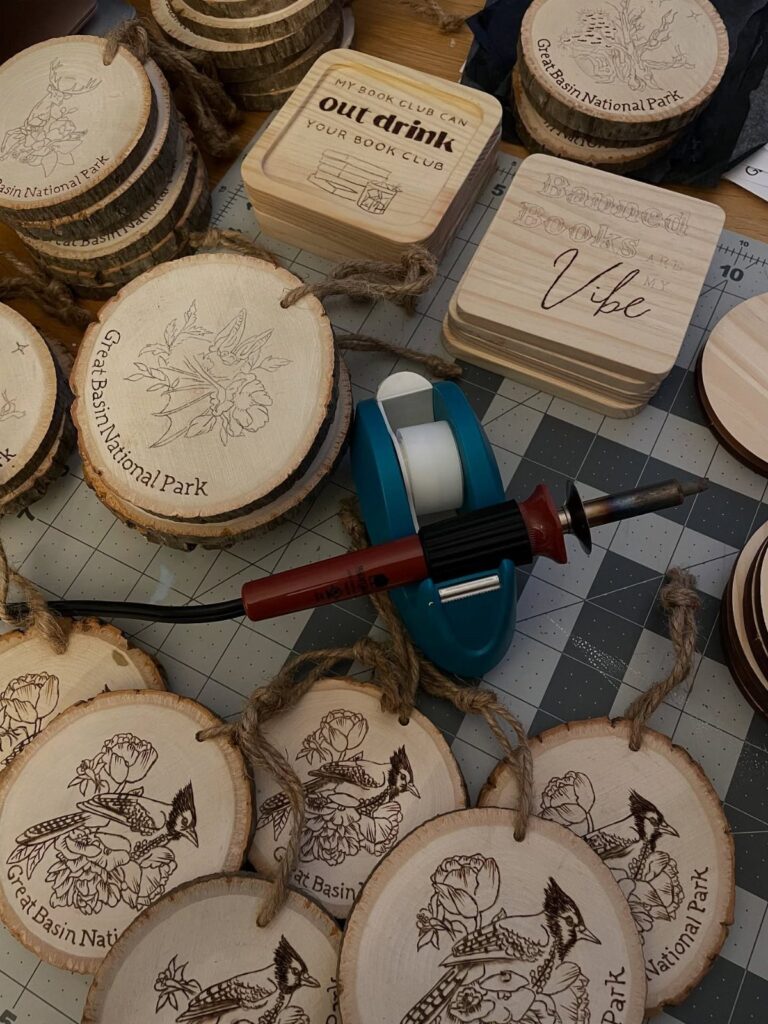
The ideas here run from a single burned initial on a square blank to a scene with a deer, ferns and a bark edge, or a mountain outlined in the burner and then washed with paint.
Time decides which one to make: an initial ornament or a gnome takes a short stretch, while the wood-burned and painted mountain adds steps and rewards the extra patience.
Wherever you land, a burner under $30 and a pack of 50 unfinished basswood or birch plywood rounds at about $10 cover the supplies.
1. Wood Burned Christmas Ornaments with Initials
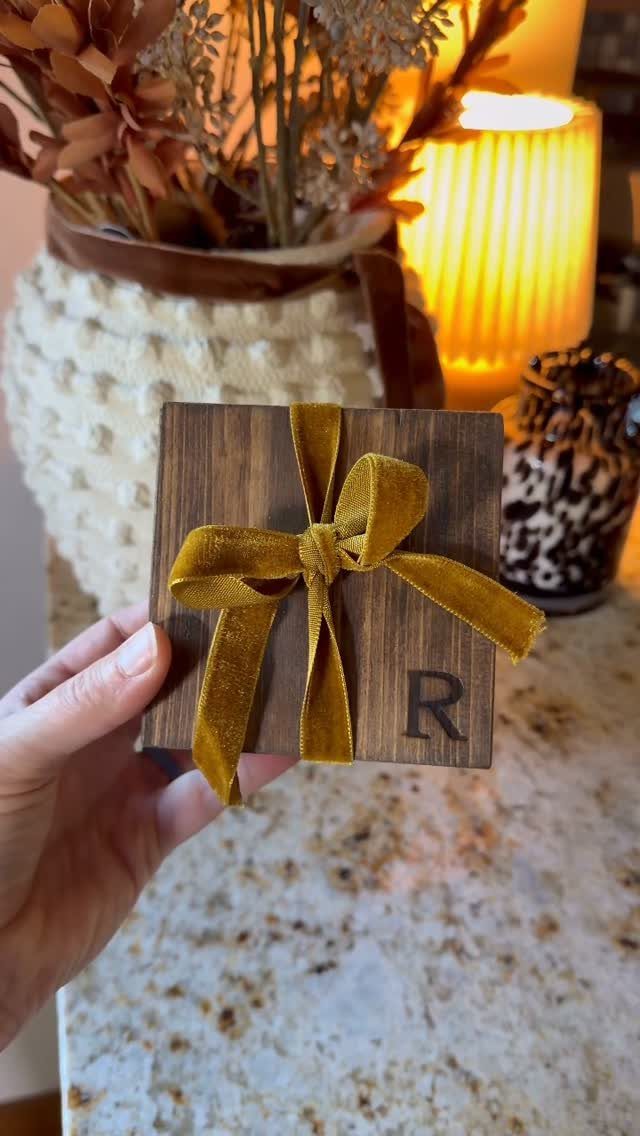
A single burned letter on a square blank is the quickest personalized ornament I know, and a gold velvet bow finishes it without any extra work.
Pencil the initial first, then trace it with your burner so the lines stay steady.
A block letter forgives wobbles better than a script one. Make one for each person on your gift list and the whole batch comes together in an afternoon.
2. Burned Wood Slice Ornaments
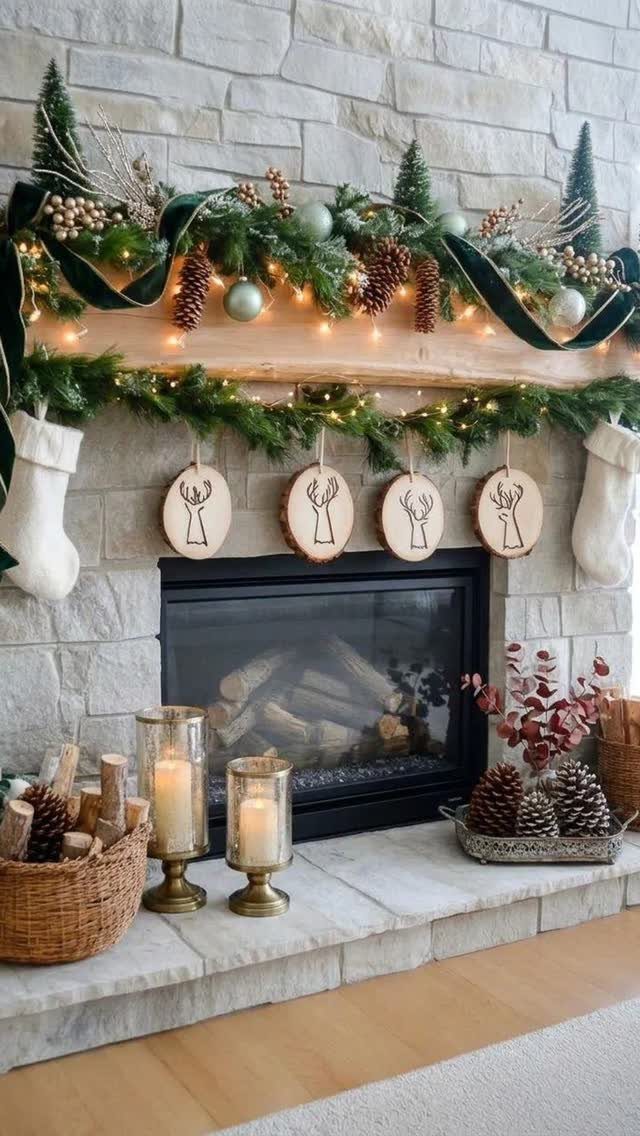
A group of slices on one mantel reads as a set, and that is the case for burning a single motif across all of them.
Repeating a deer design while letting each slice keep its own bark edge and grain gives you a matched group that still looks handmade.
The maker says these designs bring a handmade, collected feel without looking straight from a kit, and I agree. Skip the stamped, uniform look and let the slices differ.
3. Birch Slice Ornaments
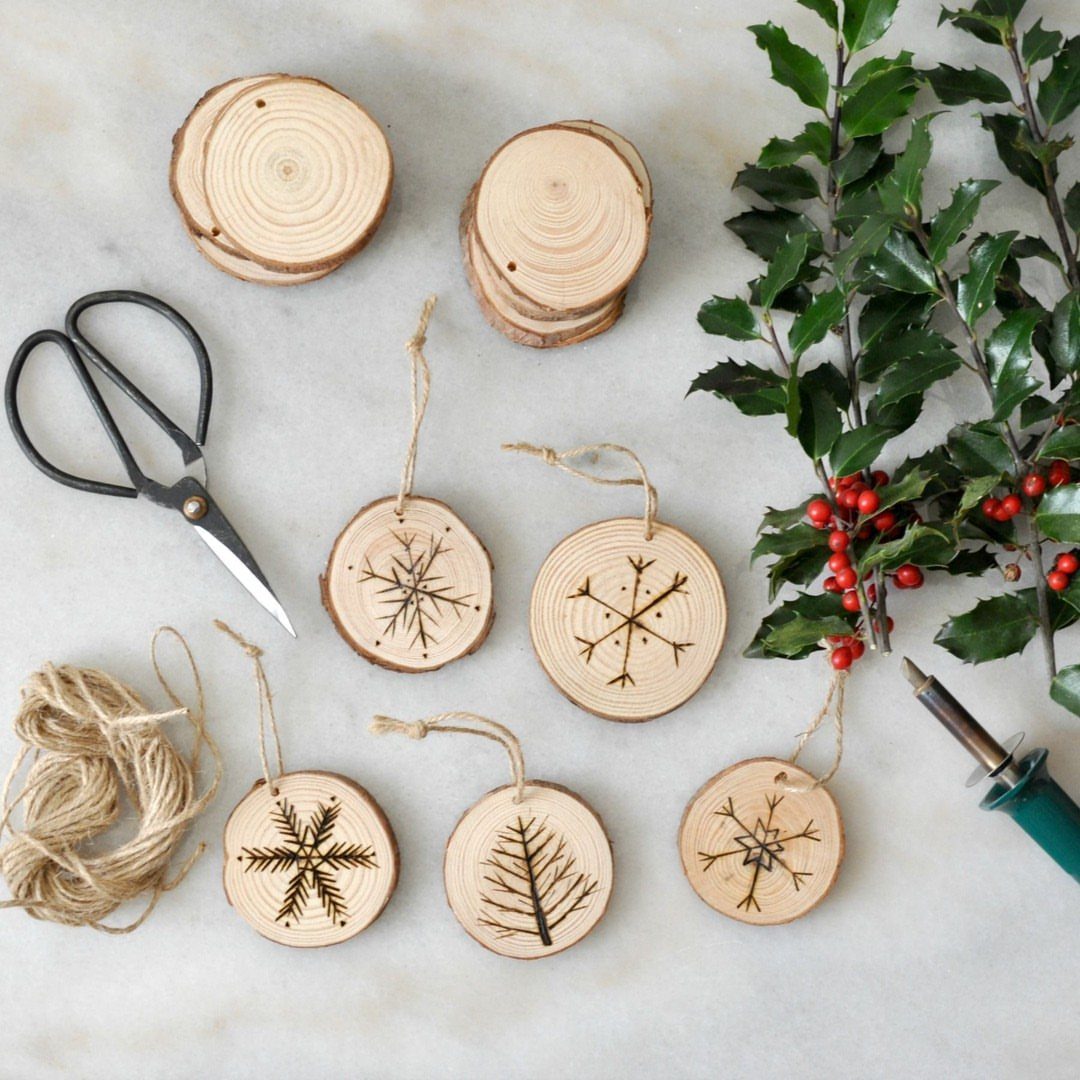
Birch has pale, smooth wood, so a burned line shows up crisp against it. Snowflakes and little trees suit the small surface well.
Gather the burner, scissors and twine before you start, and you can work straight through without stopping to hunt for a tool.
I would burn every slice first and tie the twine loops last, so no string sits near a hot tip.
Simple shapes win here. Tight detail on a small round gets muddy fast.
4. Wood-burned Gnome Ornament
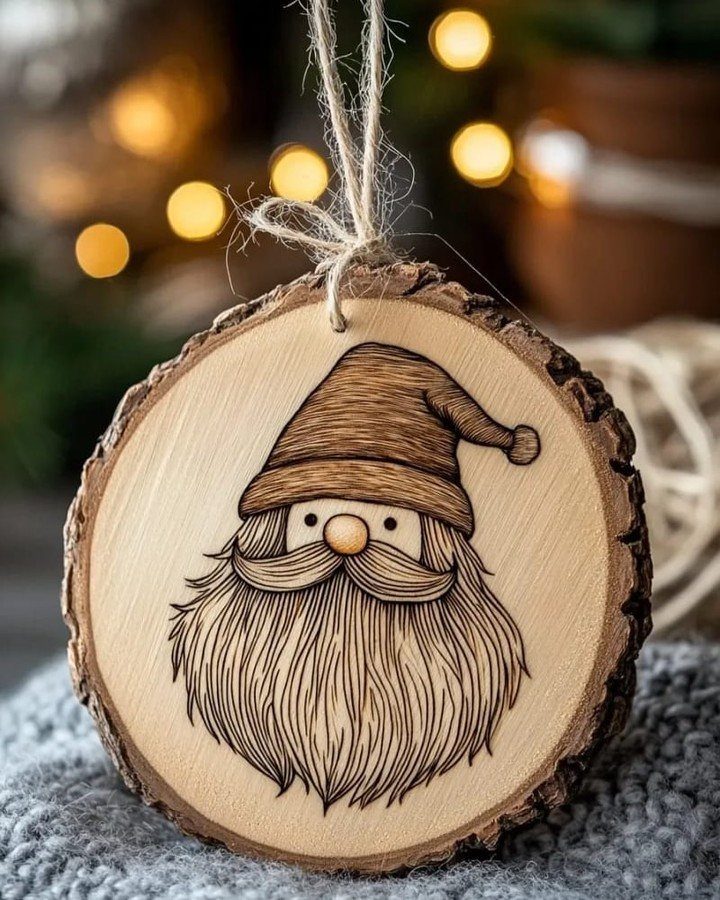
Gnomes are mostly hat and beard, which makes them friendly to a beginner with a burner. Fill the tall hat with stripes, dots or zigzags, and give the beard long strokes that follow its shape.
Keep the face tiny or leave it out entirely. Dense burning on the beard darkens the wood, so the pattern on the hat stands out by contrast.
Drill one small hole near the top, thread a twine loop through it, and the ornament is ready to hang.
5. Classic Christmas Wood-burned Ornaments
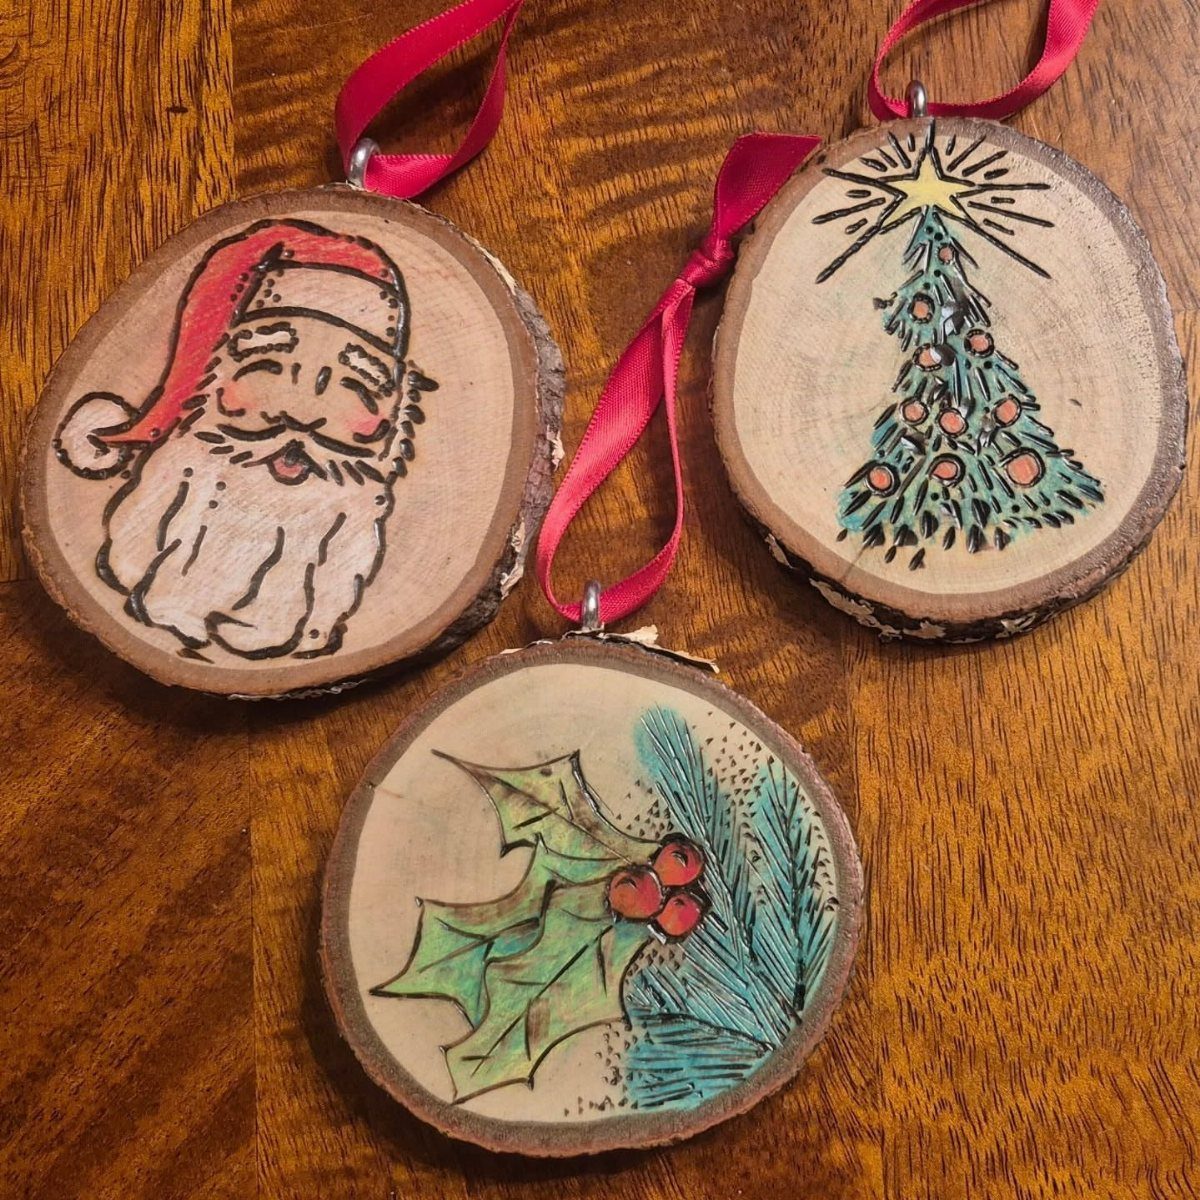
Santa, a tree and holly berries make a trio that works because each design is simple. Burn the outlines, then leave the wood bare so the grain does the shading.
Red ribbon ties the three together, so later you can swap in other motifs and the set will still look like a set.
For berries, press the tip down in a few short dabs rather than dragging it, and you get neat dots.
I would start with the tree. Straight lines are the easiest to practice on.
6. Wood-burned and Painted Mountain Ornament
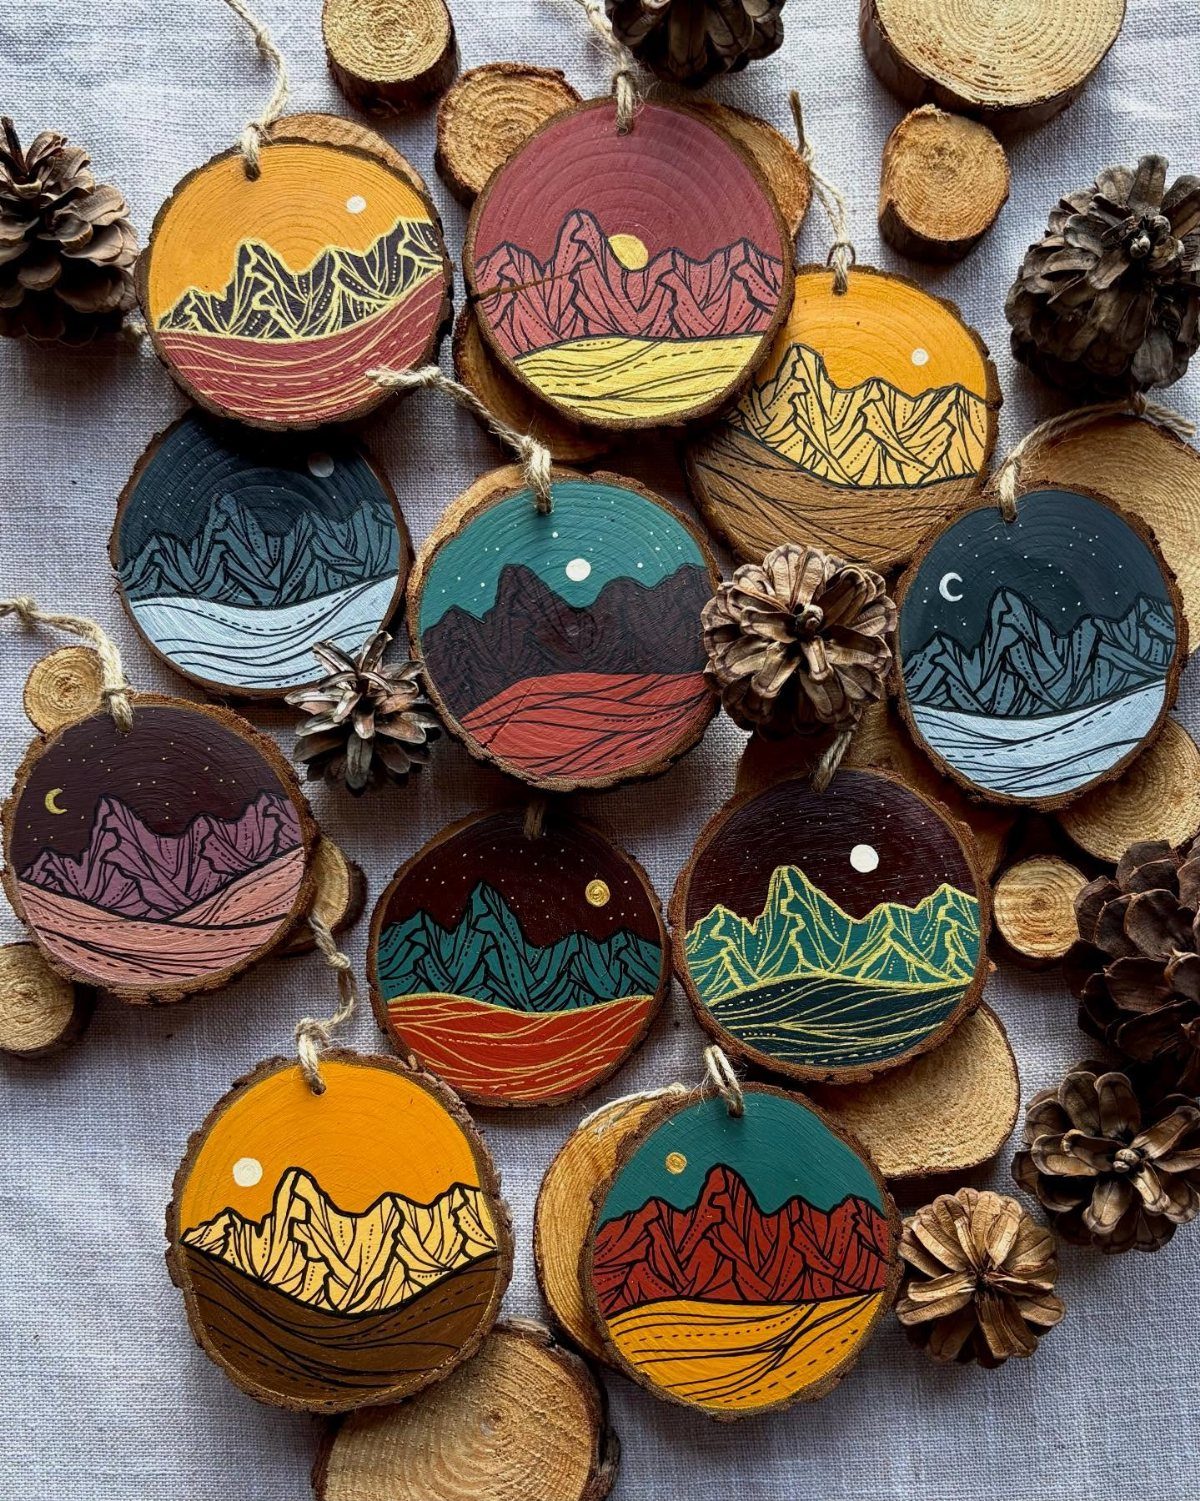
Burn the outline first, then paint inside it. The dark line keeps the color from bleeding and gives the mountain ridges a crisp edge.
Thin washes of paint let the wood grain show through, which I prefer to flat opaque coats. Painting over burned lines can blur them, so go slowly near the edges.
This takes more steps than a plain burned slice. It is worth it when you want a scene instead of a symbol.
7. Wood-burned Deer Ornaments
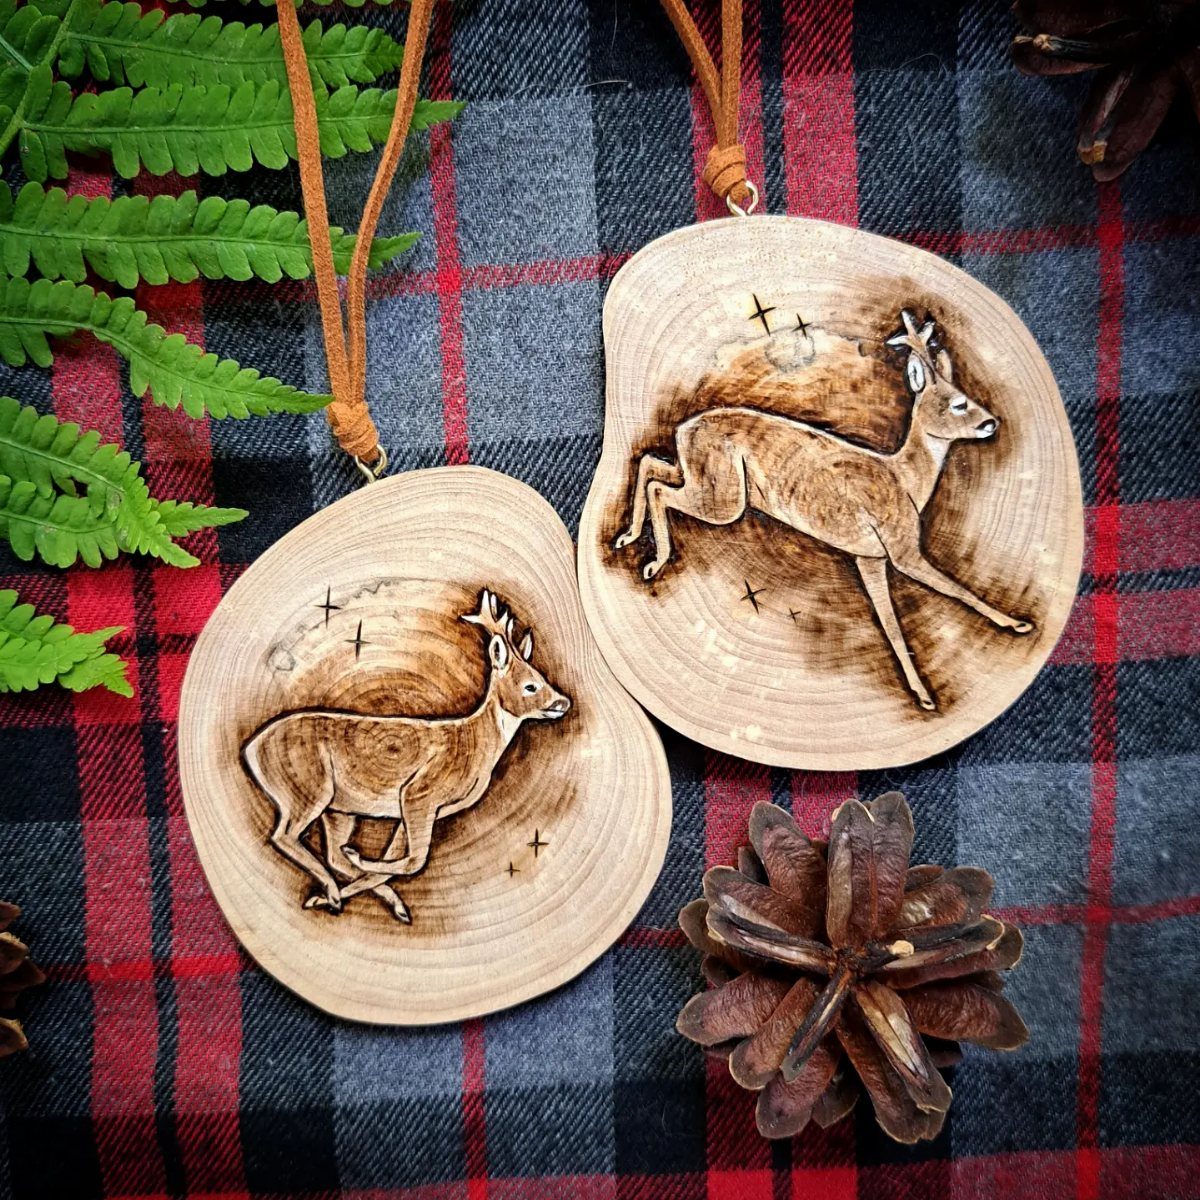
Oval and round slices suit a deer scene differently. A wide oval gives room for a deer with a few fern fronds or pine boughs beside it, while a small circle holds a head or a single standing figure.
Start with the deer’s outline, then fill in the woods behind it with short, light strokes of the pen. Leave the bark edge untouched so the slice frames the scene on its own.
A brown cord matches the natural wood and keeps the focus on the burning. Plaid fabric makes a good backdrop for photographing a finished set.
8. Mitten and Snowflake Wood Ornaments
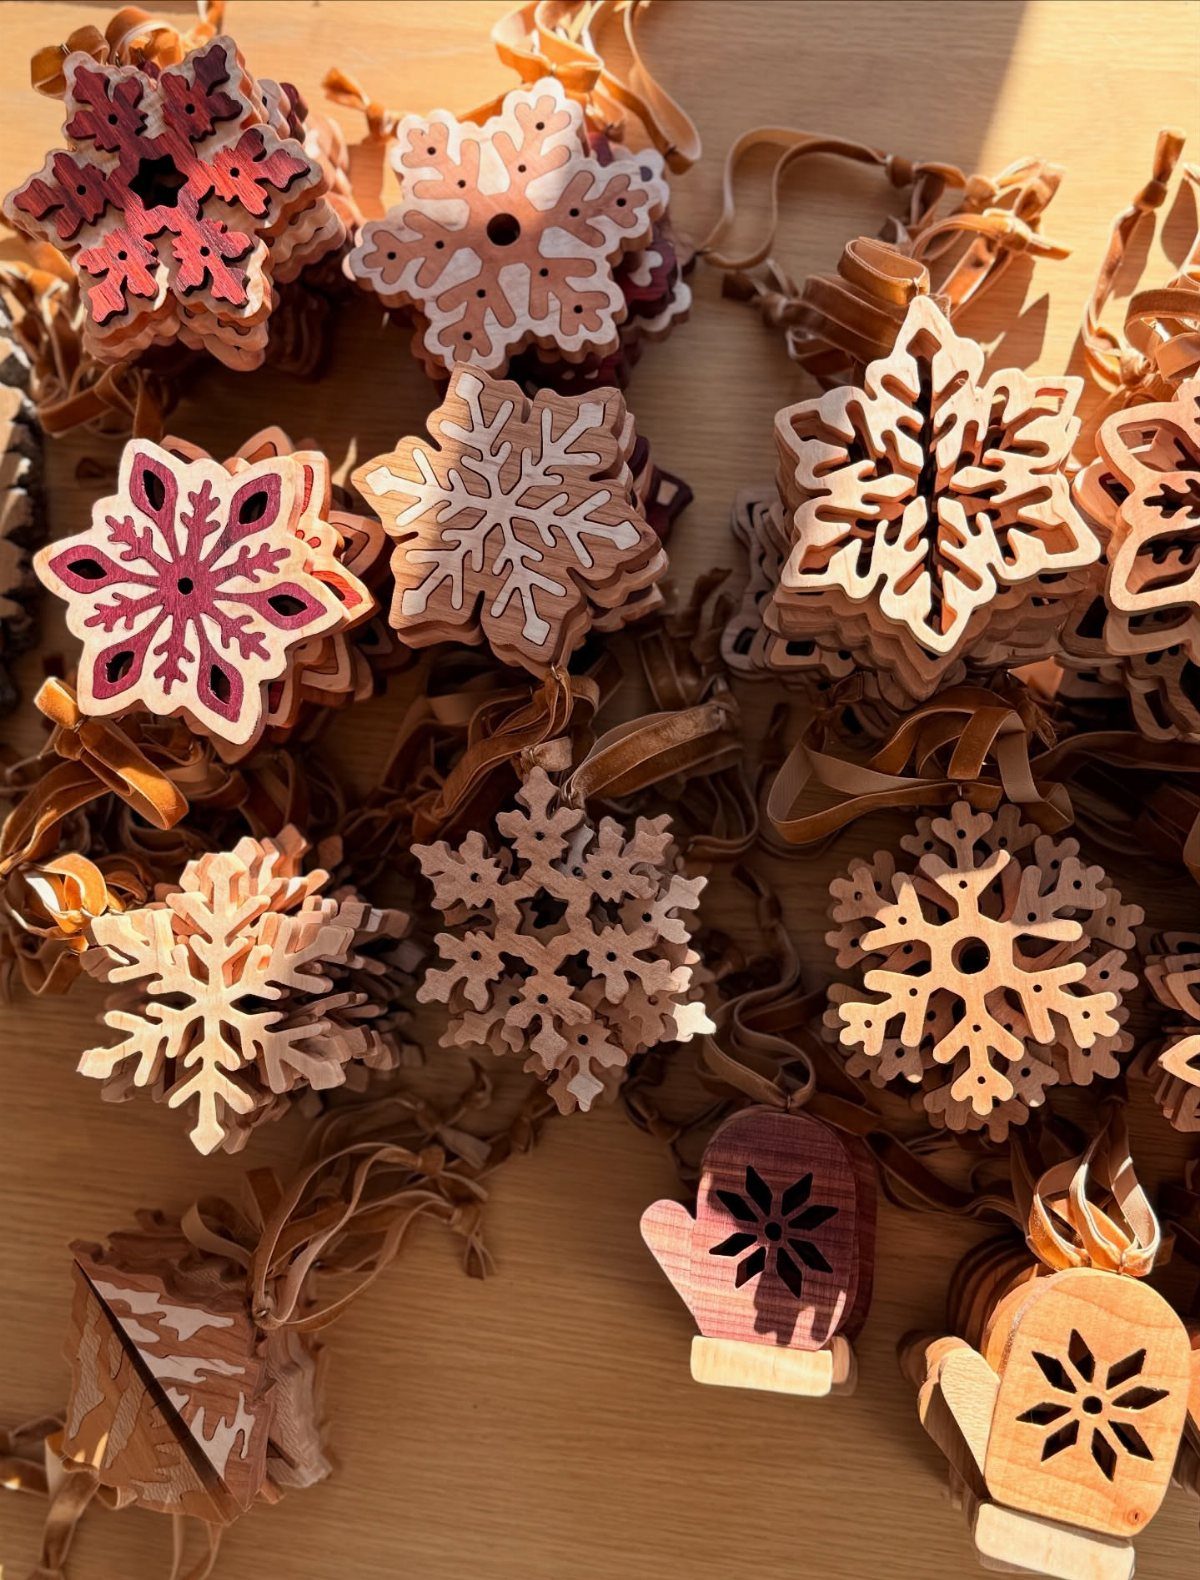
Cutout mittens and snowflakes give you 2 shapes with plenty of surface for pattern.
On a mitten, the cuff, thumb and palm each take a different design: zigzags, dots, small stripes. A snowflake wants straight, radiating lines that repeat on every arm.
Pencil the pattern before you burn. Symmetry is hard to fake freehand, and a light sketch saves a blank you have already cut.
Burn first, add the ribbon last. Choose a narrow ribbon so it doesn’t compete with the dark lines.
I prefer the snowflakes for practice, since the repeated lines build a steady hand quickly.
Materials Needed
Start with the blanks: pre-cut and drilled wood slices save the most time. If you cut your own from a birch branch, you also need a saw, a drill and sandpaper to smooth the faces.
A pack of 50 can run about $10, which covers a lot of ornaments.
The rest of the kit:
- Wood burning tool
- Pencil for sketching designs
- Narrow ribbon or twine
- Pliers for swapping tips
A burner under $30 is enough for this kind of work. Since you reuse it on later projects, the cost per ornament drops fast.
Tips for Using a Wood Burning Tool
Set the burner on a cookie sheet or an old chopping block. A dropped tool or a hot tip swapped mid-project will mark a table fast.
Heat changes how the tip behaves: a hotter tool glides more smoothly, so test a few settings before you commit to a good slice.
Practice on scrap first, especially when you only have a handful of good wood slices to spare.
Don’t expect to draw one long line.
Short strokes, like sketching, work better. Darkness builds best in passes, so keep the first one light and go back over the spot as many times as it takes to even out the tone.
Grab pliers to swap a tip, and give the new one a minute or two to come up to heat before it touches the wood.
Let the tool rest now and then; a pen that runs too hot burns unevenly and gets harder to control.
Design Ideas
Pencil the design first, and keep it simple.
A first initial with half a wreath is easy to draw and reads well on a small round. Special dates are another good option.
Keep the top of the design clear, since that spot needs space for the hole you’ll drill for the ribbon or string.
Press lightly. Many light strokes laid over each other give you control, while pushing hard can burn a hole straight through the wood.
A tool that has cooled after one letter won’t burn efficiently, so let it heat up again. Waiting is annoying, but it saves frustration.
Write the year on the back once you finish. It’s a small step that makes a keepsake out of an ornament.






