Which joint to pick depends on whether it will show and how much cutting you’re willing to do, and the options here range from a screwed butt joint to box and finger joints.
The ideas here run from a screwed butt joint, which needs nothing beyond a square end, to box and finger joints, which take real patience and careful cutting.
1. Box and Finger Joints
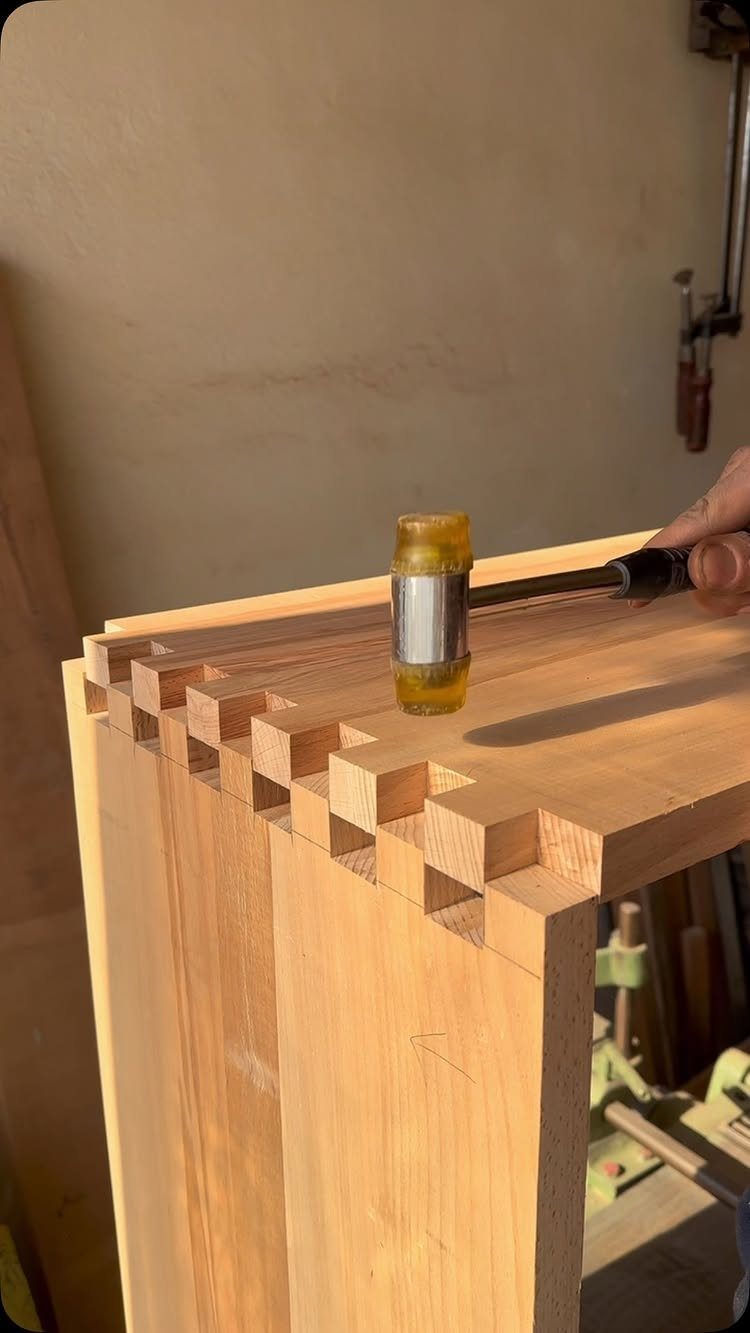
Box joints are the interlocking square fingers you see on drawers and boxes, and a rubber mallet is the right tool to seat them. Tap the board home with a soft face so the fingers don’t dent.
Glue is what makes this joint strong, because the fingers give you a lot of long-grain surface to bond.
Dry-fit first, every time. If the fingers need a hard whack to close, trim them rather than forcing the fit, since forcing can split a finger.
The catch for a beginner with basic tools is cutting accurate, evenly sized fingers by hand. Expect to spend an afternoon on one box, and practice on scrap before you touch your good boards.
2. Pocket-hole Joinery
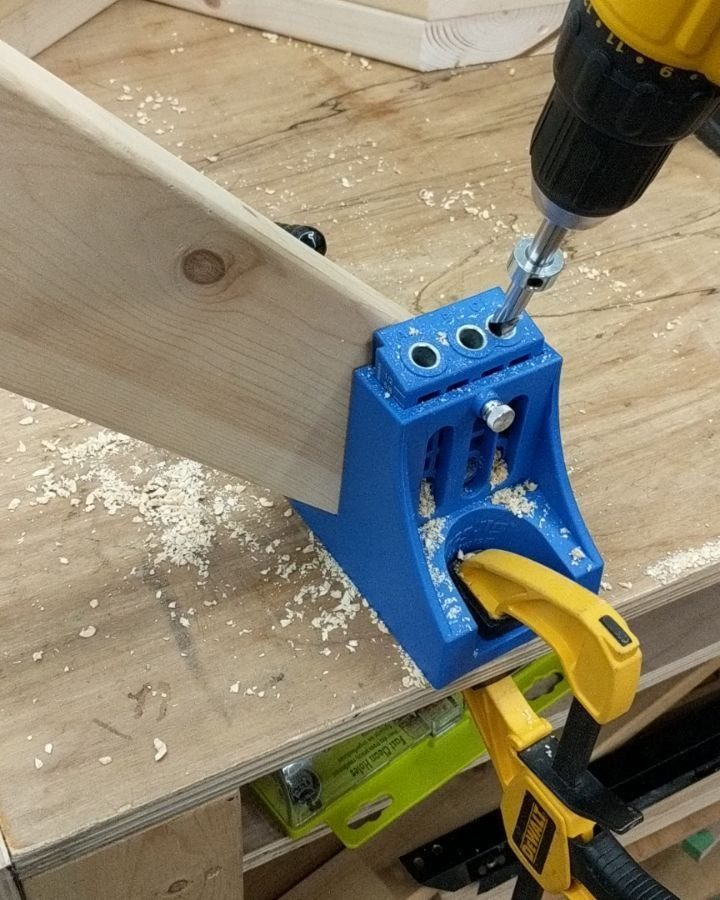
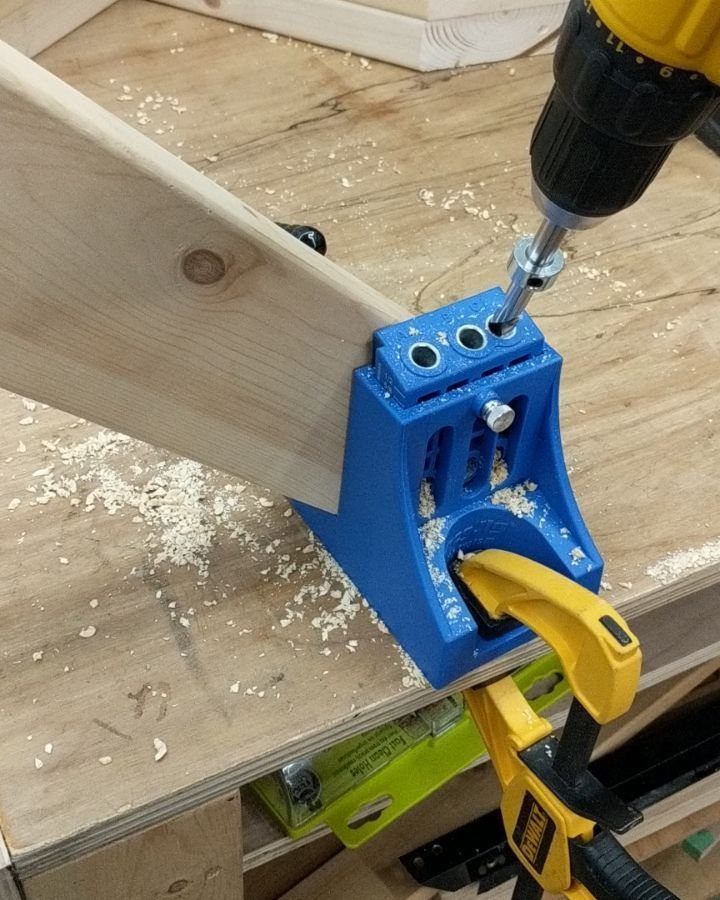
Angled holes drilled with a jig let a screw pull one board tight into another, and that is pocket-hole joinery in a sentence.
Clamp the jig to the board before you drill, because even a little shift sends the screw out the face of the wood.
For a limited budget, this is my pick for speed. A jig, a drill and screws are enough to build a frame or a simple table in an afternoon, with no complicated cuts.
Clamp the 2 boards together as well when you drive the screws, or the joint can slide out of line as it tightens.
The pockets leave visible holes, so place them on the hidden side of a piece, or plug them.
3. Metal Mending Plates
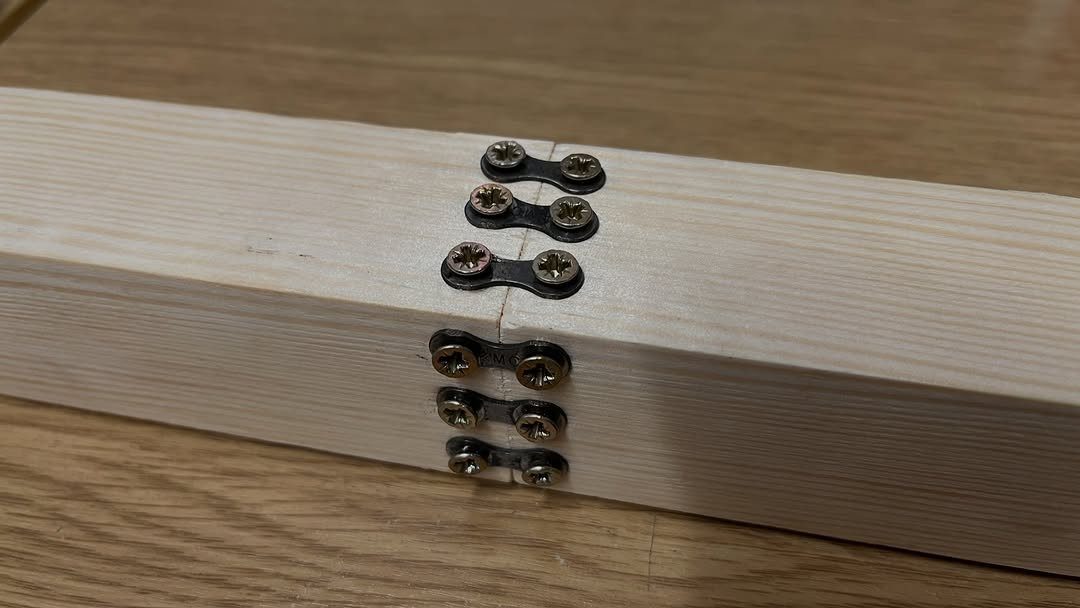
Mending plates fix a seam from the outside: flat metal strips screwed across the joint to hold 2 pieces together end to end.
Joining 2 beams this way takes only a drill and a screwdriver, which suits a small tool kit.
Use screws that match the plate holes and fill every hole, so the load spreads evenly across the plate. Drill pilot holes first to keep the wood from splitting near the ends.
I would choose plates for repairs, shop jigs and anything hidden. They are plain to look at, so they don’t suit a piece where the joint will show, and they won’t match the strength of a glued joint.
4. Screwed Butt Joints
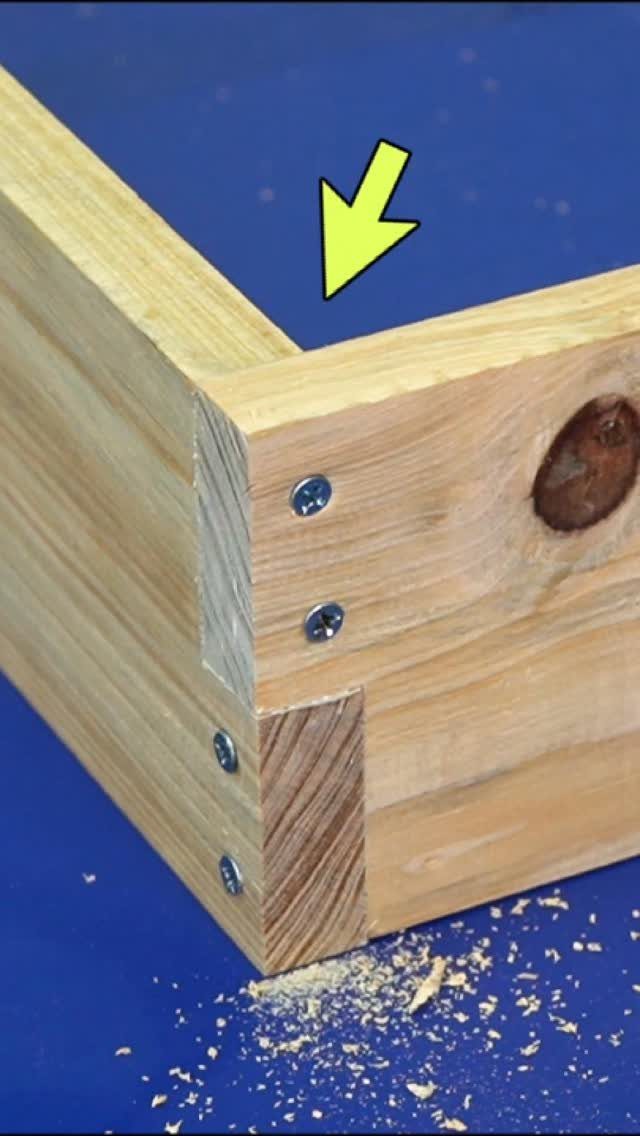
A screwed butt joint is the simplest way to join wood: one board’s end meets another’s face at a right angle, and screws hold them. Nothing needs cutting beyond a square end.
Drill a pilot hole through the first board and start the screw into the second.
Add glue and the joint gets noticeably stiffer. Clamping the boards square before you drive the screws keeps the corner from drifting.
End grain holds screws poorly, so this joint is best for rough builds like workbenches, shelving frames and garage projects. For furniture people will look at, I would step up to pocket holes.
Importance of Glue
A glue joint only holds when the boards meet cleanly: faces flat and straight, free of dust and old glue, then squeezed with firm, even clamp pressure from one end of the seam to the other.
Edge-to-edge panels are the classic case.
Before you spread any glue, run a dry clamp-up and check that the seam closes with no gaps. Wipe sawdust and grease off both faces first.
Considerations for Wood Movement
Wood swells when humidity rises and shrinks when it drops, and a joint that fights that movement will eventually crack or pop open.
Plan for it when you design. Let boards move freely across their width instead of locking them rigidly in place, for example by using slightly oversized screw holes or slotted holes in a tabletop attachment.
Cross-grain gluing is where trouble starts, since 2 boards moving in different directions pull against the glue line. Keep grain running the same way across a glued seam whenever you can.
Let lumber sit in the room where the piece will live for a few days before you cut and join it, so you start close to its final moisture level.
Tools for Joinery
Buy the best clamps and drill bits you can afford, because sloppy tools show up as gaps and wandering holes.
Dowels are the cheapest route to an invisible joint. A doweling jig and a power drill let you mark the hole positions, drill matching holes in both boards, then glue the dowels in.
Biscuits and Dominos follow the same logic, a separate piece of wood bridging 2 parts, just in a different shape.
For the strongest results, dovetails win on panels and a deep mortise-and-tenon wins on frames.
Cutting either by hand asks for patience, though a good dovetail jig or a Festool Domino, which drops in ready-made tenons, speeds the work up a lot.
In addition to properly milling up your lumber, knowing how to connect boards at crisp and strong 90-degree angles is one of the most important skills woodworking novices need to master.






