Shades here run from mid-tone browns on pine to deep espresso, plus a black finish, a warm reddish-brown and a palette of colorful dyes.
1. Testing Stain Colors on Wood
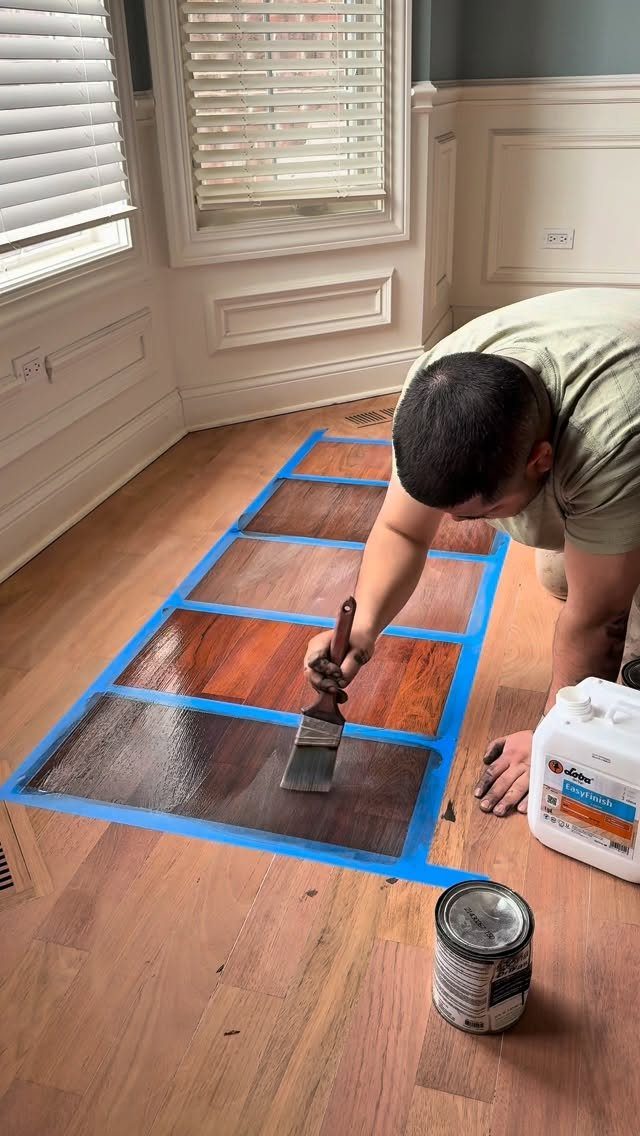
Mark off a grid on an inconspicuous spot of the real project, such as the underside or back, then brush a different stain into each square so the colors sit side by side in the same light and on the same wood.
Wood color shifts from board to board, so a swatch on a scrap from another project tells you little. Testing on the real surface is the safer call, even if it costs an hour.
Label each square on its tape with the product name, and let every one dry before you pick.
2. Mid-to-Dark Stains on Pine
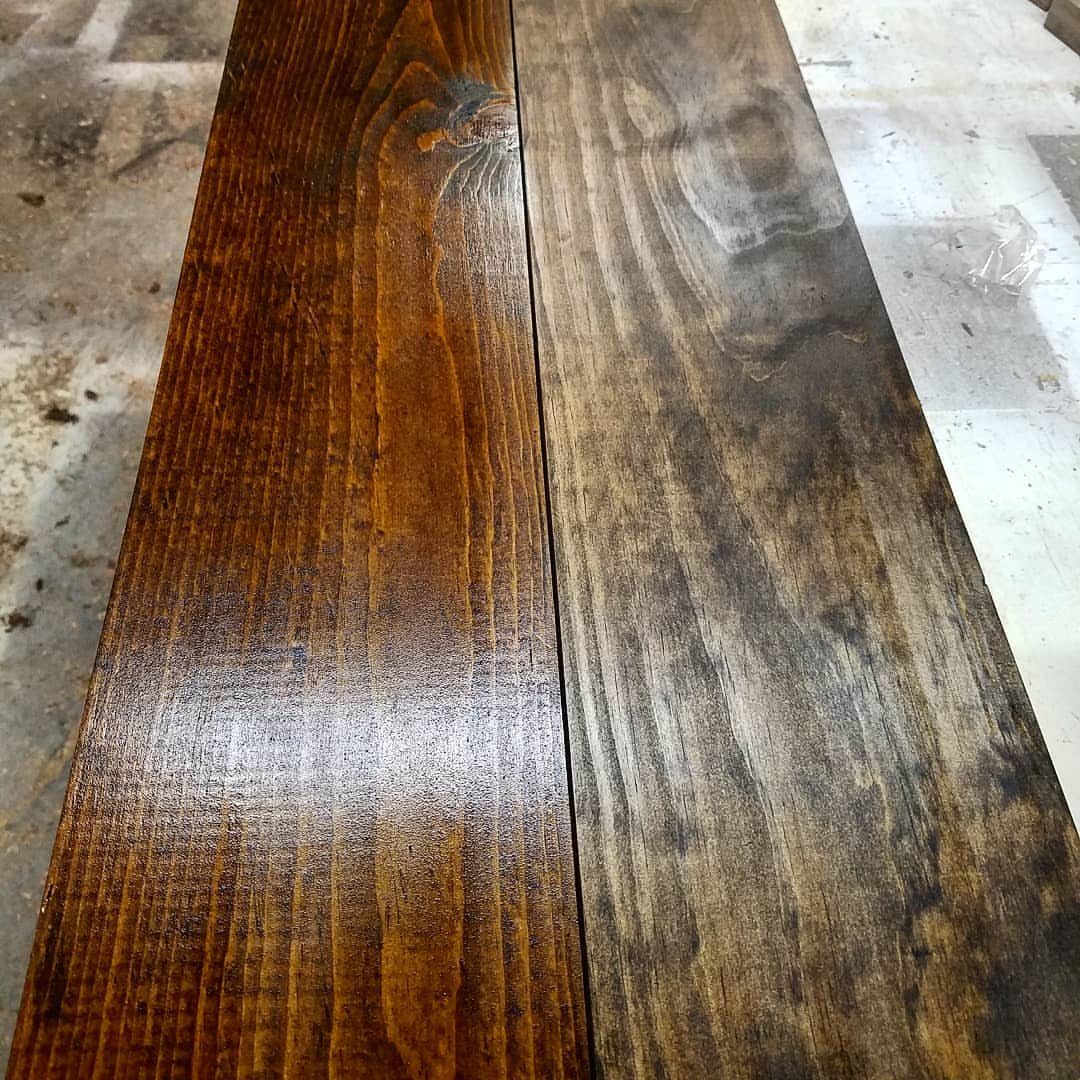
Pine takes a medium-to-dark stain better than a pale one, and these two planks show why: a warm brown and a charcoal grey both keep the grain visible while covering the uneven tone pine tends to have.
For a first pine project I would start with the warm brown. It reads as classic and forgives small mistakes.
The charcoal grey is the bolder pick, and it suits modern furniture. Test both on an offcut first, since pine can look blotchy in spots and the only way to see how yours behaves is to try it.
3. Applying Wood Stain with a Rag
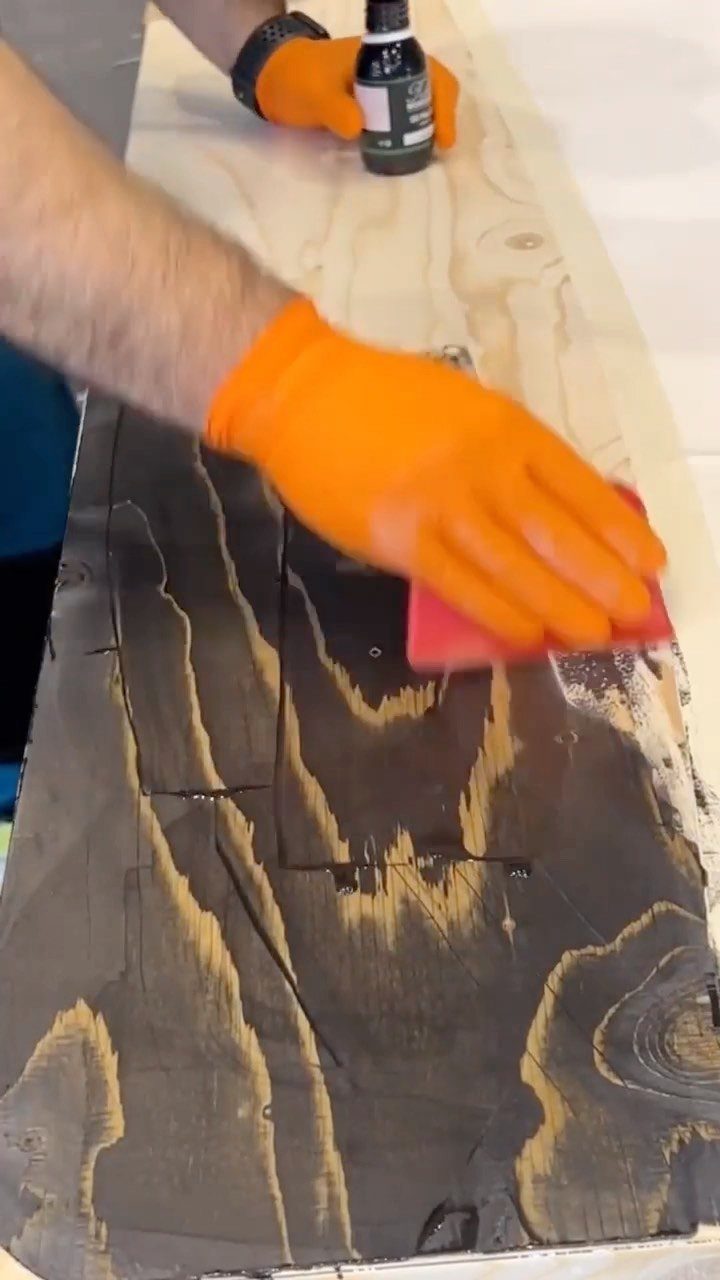
A plain rag does the job of a brush and gives you more control. Dip it, wipe the stain along the grain in long, even strokes, and keep the pressure steady so the color stays consistent.
Gloves are worth wearing, because dark stain gets into skin for days. Pour a small amount from the bottle rather than dunking the rag, and add more only as needed.
Wiping on a thin coat lets you darken the color in a second pass. Going lighter later is much harder, so build up slowly.
4. Black Wood Stain Finish
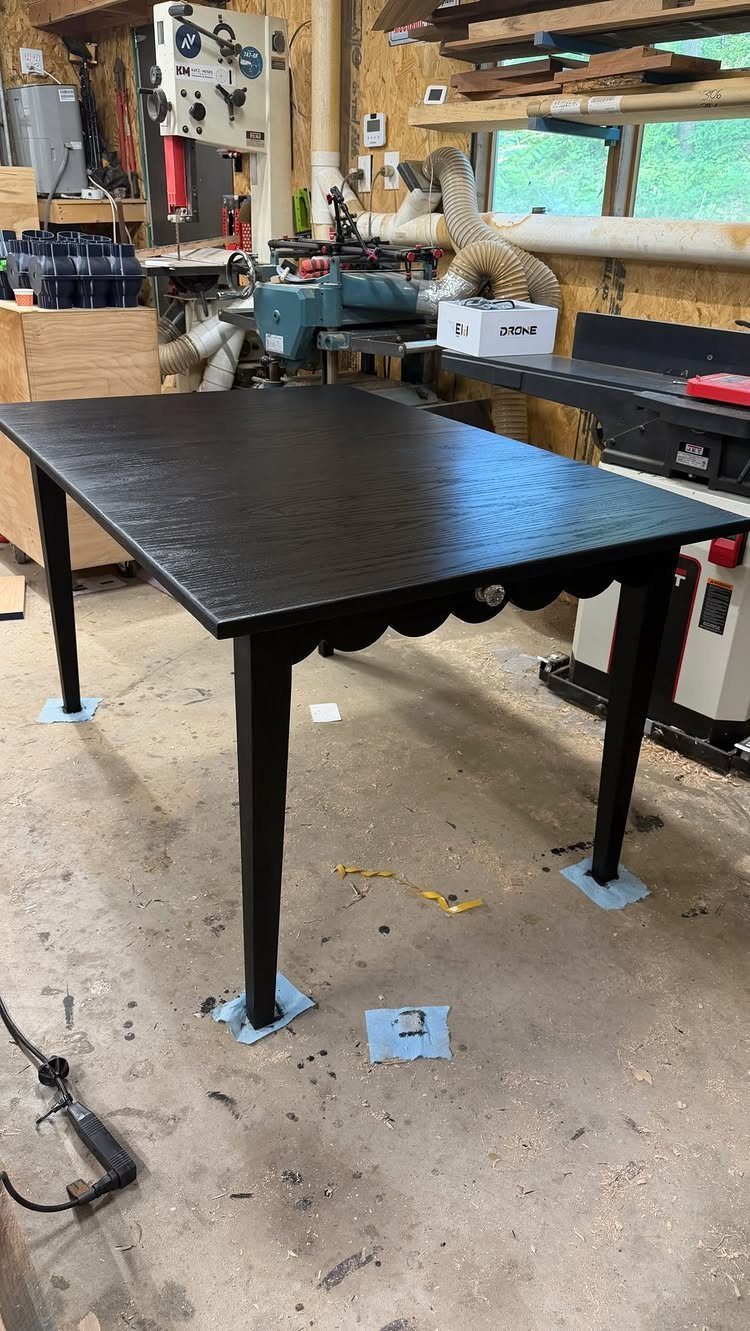
Black stain on a table with a scalloped apron makes the curves the main feature. With the color flattened to one dark tone, the shape of each scallop is what the eye reads.
I like this finish for pieces with detail, since it highlights the profile instead of the grain.
Black hides the wood’s character, and every scratch or dust streak shows more on a dark surface. Plan on wiping it down often, and choose a topcoat you are happy to maintain.
5. Colorful Wood Dye Palette
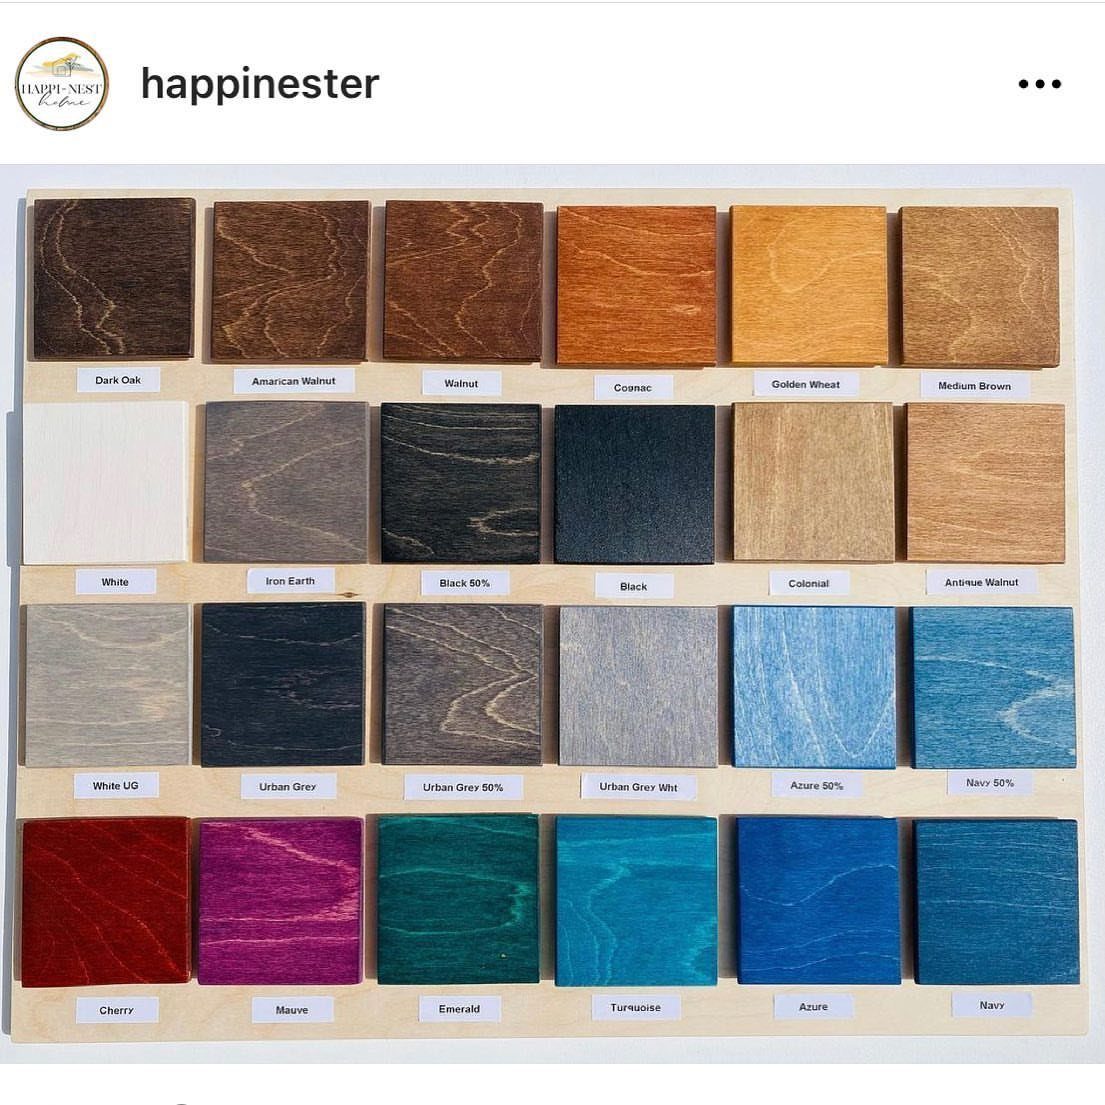
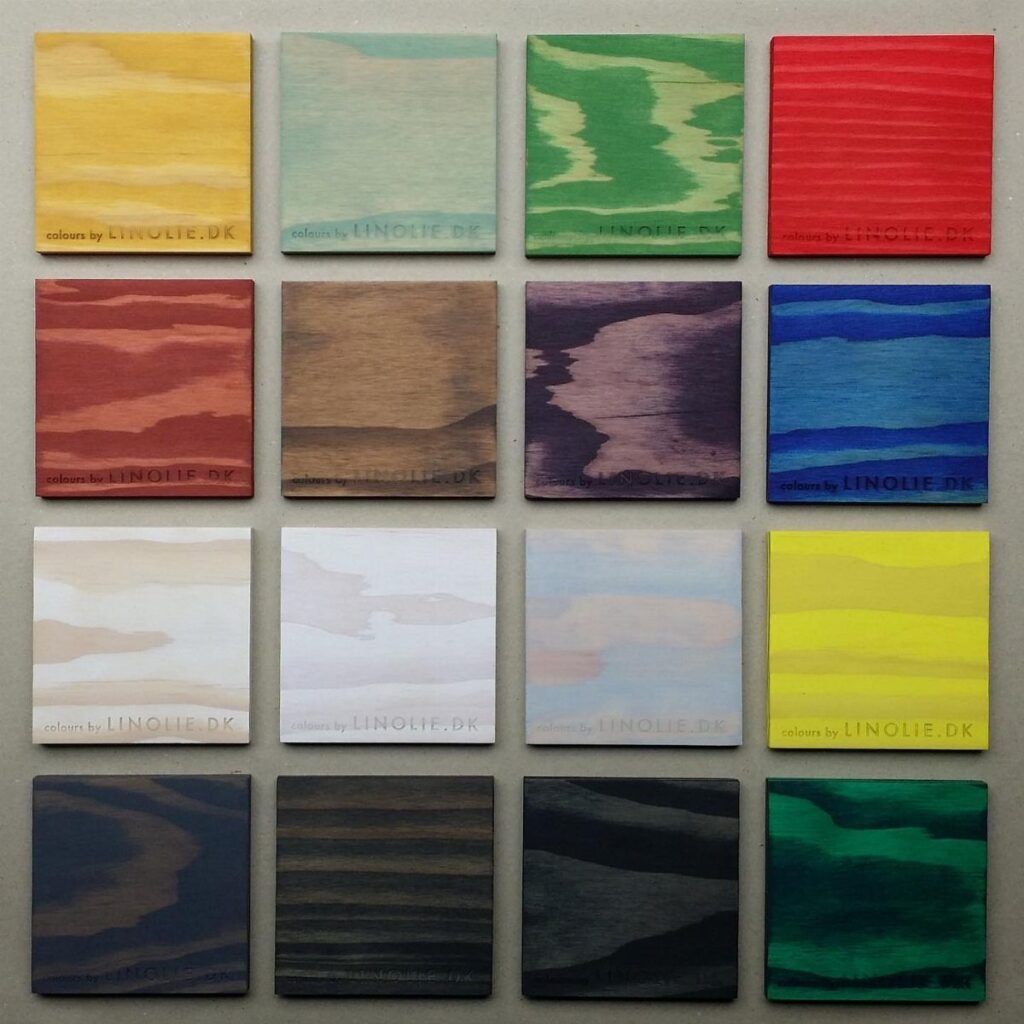
A palette of labeled swatches, from neutrals to bright blues, greens, purples and reds, is the quickest way to see how far dye can go beyond brown.
The printed names beneath each sample matter more than they seem to. Write down the exact name of your favorite so you can buy the same shade later, rather than trying to match it from memory.
Bold dyes are fun on small pieces like frames, shelves or a stool. For a large project, I would test a swatch on your own board first.
6. Earth and Espresso Dye Samples
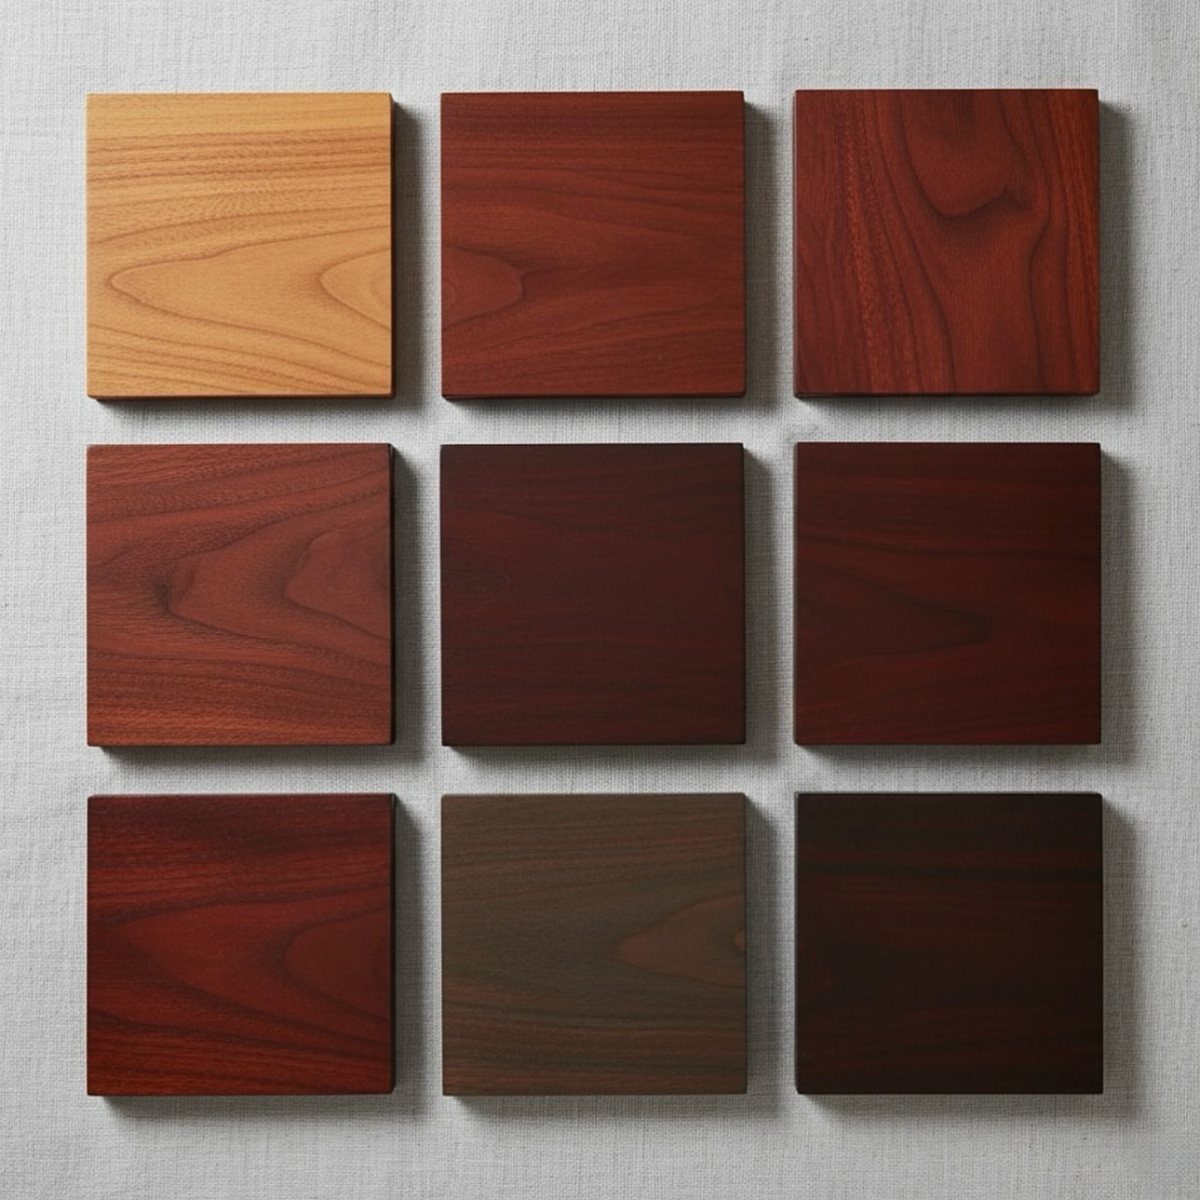
9 squares running from honey to deep espresso give you a quiet, warm range to choose from, and that is the kind of range most rooms can use.
Set the squares next to your floor, trim or existing furniture before deciding. Natural daylight and lamp light will show different things, so check both.
Between the lightest honey and the darkest espresso sits a lot of useful middle ground. If you cannot decide, I would pick the shade one step darker than your first instinct, since it tends to look richer once finished.
7. Warm Reddish-Brown Finish
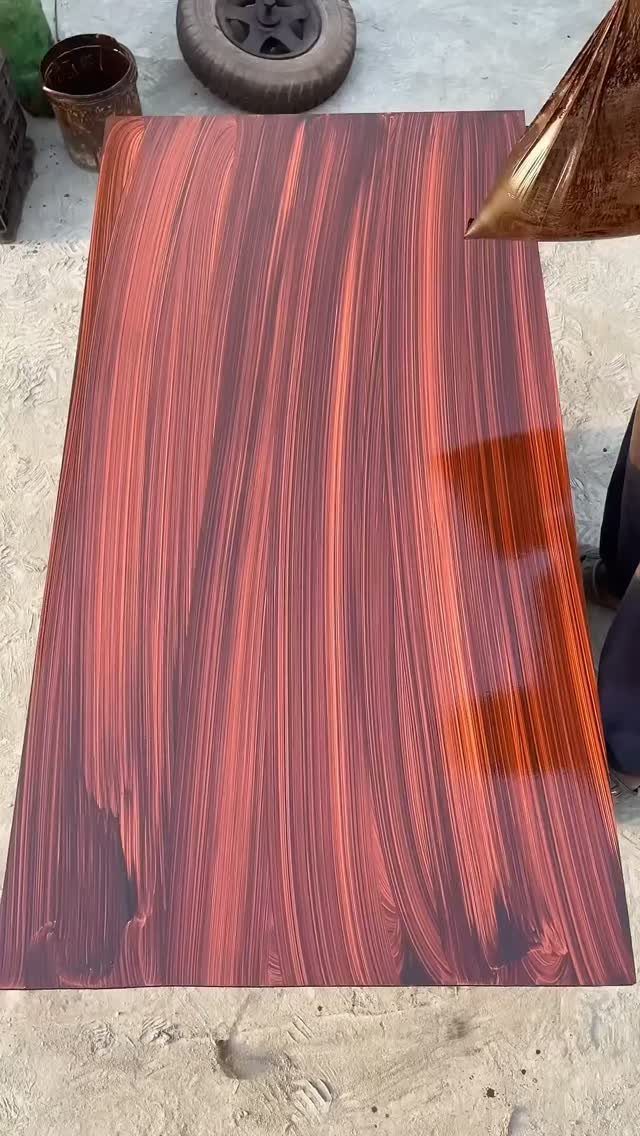
A deep reddish-brown dye on a tabletop turns the swirls in the grain into the main event, with the red warming the lighter streaks and the darker brown pooling in the figure.
Under a glossy topcoat the depth looks almost wet.
For a table, this is the finish I would pick over a flat black or a pale stain. It reads as rich and traditional, and it hides small tone differences between boards better than a light color does.
Gloss shows every flaw underneath it, so sand evenly before you dye. Let the color dry fully before the clear coat goes on, since wet dye looks darker than it will end up.
A glossy top will also show scratches and rings. If the table sees daily use, a satin sheen is the gentler option.
Choosing the Right Stain
Seeing a color on real wood is what settles the choice.
The most useful test uses the lumber you will build with.
Pine, poplar, red oak and the "whitewood" sold at big box stores all take the same color differently, so a stain that looks right on one can look off on another.
Buy the cheapest small can of your top two or three colors rather than a full quart of one. Skipping the guesswork costs a few dollars, and a wrong quart costs a lot more.
Create limitless looks with more than 240+ color options. Find the perfect stain color for your project by browsing the Minwax® color library.
— Minwax
Stain Behavior on Different Woods
Species changes the result as much as color does, so match your prep to the wood.
Light dye tones turn poplar a dull, murky green-gray, so I save it for deep walnut, espresso, or black, where the color hides the uneven streaks.
Red oak drinks dye evenly, and its open grain pulls the color in so the pattern stands out clearly.
A pre-stain wood conditioner is the fix for blotchy pine. Brush it on before staining, and I would use it on any softwood project you care about.
Also, stain-soaked rags can heat up and catch fire as they dry. Lay them flat outdoors, away from anything that burns, or soak them in water in a sealed metal can before you throw them out.
Frequently Asked Questions
What type of stain is best for a wood table?
Gel stain is a strong choice for a table, especially on veneer, tricky undertones or woods that take stain unevenly.
It sits more on the surface, so you build color coat by coat and can hide small flaws without heavy sanding.
How to make wood darker color?
Apply a second thin coat after the first one dries.






