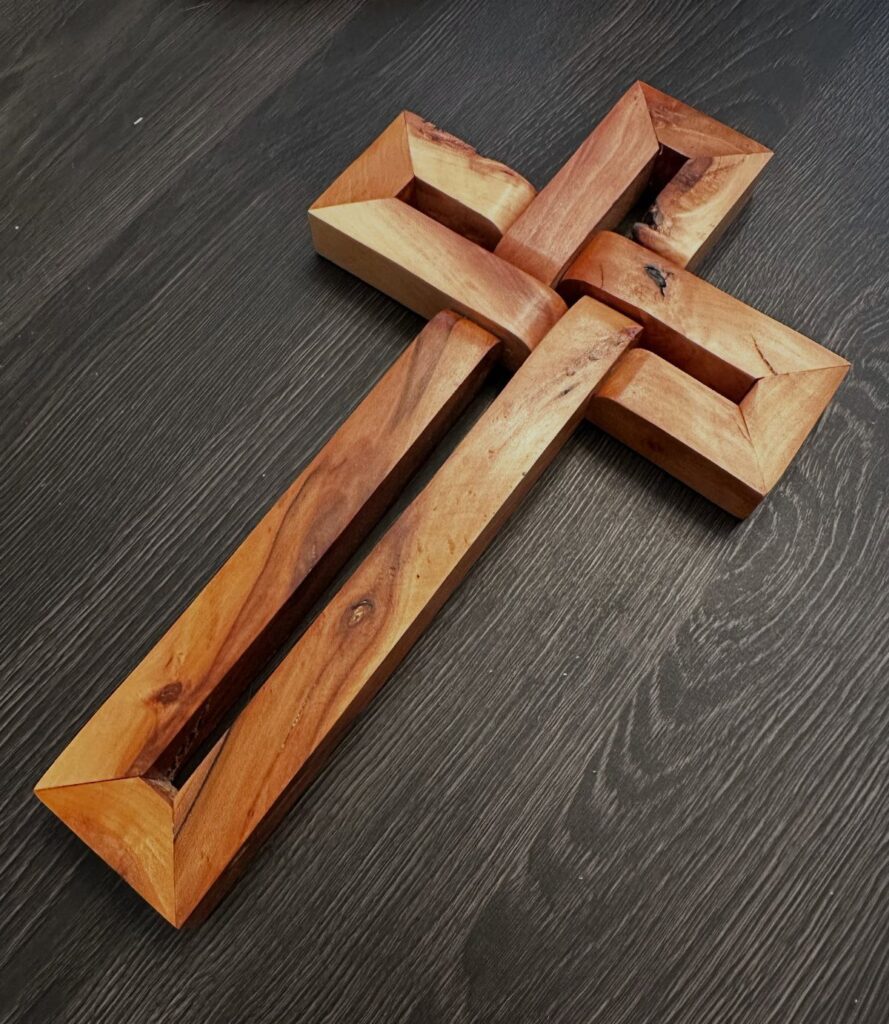
The 5 crosses run from a flat, cut-and-glue layering job to a carved Calvary scene that asks for slow knife work, so the real question is how much patience you have for hand shaping.
If a jigsaw, clamps and a sanding block are your speed, the hollow-frame, multi-tone and woven designs finish in an afternoon, while carving the 3 crosses of Calvary belongs to a longer sit-down.
3 layers of light, medium and dark wood stepped back like a shadow is the detail that tells you how little the stacked version asks of your tools.
1. Wooden Woven Infinity Cross
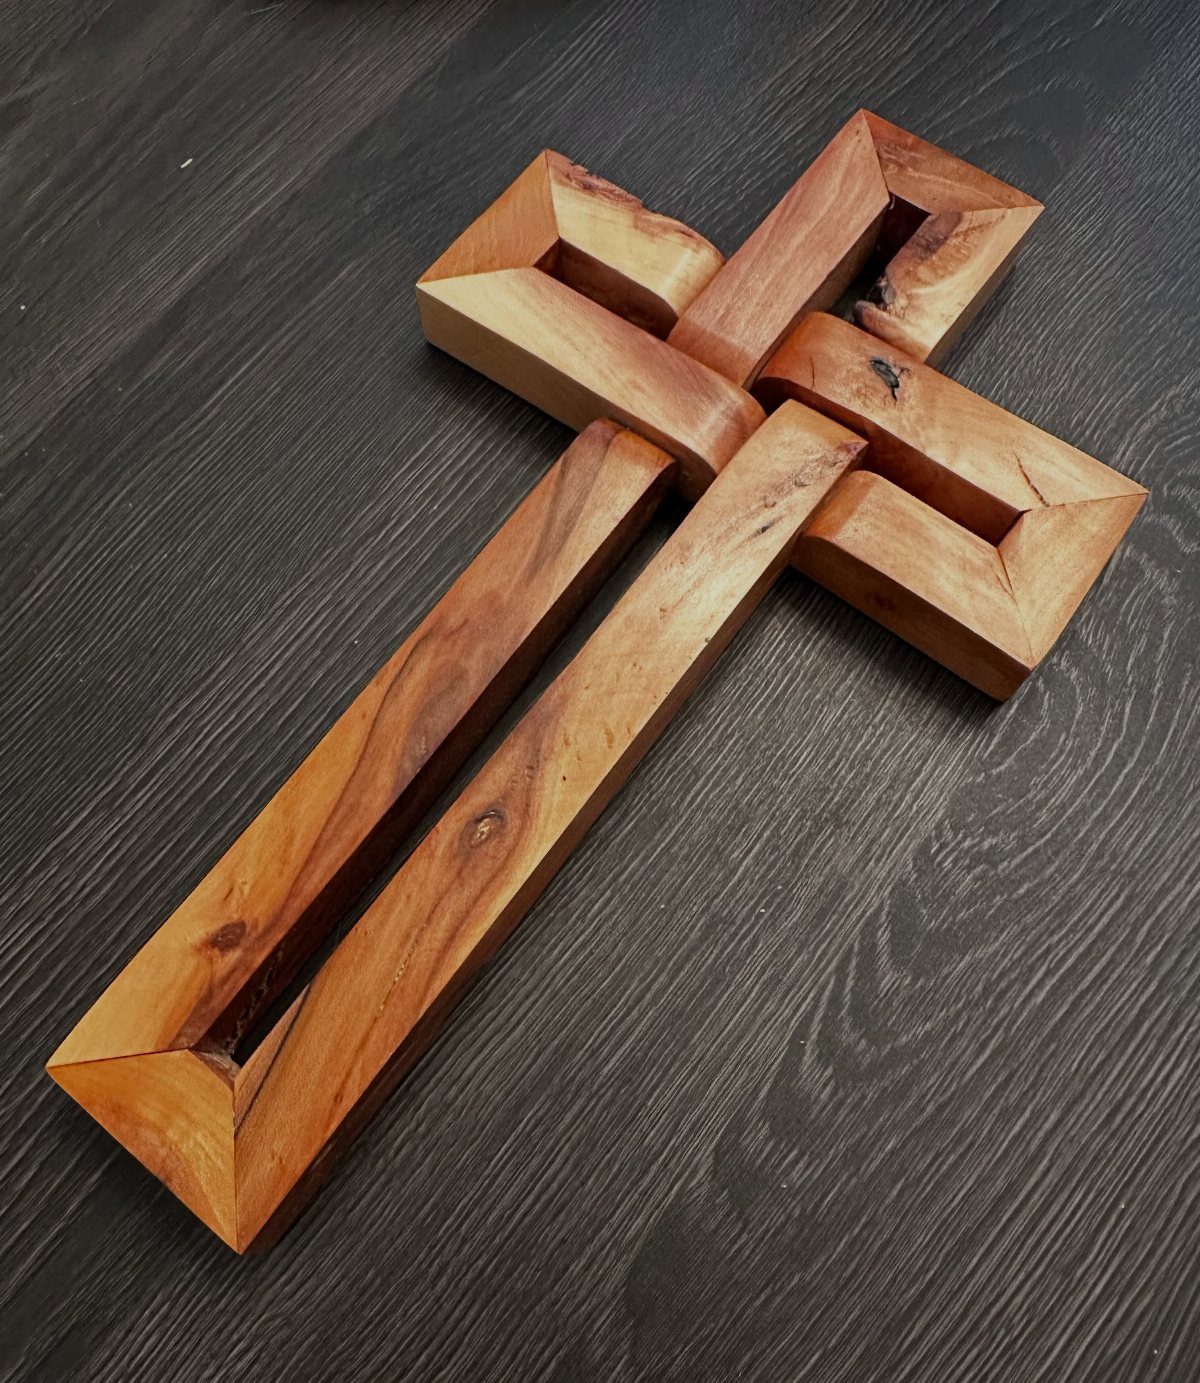
A woven infinity cross is a flat cross whose arms loop through each other, so it reads as one continuous ribbon of wood.
Thin strips of a light wood are the easiest way to get there, since they bend and overlap without much fuss.
I would cut a paper pattern first and test the interlocks before touching the boards.
Sand every strip smooth before assembly, because the overlaps are hard to reach afterward. It is a project that rewards patience more than tools.
2. Layered Multi-tone Wooden Cross
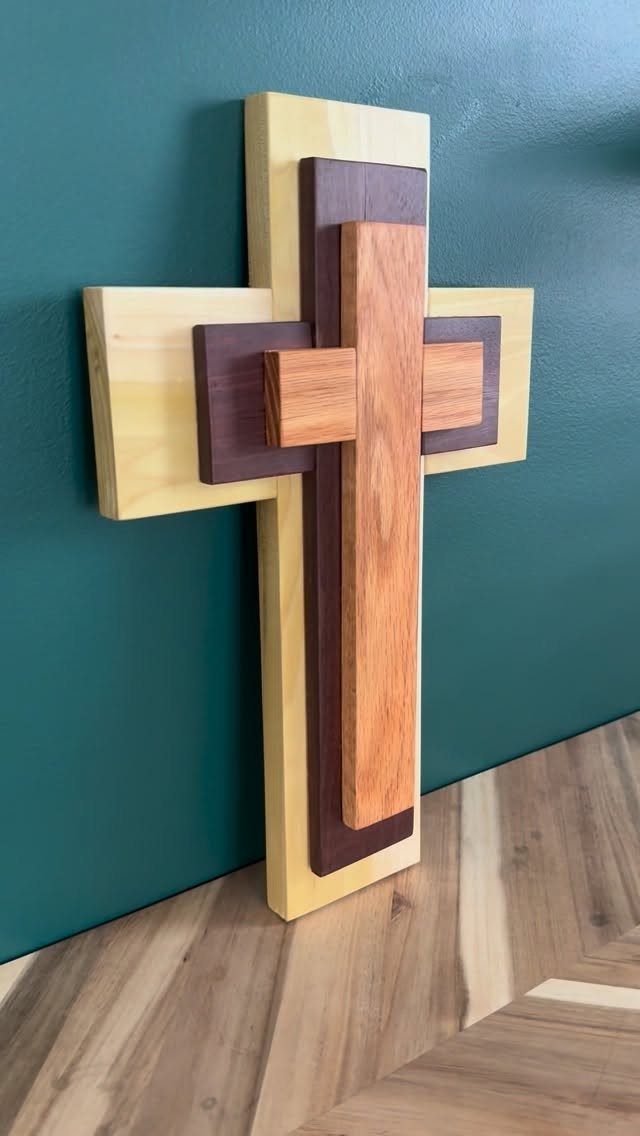
3 layers in light, medium and dark wood give a flat wall cross real depth, and the contrast does the decorating for you.
Cut each layer slightly smaller than the one beneath it so the tones step back like a shadow.
Pick three species that already differ in color, or stain one board three ways.
Stacking them with wood glue and a few clamps keeps it a simple afternoon job. Test the stains on scrap first; the tones read darker once the finish goes on.
3. Framed Suspended Wooden Cross
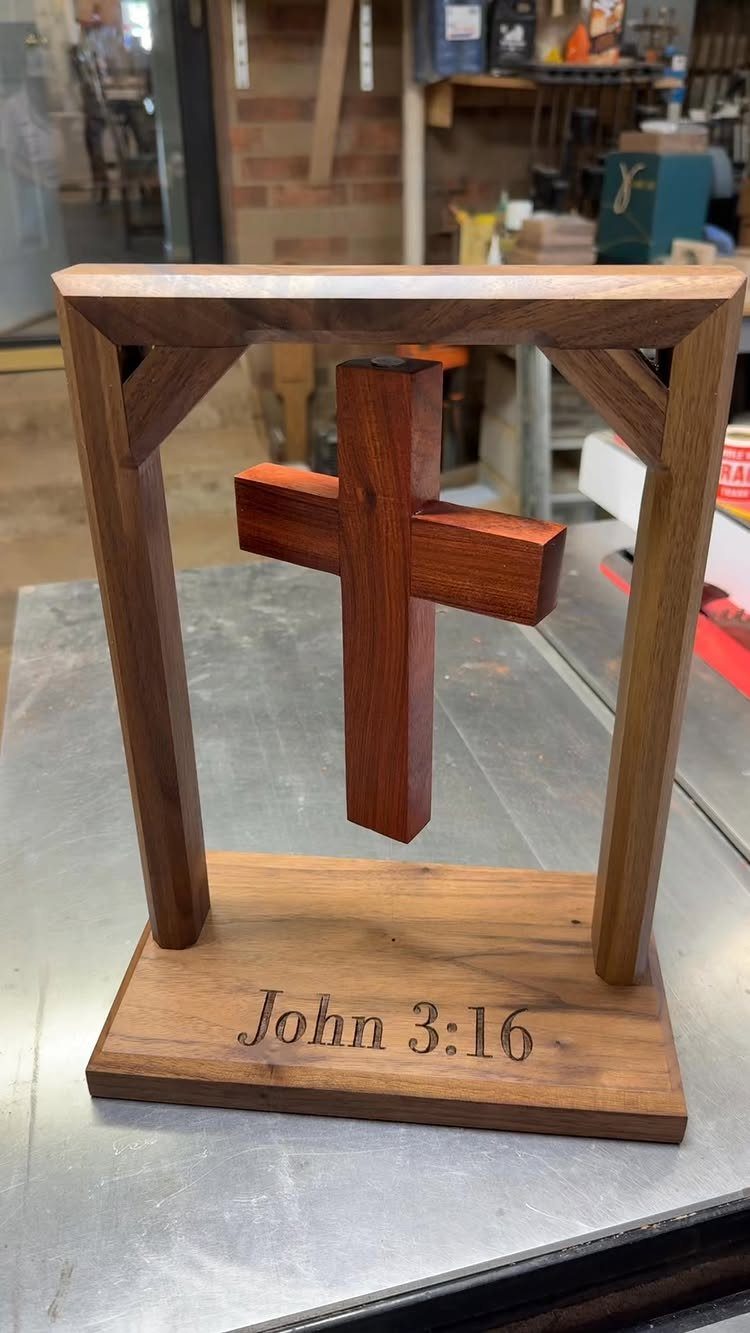
Hanging a polished cross inside an open rectangular frame makes it look suspended, and the base gives you a place for a verse. I like this one as a gift because the engraving makes it personal.
Fix the cross to the frame with thin dowels or wire so it floats in the center.
Wood burning works well for lettering on the base if you lack an engraver. Sand the cross to a fine grit and finish it with a clear coat, since it is the focal point.
4. Modern Hollow-frame Cross
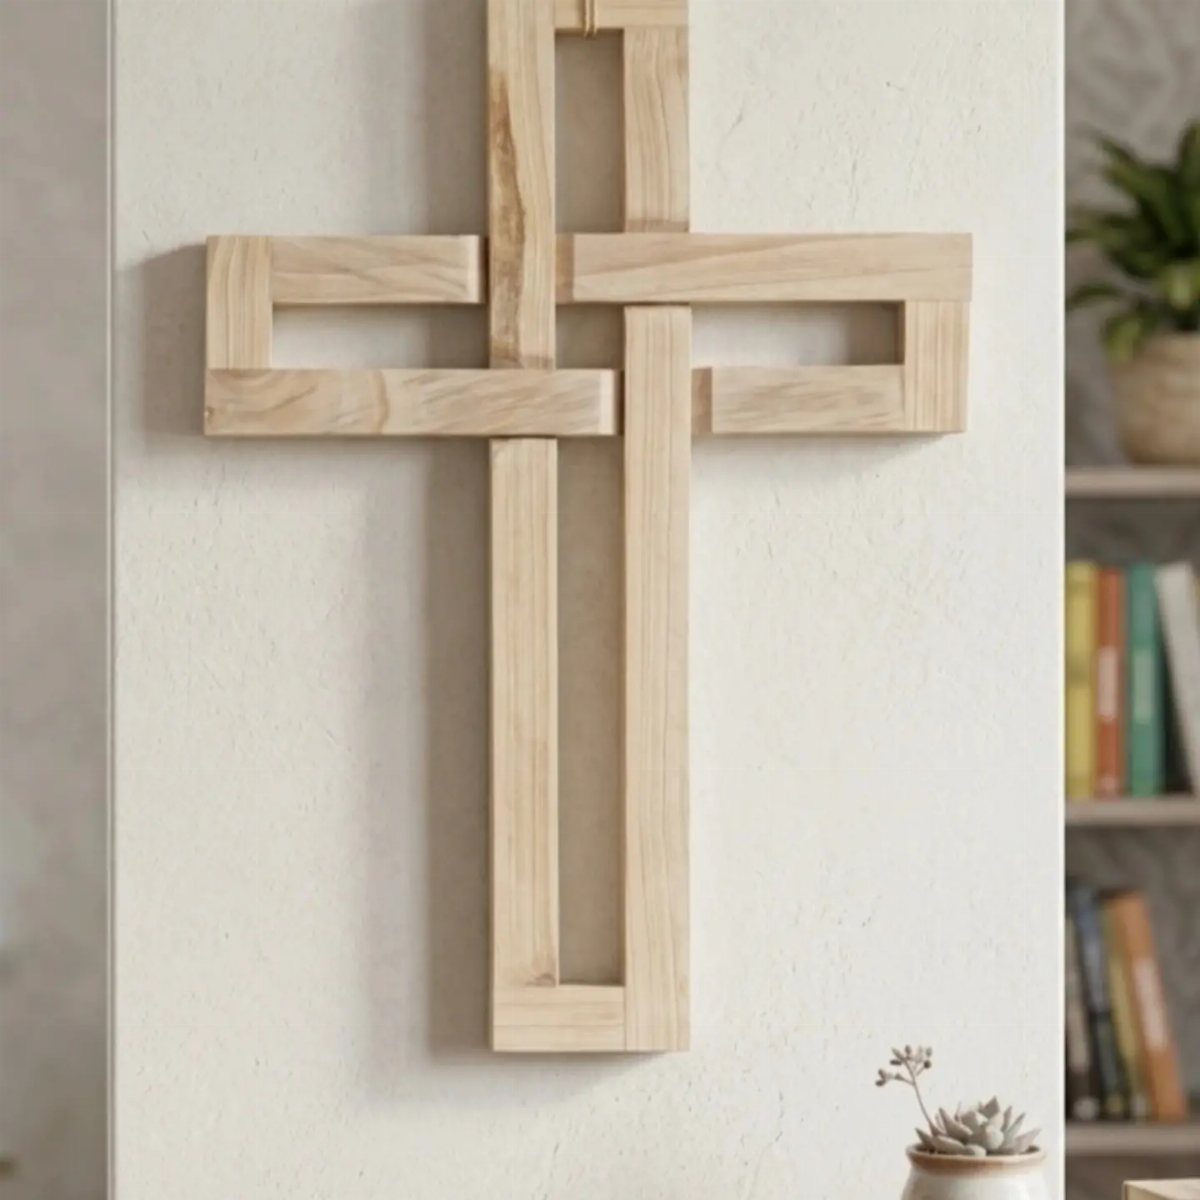
Cutting a rectangular opening through the center of a light wood cross gives it a quiet, modern look with very little material. Drill a corner hole, then work a jigsaw or coping saw along your pencil lines.
Keep the walls of the cross wide enough that the arms stay sturdy, since thin walls snap at the joints first.
Sand the inside edges by wrapping paper around a block. A clear matte finish keeps the pale grain visible.
5. Carved Calvary Three Crosses
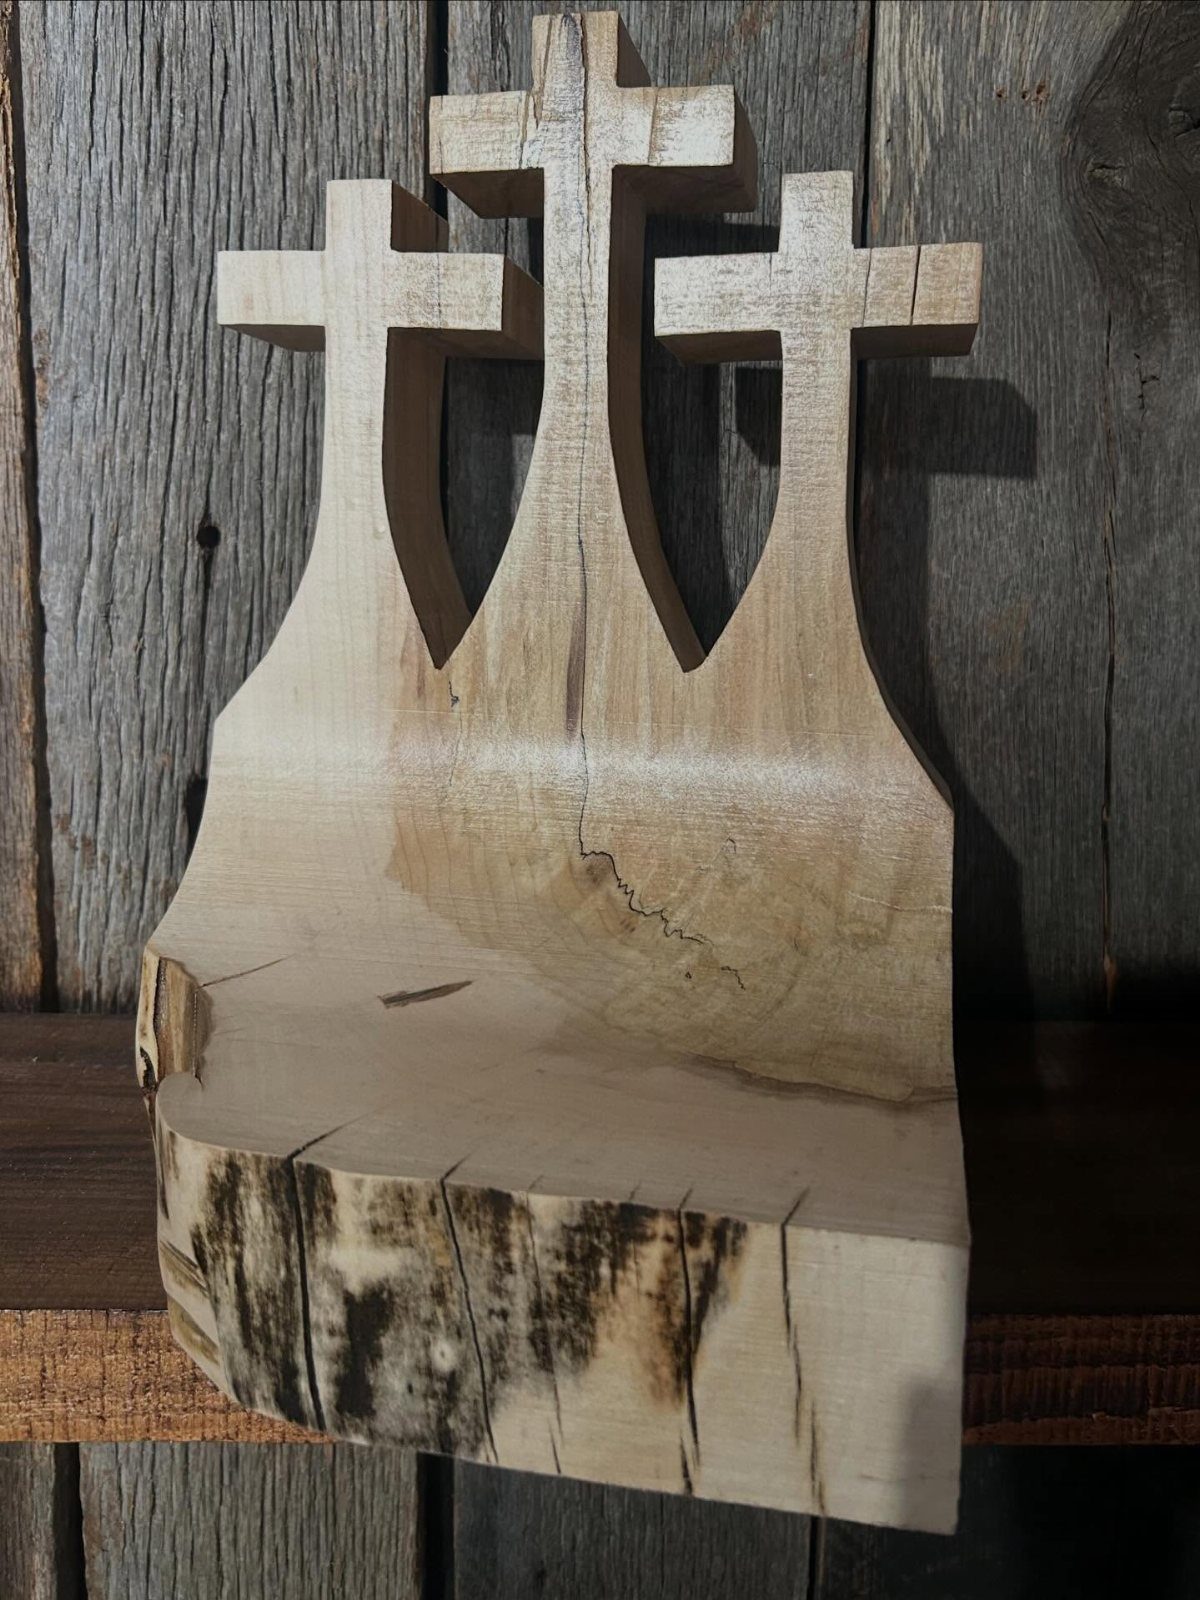
Carving three crosses and a hill from one block is the most demanding idea of the bunch, but a satisfying one.
Choose a soft, light wood that takes a knife cleanly, and keep the grain running along the crosses so the thin uprights do not snap.
Rough out the hill first, then shape the crosses last, once the mass around them is settled.
Take thin cuts and expect to go slowly. If carving feels like too much, glue 3 cut crosses onto a shaped base instead.
Tools and Materials Needed
A miter saw, a router and a few clamps cover most cross designs. The miter saw gives clean square cuts and angled ones, the router handles half laps and inset recesses, and clamps hold glue-ups while they dry.
Materials depend on the design you pick, so buy wood after you settle on a plan.
A drill with a Forstner bit is worth having if you want to inset a coin or medallion; choose a bit slightly larger than the piece, since it has to drop in without forcing.
Wood glue, sandpaper in several grits and a finish round out the list. Danish oil is my pick for a cross because it soaks into the wood, deepens the tone, and leaves the grain fully visible.
Safety Practices in Woodworking
Wear safety glasses and hearing protection every time a saw or router is running.
Add a dust mask when sanding or cutting, since fine wood dust is bad for your lungs, and some exotic species are known to irritate skin and airways.
Clamp small pieces down instead of holding them by hand, especially for router work. Keep your fingers well clear of the blade path, and let the blade stop fully before you reach near it.
Unplug a tool before changing a bit or blade. Short strips are the easiest to kick back or pull in, so cut them from a longer board and trim to length afterward.
Wood Types for Cross Making
Contrast is what makes a laminated cross stand out, so pair woods that sit far apart in color.
Padauk, a bold orange-red, looks striking next to pale Maple. Yellowheart gives a clear yellow, and Purple Heart brings a deep violet that deepens over time.
Yellowheart with Purple Heart is a combination I like, because the 2 colors sit opposite each other and each makes the other look brighter. Bloodwood adds a rich red on top of either.
Exotic boards cost more than pine or oak, so buy narrow strips rather than wide boards. A cross uses little wood, and the price stays manageable.
Frequently Asked Questions
What type of wood is best for carving a cross?
Basswood and butternut are my picks for carving: both are soft and light, and a sharp knife slices through them without tearing. Orient the grain along the long axis of each piece so the narrow arms keep their strength.
For a laminated cross, contrast matters more: Padauk (orange-red) next to pale Maple looks striking, and Yellowheart, Purple Heart and Bloodwood are other popular choices.
How to make an easy cross?
A layered multi-tone cross is a simple afternoon job. For a layered look, cut 3 crosses in graduating sizes, then glue them one on top of the next and hold them with clamps until the glue sets.
How to make a wooden cross out of 2×4?
I don’t have specific 2×4 instructions, but the basic approach is the same for any board: square cuts on a miter saw, glue or a half lap to join the pieces, then sanding through several grits.
A router handles half laps, and clamps hold the glue-up while it dries.






