Whether the piece will touch food decides the finish before anything else does: cutting boards and wooden utensils need one labeled "food safe," while a decorative slice can take a quick wipe-on coat that costs little and takes minutes.
The sections below cover what wood burning is, how to prepare the wood, practice techniques, color options, choosing a finish, and finishing the burned art.
1. What Is Wood Burning?
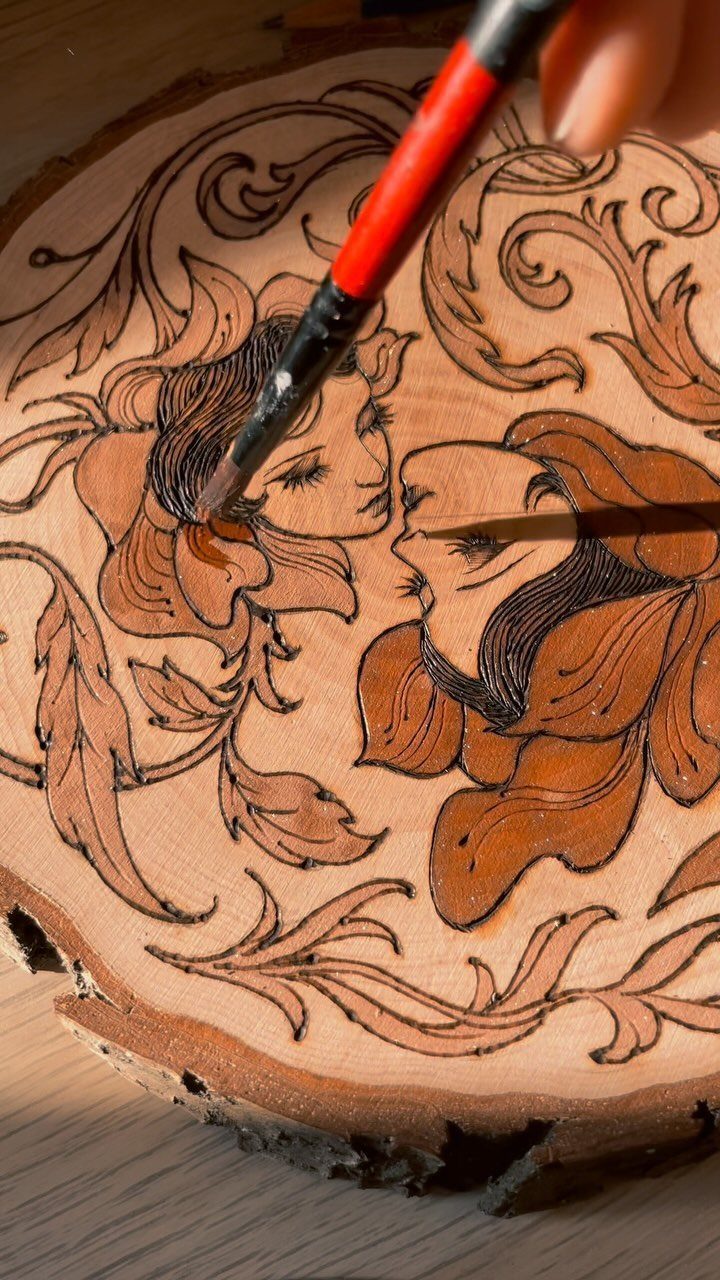
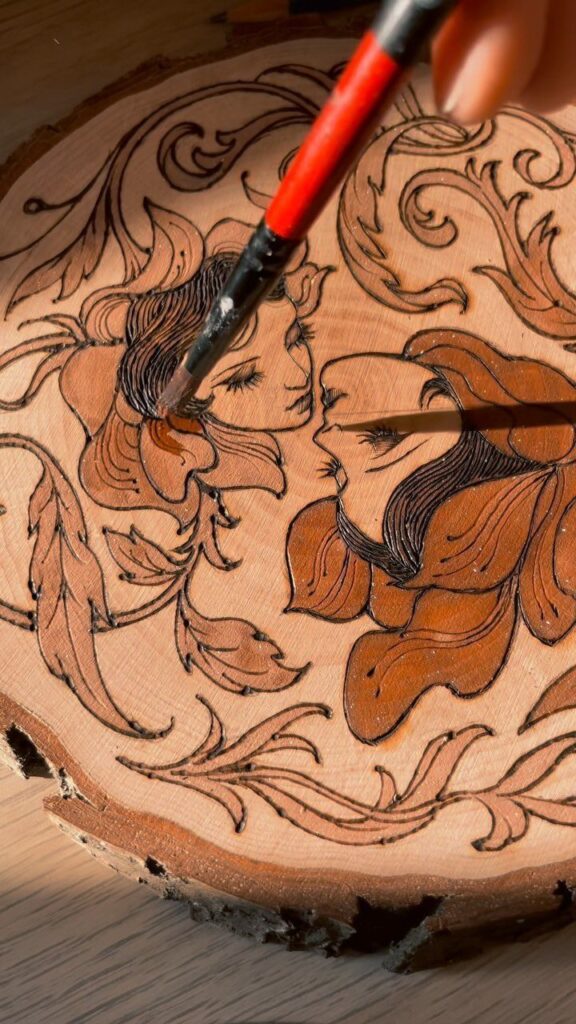
Wood burning, also called pyrography, means drawing on wood with a heated tool tip instead of ink or paint. Heat darkens the surface, and the pressure and speed of your hand decide how deep and dark each line gets.
A smooth, pale wood slice makes a forgiving first surface, since it shows every shade from light tan to near black.
Practice shading on a scrap before touching the piece you care about. A slow hand gives rich, dark lines; a quick one stays light.
2. Finishing Wood Burned Art
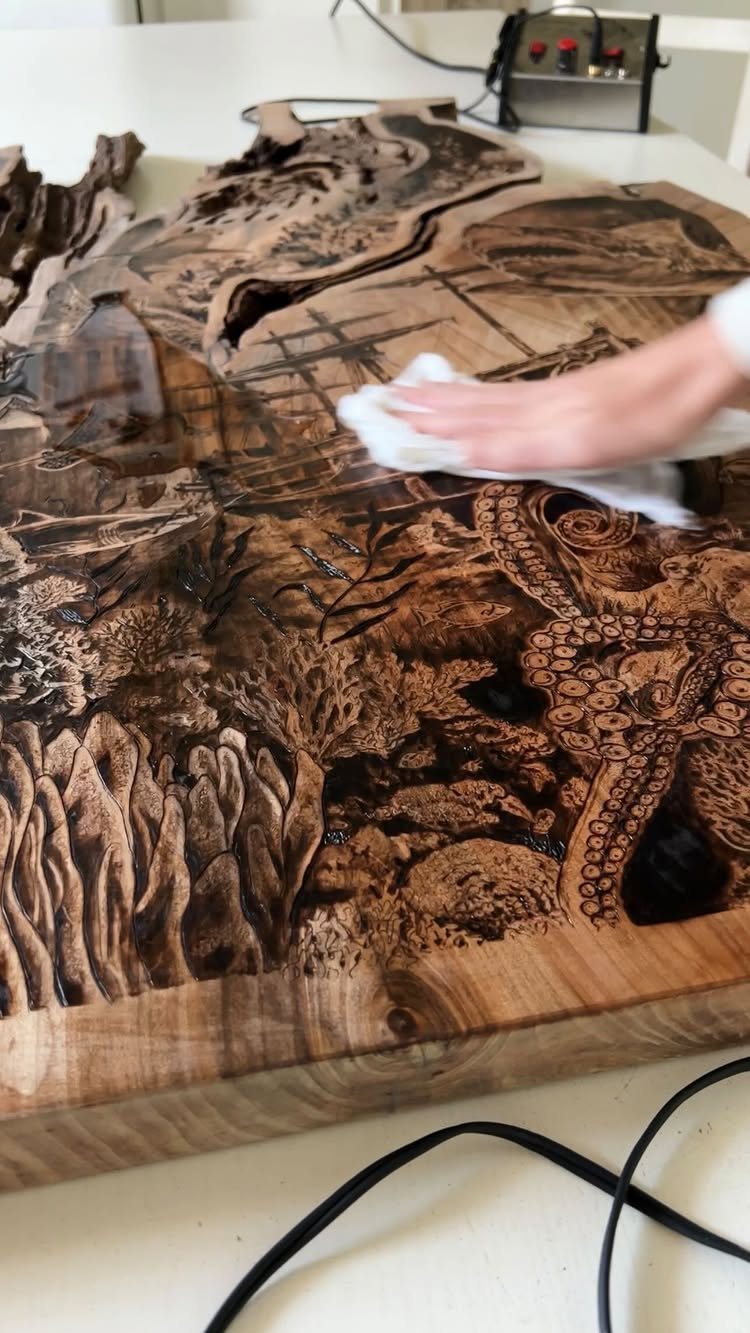
A finish does 2 jobs on burned art: it deepens the contrast of the burn marks and it seals the surface so the piece handles daily wear.
Wipe the finish on with a clean white cloth in thin coats rather than brushing on one thick layer, which pools in the burned lines and dries blotchy.
Always burn first and finish last, because heat on a coated surface smears and scorches unevenly.
A glossy finish makes dark shading look richer, though a satin one hides fingerprints better. I lean glossy for detailed scenes.
3. Color Options in Wood Burning
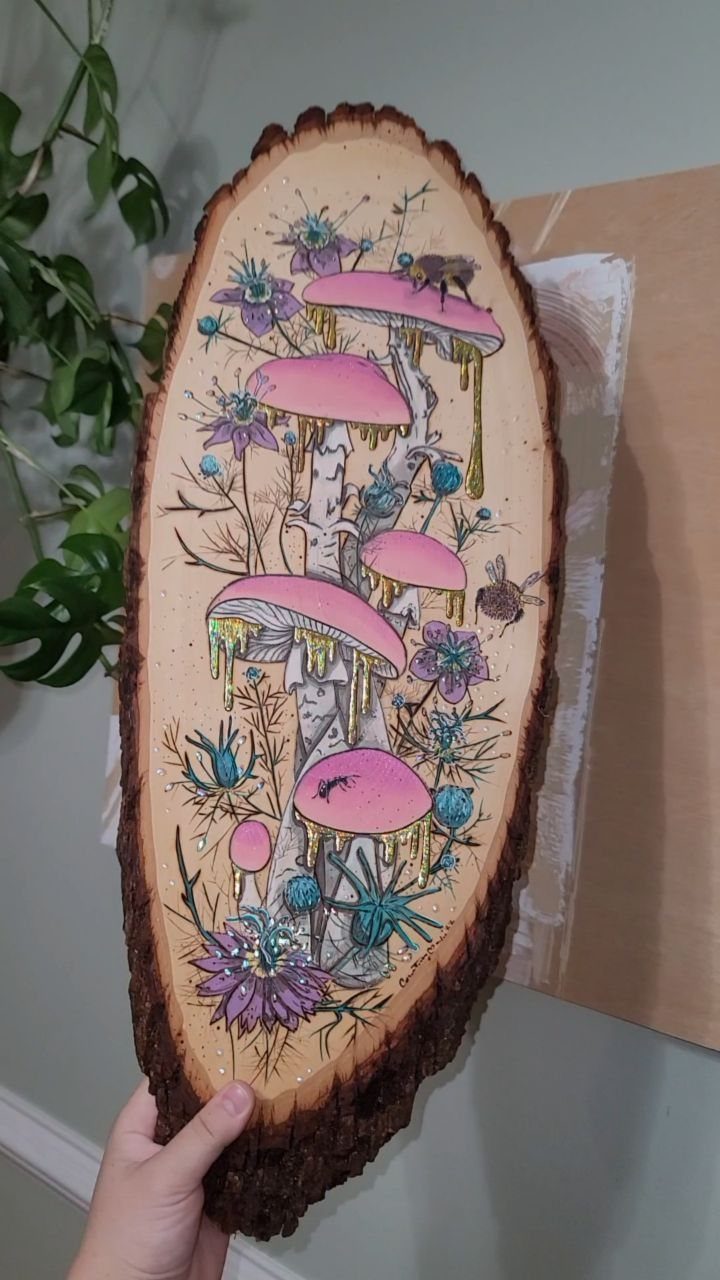
Paint and wood burning work best as partners: the burned line already acts as an outline, and color fills in around it.
Soft color, like pink mushrooms or purple flowers on a bark slice, can sit right beside dark linework without hiding it, as long as the paint stays thin and stops at the burned edge.
Finish all the burning before any paint goes on, since heat and paint do not mix. Keep the washes light so the grain and the lines still show through.
For a beginner on a budget, a small set of paints goes a long way on slices this size.
Practice Techniques
Line work comes first, so spend your practice time there.
Pressure and pace decide how a line comes out: a fine-tip nib, even pressure, and a hand that keeps moving. Rush and the burn goes pale; linger and the wood scorches.
Begin with simple shapes and straight or gently curved lines. Hold off on shading and other advanced techniques until your lines come out smooth and your hand stays steady.
Keep working at one level until it looks clean, because rushing ahead just carries sloppy habits into harder designs.
Choosing the Right Finish
Ask first whether the piece will touch food. Cutting boards and wooden utensils need a finish labeled "food safe," and that exact wording is what to look for on the can.
Furniture oils often sit on the same shelf as cutting board oil and wax, and they are not food safe. Check the label every time rather than trusting the bottle’s look.
If the piece is only decorative, time and cost can decide. A quick wipe-on coat costs little and takes minutes, while a more involved finish asks for more of both.
Wood Preparation
Sand the surface smooth before the burner ever heats up. Rough grain grabs the nib, so lines skip and wobble, and the finished design looks scratchy rather than crisp.
Sanding lines also show up more once a finish goes on, so a smooth surface pays off twice. Wipe off the dust with a clean, dry cloth when you finish sanding.
A conditioner or oil helps the finish absorb evenly. Rub it on with a clean cloth, wait about 15 minutes for it to sink in, then wipe away whatever is left on the surface.
Open a window or set up a fan, because burning even untreated wood puts off smoke you don’t want to breathe.
Clean soot from the tip every so often, since carbon that builds up makes your lines look dull and muddy.
Frequently Asked Questions
What is wood burning paint?
Wood burning paint isn’t a special product. Think of it as plain thinned paint paired with pyrography: the burned line draws the outline, and color goes in around it.
Thin washes work best, brushed up to the burned edge and no further, so the grain and the dark lines keep showing.
Finish every bit of burning first, because a hot tip on a painted surface scorches the paint and gives off bad fumes.
How to paint wood for beginners?
Finish all the burning first, then add thin, light washes of color that stop at the burned edge.
On something as small as a bark piece or a wood slice, 5 or 6 tubes of paint are plenty. Thin paint lets the grain show, and the burned outline keeps the design crisp.
What are some tips and tricks for wood burning?
Sand the wood smooth first, practice on scrap, and keep your hand moving at an even pressure.
Rushing leaves pale lines and lingering scorches the wood. Dial the heat down for pale, slow lines; turn it up for deep, dark ones, but expect the tip to wear out sooner.
Clean carbon off the tip often, since buildup dulls the lines, and let the tool do the work instead of pressing hard.
Is it safe to do wood burning art inside?
Only with good airflow. Burning even untreated wood gives off smoke you shouldn’t breathe, so open a window or run a fan.
Even with woods that are considered safe, I’d still wear a respirator fitted with organic vapor cartridges. Skip pallet wood and MDF, which is full of glue and chemicals, and avoid cedar.






