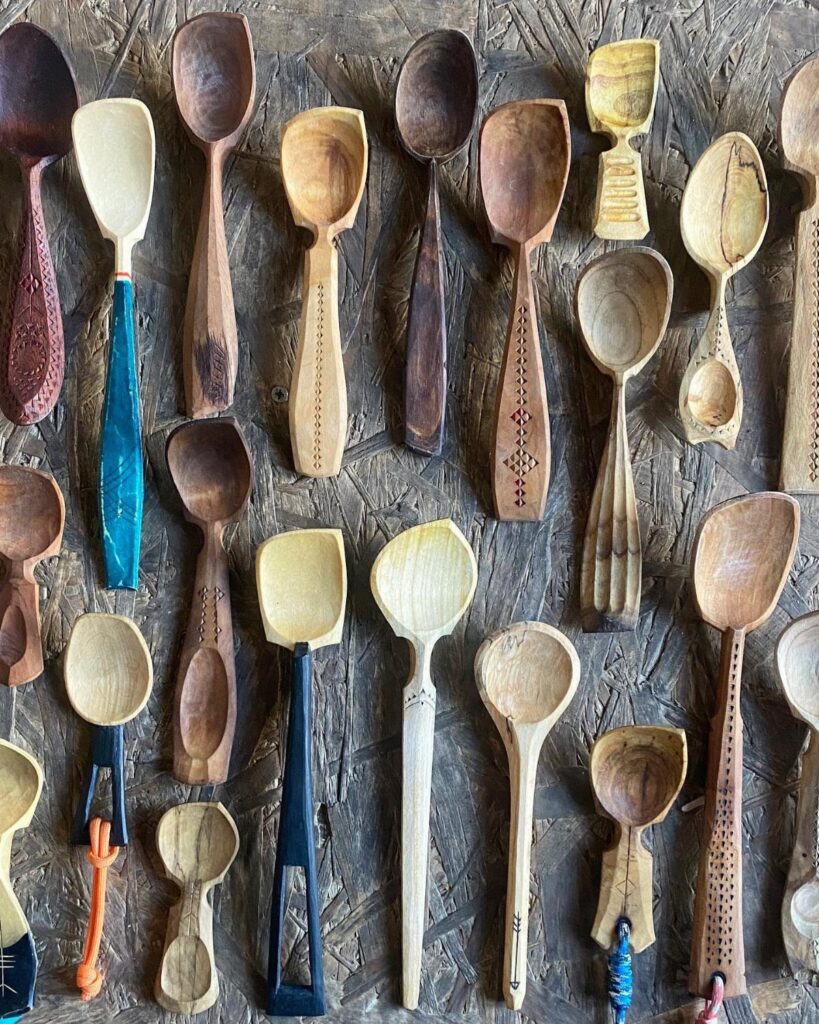
The 12 ideas run from a comfort bird, which is just an egg with a small tail and needs nothing but even shavings, to a rose relief that rises from a flat plaque and asks for far more patience.
Pick your starting point by how much knife time you have behind you: if you’ve never carved, choose a shape with no fine detail, like the comfort bird or the mushroom cluster, and hold the ball-in-a-cage and the rose relief for a second or third project.
Basswood blocks run $2–5 each at craft stores, so a first pick costs very little to get wrong.
1. Wooden Spoon
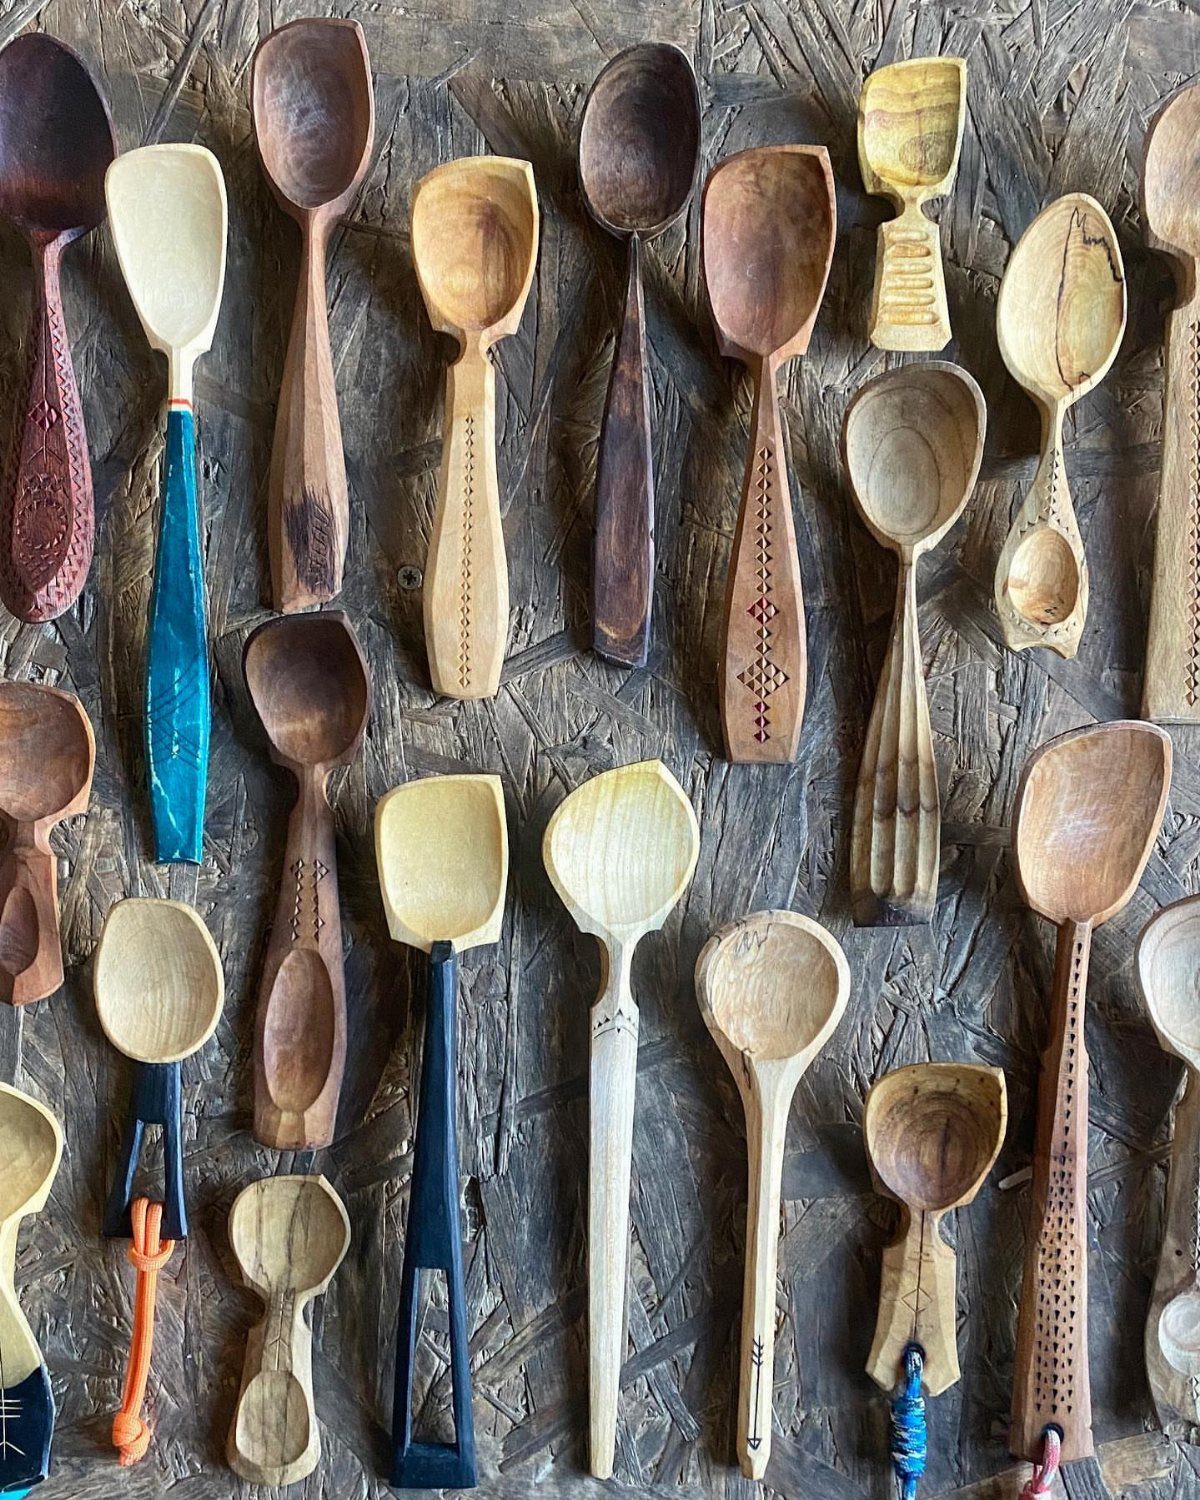
A carved spoon earns its place in the kitchen, which makes it the one project here that gets used the day it’s finished.
Beginners can skip the fancy bowl shape and start with a flat, plain paddle, since a spoon that stirs well is a success.
Leave the surface a little faceted if the knife cuts feel clean.
2. Owl Figurine
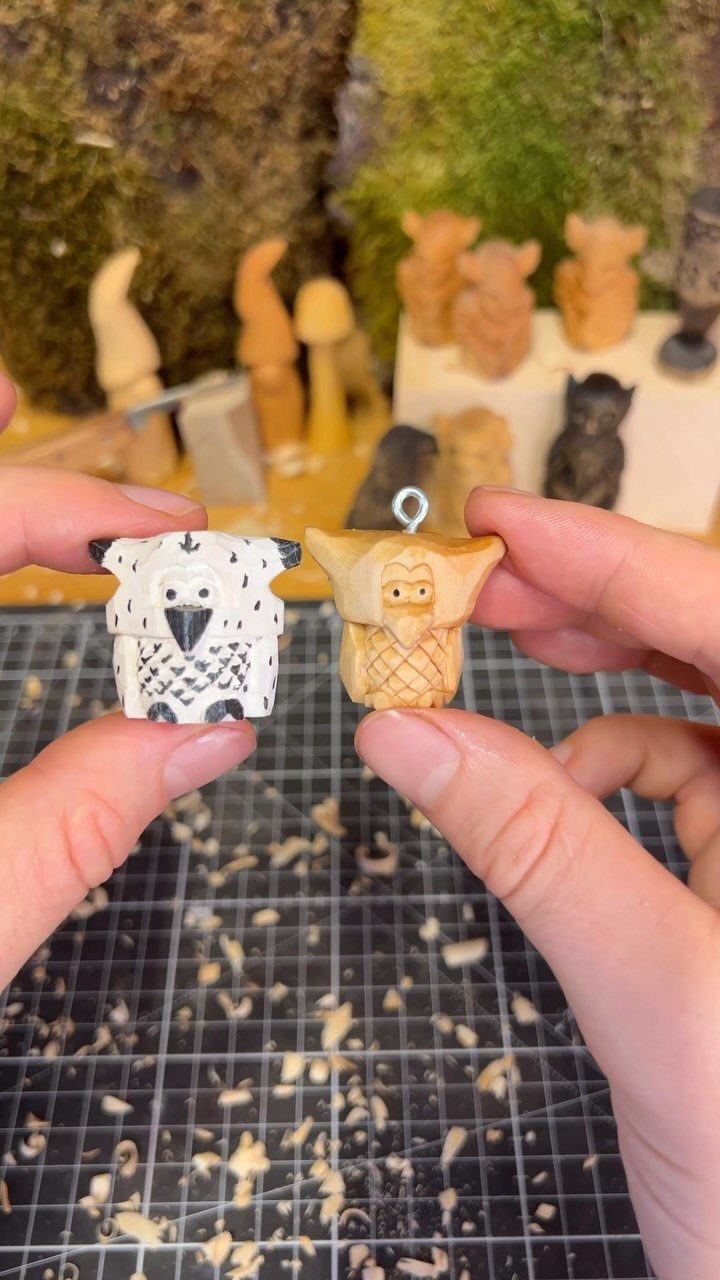
Barrel-shaped body, flat face: that is the whole owl. Start with a block, round off the corners into a short cylinder, then cut a flat front plane to hold the face.
Because the shape is so simple, the finish does the character work.
A natural wood owl shows off your knife cuts, while black and white paint gives the eyes and chest markings some punch. I’d carve the first one plain and decide on paint afterward.
Keep the block small, so a few quiet afternoons finish it.
3. Comfort Bird
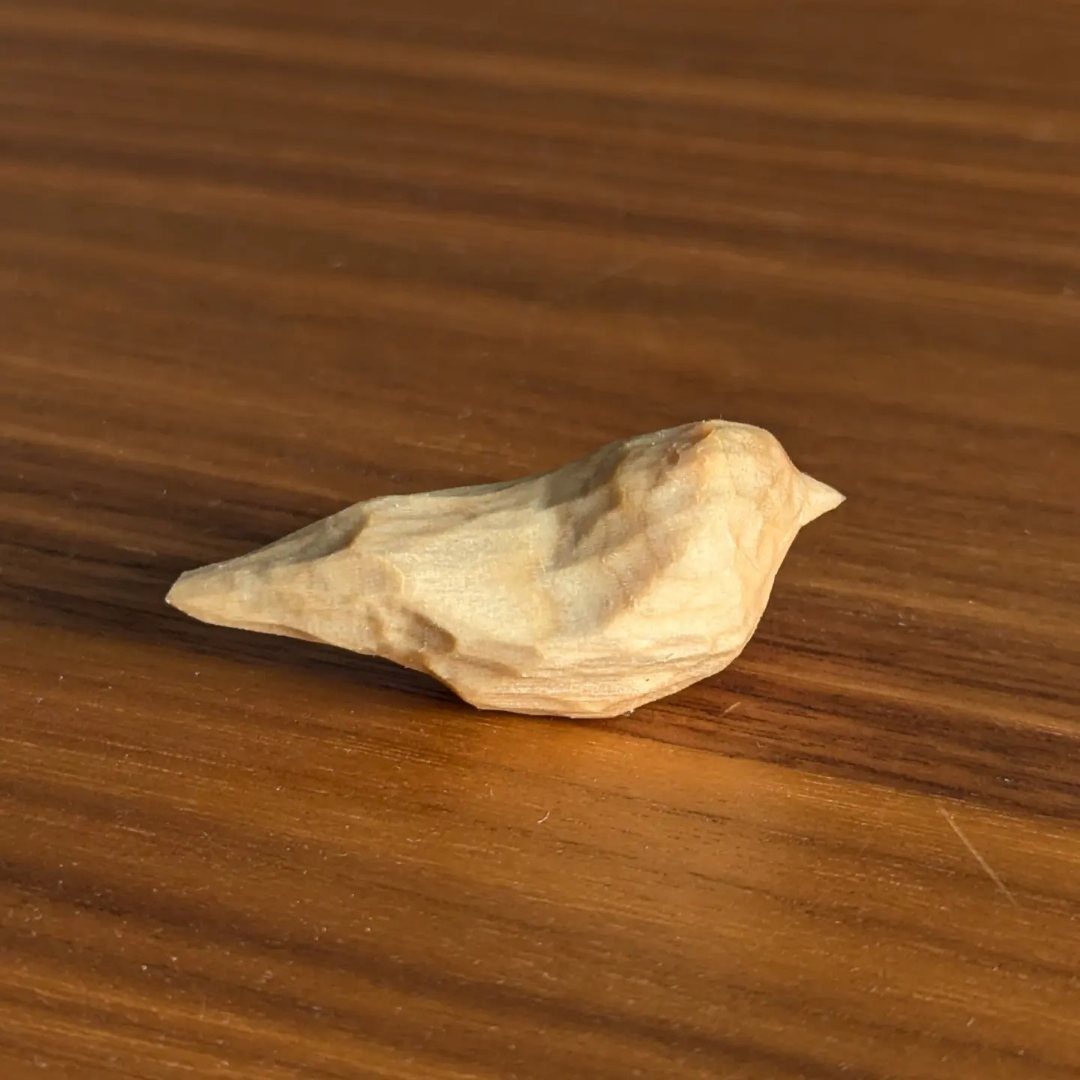
Smooth, rounded, and free of fine detail, a comfort bird is made to sit in your palm. That makes it the friendliest first carving for anyone short on time or patience.
Think of it as an egg with a small tail and a gently pointed beak.
There are no feathers to cut and no eyes to get wrong, so the only skill involved is taking off thin shavings evenly. Sand lightly and rub on a finish, and the grain becomes the decoration.
4. Mushroom Cluster
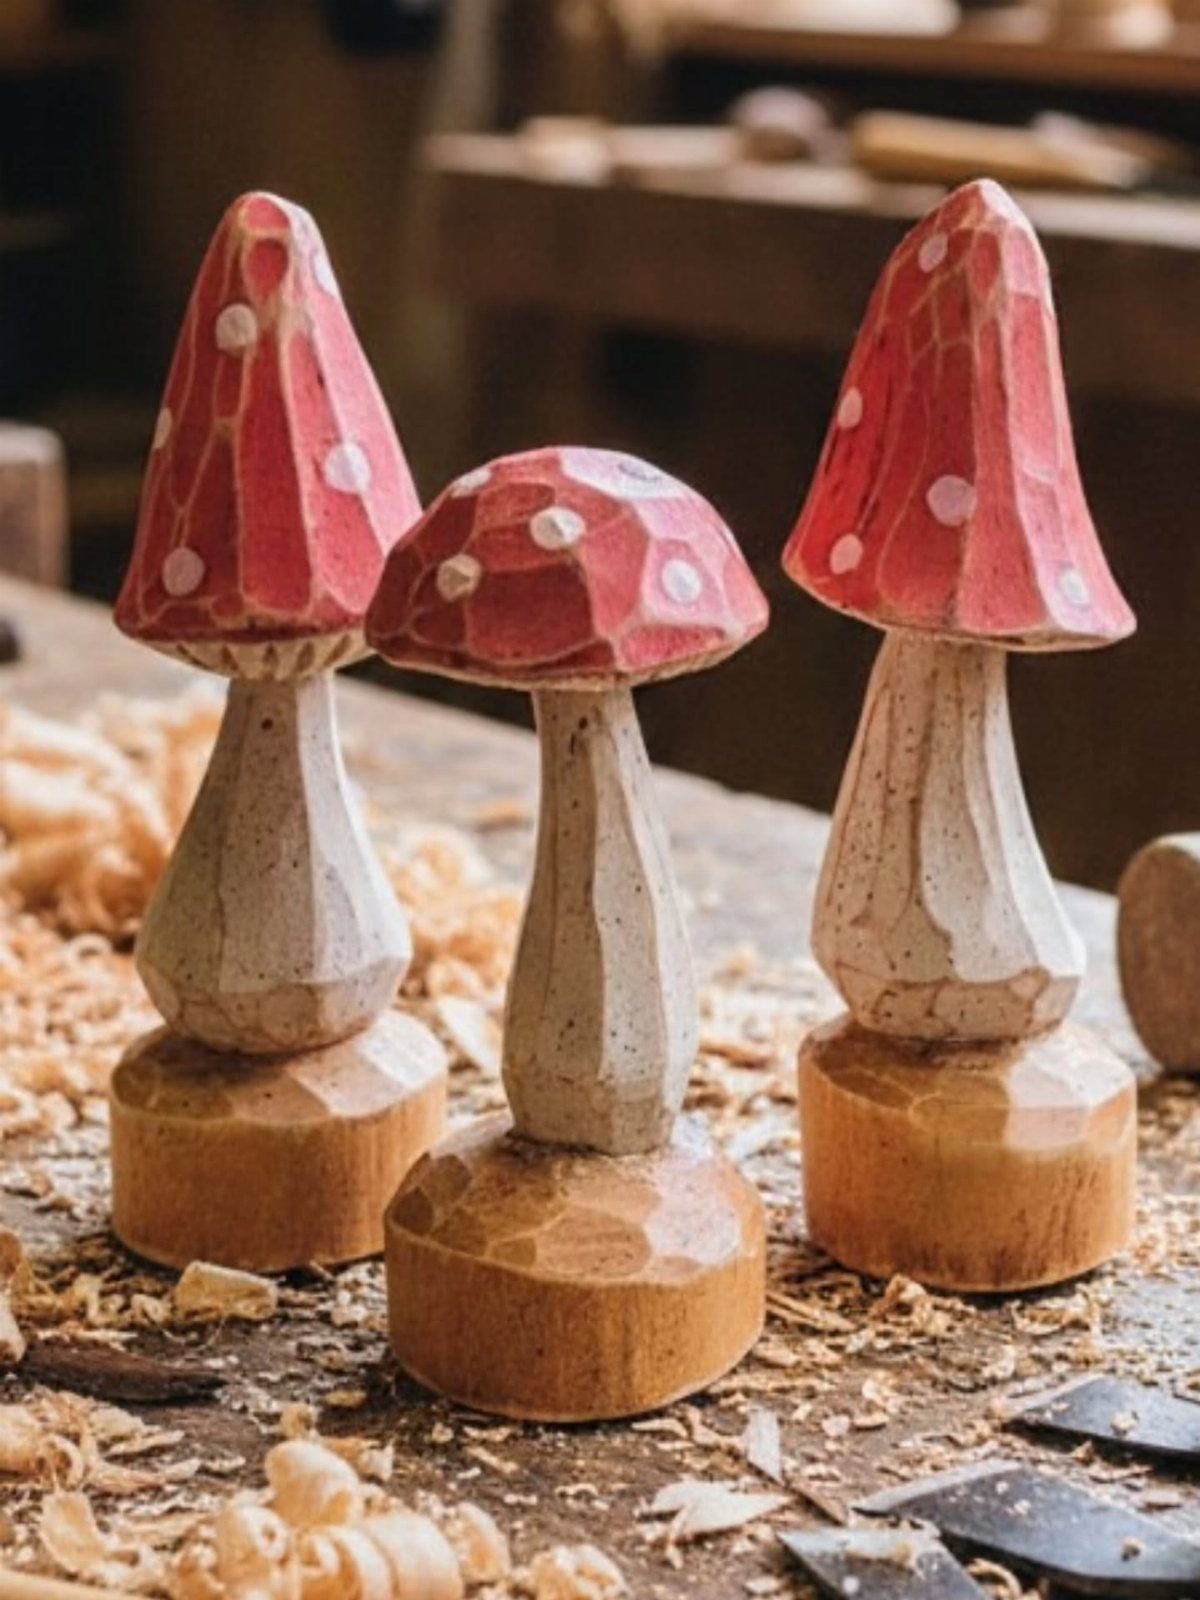
Mushrooms forgive almost every mistake. A cap that comes out lopsided or a stem that wobbles just reads as a different mushroom, and that is why I’d pick them for a first set.
Carve 3 in different heights, and they look like a small cluster growing together. Faceted stems come from straight knife strokes, so a perfectly round shape isn’t something to chase.
Paint the caps red and dot them with white after carving. Give each one a flat base so it stands up on a shelf.
5. Ball-in-a-Cage
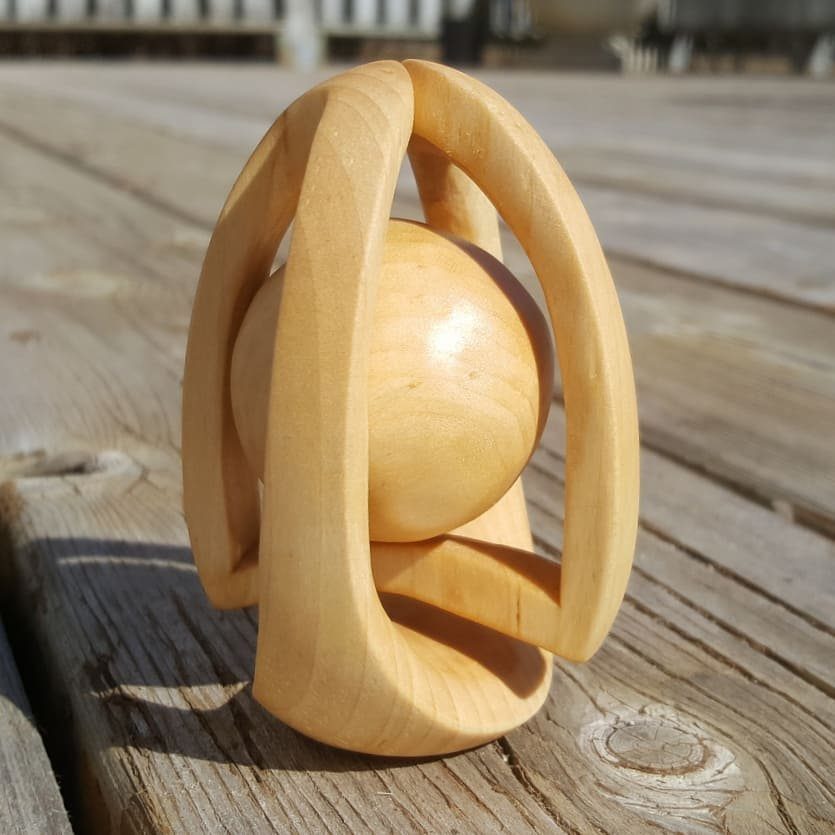
A ball trapped inside a cage looks like a magic trick, and it’s the carving most likely to make friends ask how you did it.
The cage bars are cut from a single block, with the sphere left free in the middle.
I’d call it a second or third project, not a first.
Slow cuts and thick bars are the safer route, since thin bars snap under a knife. It takes patience more than special skill, and the impressive result is worth the extra hours.
6. Gnome
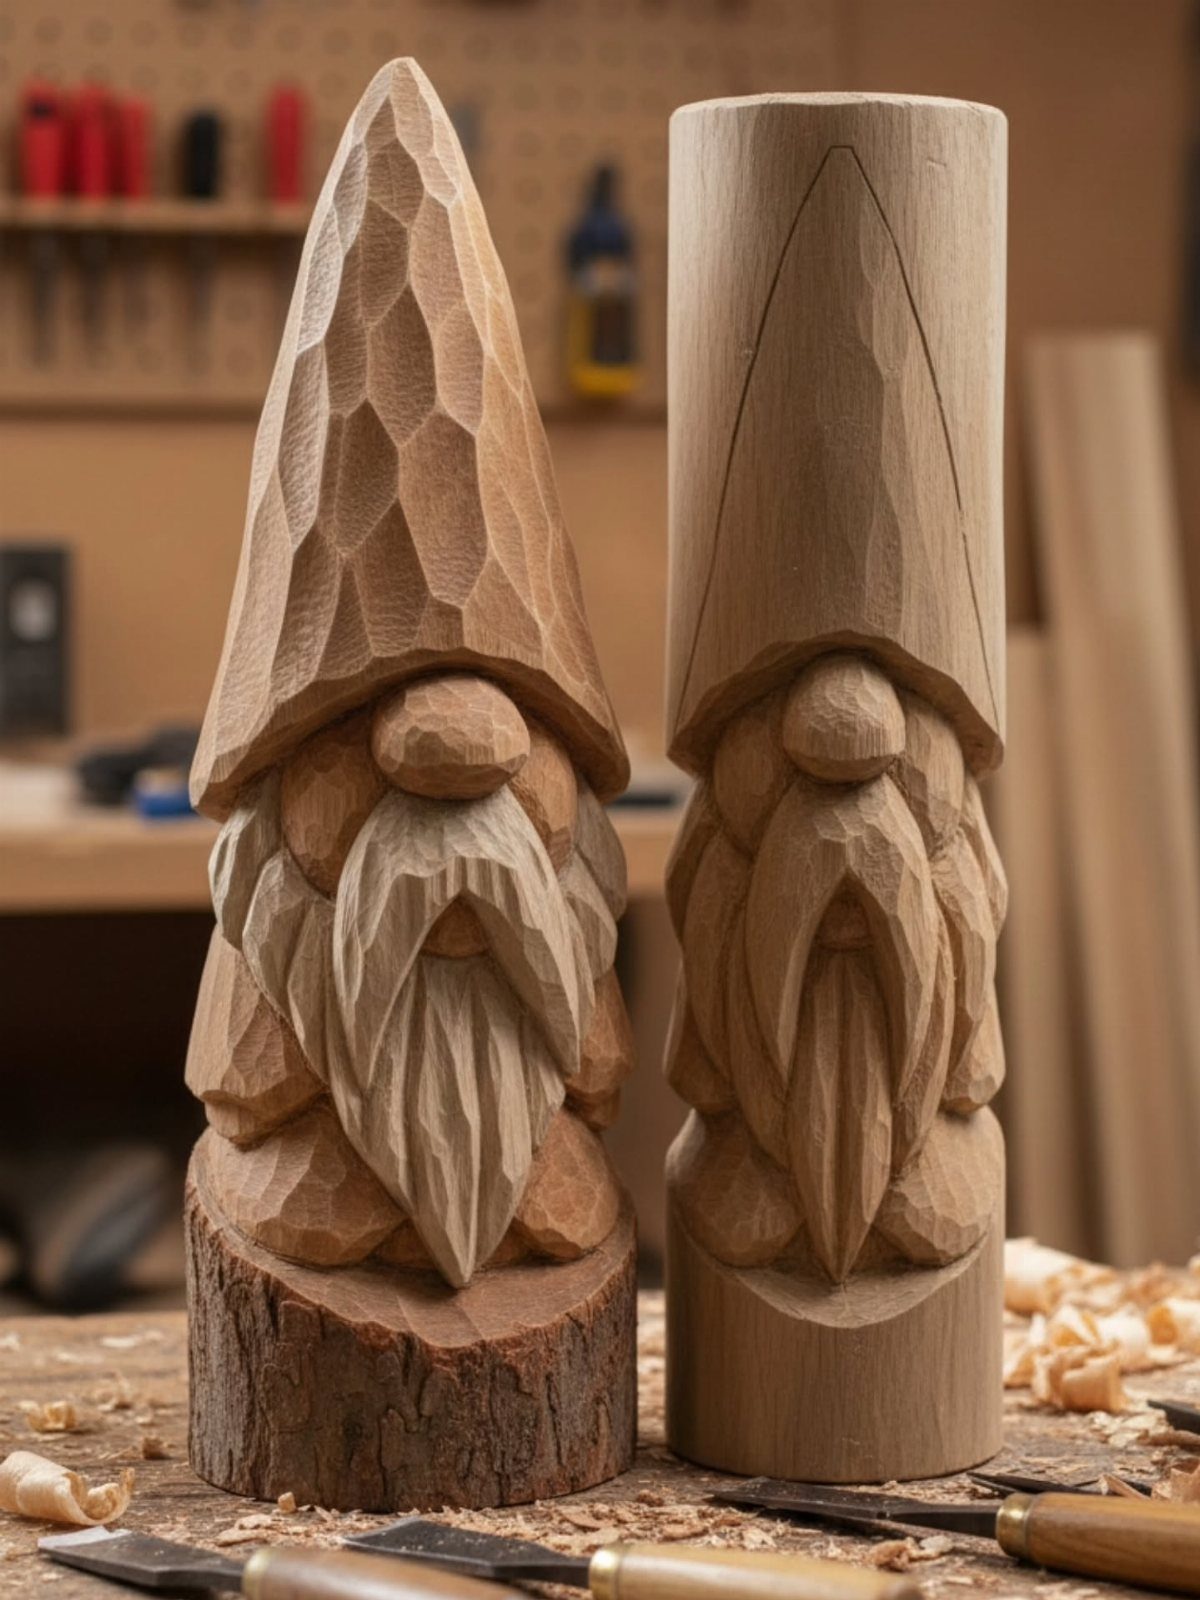
Gnomes are about a pointed hat, a big nose, and a beard, so the figure carries a lot of personality with very few cuts.
Before you start, draw guide lines on the block for the hat, face, and beard. They keep the proportions from drifting while you remove wood.
Carve the rough outline first, then refine.
Having a plain practice gnome beside the finished one lets you test cuts before committing. Keep the details bold and simple; small gnomes forgive chunky features.
7. Stylized Pine Trees
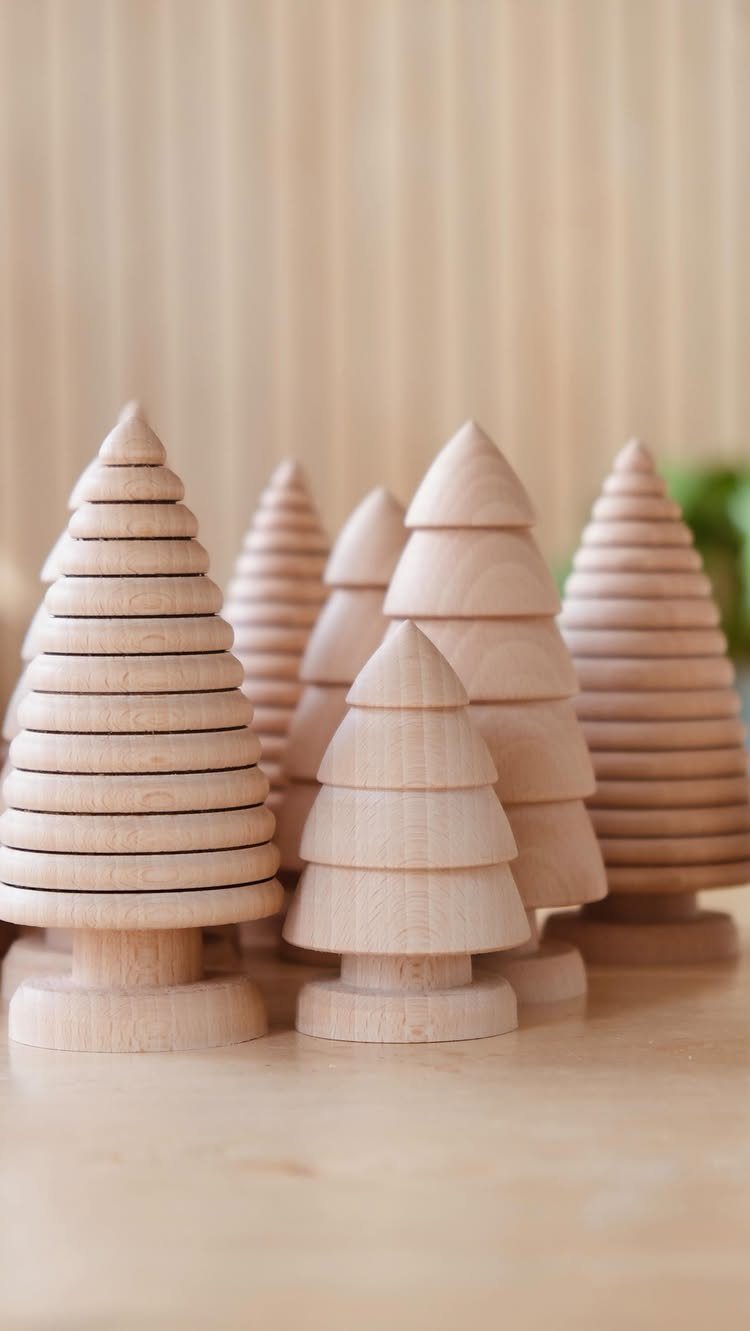
Stack a few tapering layers on a center trunk and you have a pine tree. Each tier is a short, angled cut that steps outward toward the base, so the whole carving is repeated, simple knife work.
Carve several trees in different heights and they start to read as a little forest.
Leave the wood bare, since the pale grain suits the look. Keep the tiers chunky; thin points snap easily.
8. Small Wooden Fox
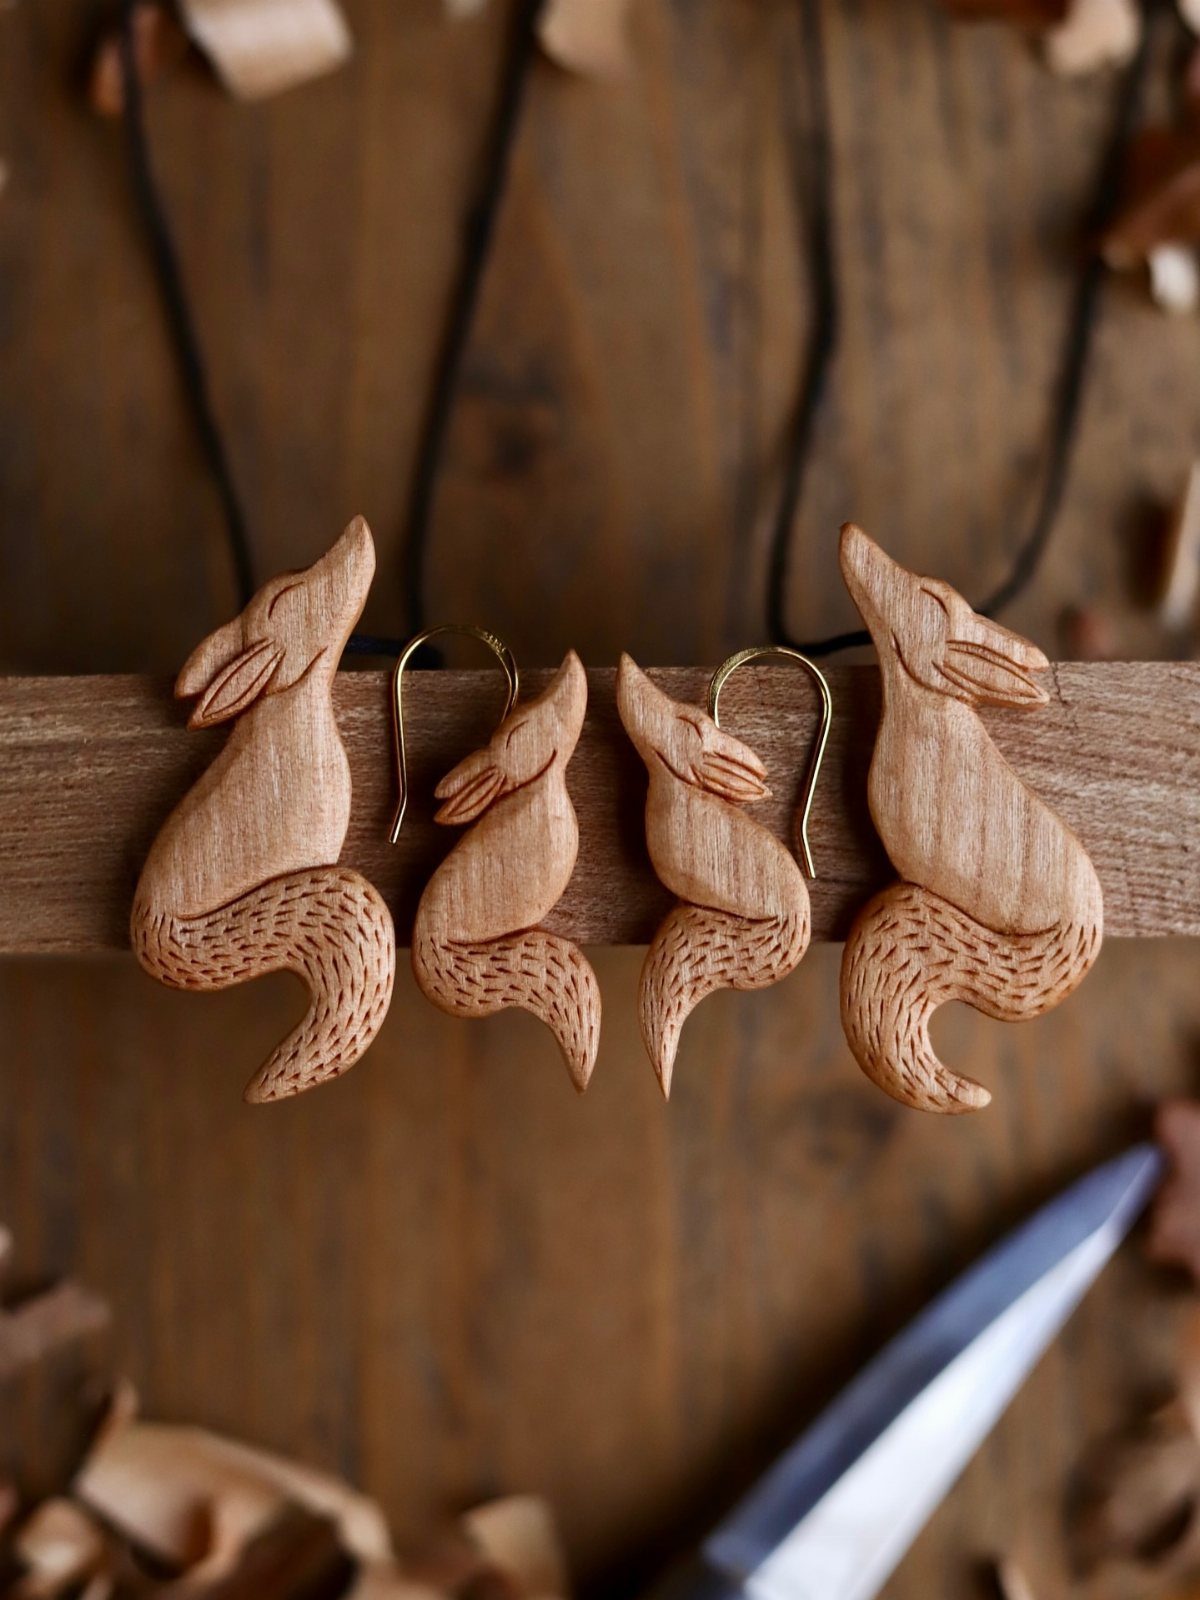
Foxes work at a very small size, and that is what makes them a good afternoon project. A pointed snout, 2 upright ears, and a long tail carry the whole animal, so the carving stays about the silhouette.
Cut the profile first and round it afterward.
To turn a small fox into an earring, drill the hole at the top before you start carving, while the wood is still sturdy. Carve a few at once; the second one always comes out better.
9. Whittled Whale
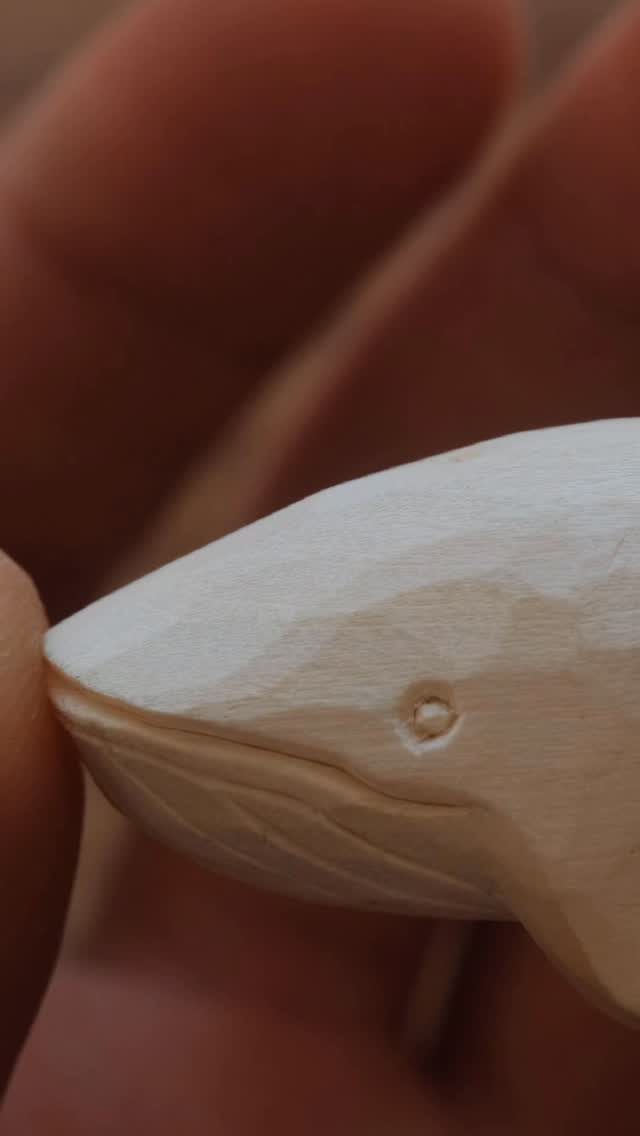
Whales suit the whittling knife because their bodies are one smooth, tapered curve. Start from a small block, round the belly, narrow the head, and cut a flat tail that kicks upward.
I like leaving the knife facets in place. Those flat planes catch light and look deliberate, so sanding is optional.
Keep the tail fairly thick, because a thin fluke is the first thing to break. This fits in the palm and takes a short sitting.
10. Organic Carved Wand
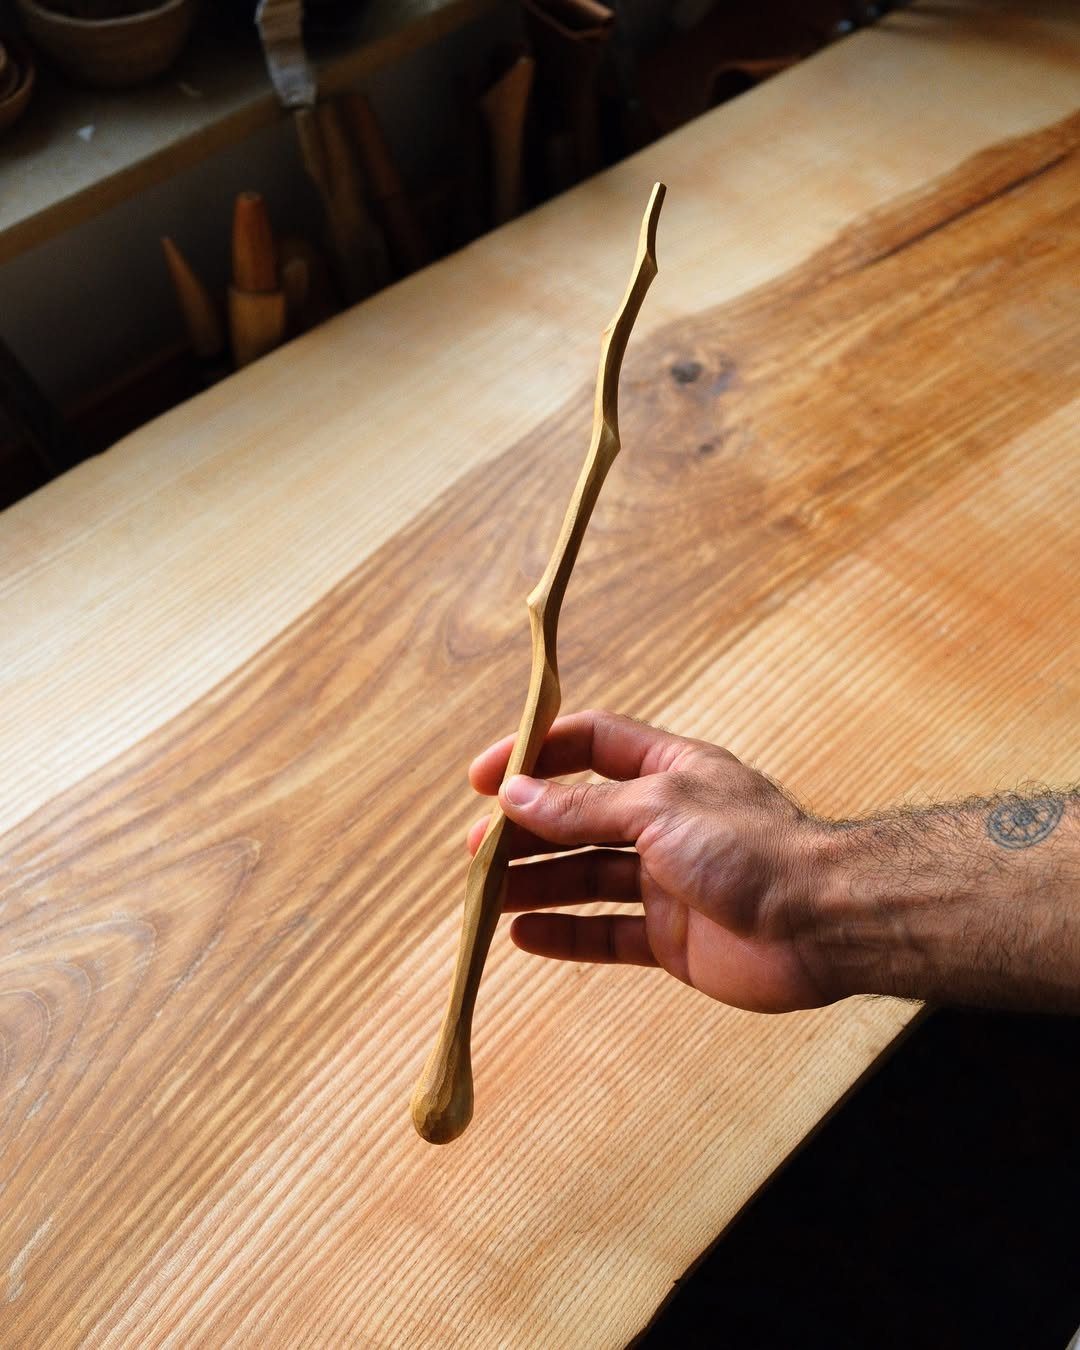
A wand is a good first lesson in following the wood.
Pick a slender stick with a natural bend, then carve along the curve instead of straightening it. Flowing lines come from long, light strokes rather than deep cuts.
Taper one end gently for the tip and leave the handle thicker so it sits comfortably in your grip.
No pattern is needed, so there is little to get wrong. A rubbed-on finish leaves the surface smooth and warm to the touch.
11. Geometric Chip Carving Pattern
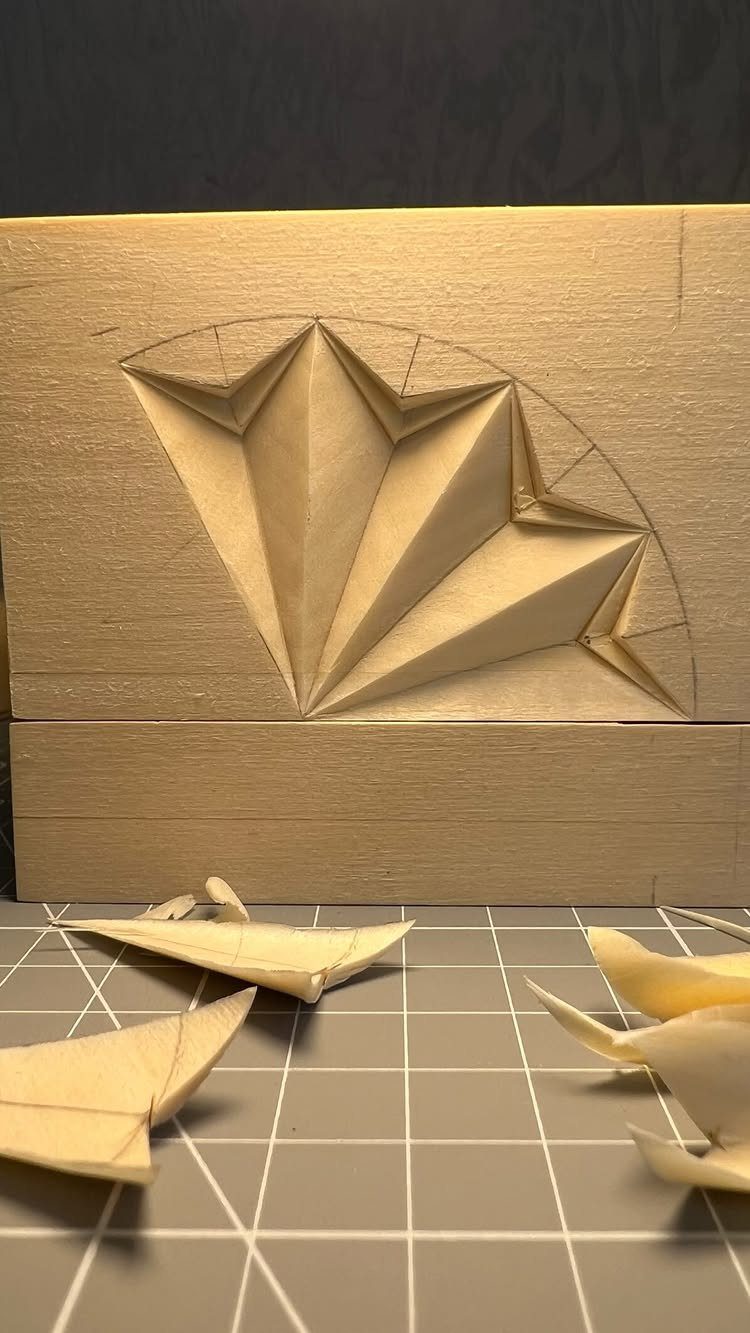
Chip carving removes small triangles of wood, and a star is just several of them meeting at a point. Each cut is a clean angled slice, so you practice control without needing any sculpting skill.
Use a light, even-grained wood and mark the pattern in pencil first.
Make each triangle with 3 straight cuts that meet at the bottom. Try the cut on a scrap block first, and brush the shavings onto a cutting mat as you work so the lines stay easy to see.
12. Carved Wooden Rose Relief
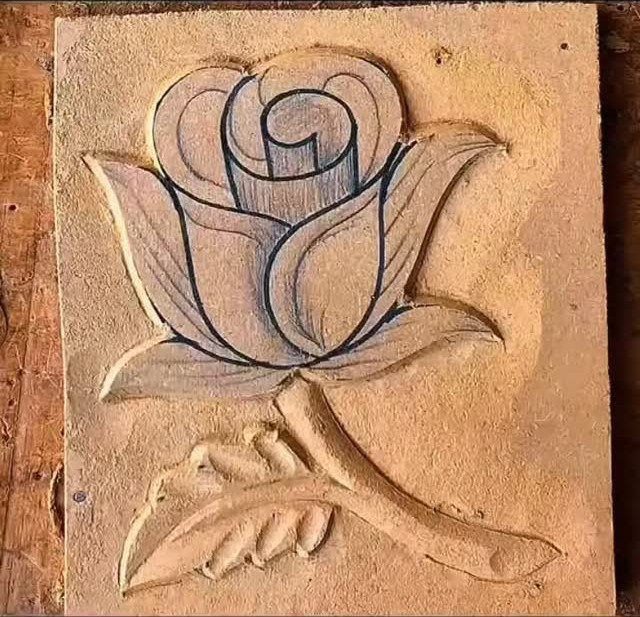
A rose relief is the hardest idea in this group, because the design rises from a flat background instead of standing free.
Draw the rose, stem, and leaf on a square plaque and trace over the lines in ink so they survive the cutting.
Cut along the outline first, then lower the background around it in thin layers. Keep the petals broad and few; small details are easy to lose.
Basic Tools for Beginners
A whittling knife (the Sloyd style) does the rough shaping, and a detail knife follows to clean up edges and small cuts.
Add a hook knife if you plan to scoop anything, since it is the tool that hollows a bowl shape.
Sandpaper handles final smoothing. A pencil or transfer paper rounds out the kit for tracing outlines onto the wood before you cut.
Starting your simple wood carving designs with a coping saw instead of a knife works too, and the saw is handy for trimming a block down to size.
I’d still pick the knife set first, because 2 knives cover most of what a simple carving asks for.
Keep every blade sharp.
A dull knife slips, and slipping is how fingers get cut. A cut-resistant glove belongs on the hand that grips the wood, since that’s the one the blade slips toward.
Simplicity makes this a terrific project for beginners and one of the easiest beginner wood carving projects.
Choosing Wood for Carving
Basswood wins for beginners. Basswood cuts cleanly because the grain is tight and even, it rarely splits, and craft stores sell blocks for $2–5 each.
Butternut comes in right behind it, and its more visible grain gives a piece a bit more to look at.
Aspen and pine are also easy to shape and forgiving on the blade, and both are affordable and easy to find.
Pine is the one I’d approach with a bit more care, since grain can vary from board to board. Basswood is the safer first buy.
Skip oak and walnut for now. Hardwoods dull a knife quickly and fight every cut, and they ask for hand strength and blade control you build over time.
Using Carving Patterns
A pattern keeps your proportions steady, and that matters most when you want several pieces to match. It also gives you something to check your work against, which speeds up learning.
Free patterns are easy to find on craft websites, forums, and carving communities. Pick simple outlines such as animals, hearts, or geometric shapes, since they let you practice control and depth without a pile of fine detail.
Print patterns at the size of your block so you are not guessing at scale.
Frequently Asked Questions
What wood should beginners avoid carving?
Oak and walnut are the woods to put off until your hands have some practice.
They dull a knife quickly and fight every cut, and they demand hand strength and blade control that you build up over time. Basswood is far more forgiving, so start there.
How do you carve a piece of wood?
Start with a sharp knife, a soft wood like basswood, and a simple design, then take off thin shavings slowly.
Draw the outline on the block first, cut the rough shape, and refine it afterward. Keep the blade sharp, since a dull edge skids, and put a cut-resistant glove on whichever hand holds the wood.
What tools do I need for simple wood carving?
2 knives cover most simple carvings: a Sloyd-style whittling knife for rough shaping and a detail knife for cleaning up edges and small cuts.
For hollowing a spoon or bowl, a hook knife is the extra tool to buy. Finish with sandpaper for smoothing, and use a pencil or transfer paper to get your outline onto the block.
What is a good first wood carving project for a beginner?
A comfort bird is a friendly first carving. The shape is a plain, smooth egg with a short tail and a softly pointed beak, so there are no feathers or eyes to ruin.
Evenly peeling off thin shavings is the one skill it takes, and that fits in a single short sitting.






